Registering Web Forms
Prerequisites
Integration with web forms (like forms capturing cases or leads) works correctly only if all the preliminary steps are complete and configured correctly. Please go through this list of prerequisites before you register a web form in Salesforce:
-
Create Web-to-Lead.
-
Create a Salesforce service.
-
Create a new Border service.
-
Create an empty Border configuration and save its details.
-
Create a Border configuration.
-
Specify the address of the endpoint where data will be submitted.
-
Skip creation of redaction and unredaction rules.
-
Save the Border configuration.
-
-
Create a new endpoint.
Configuring authentication
To enable the registration of external web forms and automatic pushing of redaction configurations from Salesforce, you need to register an additional authentication endpoint, authentication providers, and named credentials.
Registering an authentication endpoint (Portal)
The InCountry Data Residency for Salesforce package pushes the Border configuration through the dedicated endpoint of the InCountry Portal, that’s why you need to register an authentication endpoint which is used.
-
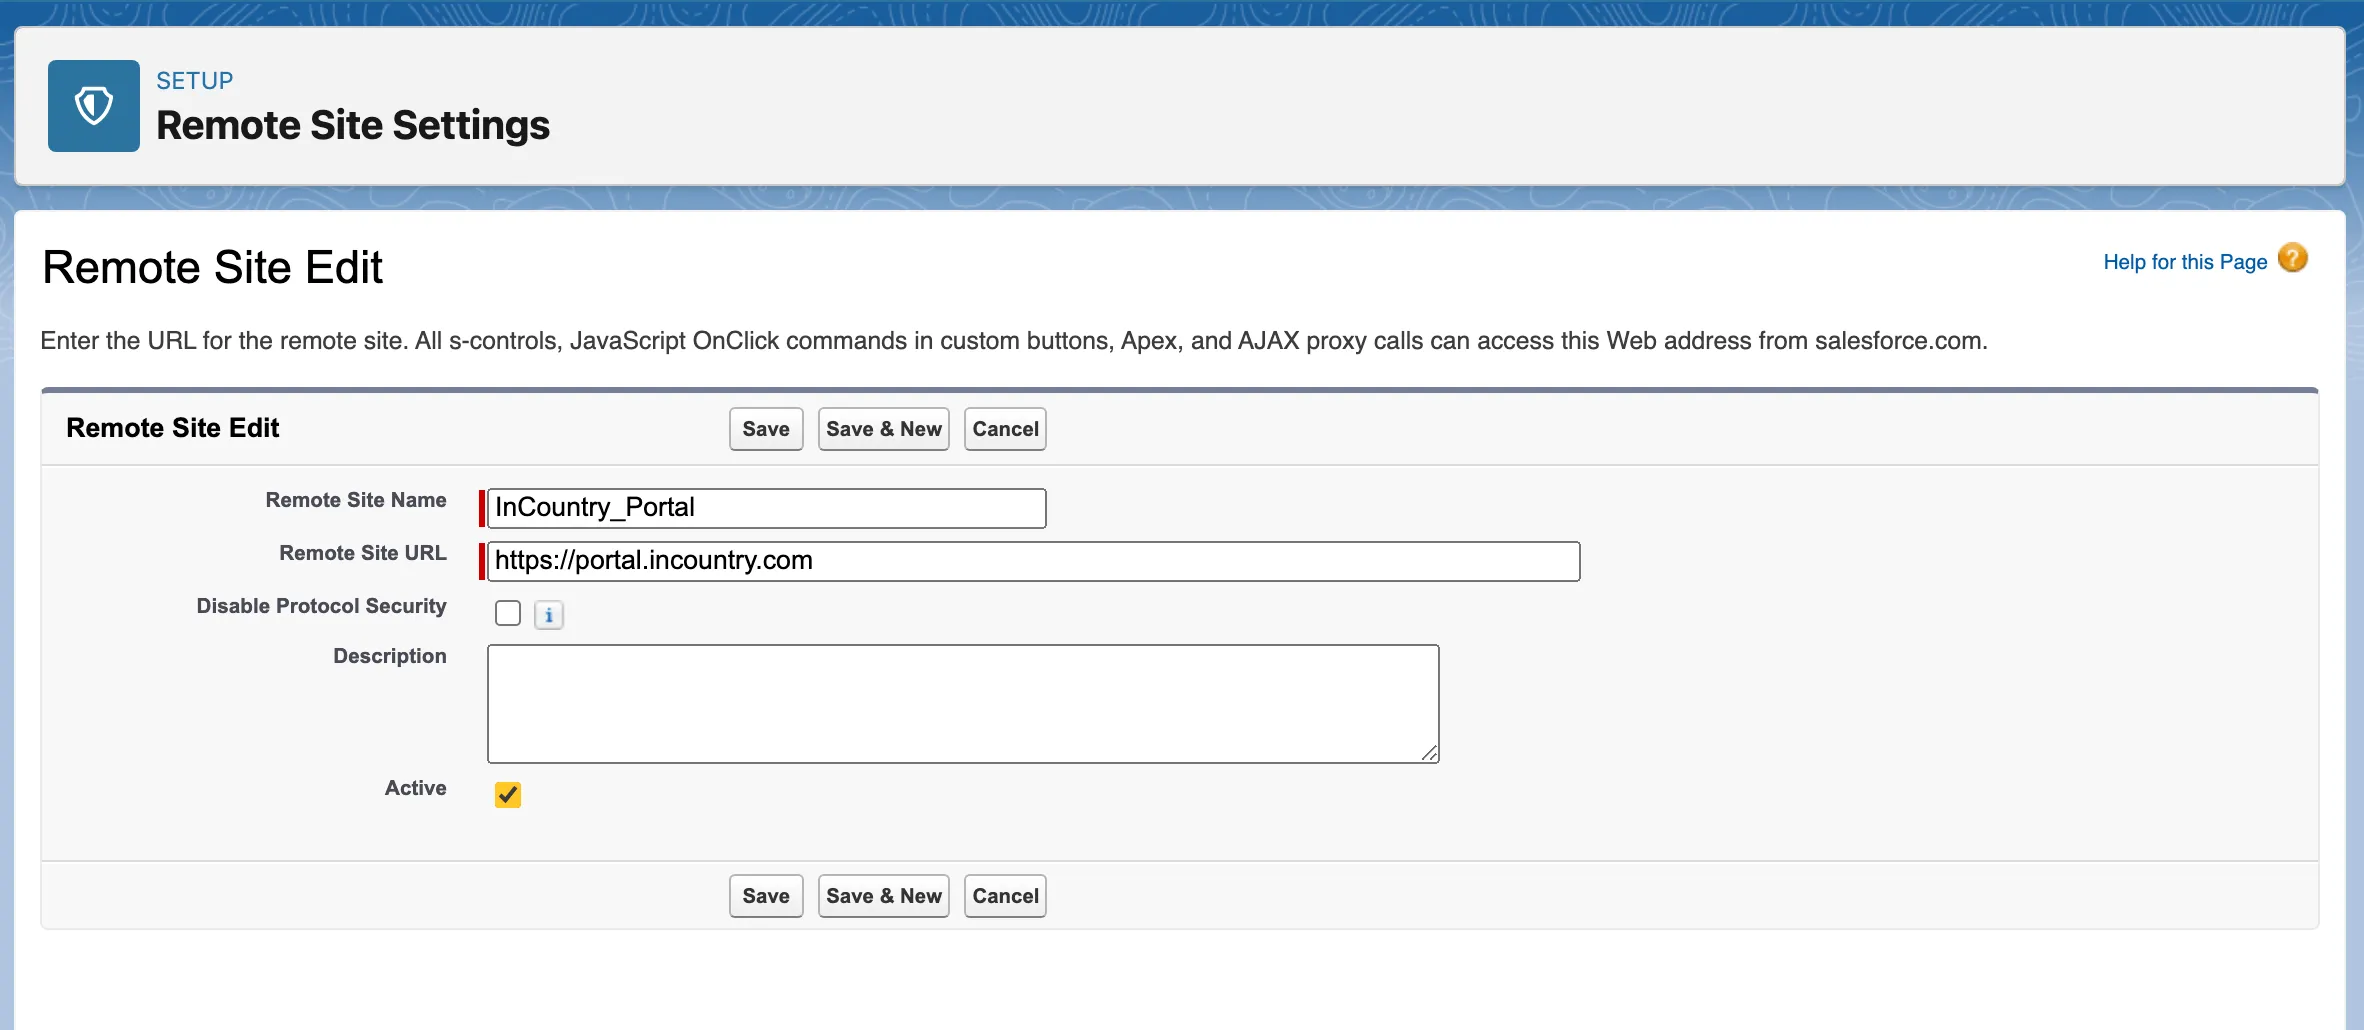
From Setup, click Security, then select Remote Site Settings.
-
When creating new remote site settings, specify the following information:
-
Remote Site Name - enter a meaningful name of the remote site.
-
Remote Site URL - enter the InCountry Portal address:
https://portal.incountry.com. For the Portal in China, usehttps://portal.data-in.cn. -
Active - check the box to activate the remote site.

-
-
When complete, click Save.
Using the same procedure, register authentication endpoints for the following:
-
Border URL address (from Portal configuration)
-
URL address to get access token from Border -
https://auth.incountry.com
Creating an authentication provider (Border)
-
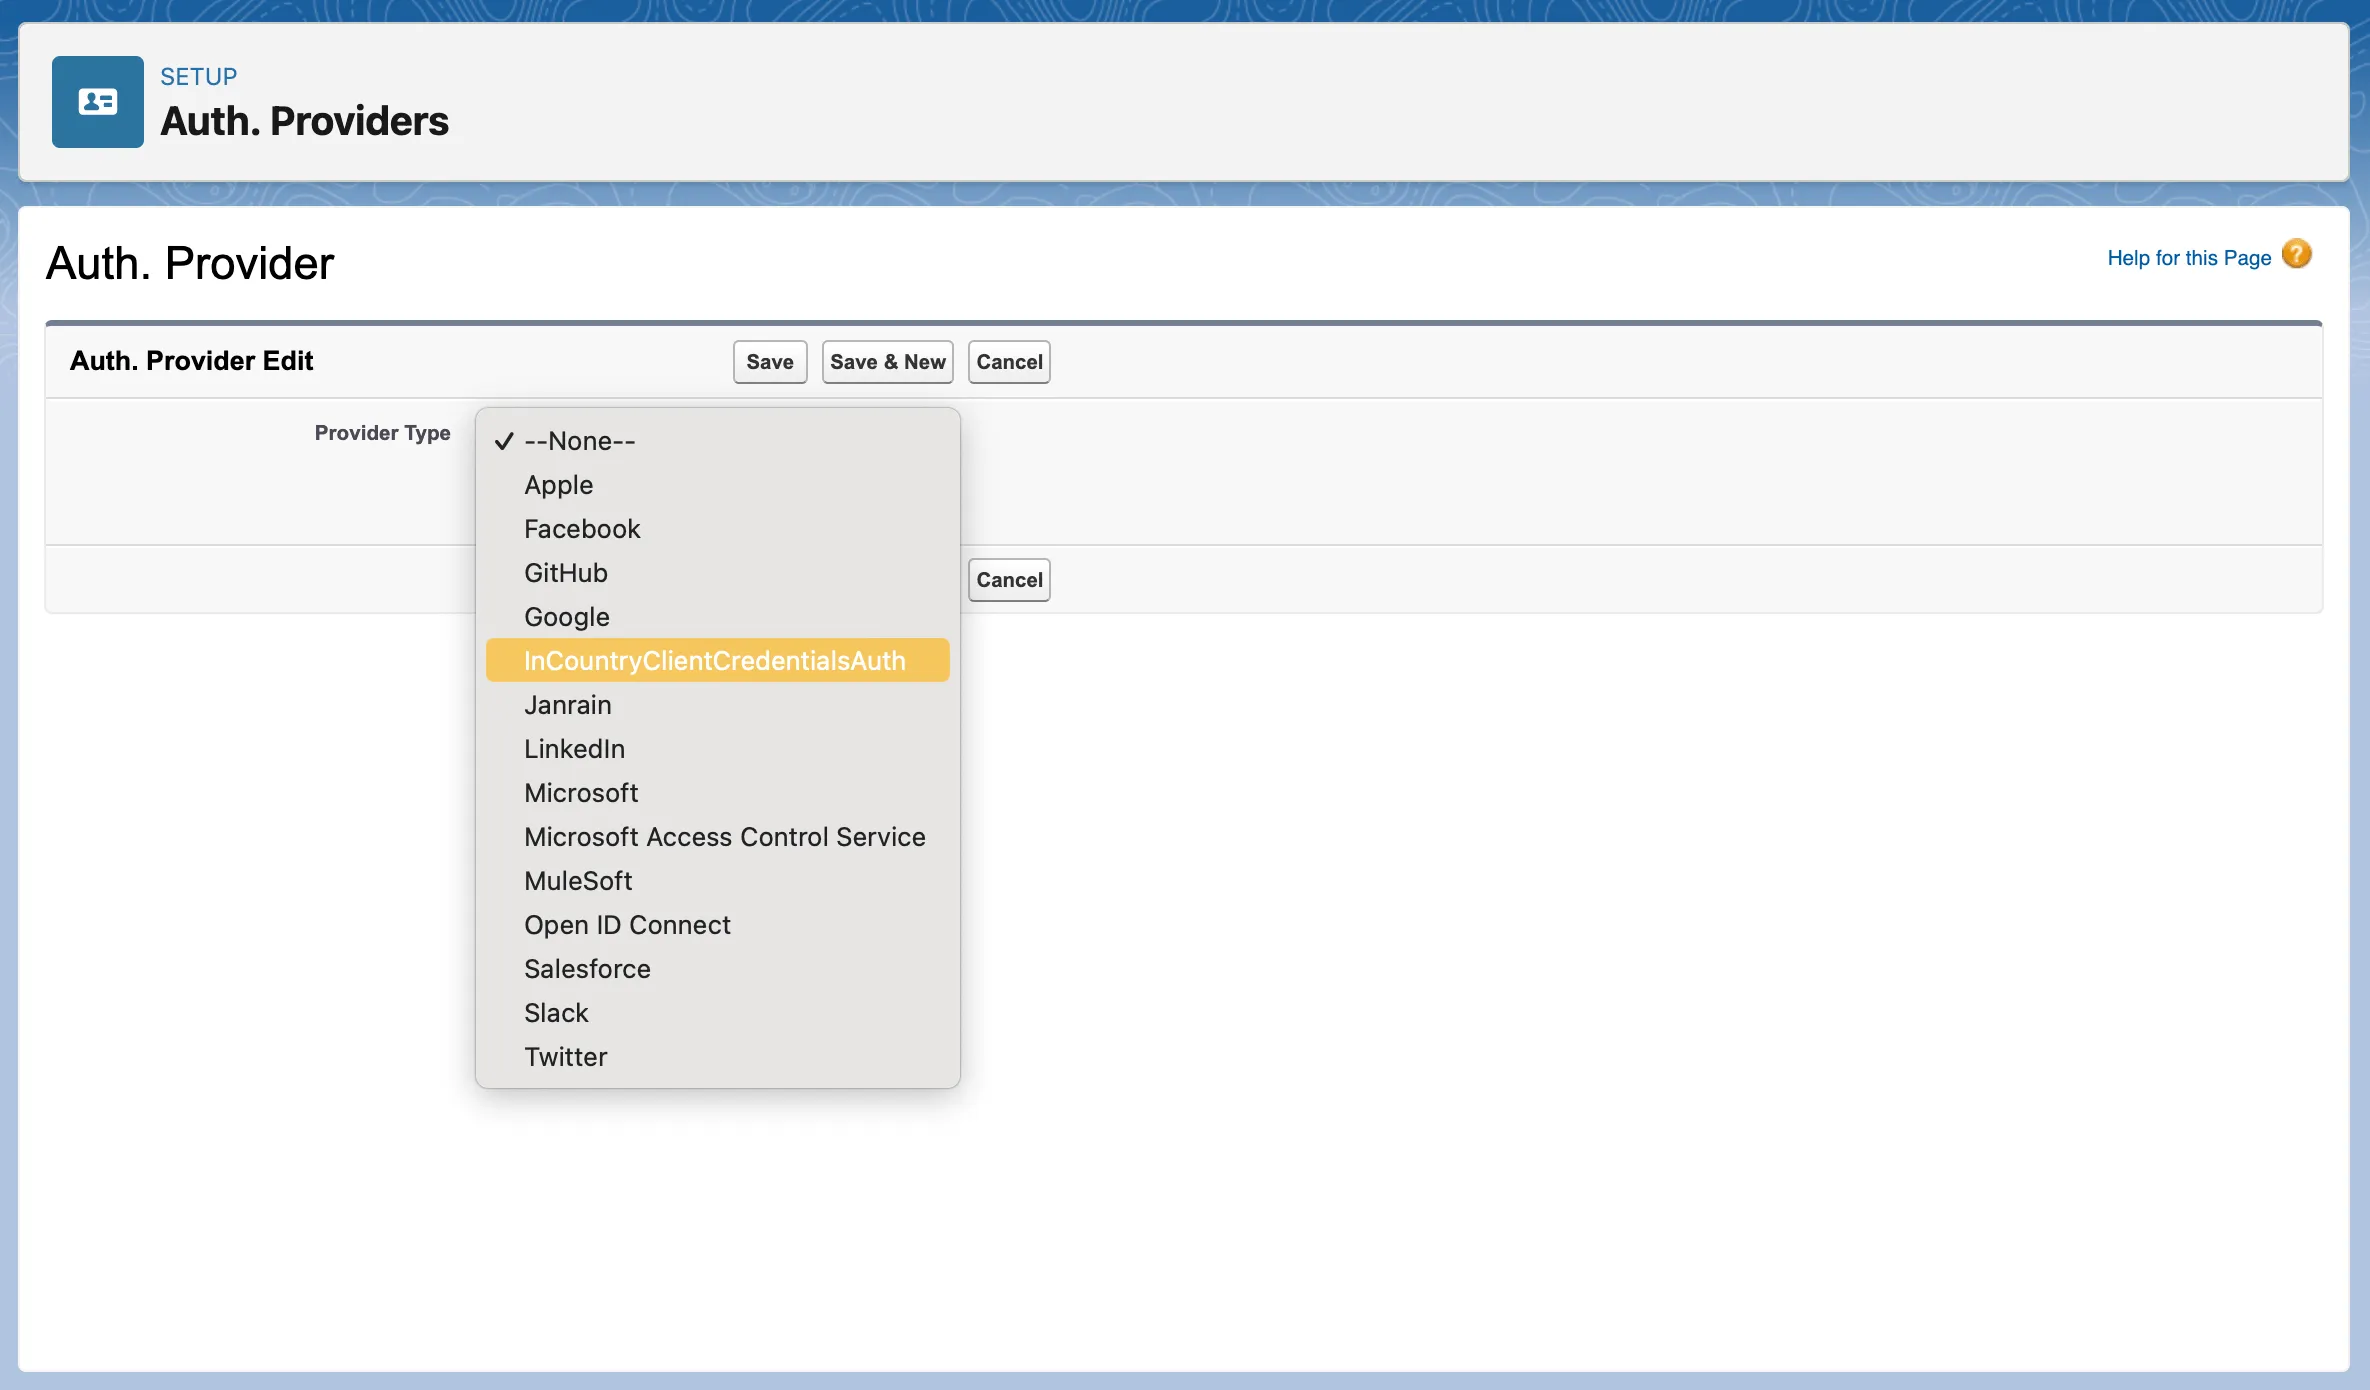
On the list with authentication providers, click New.
-
Select the provider type
IncountryClientCredentialsAuthin the drop-down list.When selected, the Auth. Providers page opens.
-
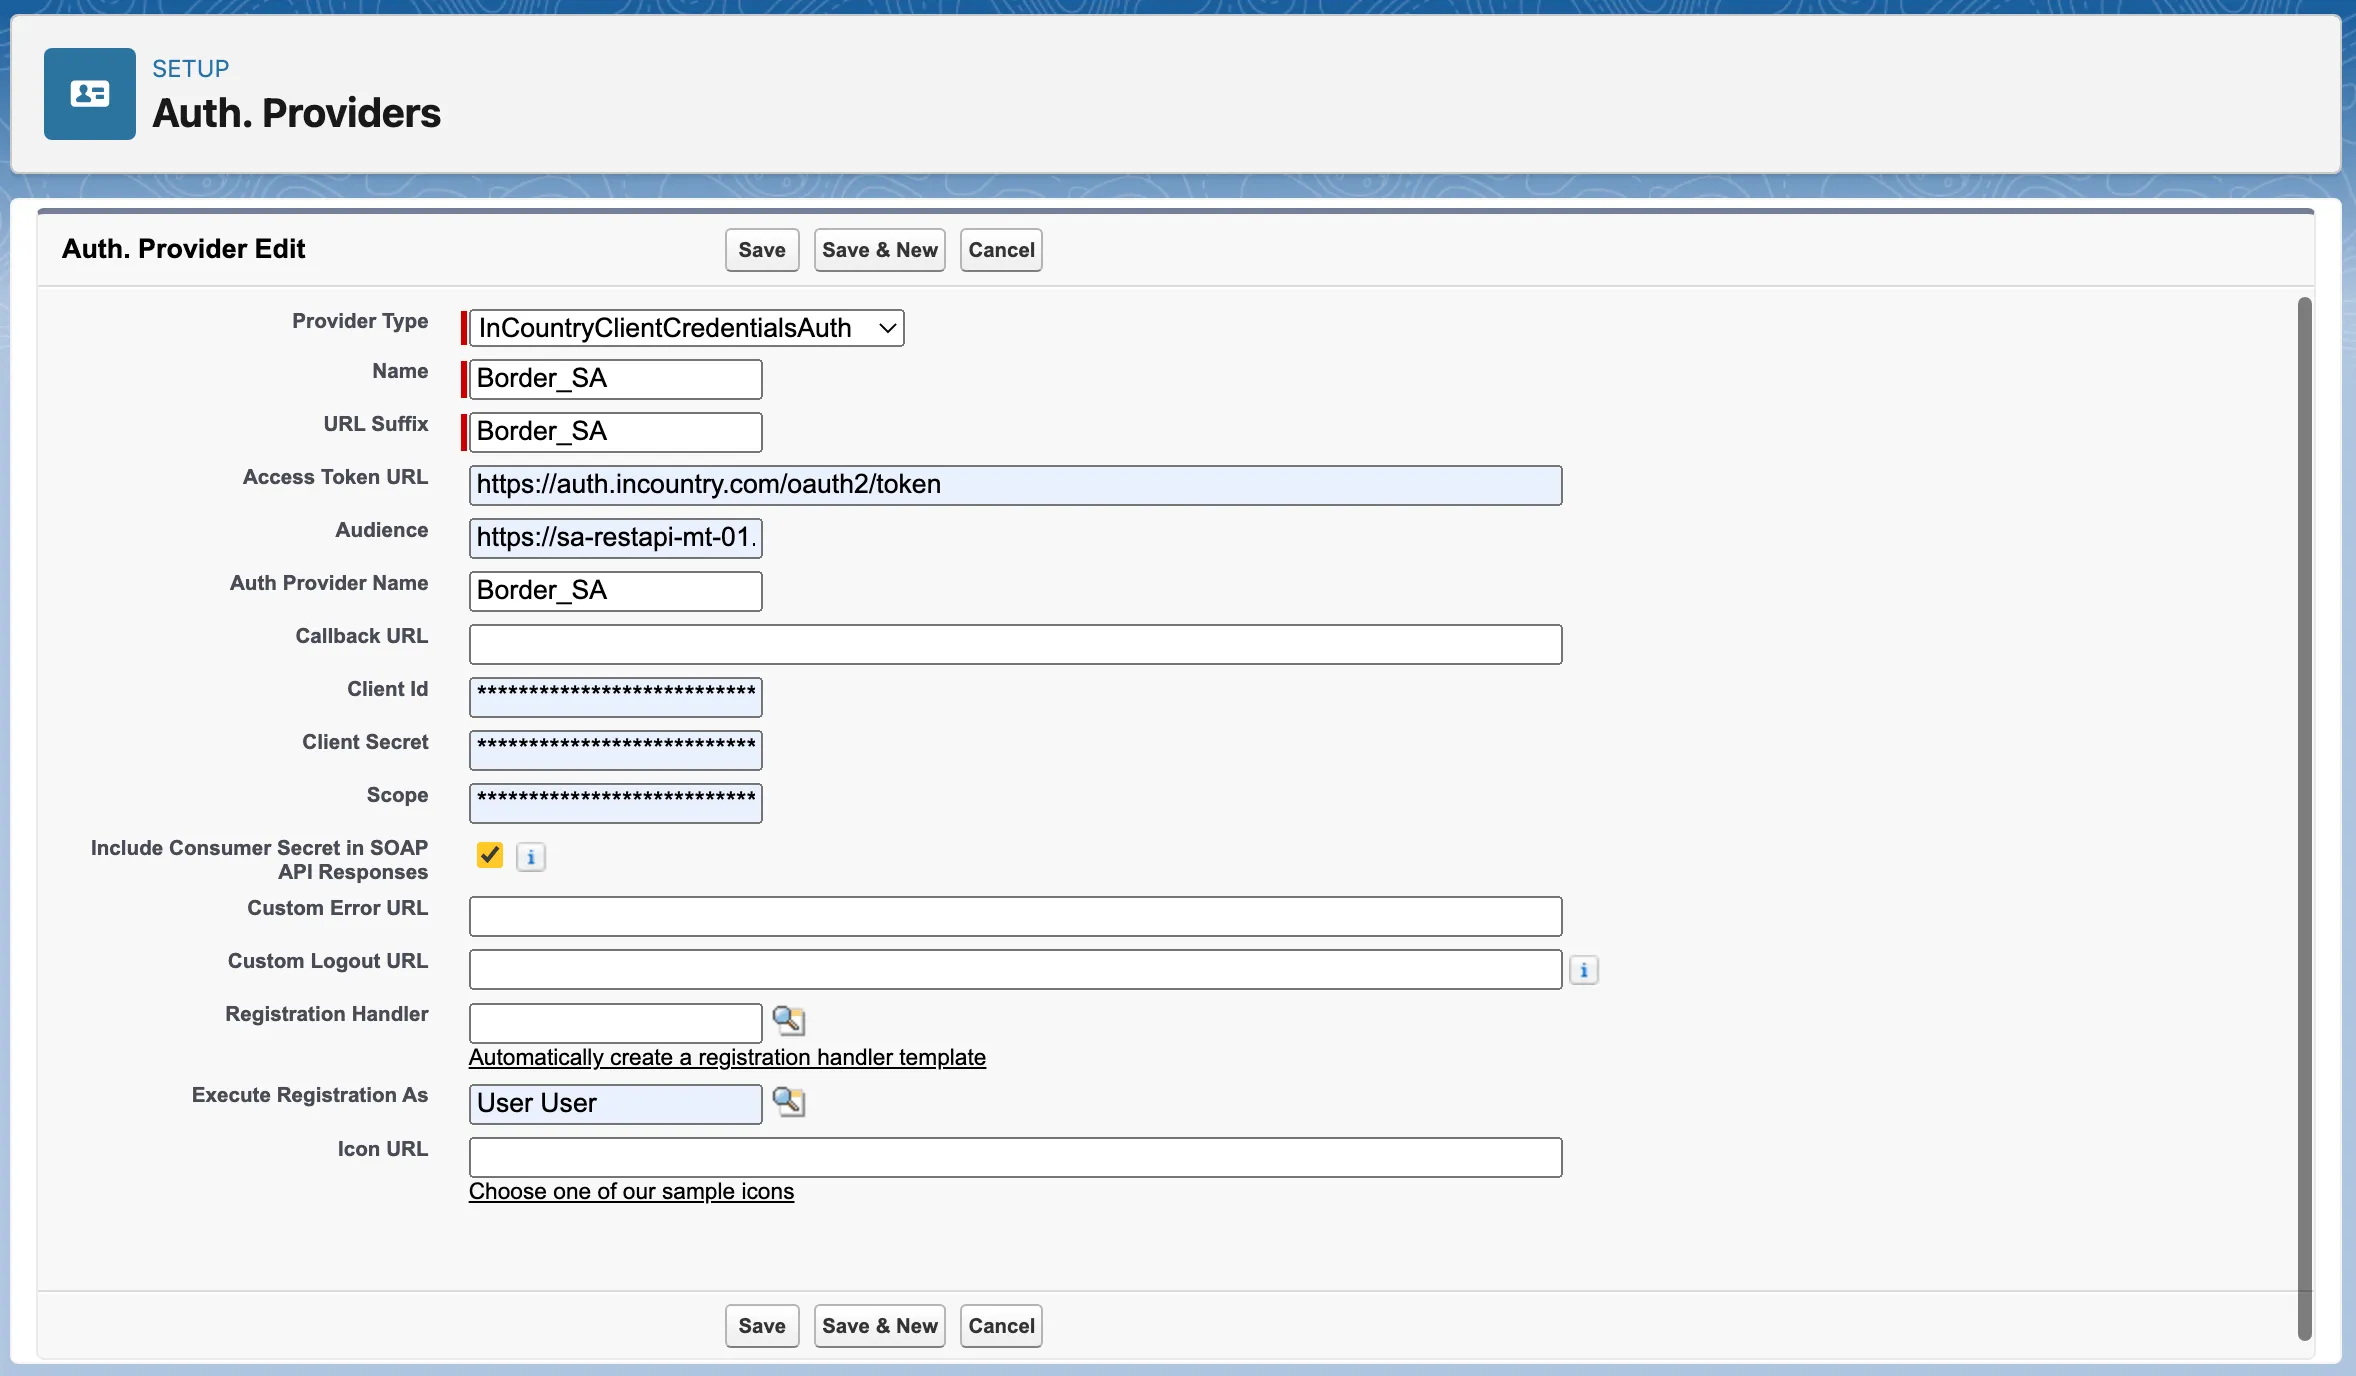
Fill out the following information about the authentication provider:
-
Name - enter the name of the authentication provider. Use the country postfix. For example,
Border_SA. -
URL suffix - enter the URL suffix. It should be the same as the value in the Name field. For example,
Border_SA. -
Access Token URL - enter the address of the endpoint to get tokens:
https://auth-emea.incountry.com/oauth2/token -
Audience - enter the audience, which should be a string of a similar pattern: Rest API Endpoint + 'space character' + PoP API Endpoint, for example,
https://sa-restapi-mt-01.api.incountry.iohttps://sa-mt-01.api.incountry.io. For the PoP API endpoint, you need to remove therestapipart from the REST API endpoint address. -
Auth Provider Name - enter the name of the authentication provider. The authentication provider name should be the same as the values in the Name and URL suffix fields.
-
Client ID - enter the client ID you got on the InCountry Portal when you created an integration of the Salesforce type.
-
Client Secret - enter the client secret you got on the InCountry Portal when you created an integration of the Salesforce type.
-
Scope - enter the environment ID you got on the InCountry Portal when you created an integration of the Salesforce type.
-
Execute As - enter the name of the current user.
-
-
When complete, click Save.
In the Audience section, use the same REST API endpoint you configured previously.
Use the Client ID, Client Secret, and Scope values from the Salesforce service you registered.
Registering named credentials for Portal
You need to add named credentials for Portal so the configuration can be pushed from the Register form.
-
From Setup, select Security, and then select Named Credentials.
-
Click New Named Credential.
-
Fill out the following information about named credentials:
-
Name - enter the name for named credentials.
-
URL - enter the Portal URL address - https://portal.incountry.com. For the Portal in China, use https://portal.data-in.cn.
-
Identity Type - select
Named Principal. -
Authentication Protocol - select
OAuth 2.0. -
Authentication Provider - select the authentication provider you created before.
-
-
Ensure that the Generate Authorization Header box is checked.
-
When complete, click Save.
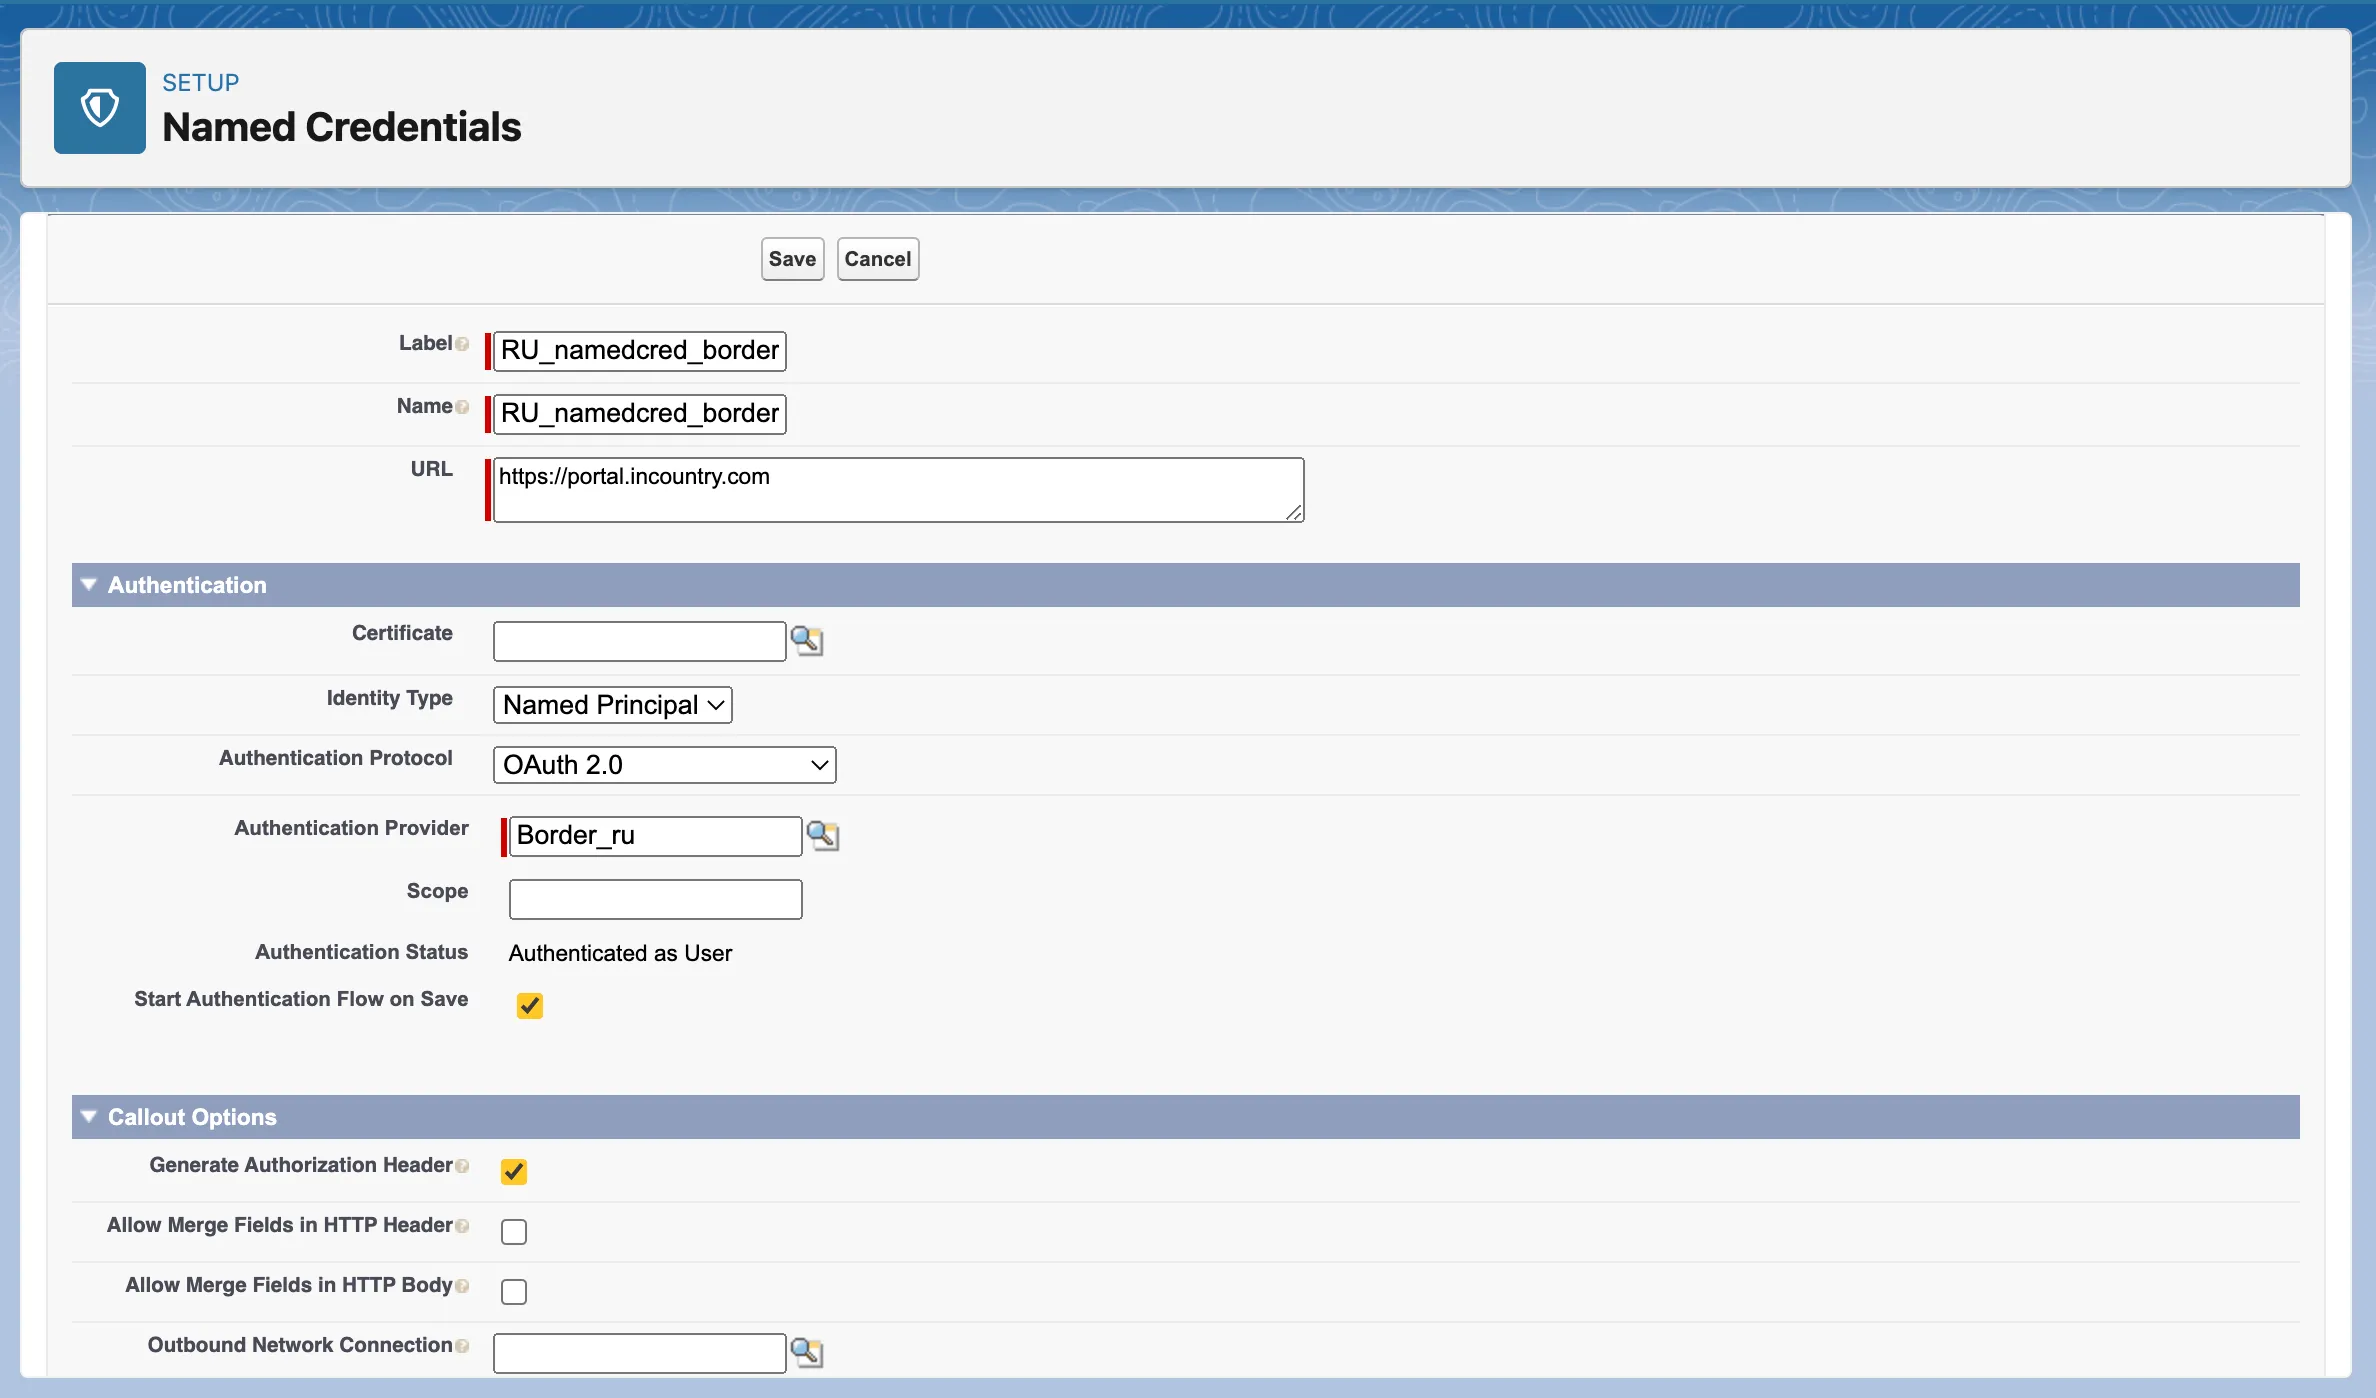
After the named credential have been saved, the authentication status will be changed to Authenticated as User.
Configuring external forms
This functionality requires the configured OAuth connection to the InCountry platform. The package operating on the basis of certificates does not support this functionality.
This functionality allows you to register web forms and handle payloads with regulated data submitted through these forms (for example, Web-to-Lead or Web-to-Case). Regulated data goes through Border, so you need to create an empty Border configuration and then push the field configuration (redaction strategies for regulated fields) from the Salesforce package.
-
Open the Settings page.
-
Select the External Form Configuartion tab.
-
Fill out parameters for registering a web form, as follows:
-
Salesforce Object – displays the list of objects with the redaction or restriction regulation policy applied at the object level and configured at least one protected field. Salesforce objects with data regulation policies at the record level are not displayed.
-
Form Path – displays the type of request: POST, GET, UPDATE, PATCH + URI path to form.
-
Synchronization endpoint - URL to the Portal endpoint where the configuration will be submitted.
-
Named Credential - select the named credentials that attribute to the appropriate Border configuration.
-
-
Click Register to update the empty Border configuration you created on the InCountry Portal.
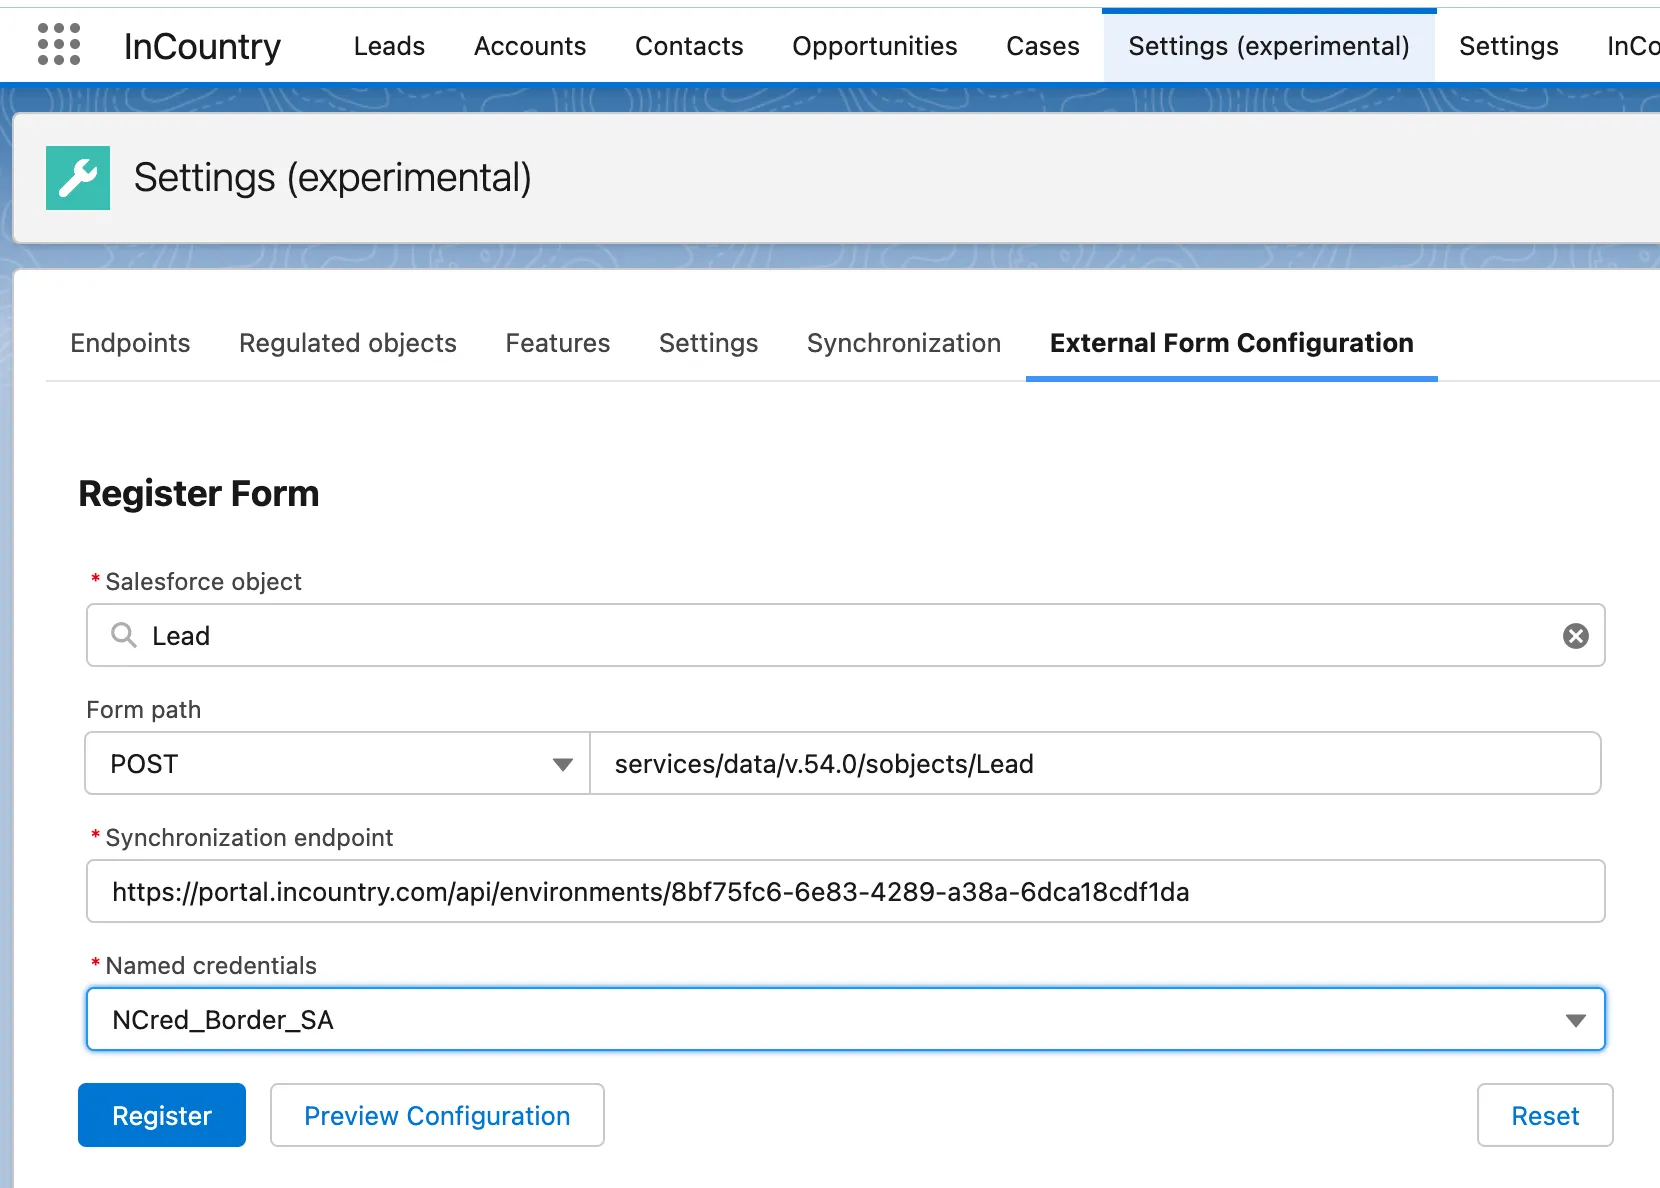
To see the JSON configuration, you can click the Preview Configuration button.
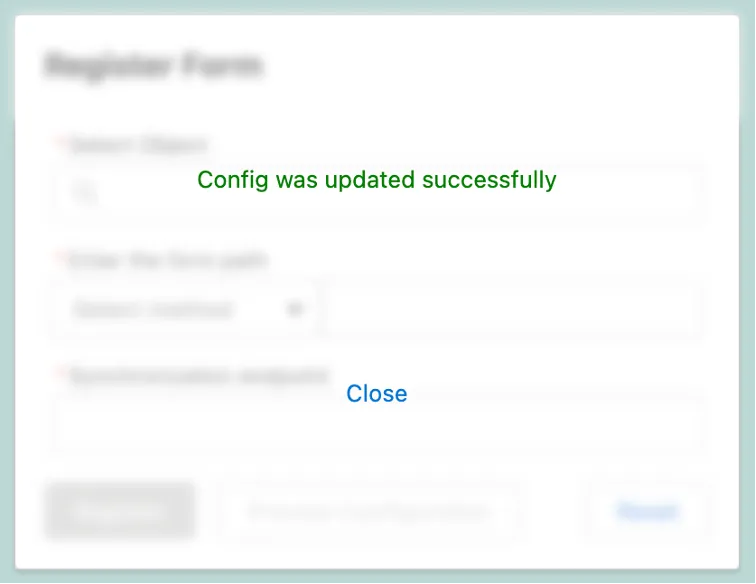
Upon the successful update of your Border configuration, you will see the following message.
Code sample
In this use case, we will show how to create a lead record with a REST API call. So, clear-text values (encrypted) are stored on the InCountry platform and hashed values in Salesforce. You may accomplish this by performing the following steps:
-
Create a Border configuration.
-
Put
/services/data/v54.0/sobjects/Leadas the Register Form path (instead of Lead you can use any other object that suits you best). -
Register the form.
-
Use the code below to create a record through InCountry Border.
final String METHOD_POST = 'POST';

/*
 * Proxy url address from Portal configuration.
 * Rest API url to create new Lead record.
 */
String baseUrl = 'https://ru-proxy-mt-01.api.incountry.io/x-inc-73891625-cbdc-422c-8e37-c657dacf70b3';
String restApiUrl = '/services/data/v54.0/sobjects/Lead';
String endpoint = baseUrl + restApiUrl;

/*
 * Map of regulated fields.
 */
Map<String, String> body = new Map<String, String> {
    'LastName' => 'Snow',
    'Company' => 'InCountry'
};

HttpRequest request = new HttpRequest();

request.setHeader('Authorization', 'Bearer ' + UserInfo.getSessionId());
request.setHeader('Content-Type', 'application/json');
request.setEndpoint(endpoint);
request.setMethod(METHOD_POST);
request.setBody(JSON.serialize(body));

HttpResponse response = new Http().send(request);