InCountry Salesforce Data Loader
About
The InCountry Salesforce Data Loader application allows you to import records with regulated data into Salesforce while localizing regulated or sensitive values on the InCountry platform within the country of origin.
To import non-regulated records into Salesforce, please use the native Salesforce Data Loader application.
Specifics of operation
The InCountry Salesforce Data Loader application supports all the specifics of data regulation policies available in the InCountry Data Residency for Salesforce package.
The application handles specifics of data regulation policies as follows:
-
for the restriction and redaction policies: regulated data is first saved on the InCountry platform, then non-regulated data and hashed values of regulated data is saved to the Salesforce database.
-
for the replication policy: a primary copy of regulated data is saved on the InCountry platform, then regulated data is replicated to the Salesforce database along with non-regulated data.
The application automatically retrieves configuration of data regulation policies and protected fields from the package installed in Salesforce, so you don’t need to regulate what fields should be treated as regulated. The hashing algorithm and other attributed are also retrieved from the package settings and applied accordingly.
The application does not support the automatic localization of regulated records across multiple countries, so you need to perform a separate import of records per each country.
Pre-requisites
-
The InCountry Data Residency package in installed in Salesforce.
-
The user who will perform import has access to the InCountry Data Residency package in Salesforce and its settings.
-
Data regulation policies are configured in the package.
-
Protected fields (fields with PII or sensitive data) are configured in the package.
-
You have all the required connection details to connect to the InCountry platform, such as environment ID, Client ID, Client Secret, and REST API URL.
-
Connection details correspond to the country where you want to localize regulated data.
-
Import of regulated records is performed for one specific country at a time.
-
Import of regulated records is performed within their country of origin, so there is no cross-border transfer.
Installing the application
-
Request the application archive from the InCountry team.
-
Download the application archive.
-
Unzip the application archive to your local machine.
-
Open the folder with the application.
Launching the application
-
Open the folder with application.
-
Start
dataloader-57.0.1-uber.jar. -
In the License agreement dialog, click I accept.
-
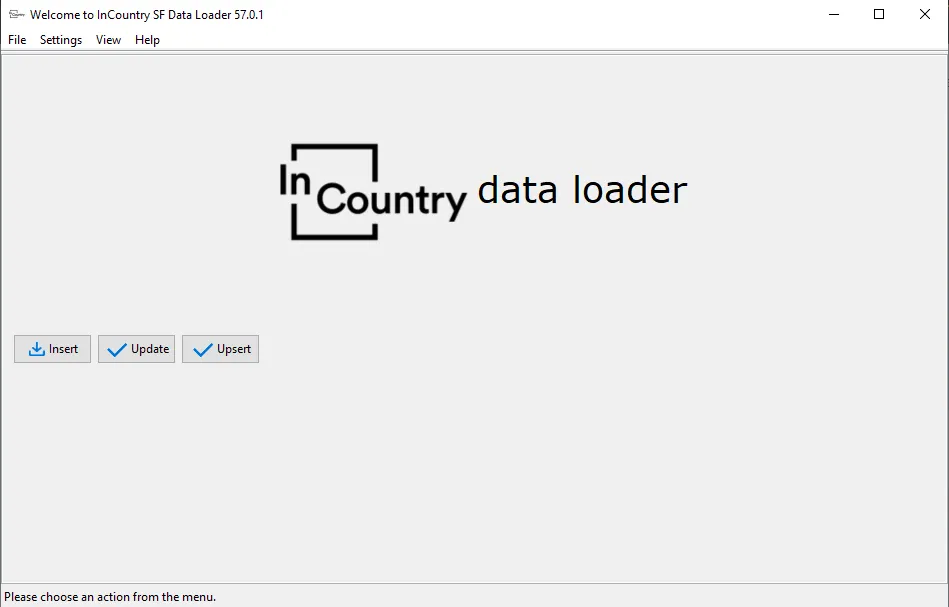
The application loads as follows:

Logging in to the application
-
Launch the application.
-
Click Insert/Upsert.
-
In the Load Inserts/Load Upserts screen, select Production or Sandbox depending on the Salesforce instance you are using.
-
Click Log in.
-
In the opened form, enter the username and password to connect to the Salesforce instance.
-
Click Log In.
-
Grant access to the Salesforce instance by clicking Allow.
-
Click Next.
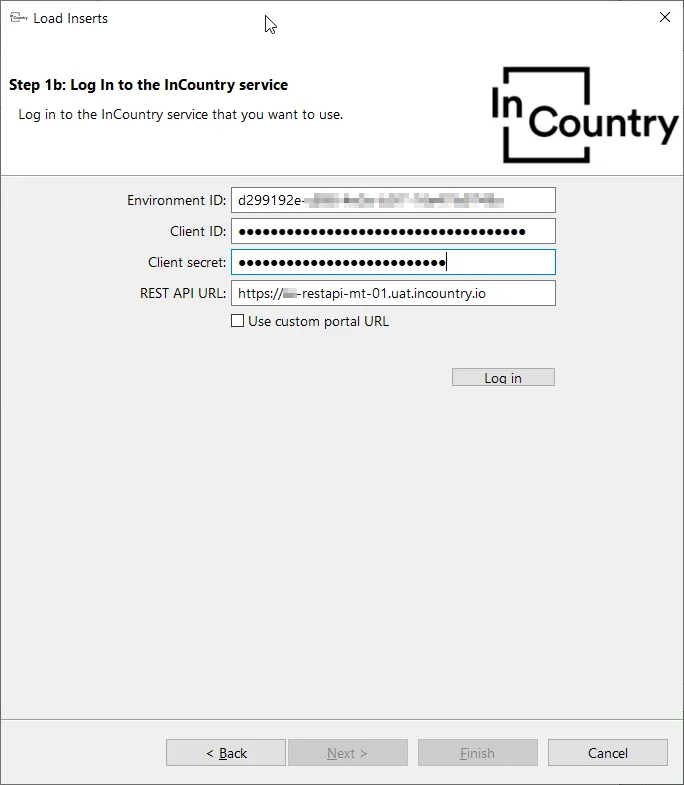
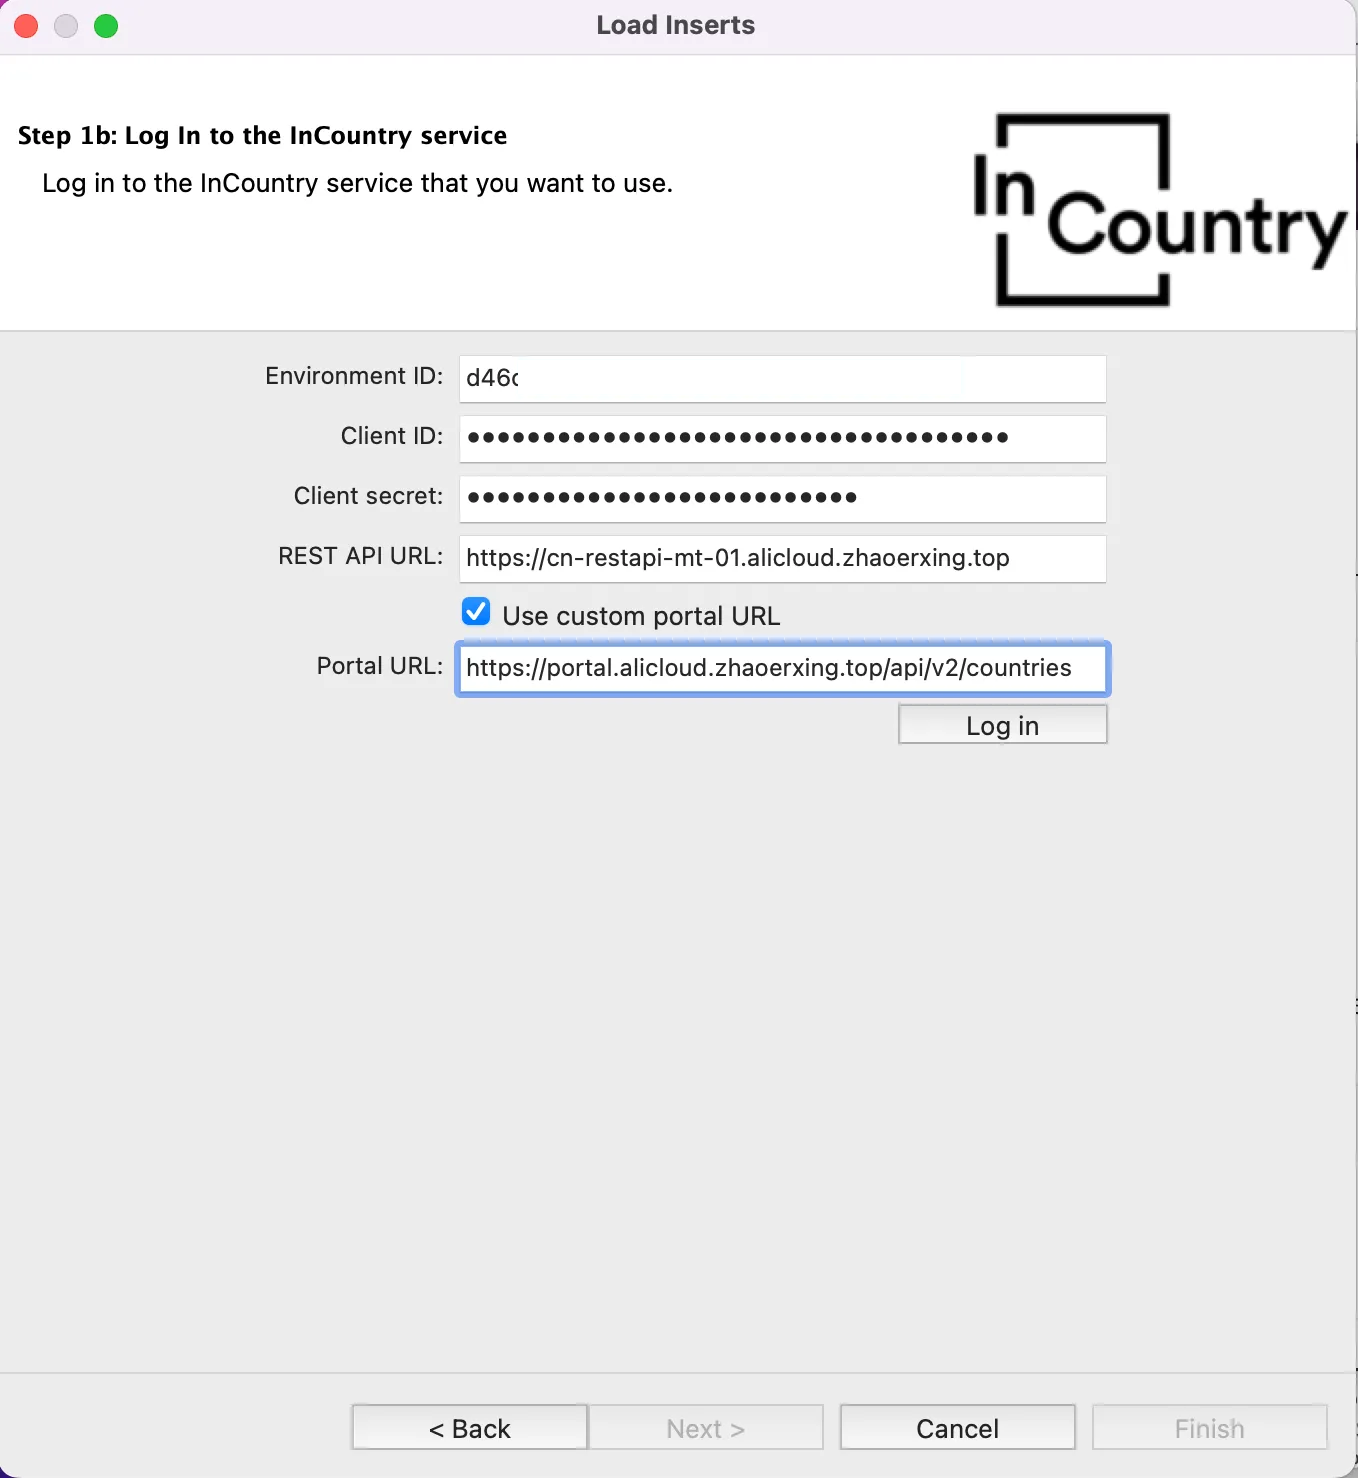
-
At the Step 1b. Log in to the InCountry service step, specify the connection details to the InCountry platform for the country where you want to localize regulated data, as follows:
-
Environment ID - specify the identifier of the environment where regulated data will be stored.
-
Client ID - specify the Client ID that you received after creation of a Salesforce service on the Portal.
-
Client secret - specify the Client Secret that you received after creation of a Salesforce service on the Portal.
-
REST API URL - specify the REST API URL that you received after creation of a Salesforce service on the Portal.
-
Custom Portal URL - Check the box if you use any Portal different from https://portal.incountry.com to generate credentials and then specify the address of the endpoint to get the list of countries. For the Portal in China (
https://cn-restapi-mt-01.alicloud.zhaoerxing.top), usehttps://portal.alicloud.zhaoerxing.top/api/v2/countries
-
-
Click Log in.
Importing records into the InCountry platform and Salesforce
Using the InCountry Salesforce Data Loader application, you can perform various operations which include inserting, updating and upserting Salesforce records. The upsert operation combines inserting and updating a record.
Inserting records
-
Log in to the application.
-
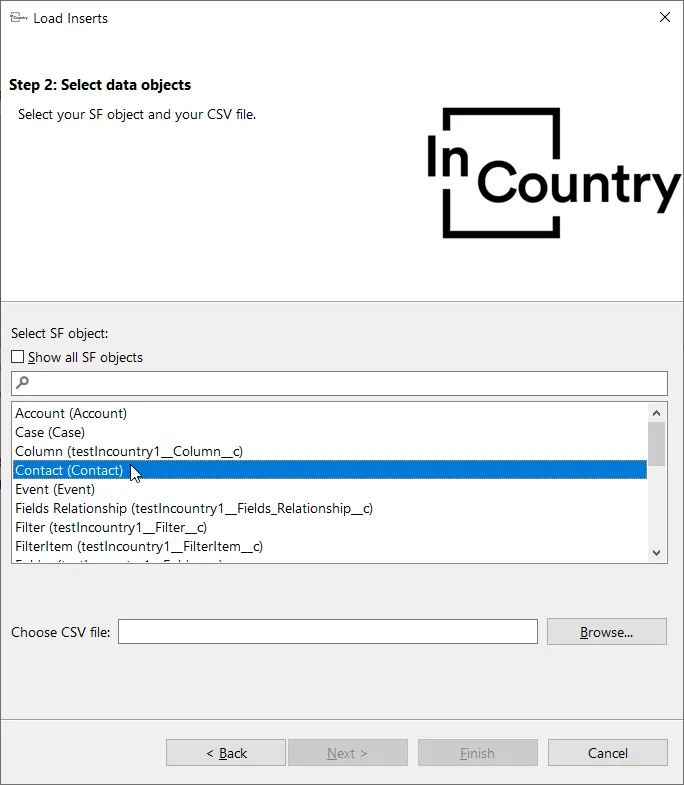
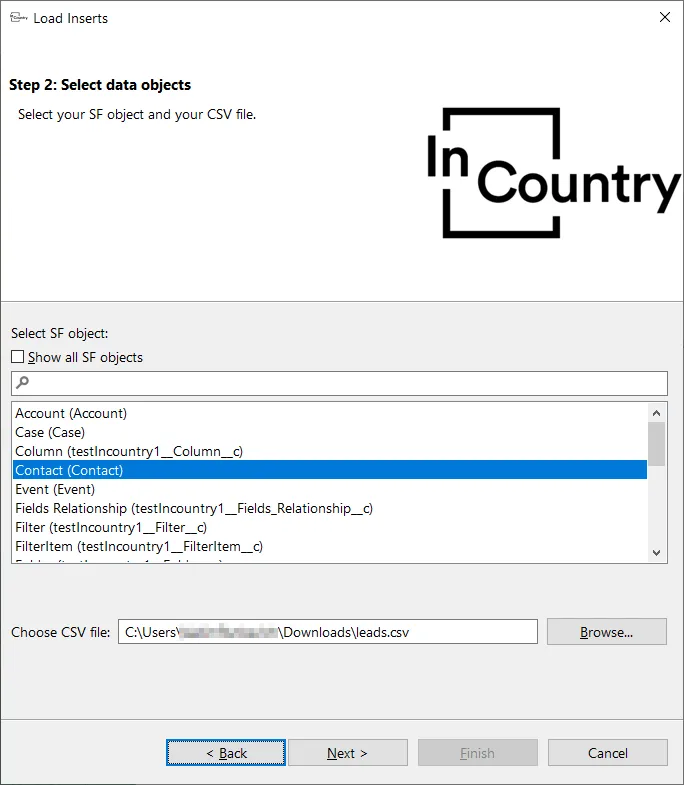
At the Step 2. Select data objects step, select the Salesforce object. The application will create records of this object type in Salesforce from a CSV file.
-
Click Browse.
-
Select a CSV file with records you want to import into Salesforce and the InCountry platform.
-
Click Next. Wait while the CSV file is being initialized and acknowledge upon completion.
-
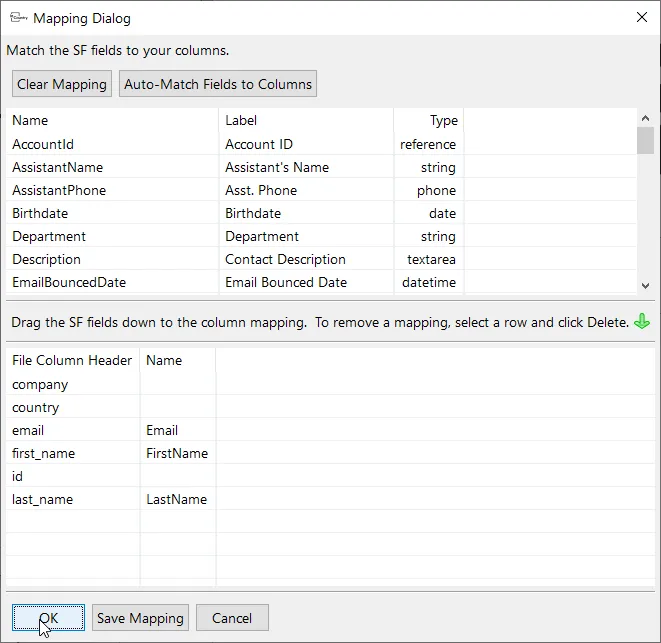
At the Step 3. Mapping step, click Create or Edit a Map.
-
In the Mapping Dialog form, map Salesforce fields to columns in your CSV file by dragging them over the corresponding column name. If names of columns in the CSV file match the field names in Salesforce, you can click Auto-Match Fields to Columns to create mappings automatically.
-
Click OK.
-
Click Next.
-
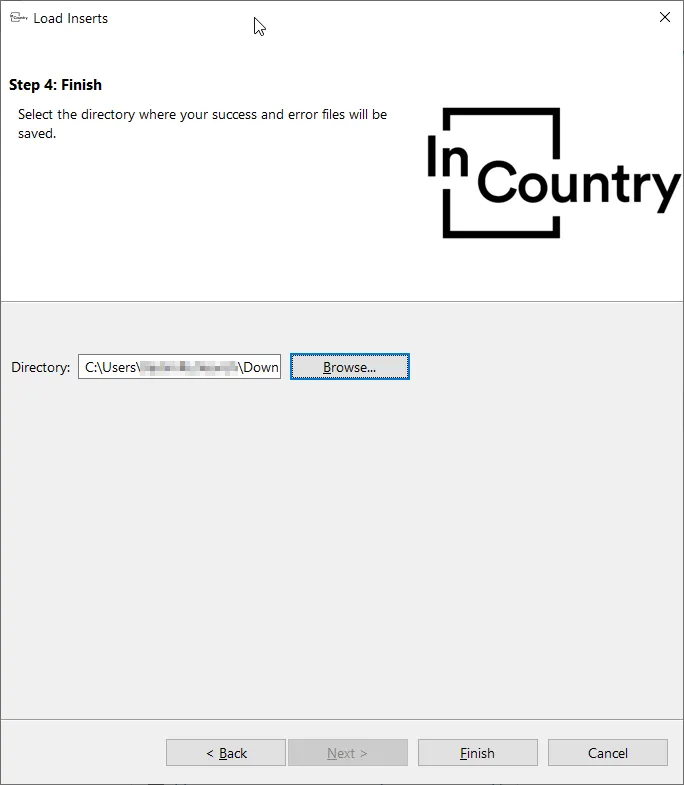
At the Step 4. Finish step, select the directory for log output.
-
Click Finish.
-
Confirm the operation by clicking Yes.

Import of records will start. This operation may require some time depending on the number of records you import.
If any regulated records are not imported, please check the error log file for details.
Upserting records
-
Log in to the application.
-
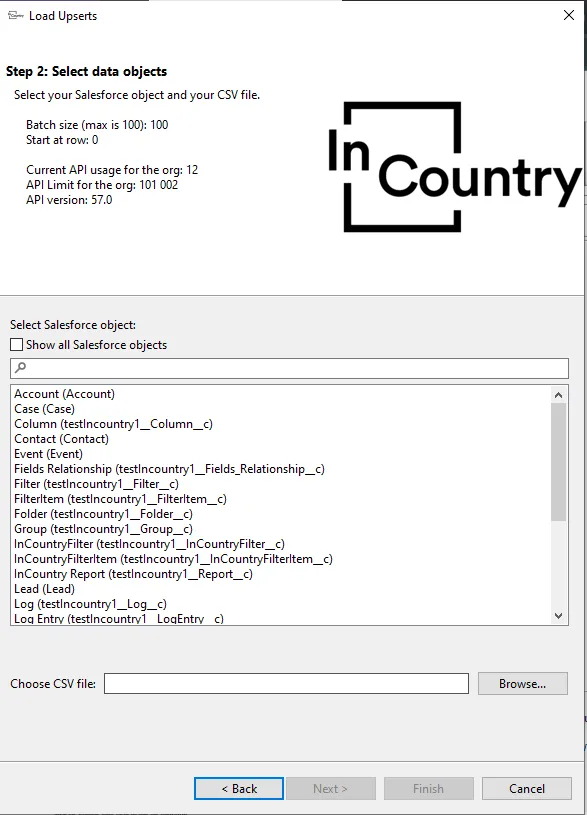
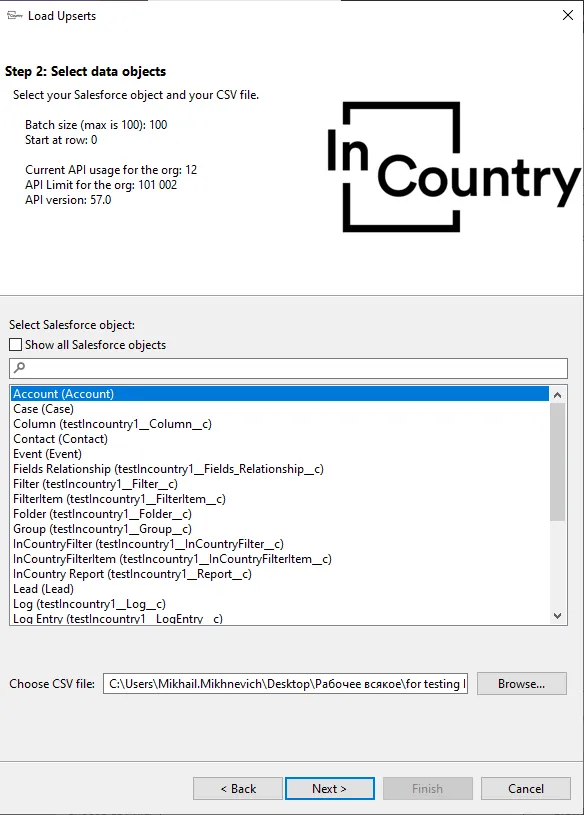
At the Step 2. Select data objects step, select the Salesforce object. The application will create records of this object type in Salesforce from a CSV file.
-
Click Browse.
-
Select a CSV file with records you want to import into Salesforce and the InCountry platform.
-
Click Next. Wait while the CSV file is being initialized and acknowledge upon completion.
-
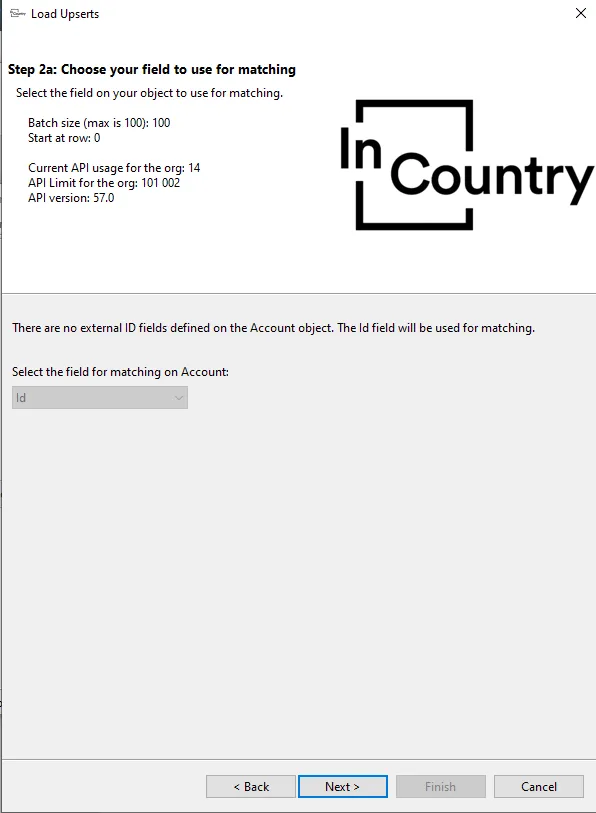
At the Step 2a: Choose your field to use for matching step, select the field which will be matched to the selected Salesforce object.
-
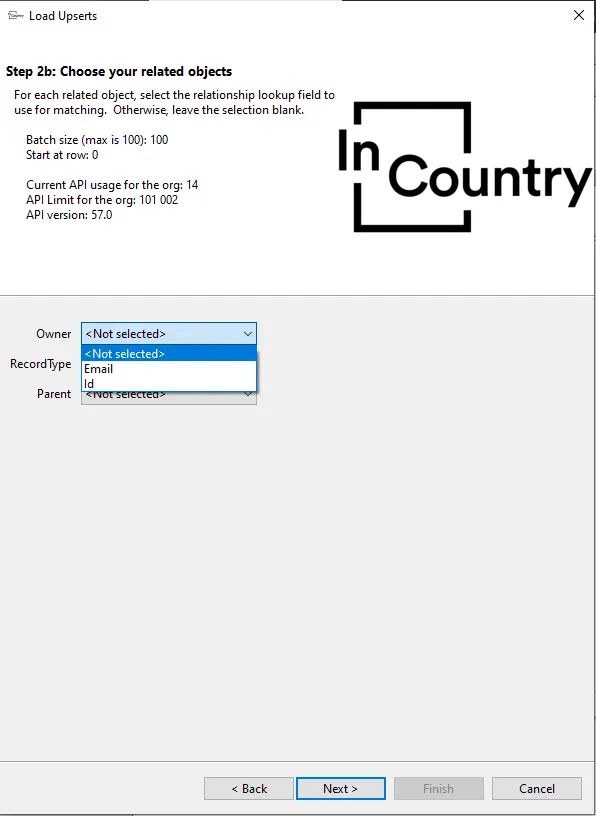
At the Step 2b: Choose your related objects step, select the relationship lookup fields which will be matched to the Owner and Parent objects. Otherwise, leave the selections blank.
-
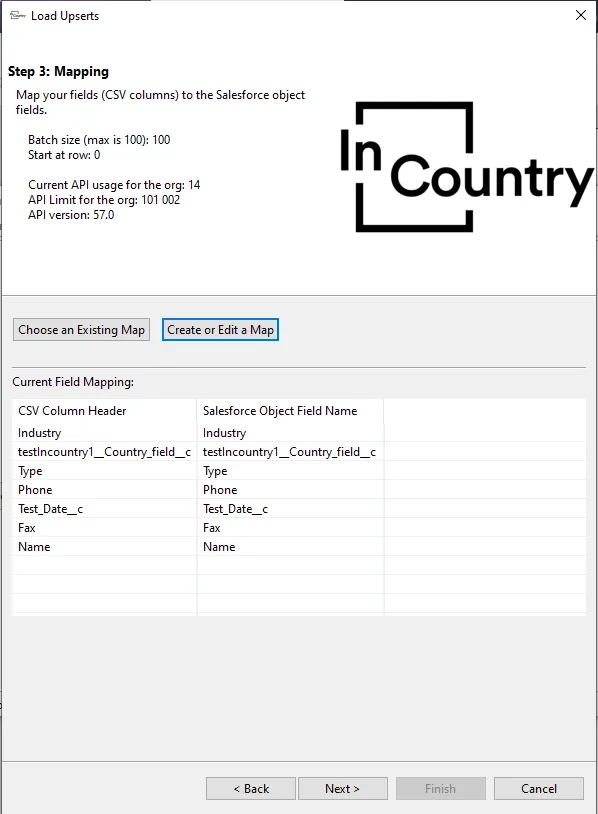
At the Step 3. Mapping step, click Create or Edit a Map.
-
In the Mapping Dialog form, map Salesforce fields to columns in your CSV file by dragging them over the corresponding column name. If names of columns in the CSV file match the field names in Salesforce, you can click Auto-Match Fields to Columns to create mapping automatically.
-
Click OK.
-
Click Next.
-
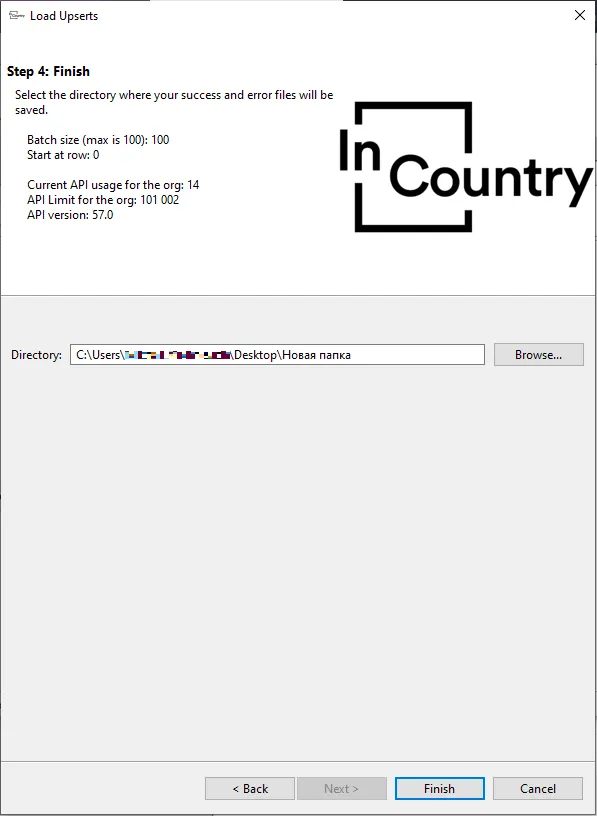
At the Step 4. Finish step, select the directory for log output.
-
Click Finish.
-
Confirm the operation by clicking Yes.

Import of records will start. This operation may require some time depending on the number of records you import.
If any regulated records are not imported, please check the error log file for details.