Setting up Salesforce Experience Cloud
This functionality is supported in the legacy package and in the three-model package.
Depending on your needs and project requirements, you may need to integrate Salesforce Experience Cloud with the InCountry platform. Setting up an Experience Cloud site includes a series of settings that you need to define in Salesforce and on the site itself from enabling digital experiences to setting up user profiles for membership and designing your site.
Prerequisites
Before enabling digital experiences, creating portal and customer accounts you need to do the following steps:
-
Specify user’s roles
-
Enable additional parameters
Specifying user’s roles
-
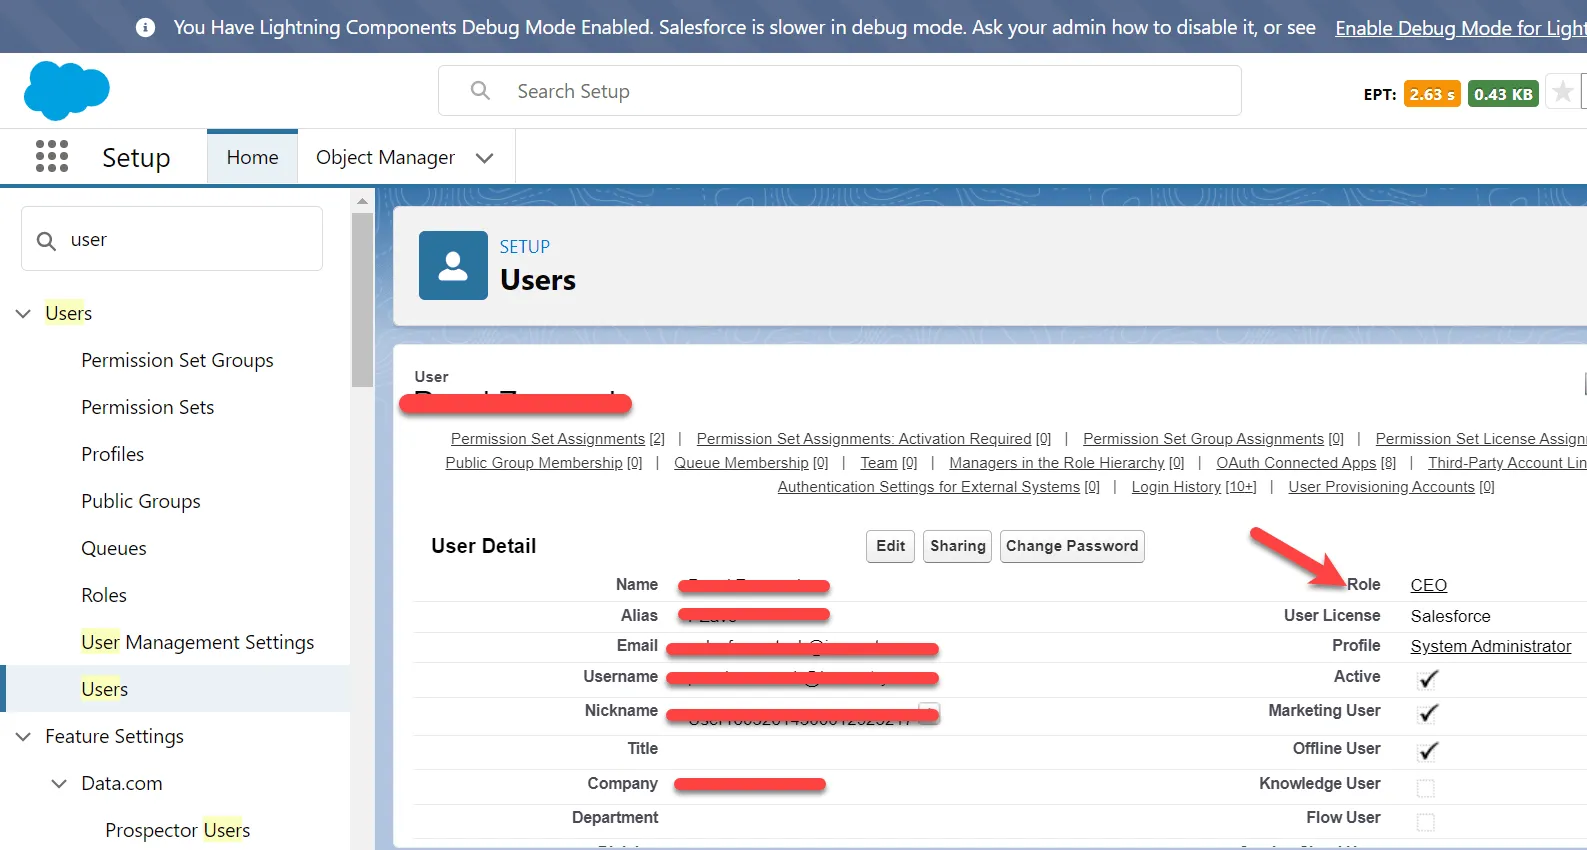
From Setup, click Users, then select your user with the profile of the
System Administratortype.
Enabling additional permissions
-
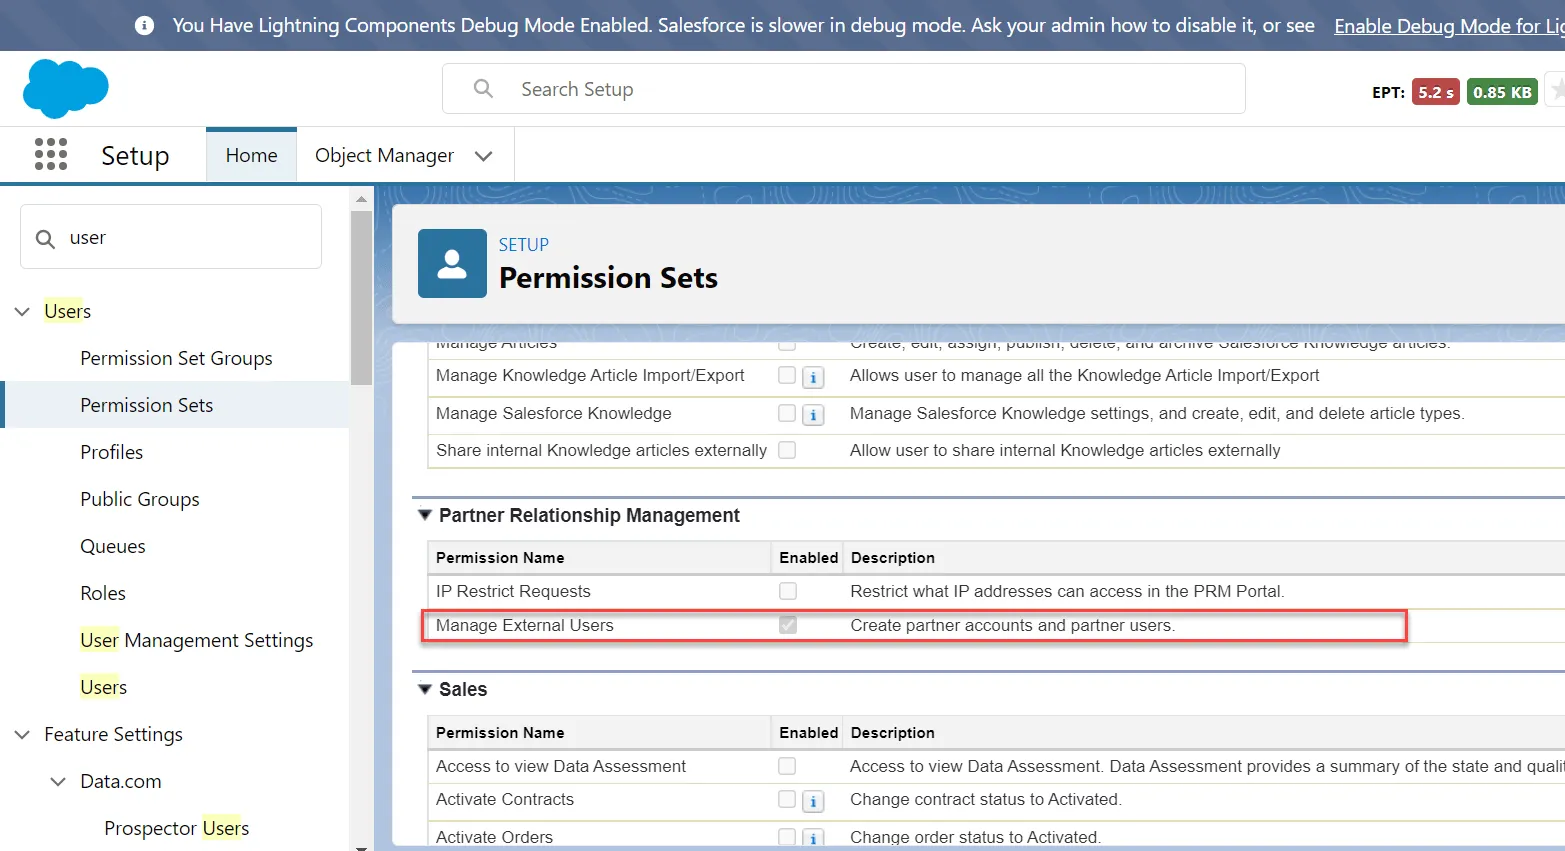
From Setup, click Users, then select Permission Sets.
-
Select the
InCountry Adminuser. -
Select App permissions.
-
On the list with permission sets, locate the
Manage External Userspermission and check the box to enable this permission.
Enabling Digital Experiences
The enabling of digital experiences is the first step to create an Experience Cloud site whenever you create a new community, portal, help center, or website.
-
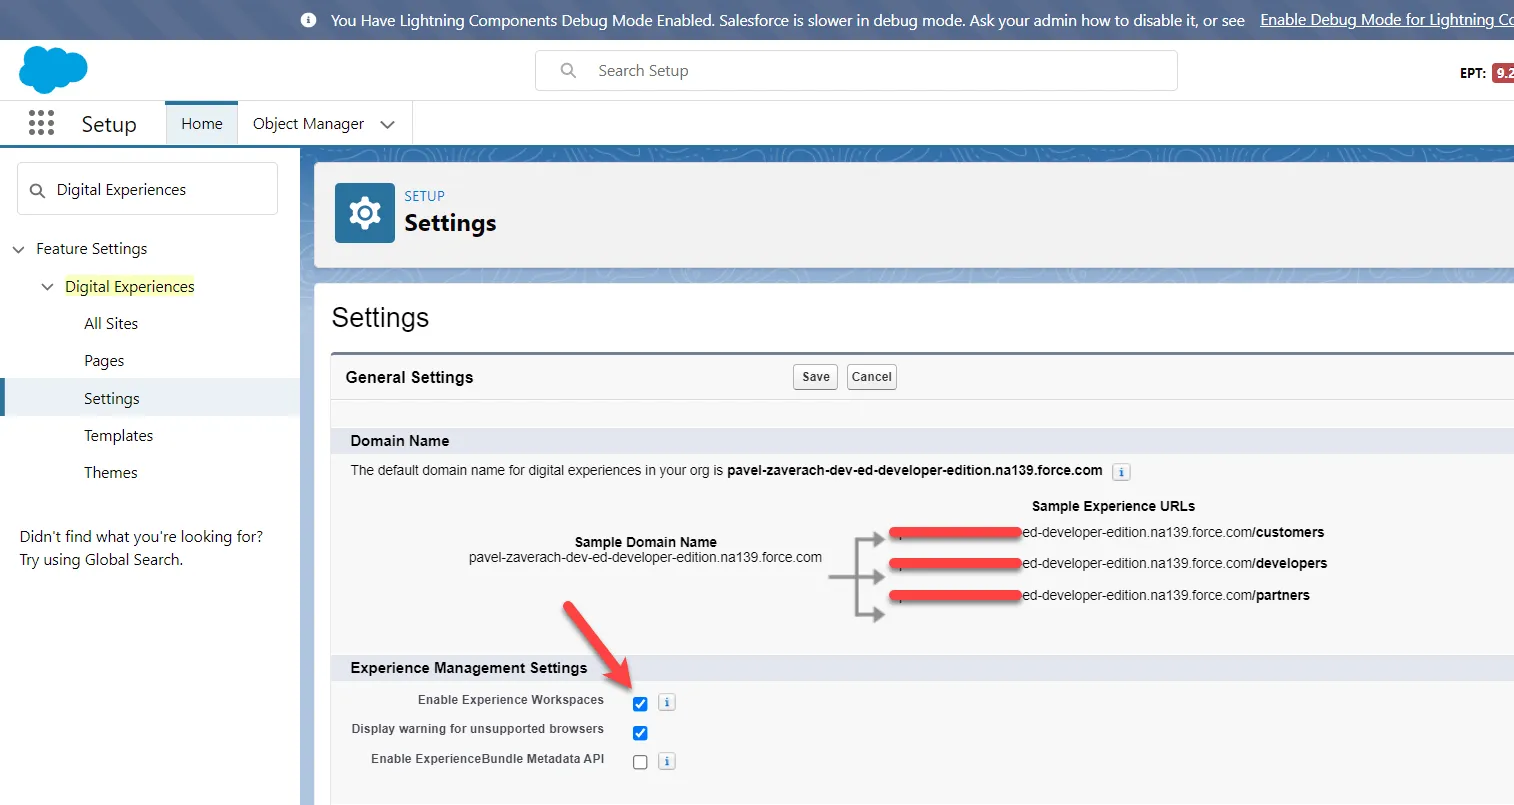
From Setup, click Feature Settings, then click Digital Experiences, and select Settings.
-
On the Settings page, check the Enable Digital Experiences box.
-
If enhanced domains are enabled in your Salesforce org, your digital experiences domain is shown. It includes your domain name in the format
http://YourDomainName.yoursite.comfor production orgs. -
If enhanced domains are not enabled in your Salesforce org, select a domain name, and click Check Availability to make sure that it is not occupied. You can designate a custom domain by entering it on the Domain Management page. From Setup, click User Interfaces, then click Sites and Domains and select Domains.
-
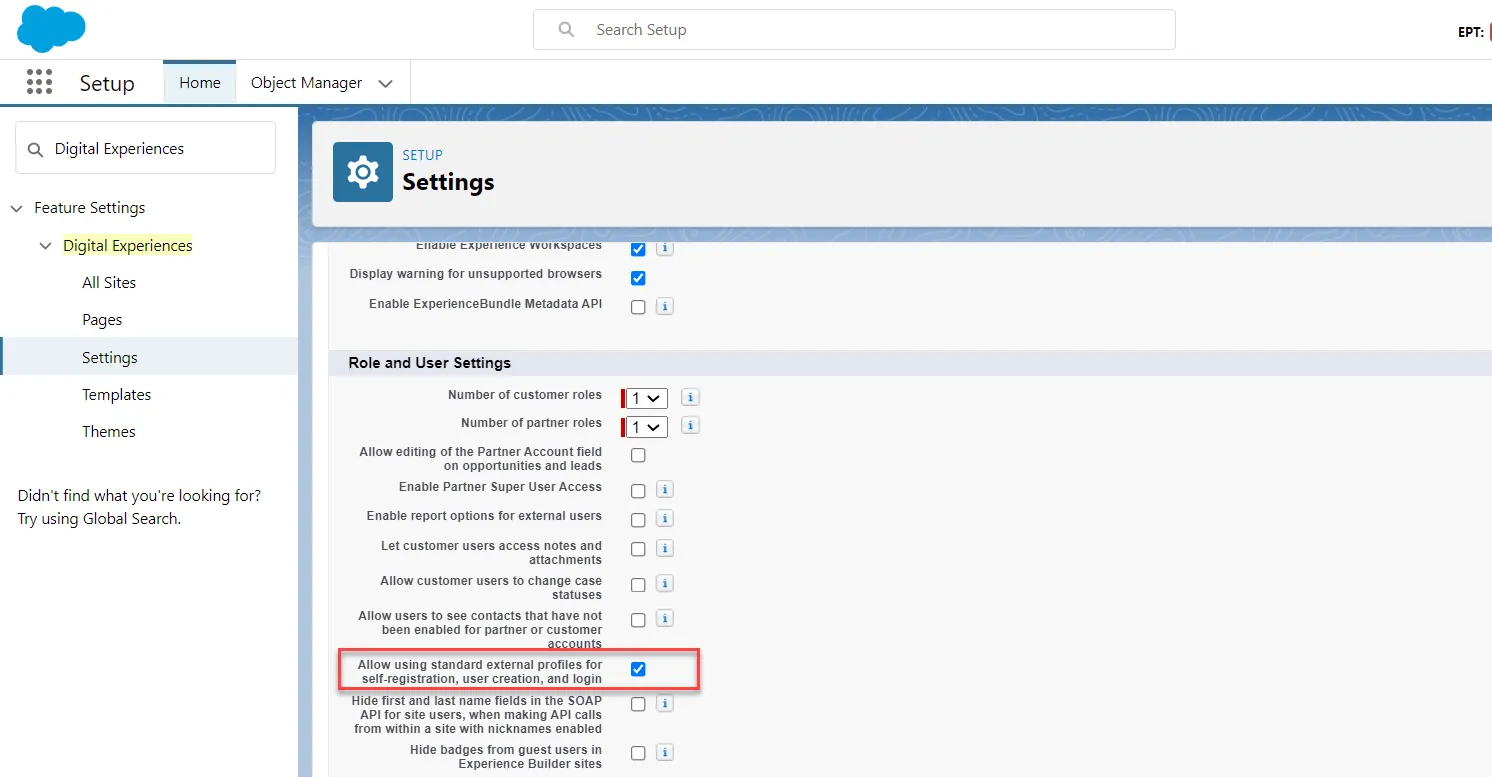
Check the Allow using standard external profiles for self-registration, user creation, and login box.
-
Click Save.
Setting up Experience Workspaces
The streamlined Experience Workspace centralizes site moderation, building, and administration.
-
From Setup, click Digital Experiences, then select Settings.
-
On the Settings page, click All Sites.
-
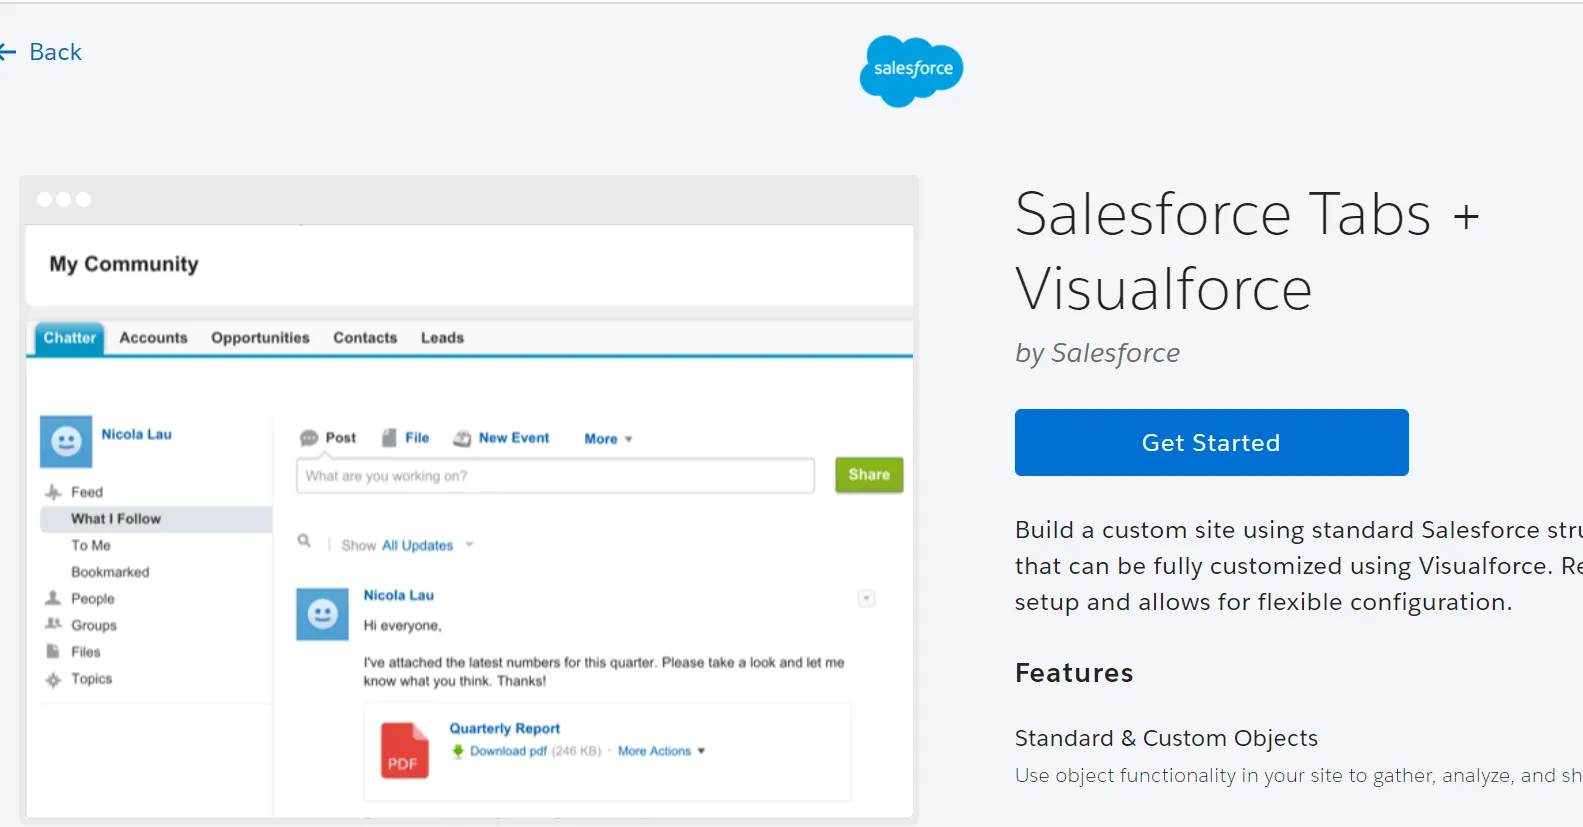
Click New. The wizard with different template options opens.
-
For example, select the
Salesforce Tabs + Visualforcetemplate. -
Click Get Started.
-
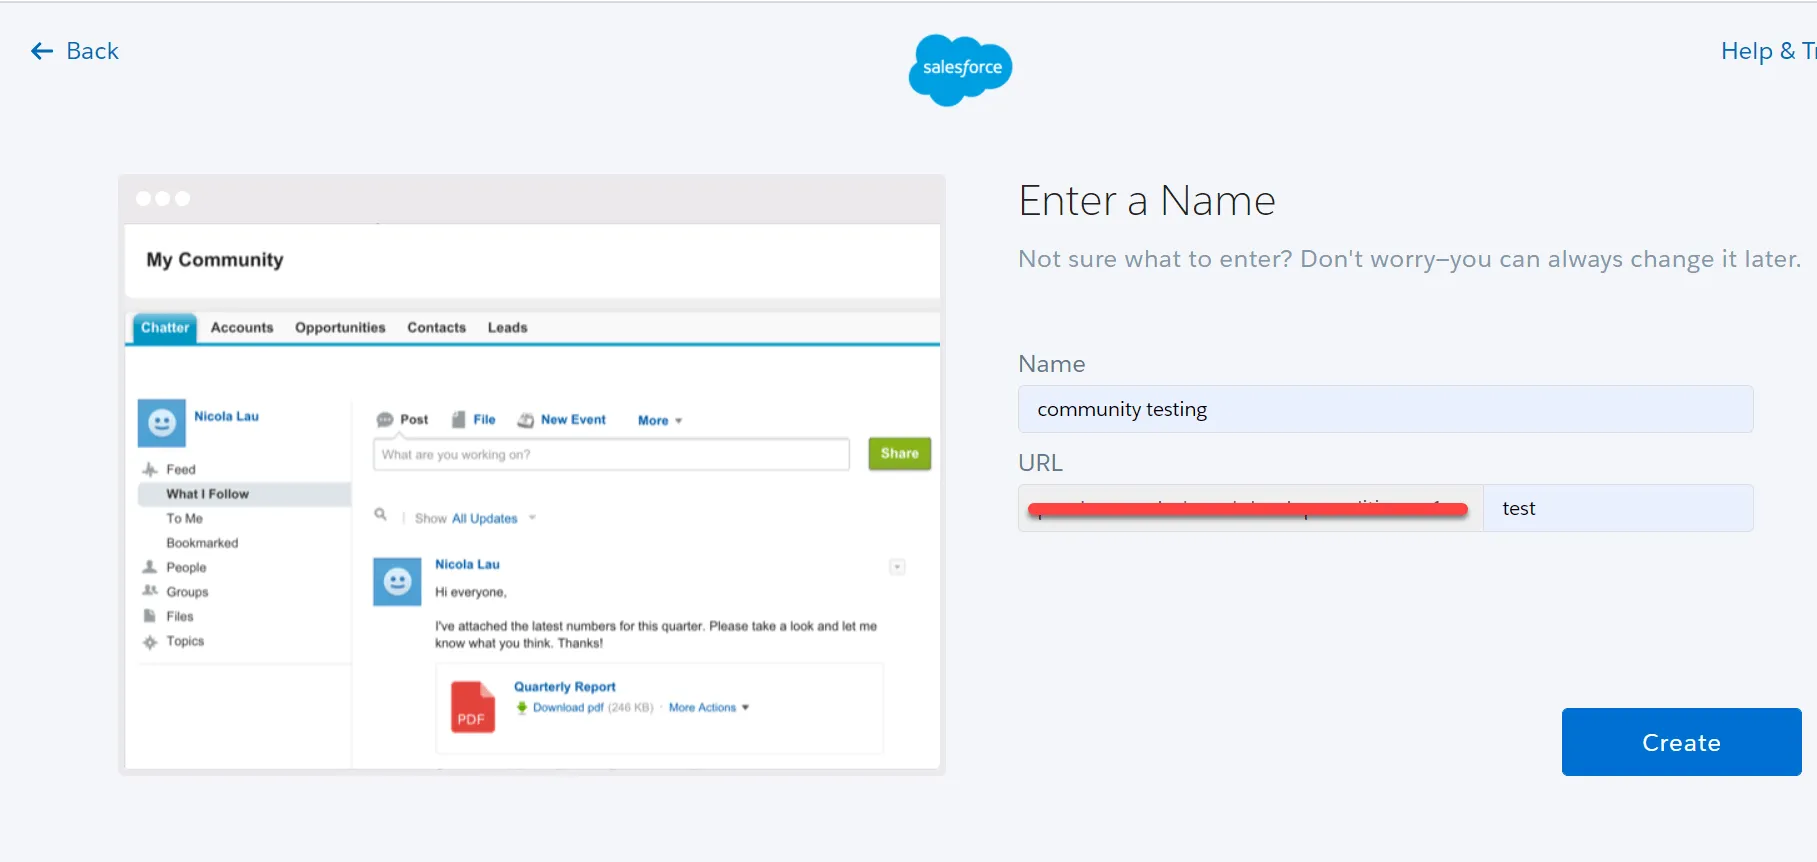
Enter the page name and click Create.
-
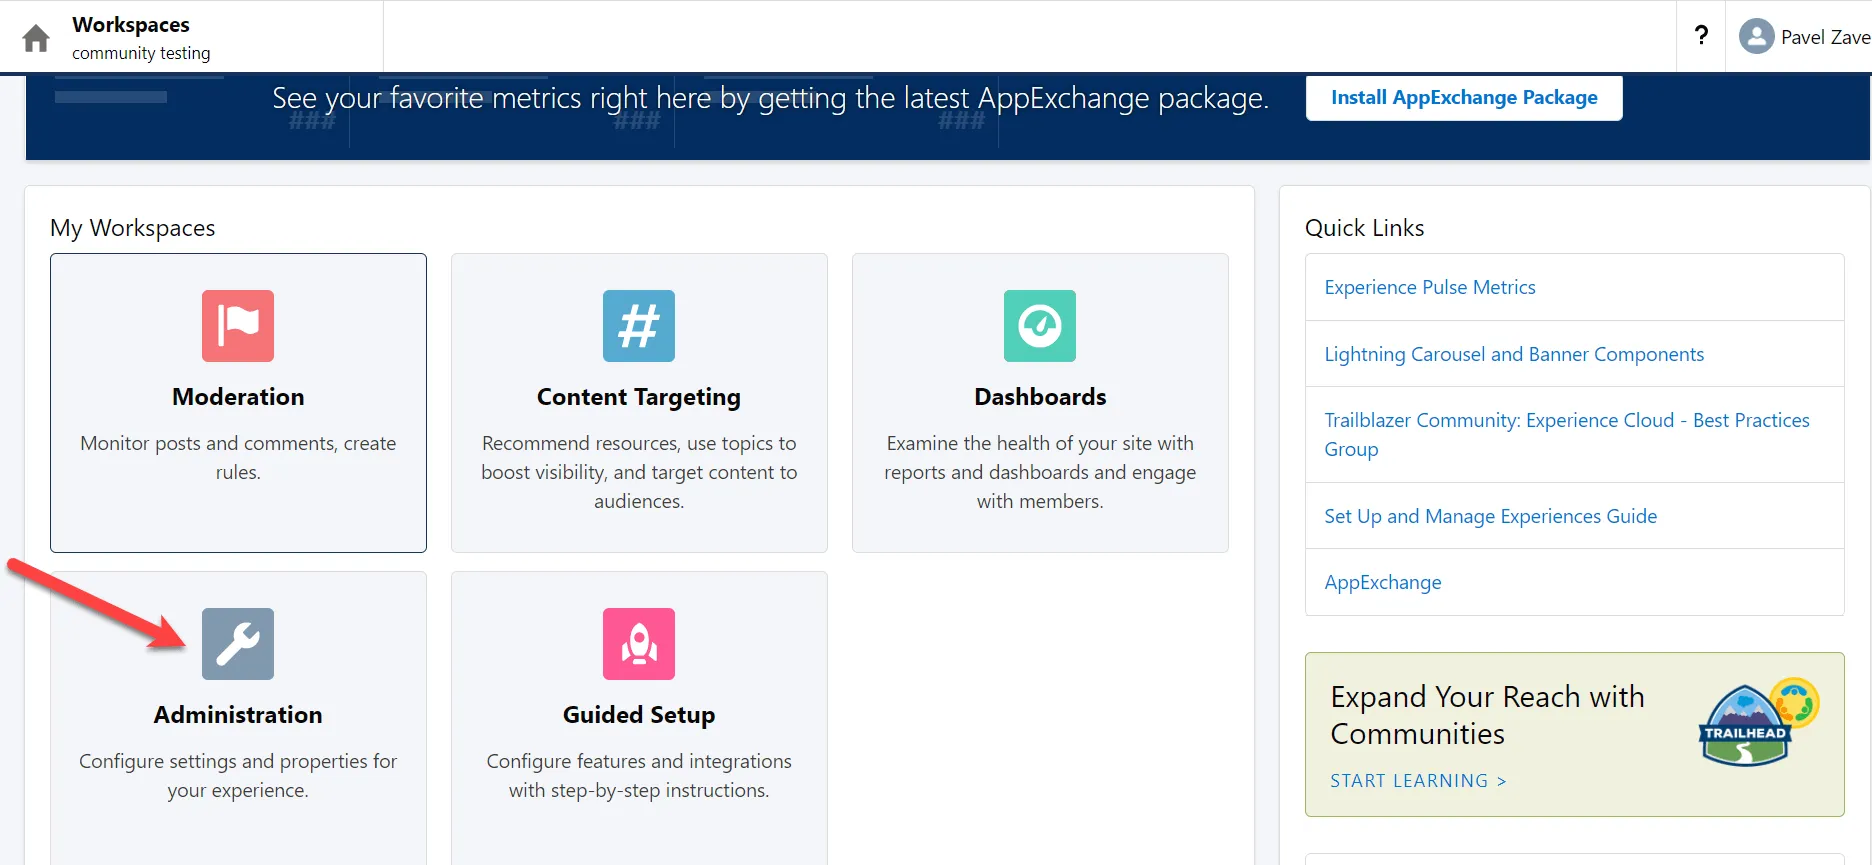
After that, you will automatically transition to your site that is shown in the
Previewstatus. -
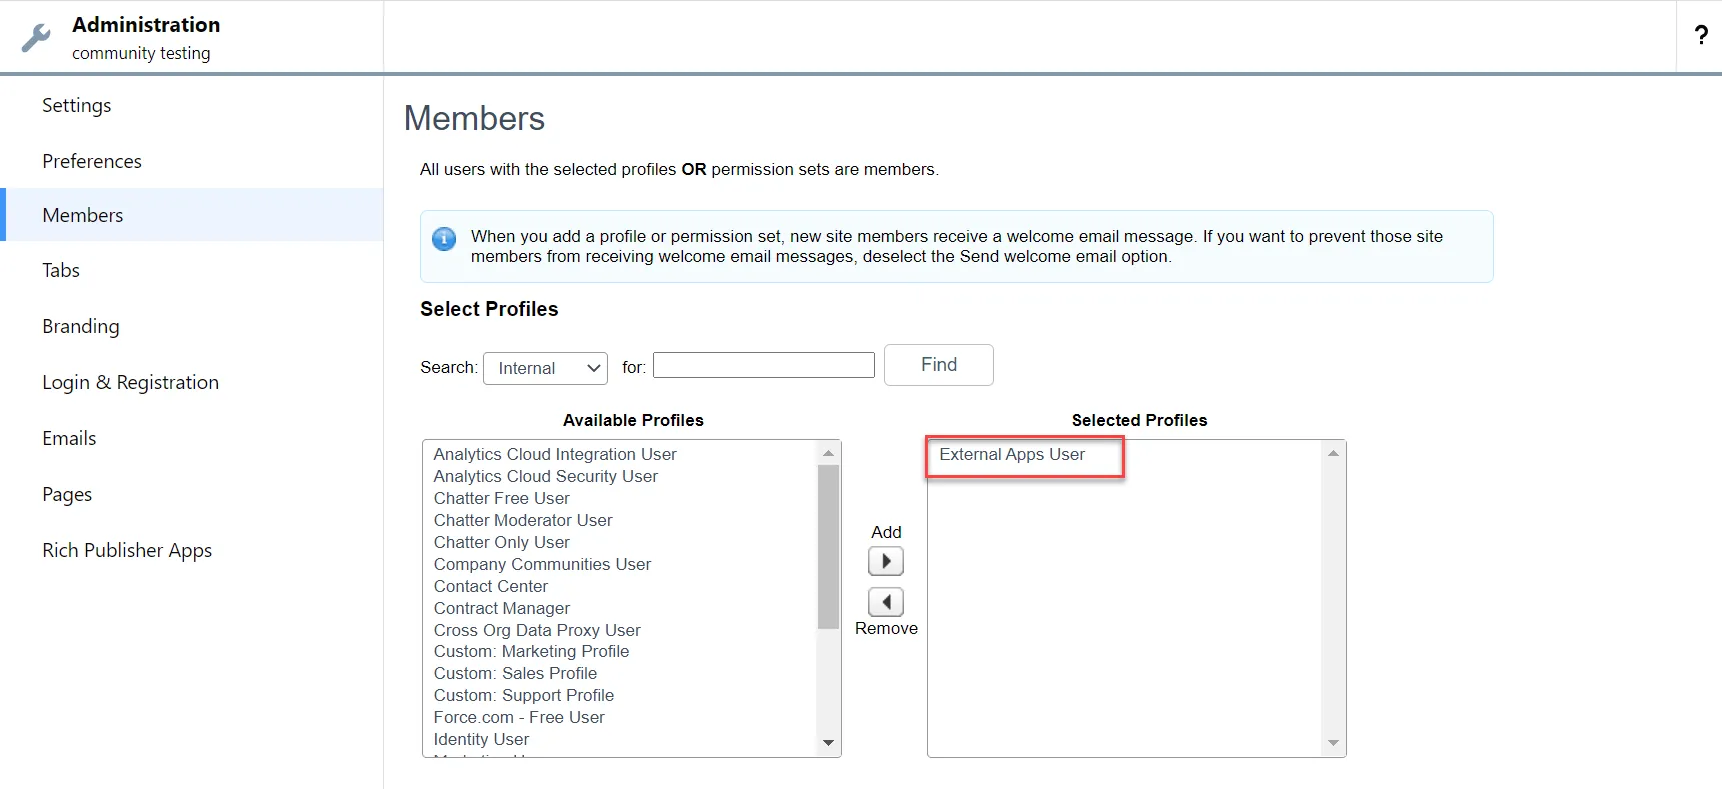
On the My Workspaces list, select Administration to finish the setup of your workspace.
-
In the Members section, drag the
External Apps Userprofile to Selected Profiles. Depending on your organization and requirements you may have different profiles on the Available Profiles list. -
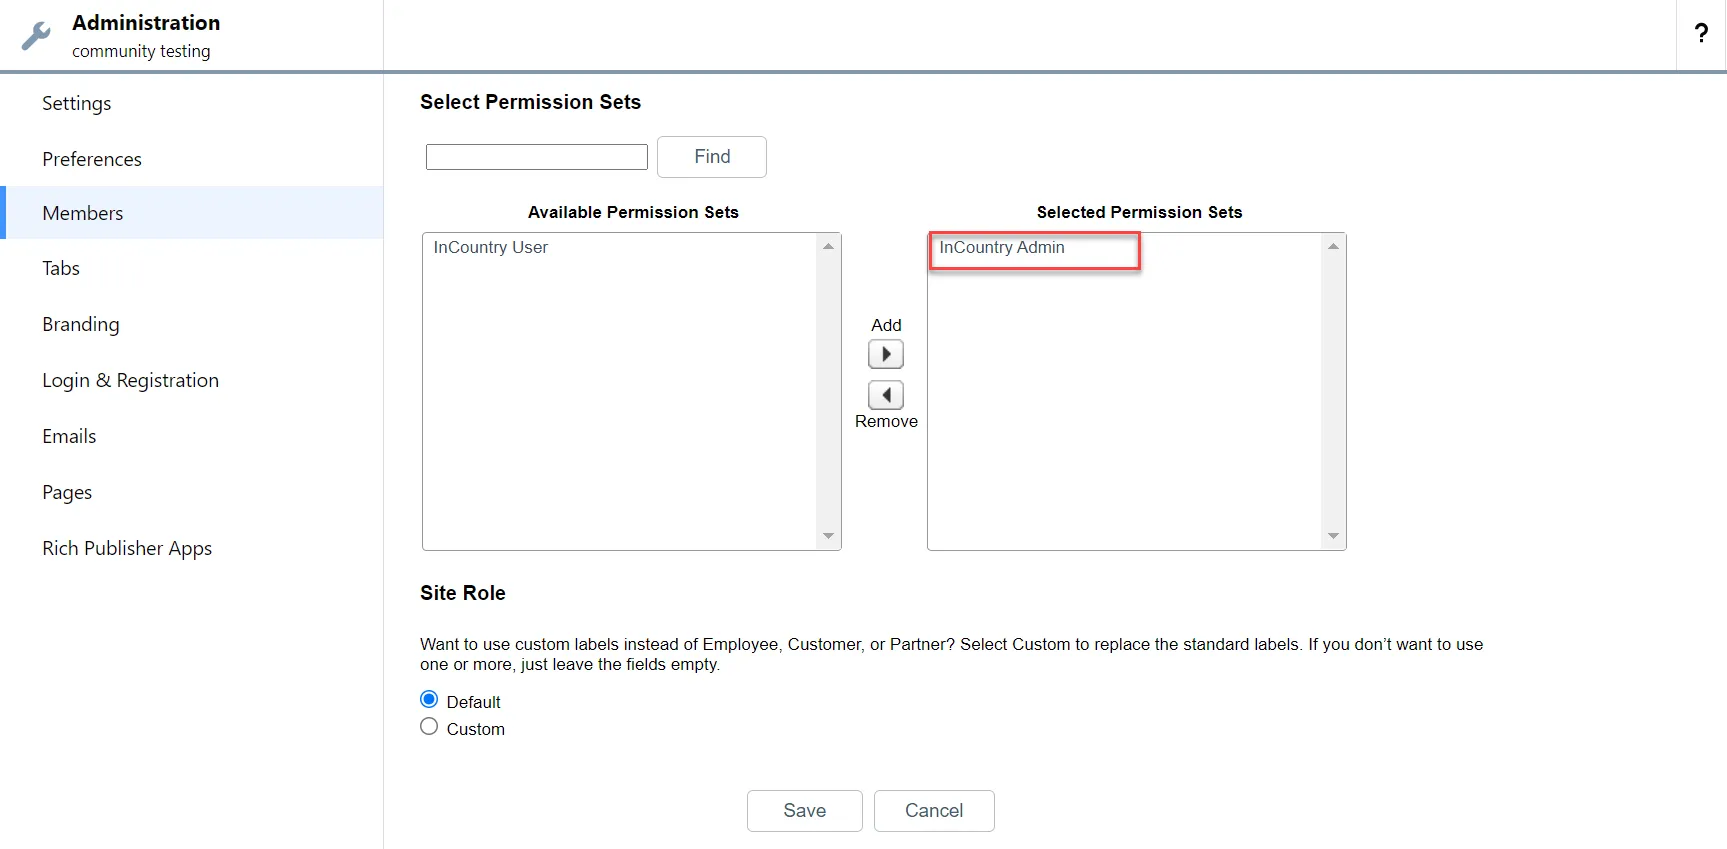
Drag the
InCountry Adminpermission set to the Selected Permission Sets list. -
Click Save.
Adding Partner User Actions to the Account and Contact Page Layouts in Lightning Experience
Once you have enabled digital experiences in your org, Salesforce adds specific actions to your account and contact page layouts in Lightning Experience so you can create partner accounts and partner users. Let’s check to see if you have the Enable as Partner action in the context menu of your accounts and contacts.
-
In the InCountry application, select Accounts.
-
Select the All Accounts list view and click account record (this Account must have related Contact).
-
Click the dropdown menu to see all the quick actions available for the page.
-
If you see Enable as Partner, skip to Enable Partner Accounts and Create Partner Users.
If you do not see the Enable as Partner action, please follow the next steps.
-
From Setup, select Object Manager.
-
Select Account.
-
Within the
Accountobject, click Page Layouts, then select Account Layout. -
In the page layout editor, click Mobile & Lightning Actions. (You may first need to click the properties icon to override customizations in the Lightning & Mobile Actions section.)
-
Drag the
Enable as Partner,Disable Partner AccountandDisable Customer Accountbuttons to the Salesforce Mobile and Lightning Experience Actions section. -
Click Quick Save.
Now add the partner user buttons to the contact page layout.
-
From Setup, select Object Manager.
-
Select Contact.
-
Within the
Contactobject, click Page Layouts, then select Account Layout. -
In the page layout editor, click Mobile & Lightning Actions.
-
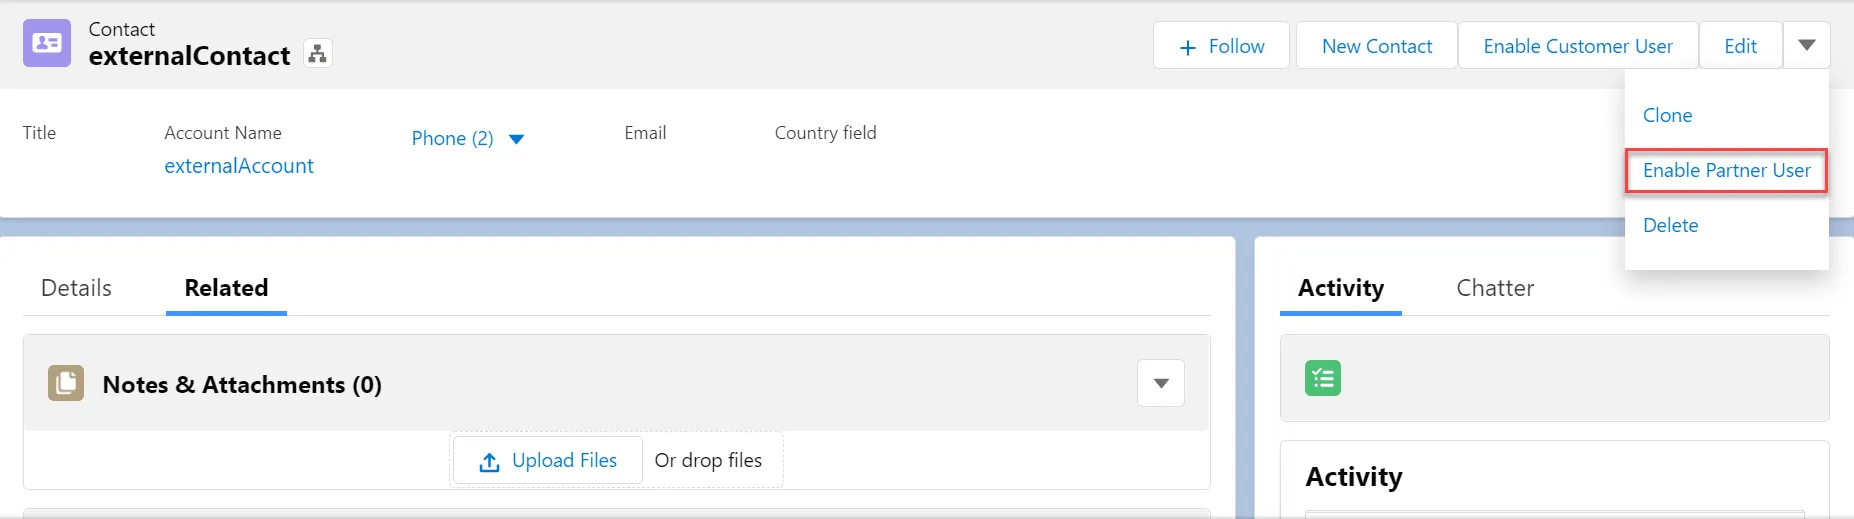
Drag the
Enable Partner UserandEnable Customer Userbuttons to the Salesforce Mobile and Lightning Experience Actions section. -
Click Quick Save.
Enabling Partner User and logging in to workspace
-
In the InCountry application, select Accounts.
-
Select All Accounts (list view).
-
Click a specific account record with the related contact.
-
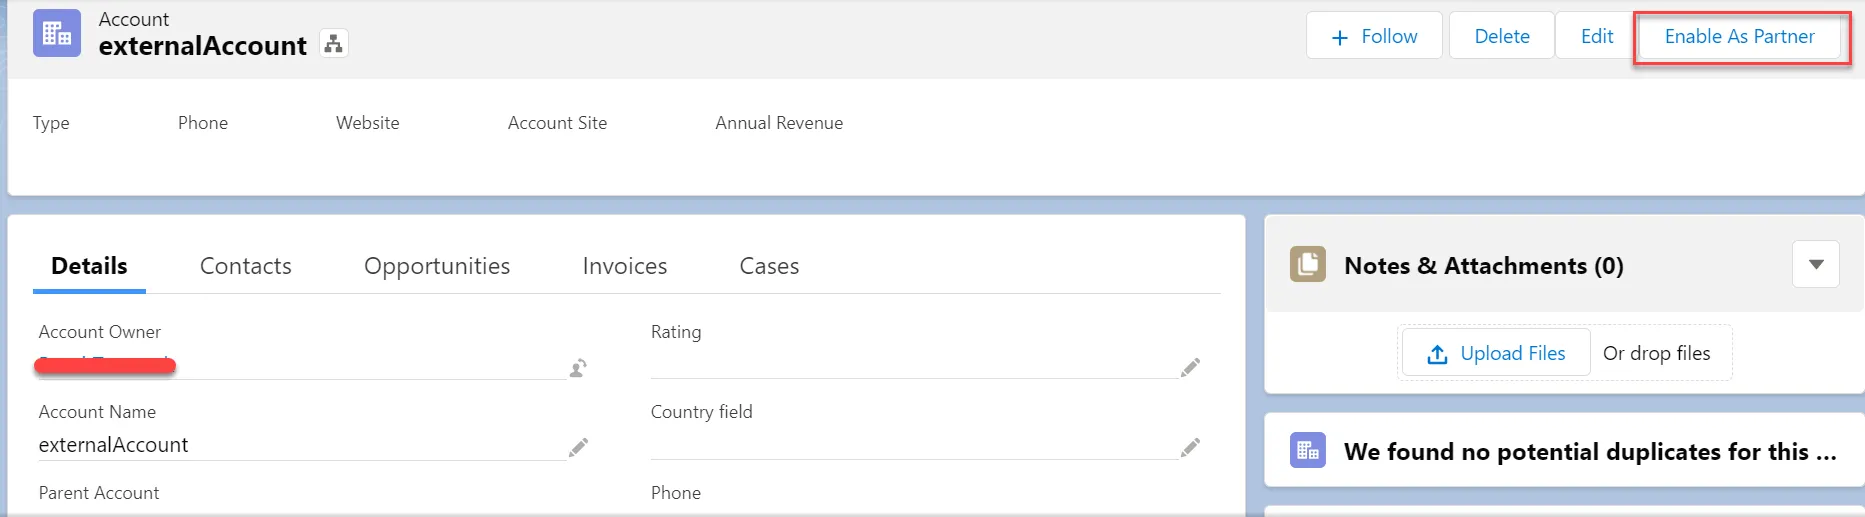
Click the dropdown menu to see all the quick actions available for the page.
-
Click Enable as Partner.
-
In the confirmation dialog, select Enable As Partner.
After enabling the Partner User option for the Account record you can enable this action on the related Contact record by clicking the same button on the Contact detail page.
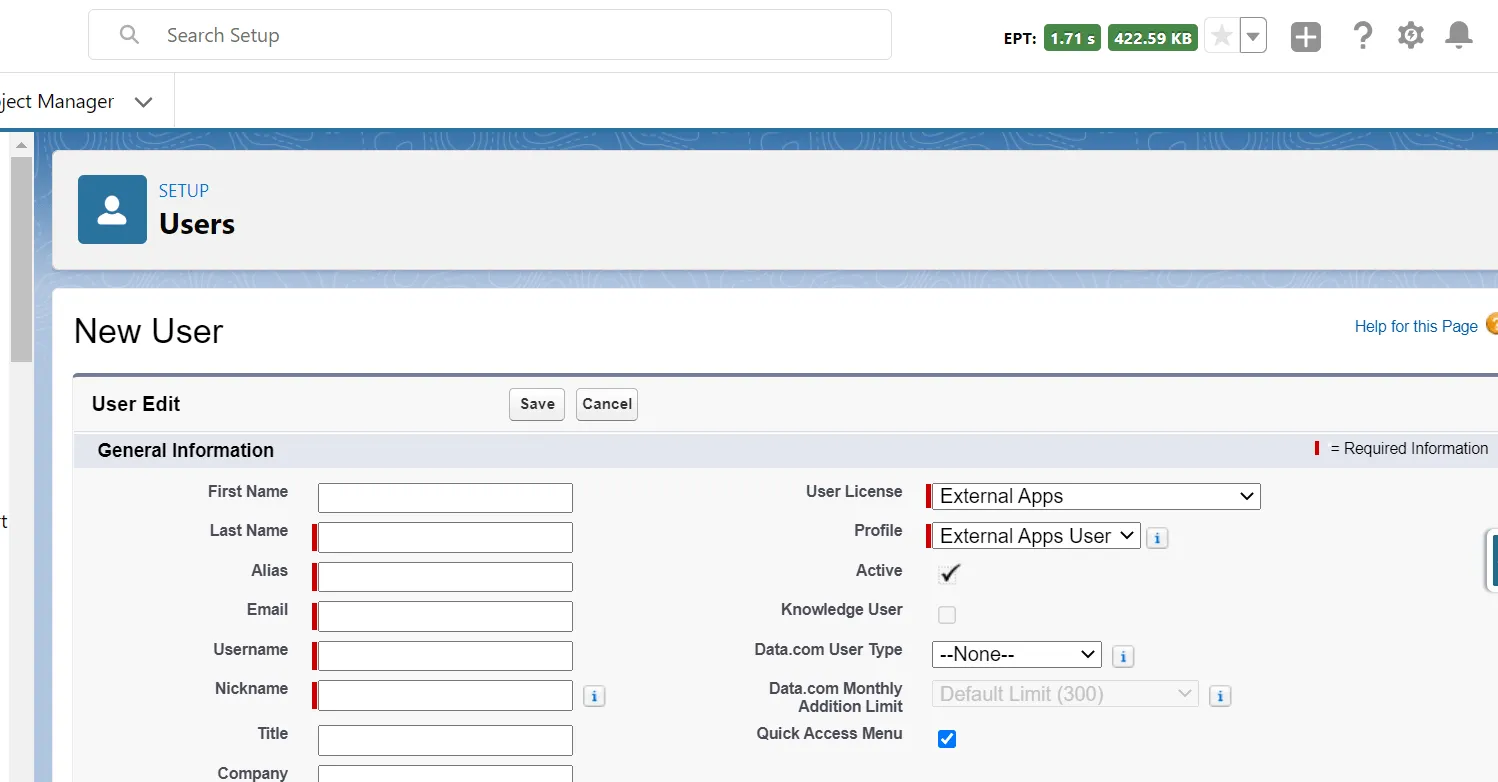
After that, you will be redirected to the user creation page. Fill in the Last Name, Alias, Email, Username, and Nickname fields and click Save.
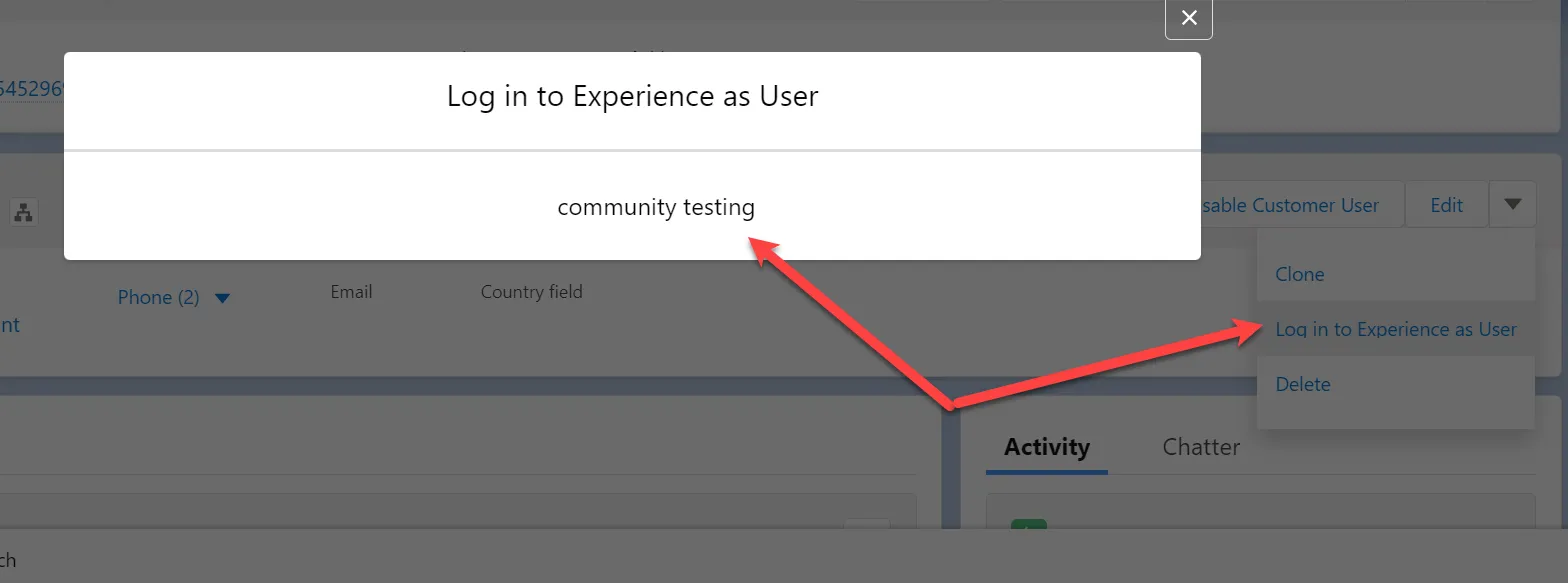
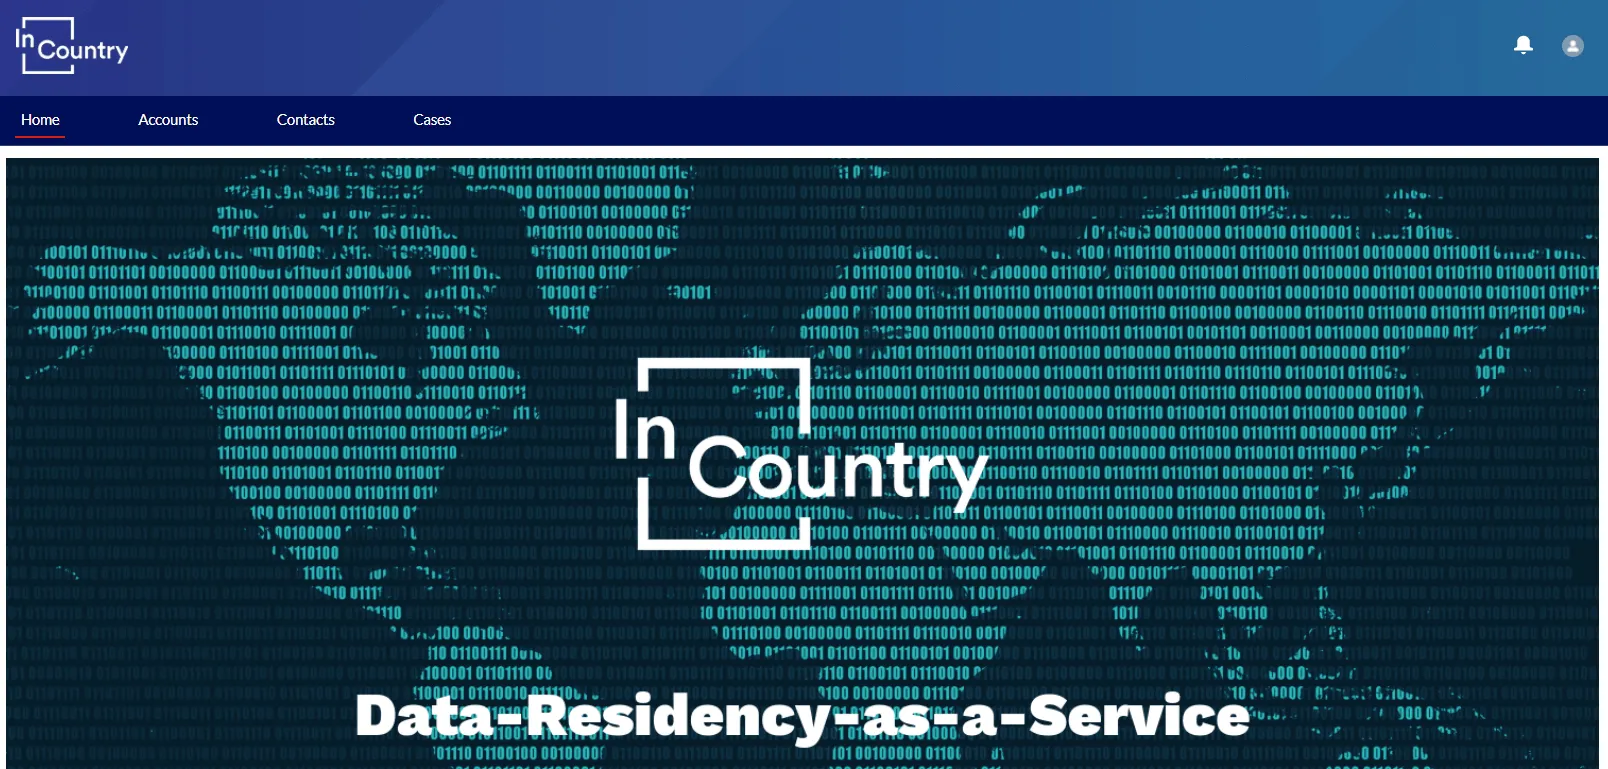
Returning back to the Contact record detail page, you will see the Log in to Experience as User button in the dropdown menu with the available quick actions. As a final step, click Log in to Experience as User and choose your workspace name. You will be redirected to the workspace.