InCountry logo
mobile-nav
Search
  • Products
    • Products
      • InCountry for Salesforce
      • Data Residency-as-a-Service
      • Alibaba Cloud InCountry Service
      • Compliance and security
    • Gateways
      • Email
      • Payment Vault
      • Web Forms
      • HTML
    • Developers
      • REST API
      • SDK
  • Solutions
    • Automotive
    • Energy
    • Financial services
    • Healthcare
    • Retail
    • Technology
    • Latest success story
      • IBM Consulting
  • Integrations
    • Cegid
    • Intertrust
    • MuleSoft
    • PayPal
    • Salesforce
    • ServiceNow
    • Stripe
    • Veeva Systems
    • Yandex
  • Resources
    • Country compliance
    • Documentation
    • Library
    • Partners
    • Pricing
  • About
    • News and Blog
    • Careers
    • Contact Us
    • FAQ
    • Leadership
  • Login
  • Schedule a Demo

›Administrator's guide

Home
  • InCountry Platform
Portal
  • Getting started
  • Documentation
    • Dashboard
    • Managing environments
    • Managing SDK credentials and services
    • Managing Border configuration
    • Managing payment vaults
    • Managing email gateways
    • Managing resident functions
    • Managing file imports
    • Managing profile and organization
    • Managing users
    • Managing encryption keys
  • Release notes
Border
  • Documentation
  • Release notes
REST API
  • Documentation
  • How to test CRUD requests through REST API
  • Release notes
POP API
  • Documentation
  • Release notes
Resident Functions
  • Documentation
Salesforce
  • About
  • Overview
  • Quick start guide for three-model package
  • Quick start guide for legacy package
  • Administrator's guide
    • Managing the package
    • Managing permissions
    • Managing OAuth2 authentication and authorization
    • Managing certificates
    • Registering CSP Trusted Sites
    • Managing InCountry Endpoints
    • Managing REST endpoints
    • Managing InCountry flags
    • Loading the application
    • Managing data regulation policies
    • Managing protected fields
    • Hashing the UserName field
    • Managing custom objects
    • Replacing standard elements
    • Configuring record search
    • Managing components
    • Managing web components
    • Setting up Salesforce Experience Cloud
    • Managing resident functions
    • Managing InCountry cache
    • Managing Apex triggers
    • Managing record synchronization
    • Managing web forms
    • Tracking changes to data regulation policies and regulated fields
    • Using formula fields
    • Using frontend validations
    • Using Email-to-Case feature
    • Debugging
    • Migrating data from one Salesforce organization to another
  • Developer’s guide
    • Apex SDK
    • JavaScript API
    • Retrieving record statistics
    • Tracking field history
  • User's guide
    • Working with protected fields
    • Sending compliant email messages
    • Importing data into Salesforce
    • Migrating records
    • Managing audit reports
    • Converting leads
    • Managing reports
    • FAQ
    • Release notes
Payment Vault
  • Documentation
BYOK
  • Documentation
FAQ
  • Get started with the platform
  • Integration options
  • Data regulation models
  • Limits and quotas
  • Video tutorials
Service Status
  • Status

Managing custom objects

When you use custom objects with protected fields in Salesforce you need to register them within the InCountry Data Residency for Salesforce package, so that the regulated data will be correctly processed and written to the InCountry platform.

note

Management of custom objects is required for operation of the restriction, redaction, and UI-based replication models from the three-model package.

Creating the custom object Lightning page

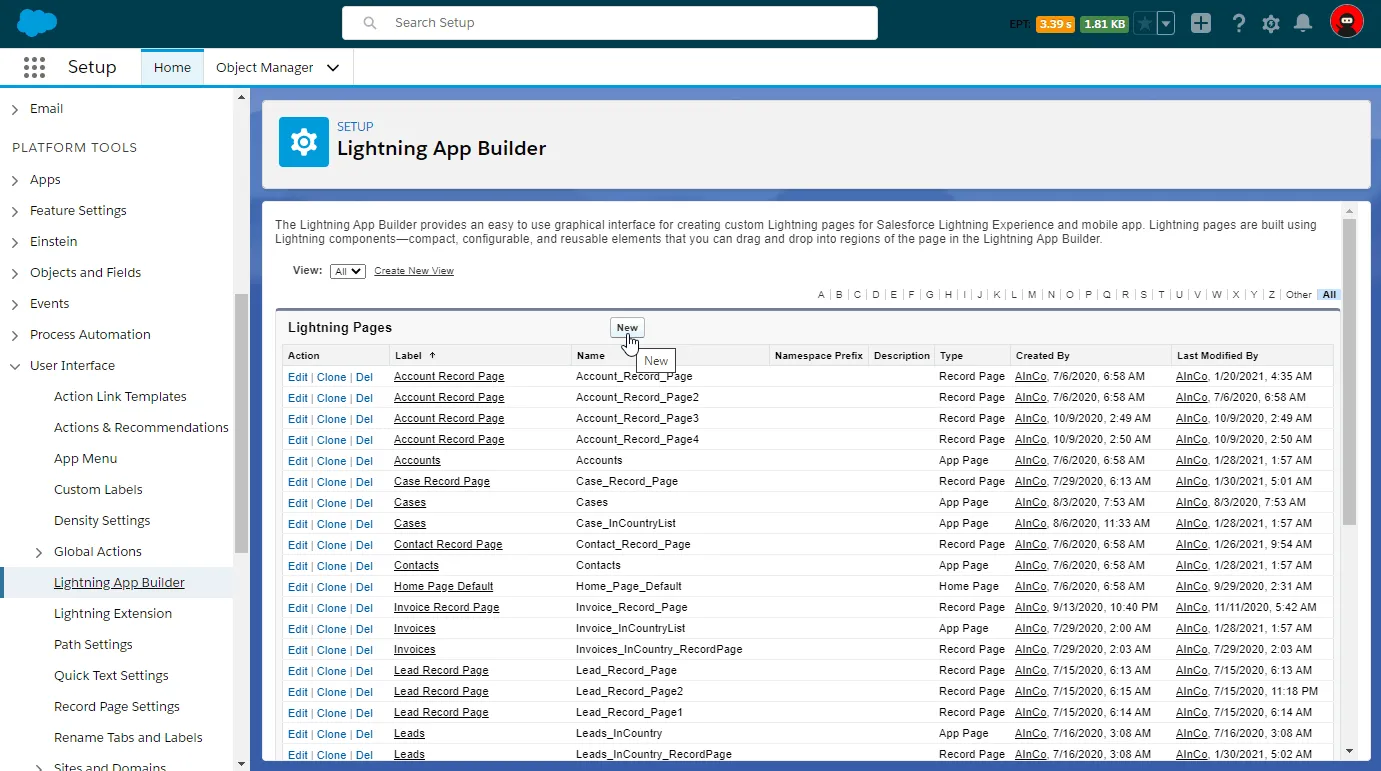
  1. From Setup, click User Interface, then select Lightning App Builder.

    Lightning App Builder

  2. On the Lightning App Builder page, click New.

    New Lightning App Builder

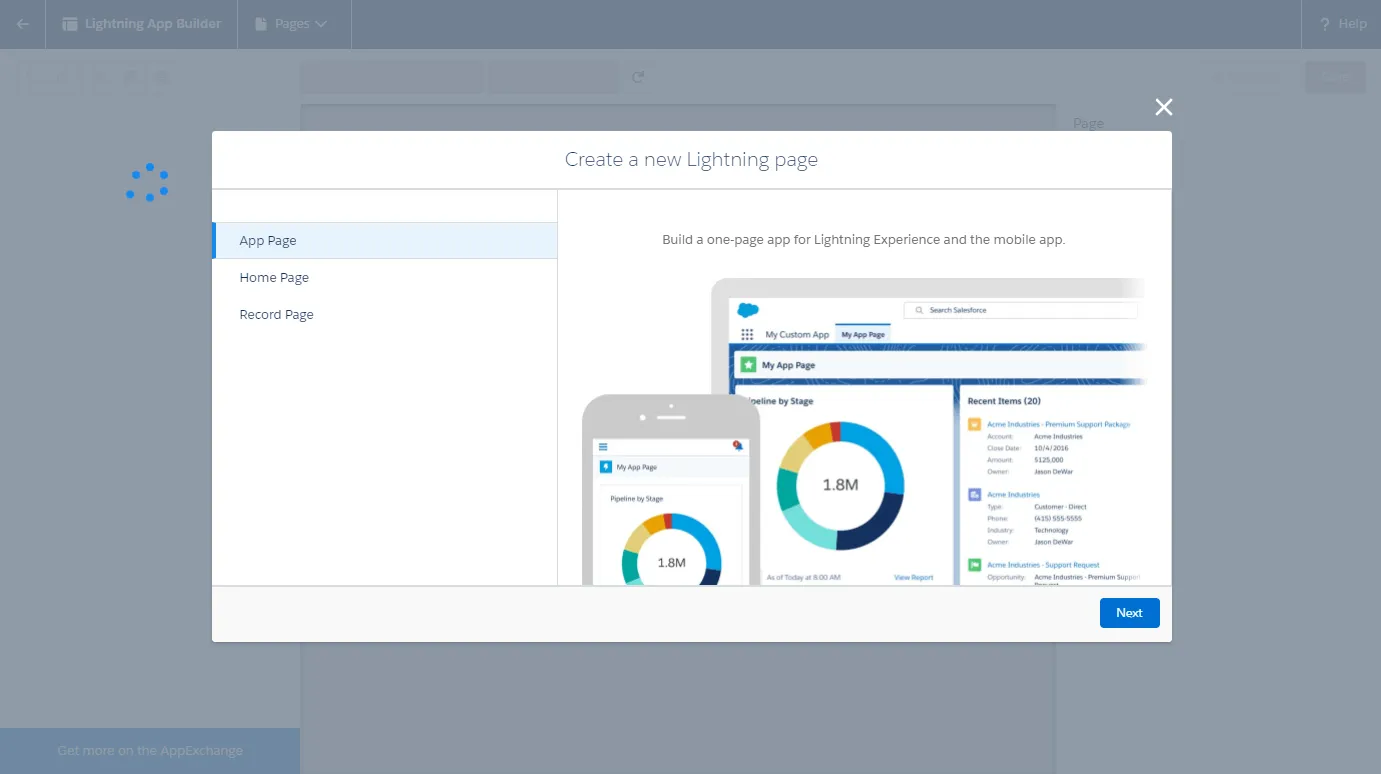
  3. In the Create a new Lightning page form, select App Page.

  4. Click Next.

    Next

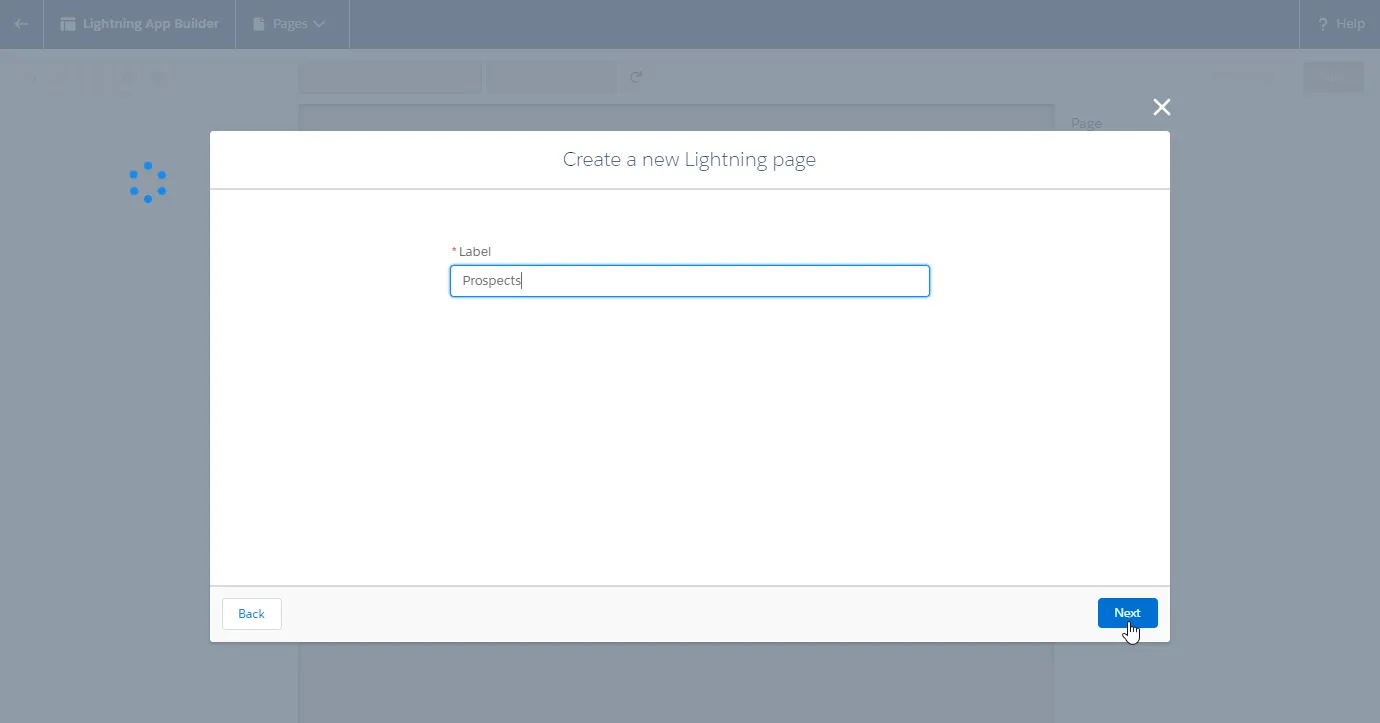
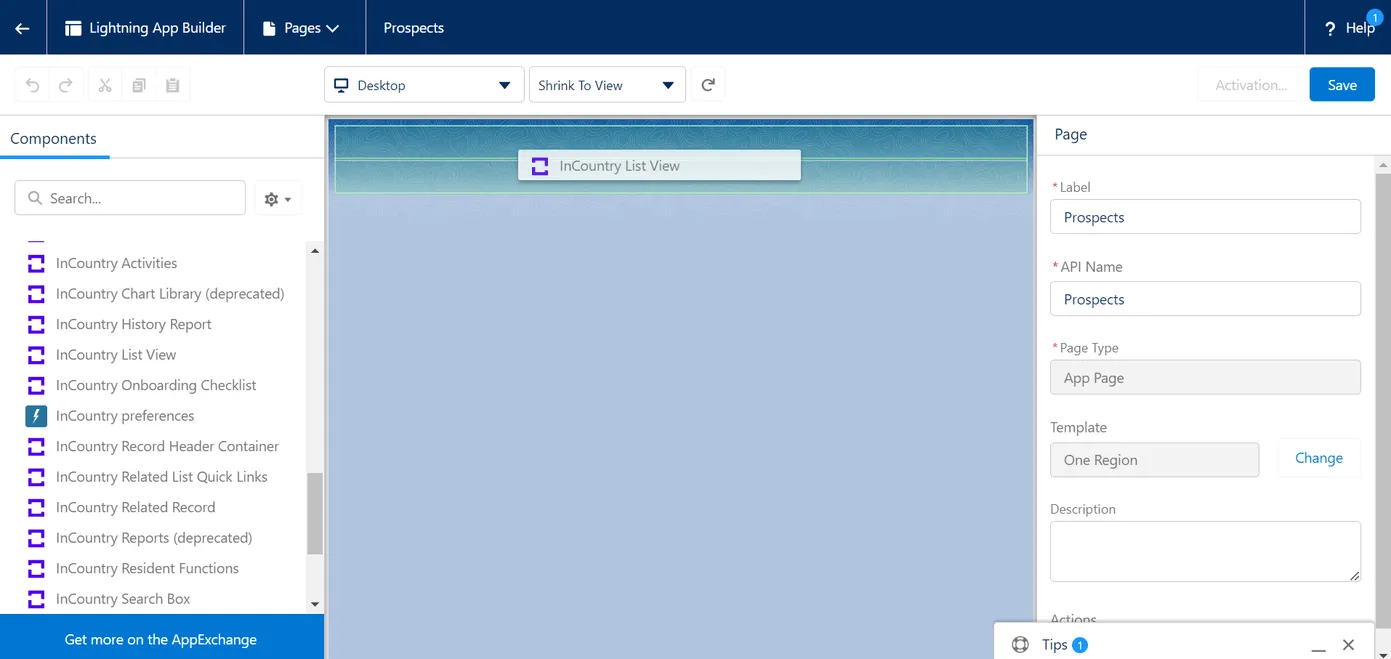
  5. Enter the label for the page and click Next.

    Enter Label

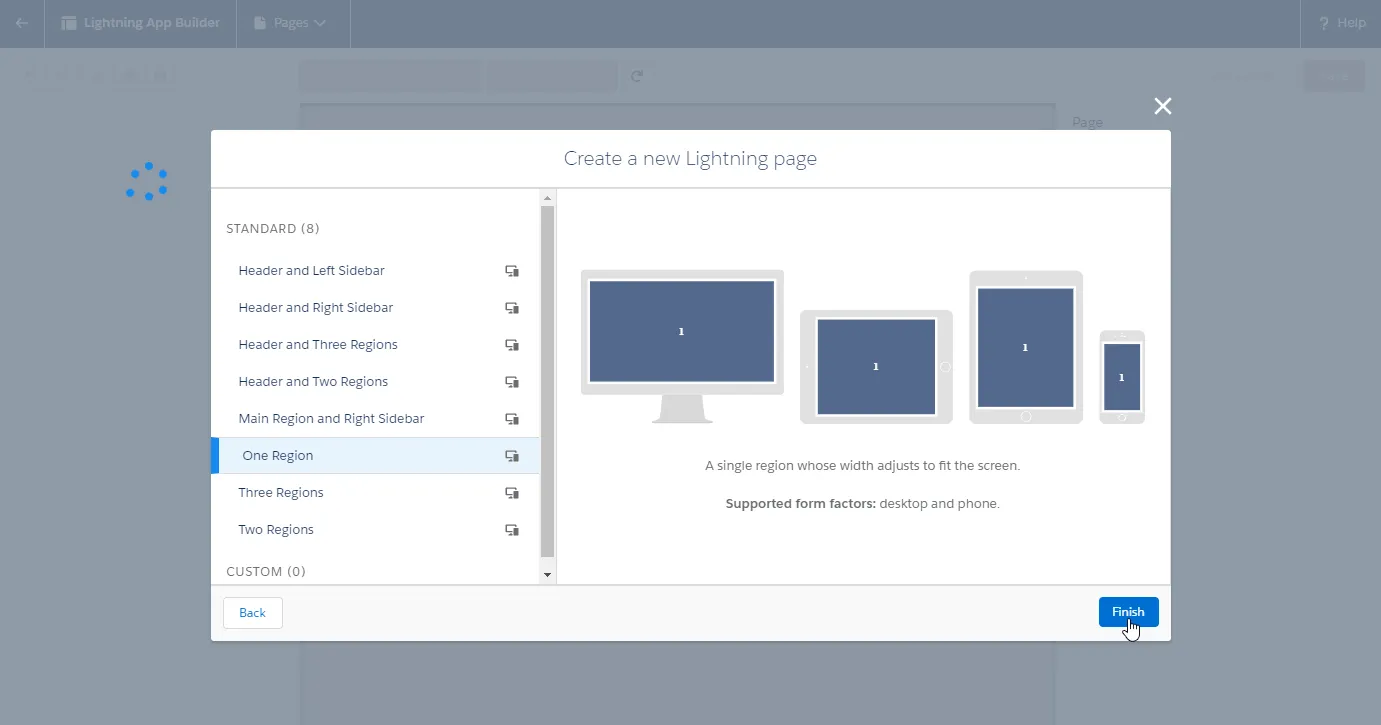
  6. Select the One Region as page layout and click Finish.

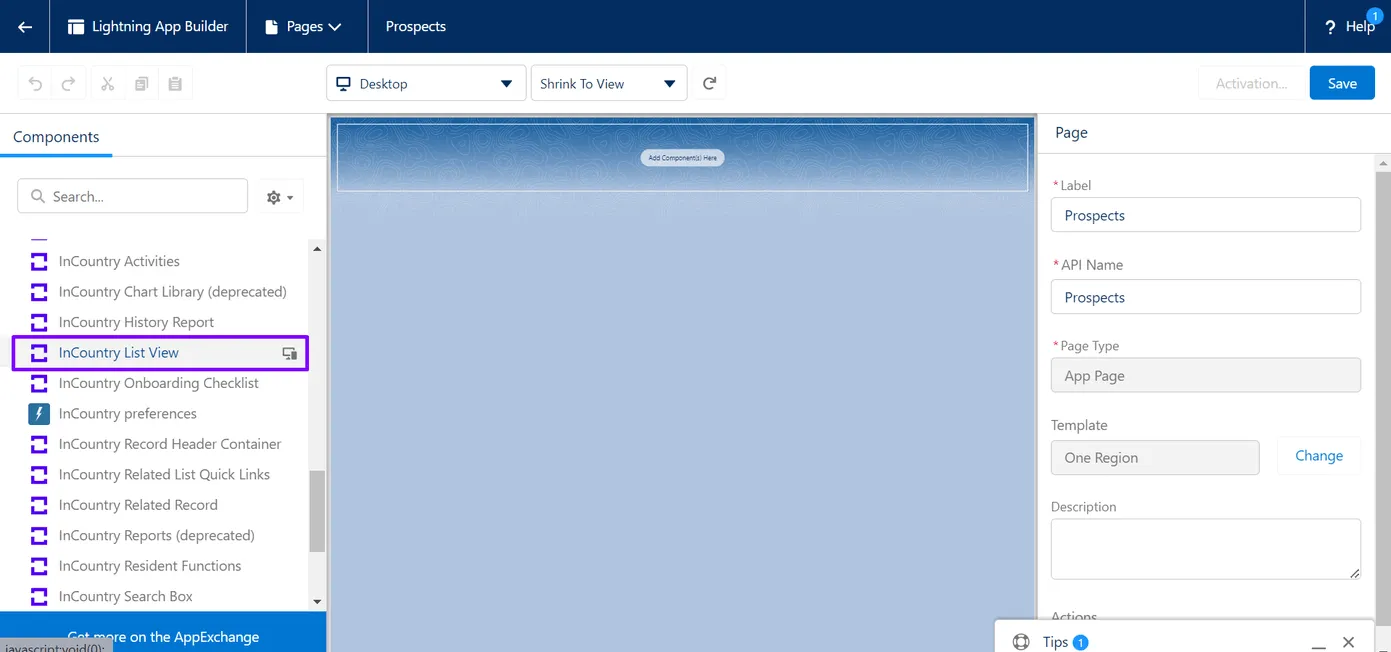
  7. On the opened page with Layout Builder, on the sidebar, locate the InCountryRecordListComponent component (within custom components).

    Locate component

  8. Drag this component to the layout.

    Drag component

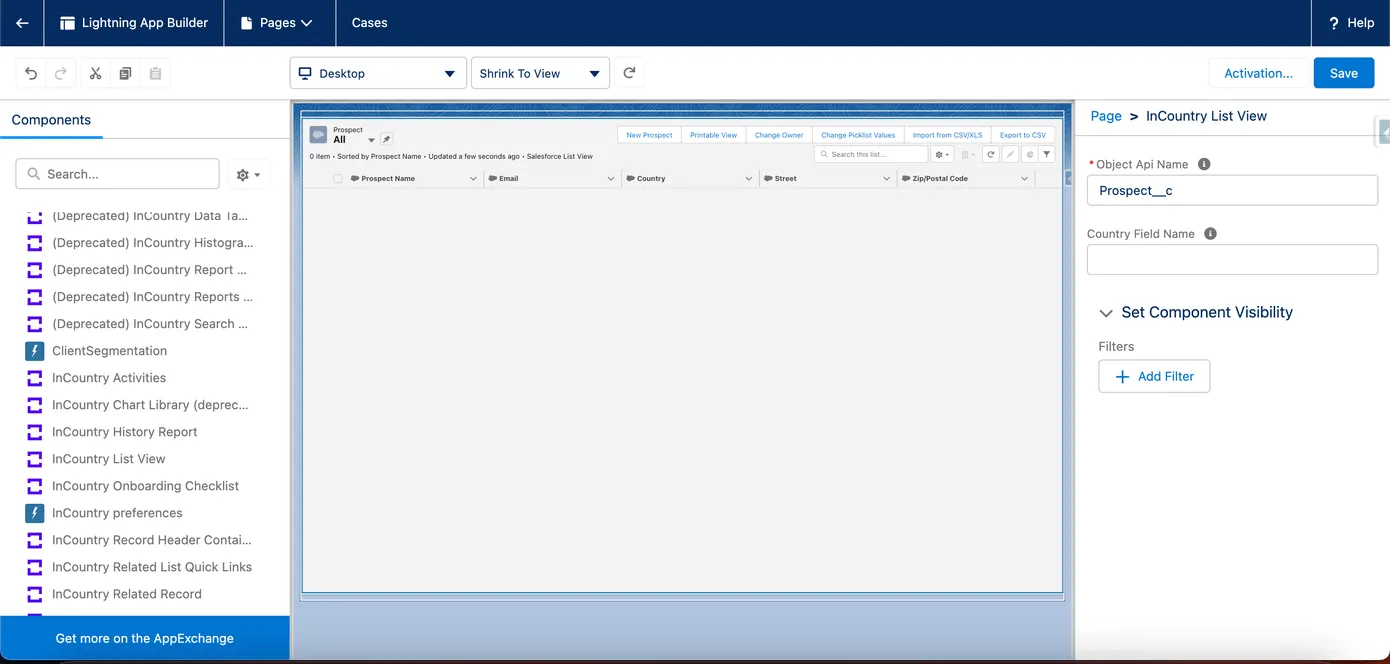
  9. For the added component, fill out the following information:

    • Object Api Name - enter the API name of a custom object that you have created.

    • Country Field Name - enter the field which contains information about the country which a custom object attributes to. The InCountry Data Residency for Salesforce package will use this field to redact data in regulated fields according to the configuration.

      Enter Country Field Name

  10. When complete, click Save.

  11. Then you will be prompted to activate the layout, click Activate.

  12. In the Activation: {OBJECT} form, click Save. Additionally, you can choose another icon.

  13. Click Save.

  14. Click Finish.

Creating a tab for a custom object

To show a custom object within an application in Salesforce, you need to create a tab for it.

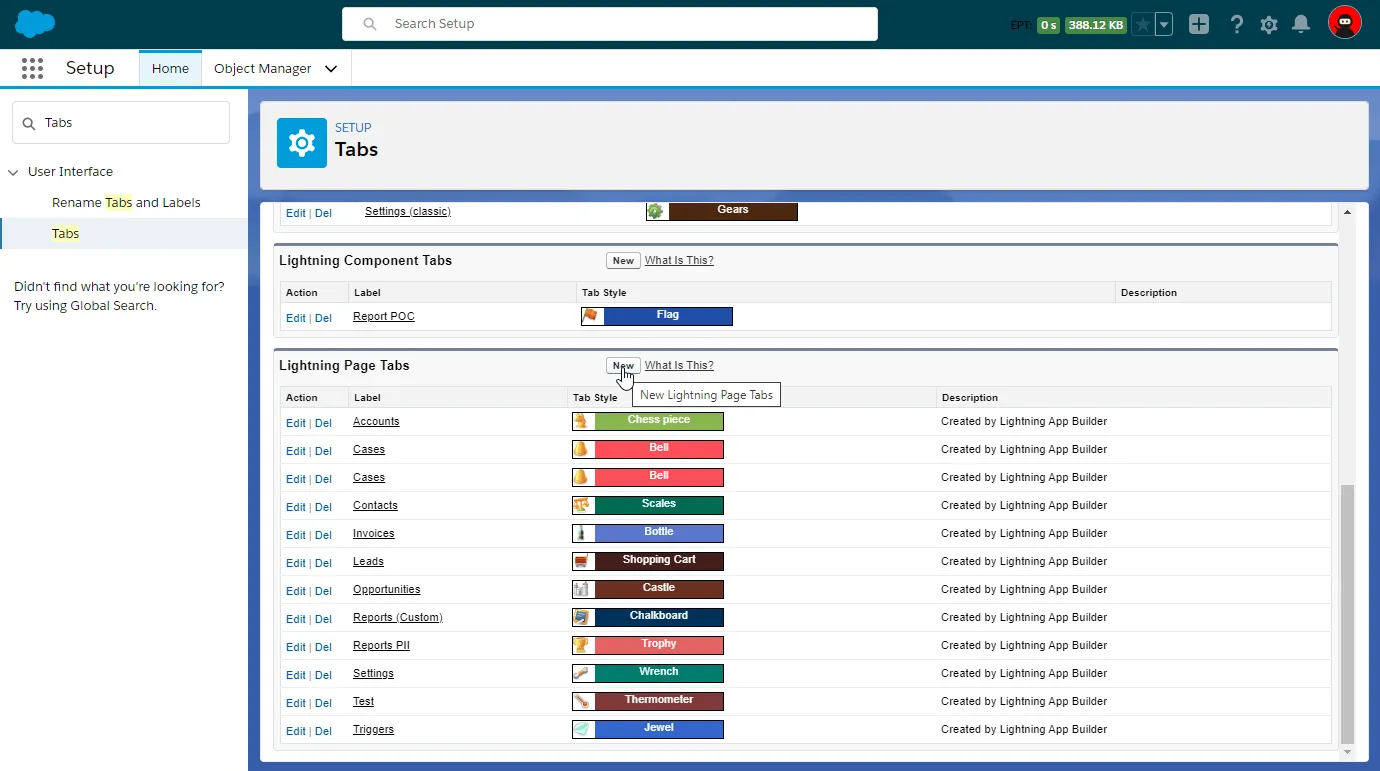
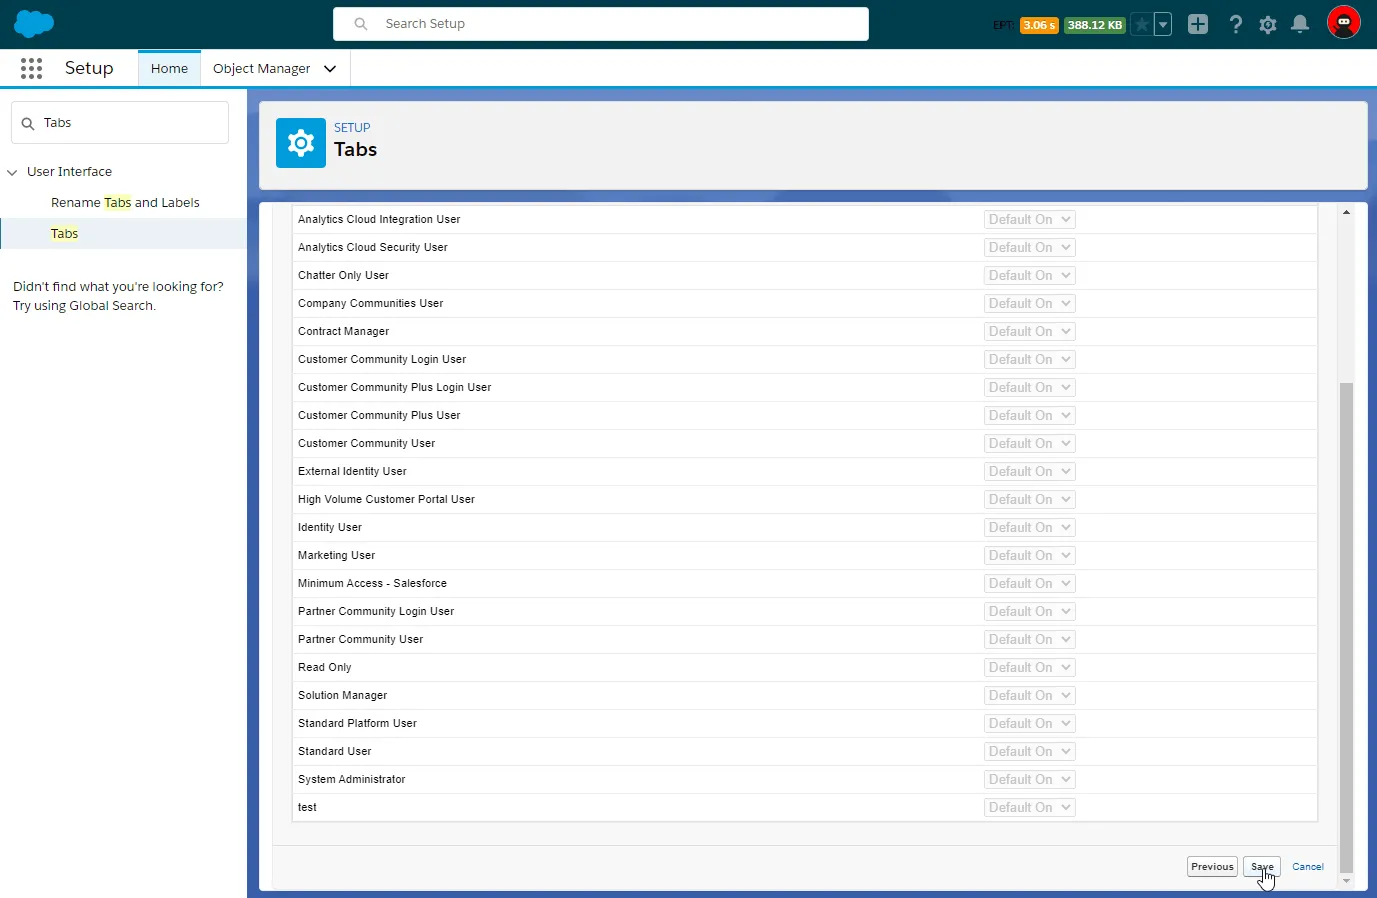
  1. From Setup, click User interface and then select Tabs.

    Select Tabs

  2. On the Tabs page, click New.

    New Tab

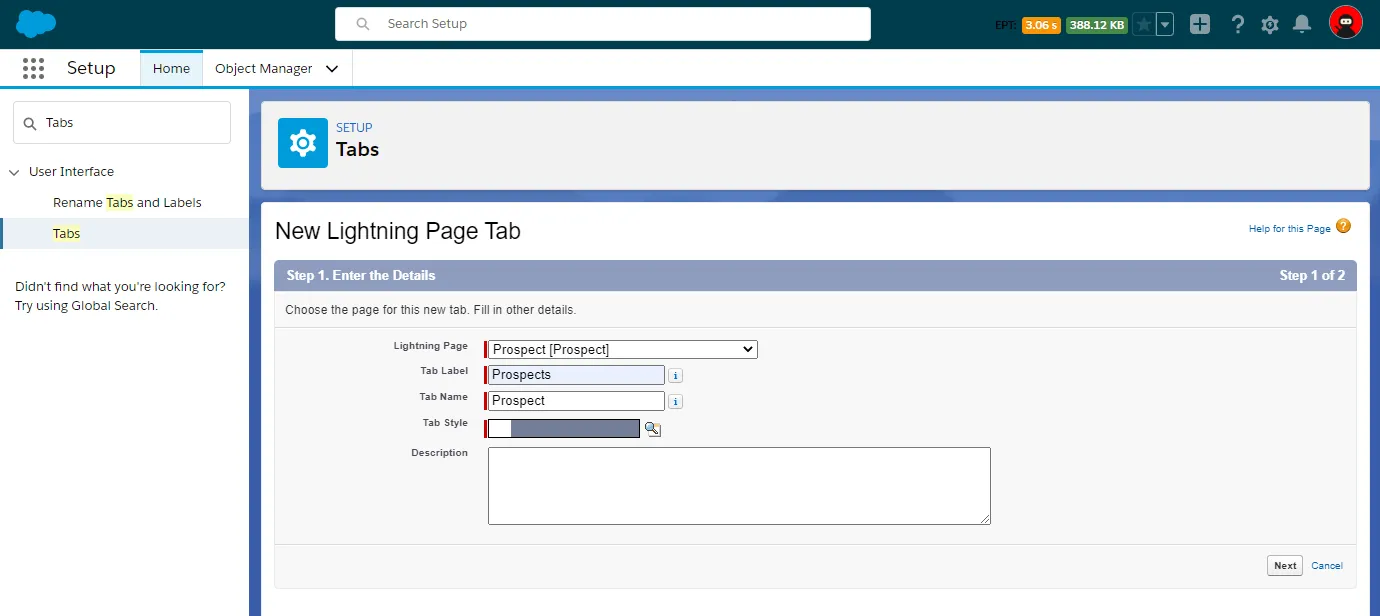
  3. Fill out the following information for a new tab:

    1.Lightning Page - select the page which attributes to the custom object you want to add.

    2.Tab Label - enter the label of the tab which will show records pertaining to the custom object.

    3.Tab Name - update the tab name or leave as is.

    4.Tab Style - select the appropriate tab style.

  4. When complete, click Next.

    Click Next

  5. Regulate the visibility to the available user profiles.

  6. Click Save.

Adding the created tab to the InCountry Data Residency for Salesforce package

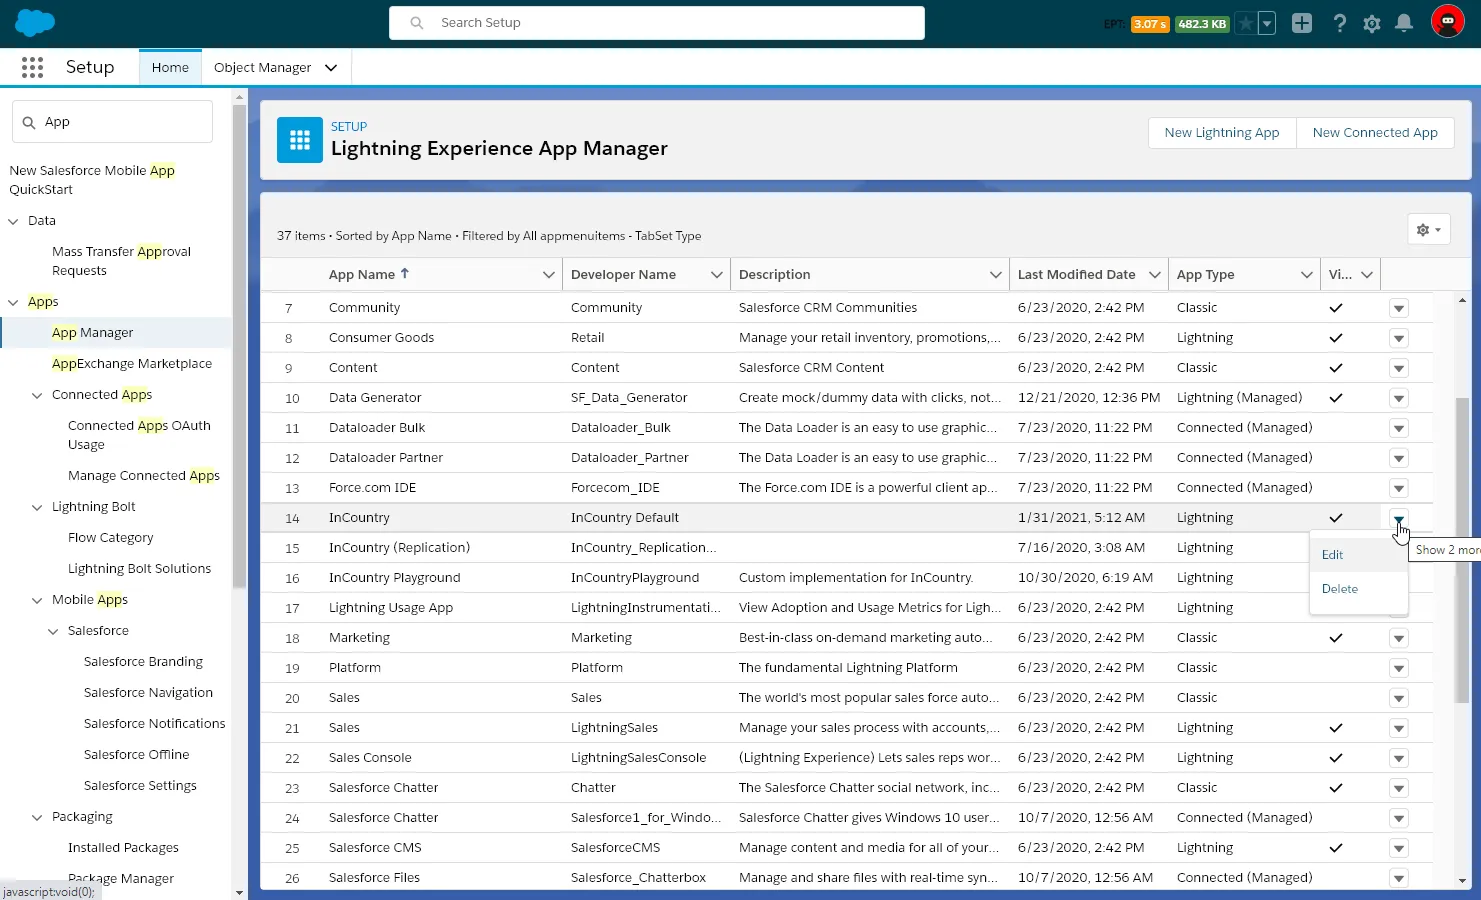
  1. From Setup, click User Interface, then select App Manager.

  2. On the list with registered apps, locate the app containing 'InCountry' in its name.

    Locate the app

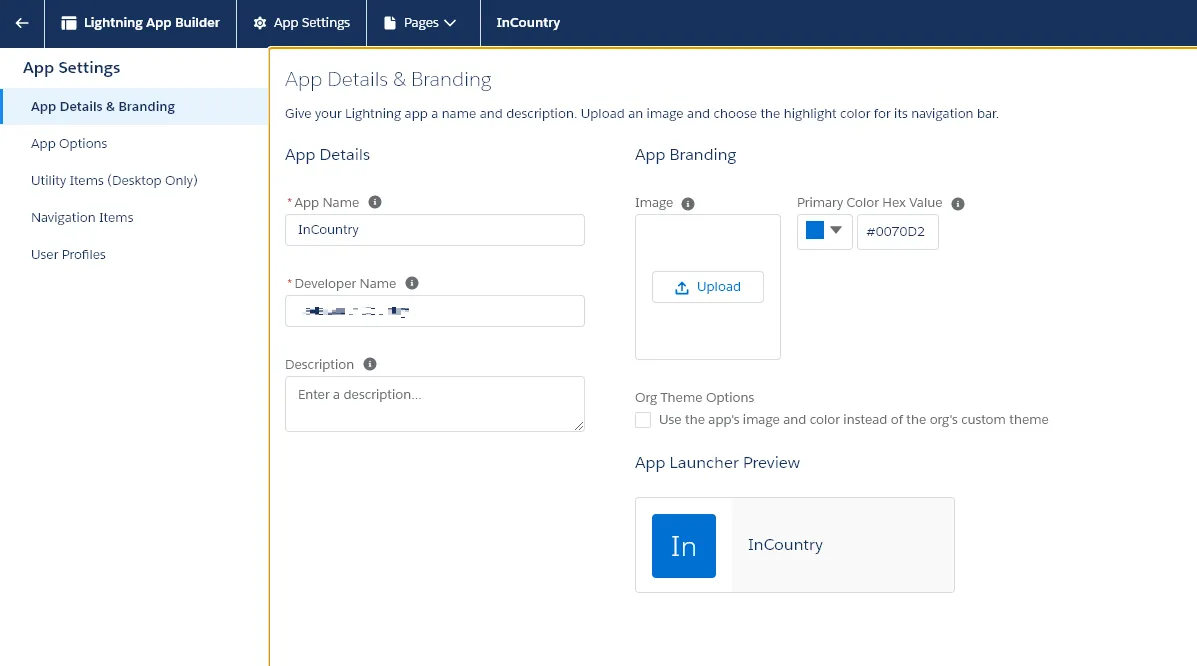
  3. For this app, click the down arrow icon and select Edit.

    Select Edit

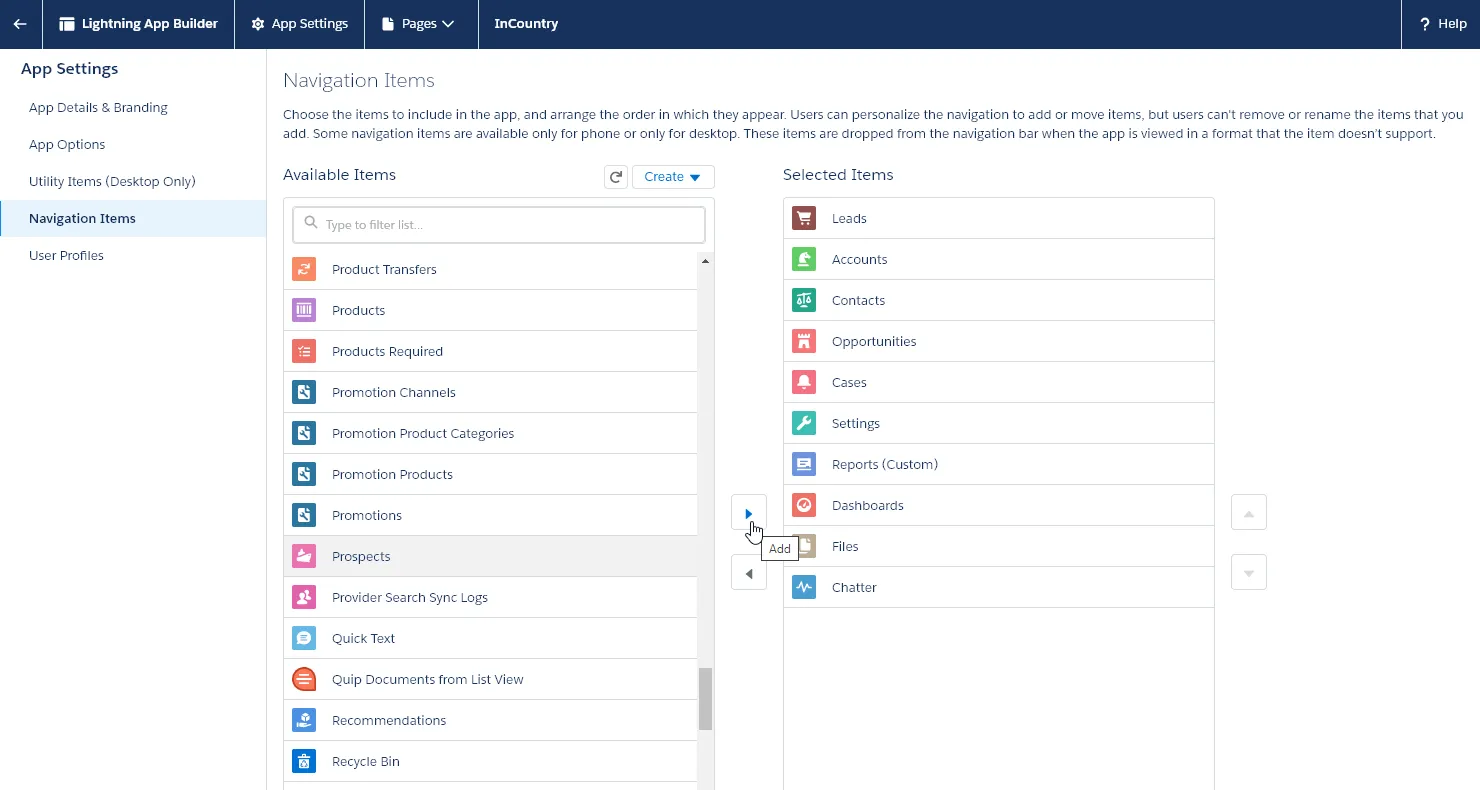
  4. Within the app details, switch to the Navigation Items tab.

    Switch to the Navigation items

  5. Locate the tab which attributes to your custom object and click Add,

  6. When complete, click Save.

Creating custom global actions

note

Please consider that custom objects from other installed packages may not be fully supported. Such objects have names according to the following pattern [namespece_prefix]__Custom_Object_Name__c. Global actions do not tolerate two consecutive underscores in their names. The List View and Record Detail components are supported, the standard actions (like New) are not supported yet.

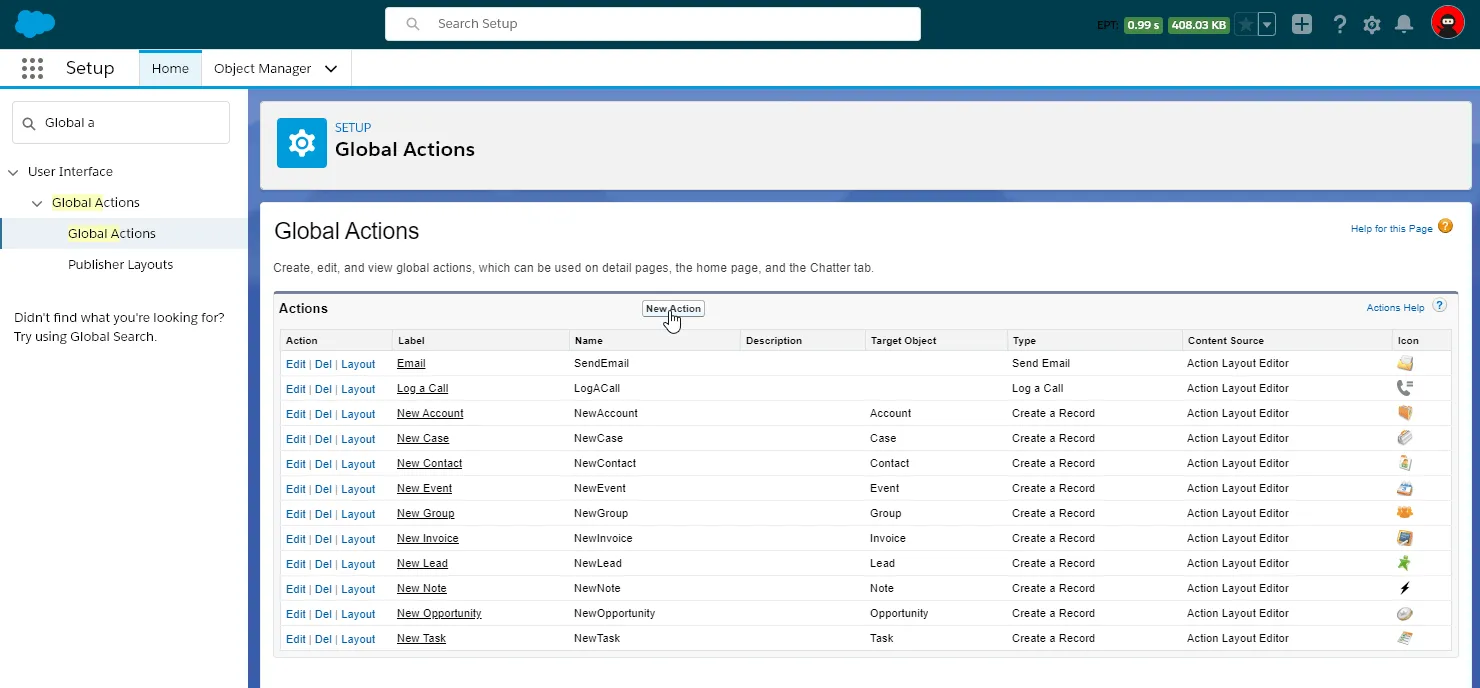
  1. From Setup, click User Interface and then select Global actions.

  2. On the Global Actions page, click New Action.

    Click new action

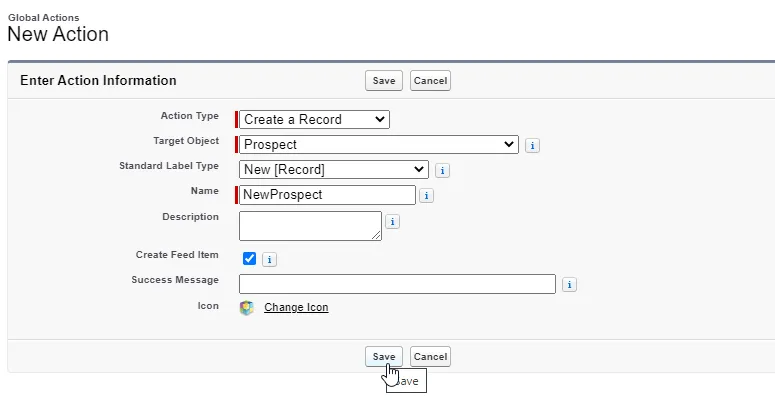
  3. On the New Action page, fill out the following information:

    • Action Type - select 'Create a Record'.

    • Target Object - select your custom object.

    • Standard Label Type - select ‘New [Record]'.

    • Name - enter the name of the action according to the pattern NewCustom_Object. You need to replace spaces between parts of the custom object API name with underscore and remove the prefix (__c) if it is present in the object API name. For example, if your custom object has the API name as Custom_Object__c, so the name of the global action should be NewCustom_Object.

      Enter the name

  4. Click Save.

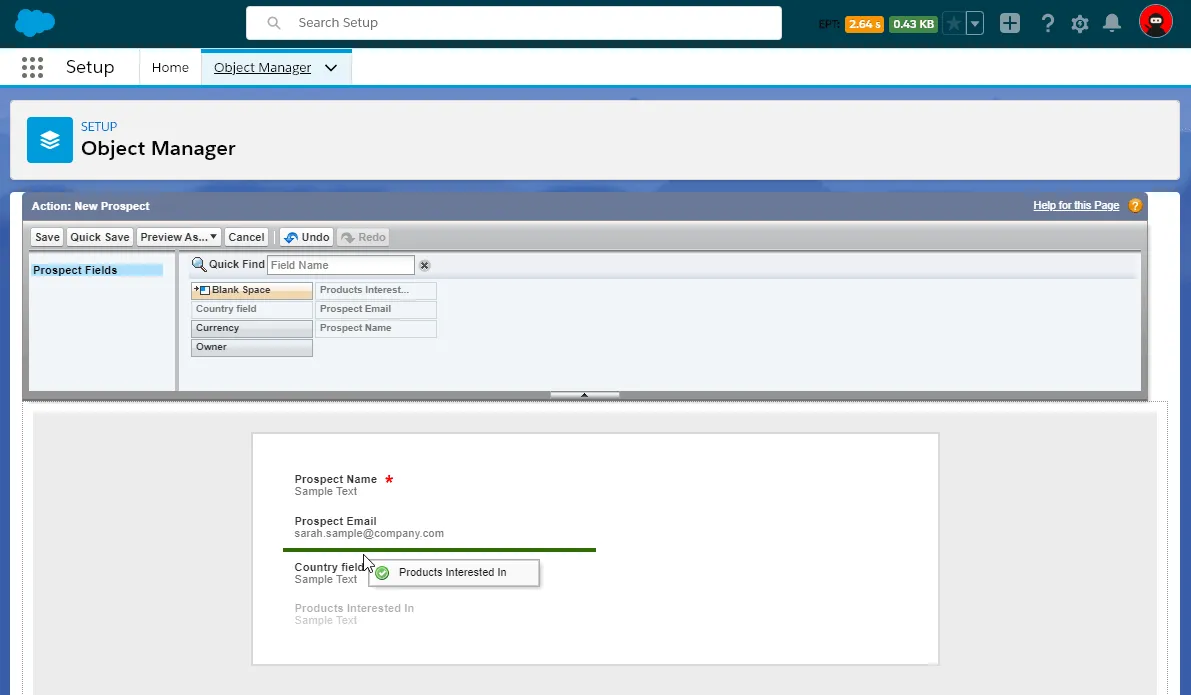
  5. Drag the fields to the layout of the form for creating new records of your custom object.

    Drag the fields

  6. When complete, click Save.

Adjusting the record page layout

  1. Open the tab with records of your custom object.

  2. Open a specific record.

  3. Click the Setup icon and select Edit page.

  4. From the page layout remove the Record Detail component.

  5. Add the InCountryRecordDetail component to the layout.

  6. Save the page layout.

← Hashing the UserName fieldReplacing standard elements →
  • Creating the custom object Lightning page
  • Creating a tab for a custom object
  • Adding the created tab to the InCountry Data Residency for Salesforce package
  • Creating custom global actions
  • Adjusting the record page layout
InCountry logo blue
© InCountry 2022.
All rights reserved. InCountry, Inc
  • PRIVACY POLICY
  • TERMS OF SERVICE
  • Social share
    • YouTube logo
    • Facebook logo
    • Twitter logo
    • LinkedIn
  • Column 1
    • Products
      • Products
        • InCountry for Salesforce
        • Data Residency-as-a-Service
        • Alibaba Cloud InCountry Service
        • Compliance and security
      • Gateways
        • Email
        • Payment Vault
        • Web Forms
        • HTML
      • Developers
        • REST API
        • SDK
  • Column 2
    • Solutions
      • Automotive
      • Energy
      • Financial services
      • Healthcare
      • Retail
      • Technology
    • Integrations
      • Cegid
      • Intertrust
      • MuleSoft
      • PayPal
      • Salesforce
      • ServiceNow
      • Stripe
      • Veeva Systems
      • Yandex
  • Column 3
    • Resources
      • Country compliance
      • Documentation
      • Library
      • Partners
      • Pricing
    • About
      • News and Blog
      • Careers
      • Contact Us
      • FAQ
      • Leadership