Quick Start Guide for Three-Model Package
About this document
This document provides a step-by-step guide on how to get started with the three-model package supporting the restriction, redaction, and UI-based replication models.
Package installation
For comprehensive, step-by-step guidance, please 📃 consult the official documentation.
Installing the InCountry Data Residency Managed Package
To install the InCountry Data Residency for Salesforce package, you can either use AppExchange or request an installation link from the InCountry team. It is recommended to initially install the package for administrators only, and then grant access to additional users through permission sets.
Post-Installation Configuration
After installation, configure the required authentication components—such as an Auth. Provider, Connected App, External Credential, and Named Credential—to ensure secure API access. You will also need to set up permission sets and assign them to users who require access. Once permissions are configured, users must complete an authorization process to grant the necessary API access.
Enabling Identity Provider
Please enable the identity provider only if you encounter the Data Not Available error. Skip these instructions if the error does not occur.

-
Navigate to Setup > Settings > Identity > Identity Provider.
-
Click Enable Identity Provider. This action will generate a self-signed certificate.
-
Select the recently created self-signed certificate and click Save.
-
Upon confirmation in the prompted dialog box, you will see details of the identity provider setup.
Now you can proceed with the registration of the certificate.
Please do not share details of the identity provider setup with InCountry or any third party.
Prerequisites
The InCountry platform provides the OAuth2-based authorization. Before you register an endpoint, you need to do the following:
-
Create a Salesforce service of the Salesforce type.
Registering an endpoint
For the details on registering InCountry endpoints, please 📃 check our documentation.
-
In the App Launcher form, select InCountry.
-
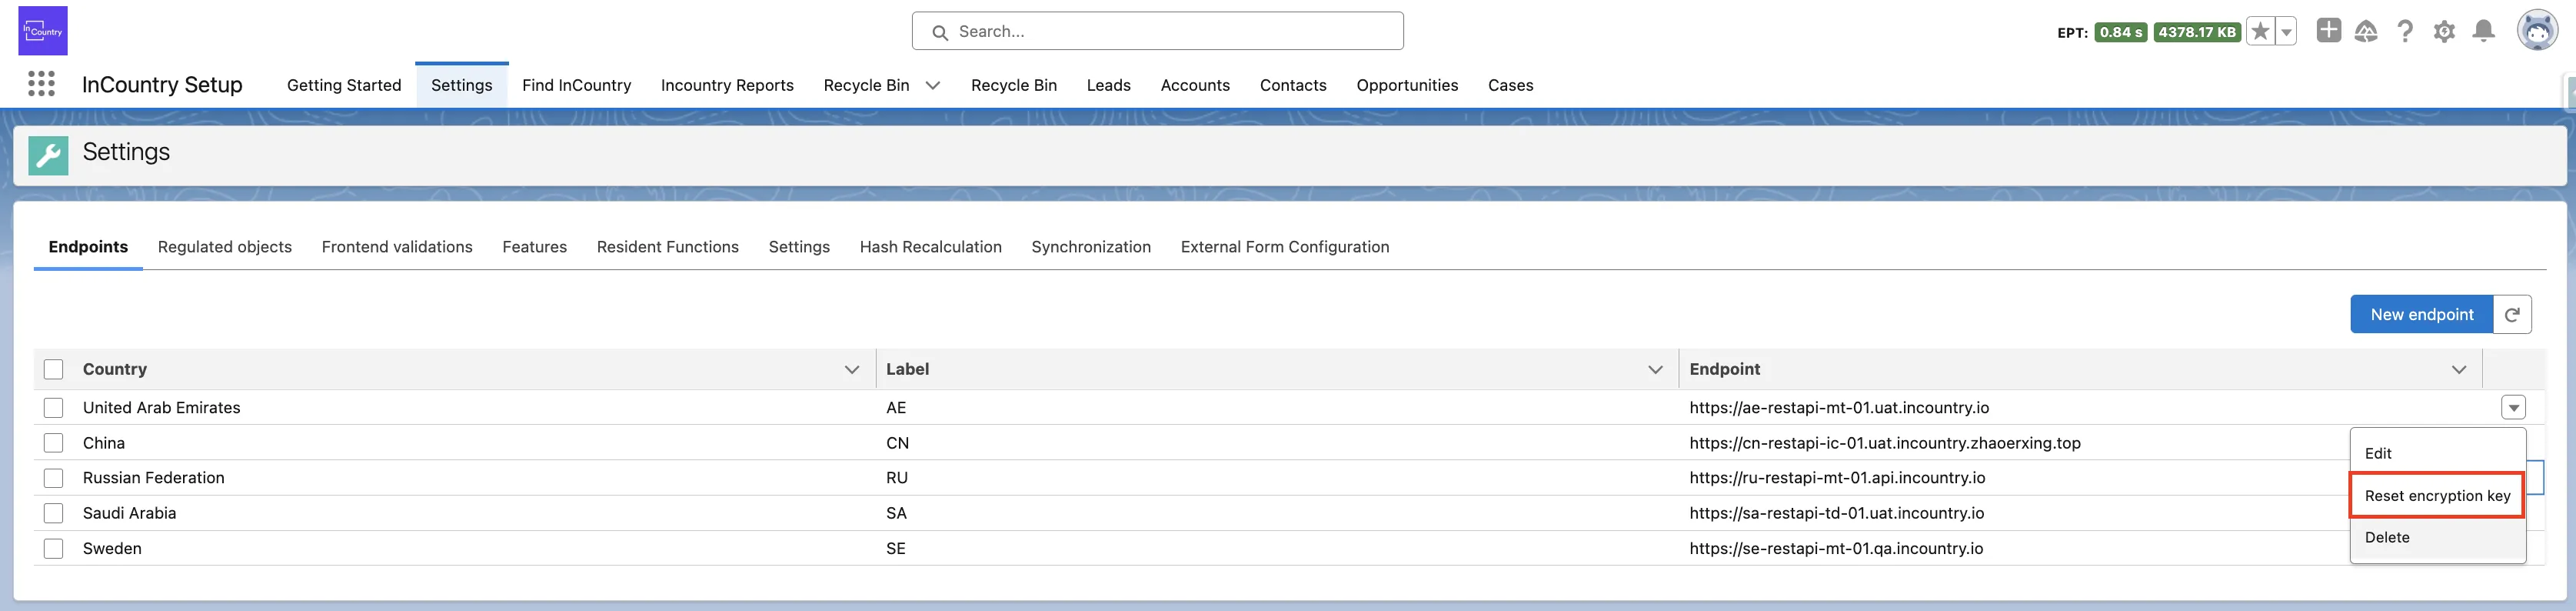
Open the Settings tab.
-
On the Endpoints tab, click New endpoint.
-
Enter credentials that you received when created a new service on the InCountry portal.
-
Click Create endpoint. Wait until the process of creating an endpoint is completed.
-
When complete, click Acknowledge.
-
Follow the instructions on the register a self-signed certificate form. For the details, please check our documentation.
-
When complete, click Next.
-
In the Certificate field, select the self-signed certificate.
-
Click Specified certification. The new endpoint has been created successfully.
-
Reset an encryption key for the required endpoint.
Configuring data regulation policies
For the details on configuration of data regulation policies, please 📃 check our documentation.
-
Select Settings, and then select the Regulated objects tab.
-
On the Regulated objects tab, click Regulate SF object.

-
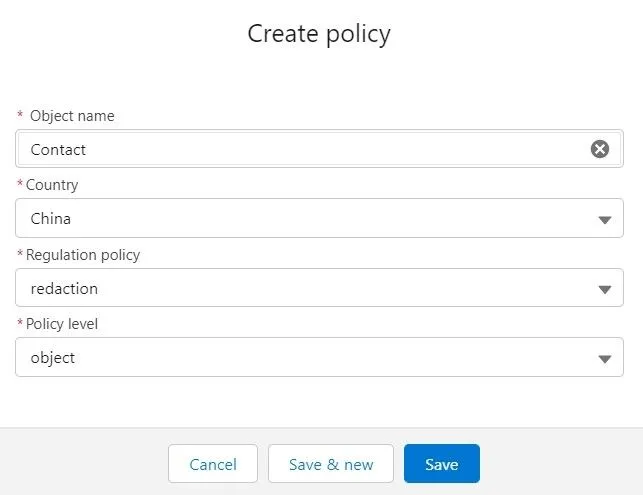
In the Create policy form, fill out the information about the new policy:
-
Click Save.

Configuring protected fields
For the details on the configuration of protected fields, please 📃 check our documentation.
-
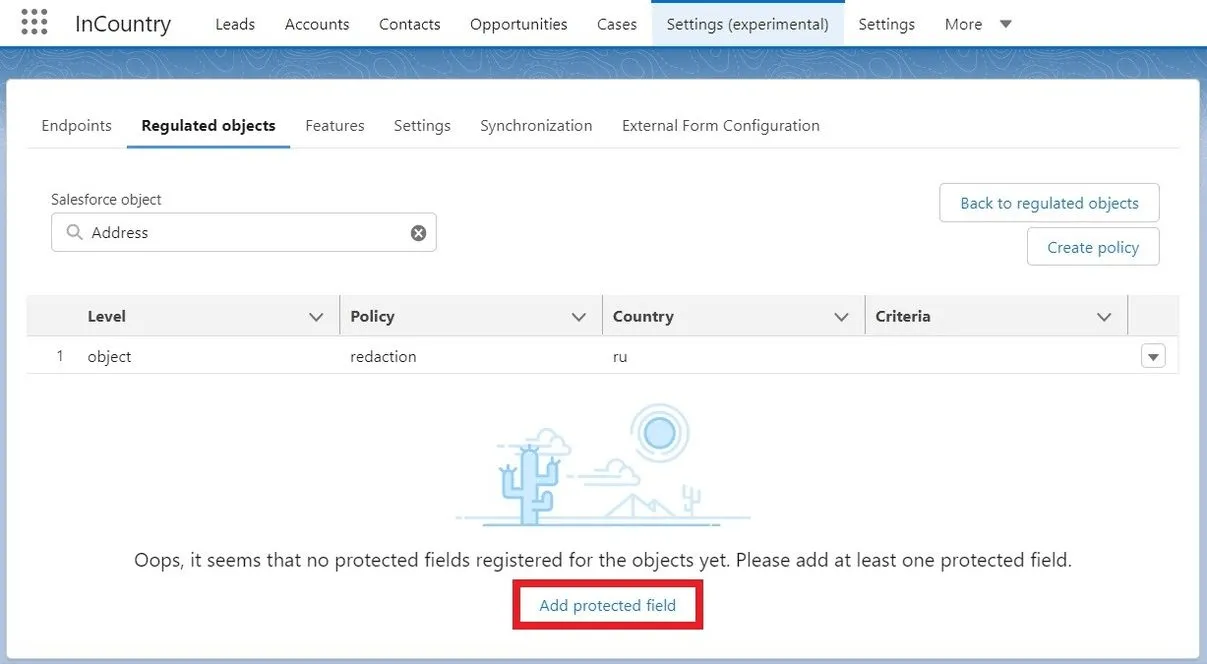
On the menu, select Settings, and then select the Regulated objects tab.
-
Select the Salesforce object which protected fields you want to add.
-
Click Add protected field.
-
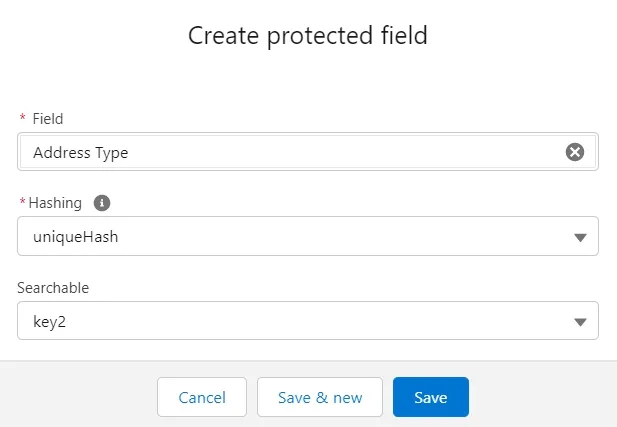
In the Create protected field form, fill out the information about the new protected field:
-
Click Save.
Swapping Salesforce components with InCountry UI components
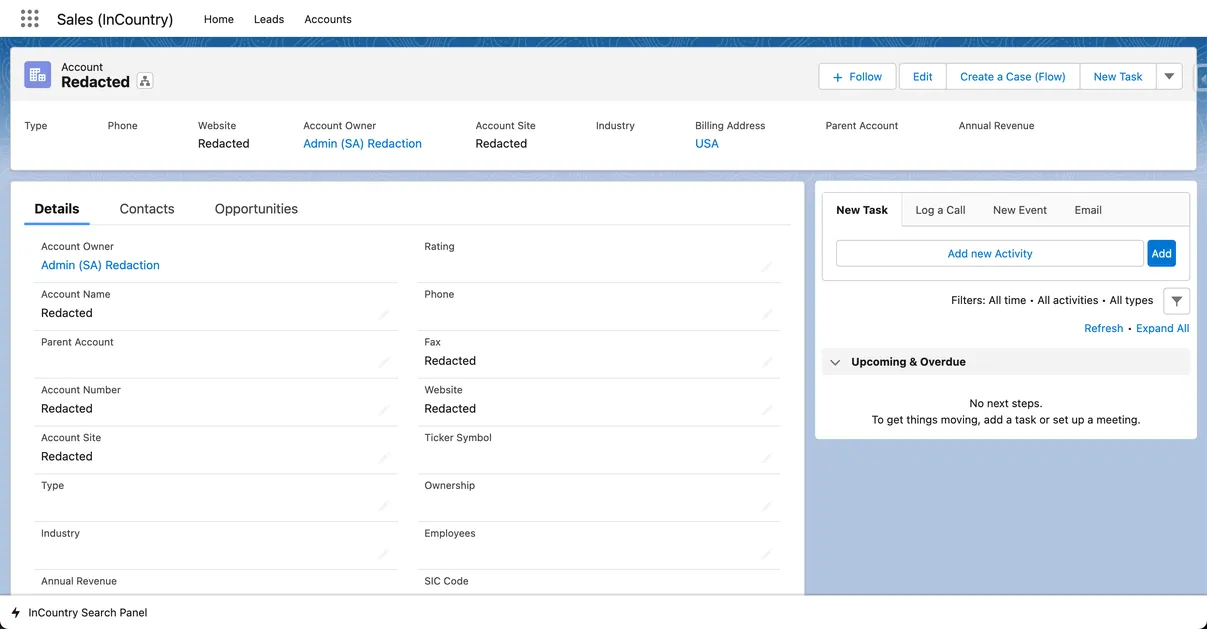
The InCountry Data Residency for Salesforce package provides proprietary components meeting compliance requirements.
To show records with protected fields according to the redaction data regulation policy, you need to swap Salesforce components with InCountry UI components. This can be achieved in the following way:
-
Select the existing application for which InCountry UI components should be applied or create a new application to manage regulated data.
-
-
Configure restrictions to tabs in user profiles.
-
Replace standard tabs with customized tabs.
-
Additional configuration
-
Register custom objects within the InCountry Data Residency application.
-
Configure the search panel to look up records in Salesforce.
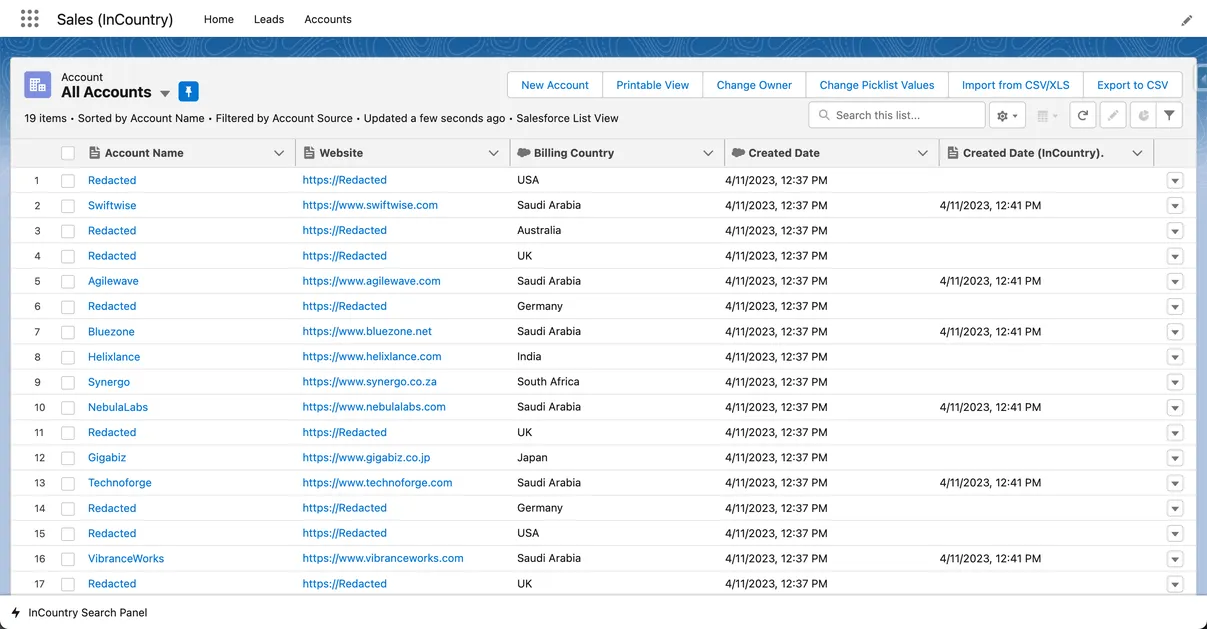
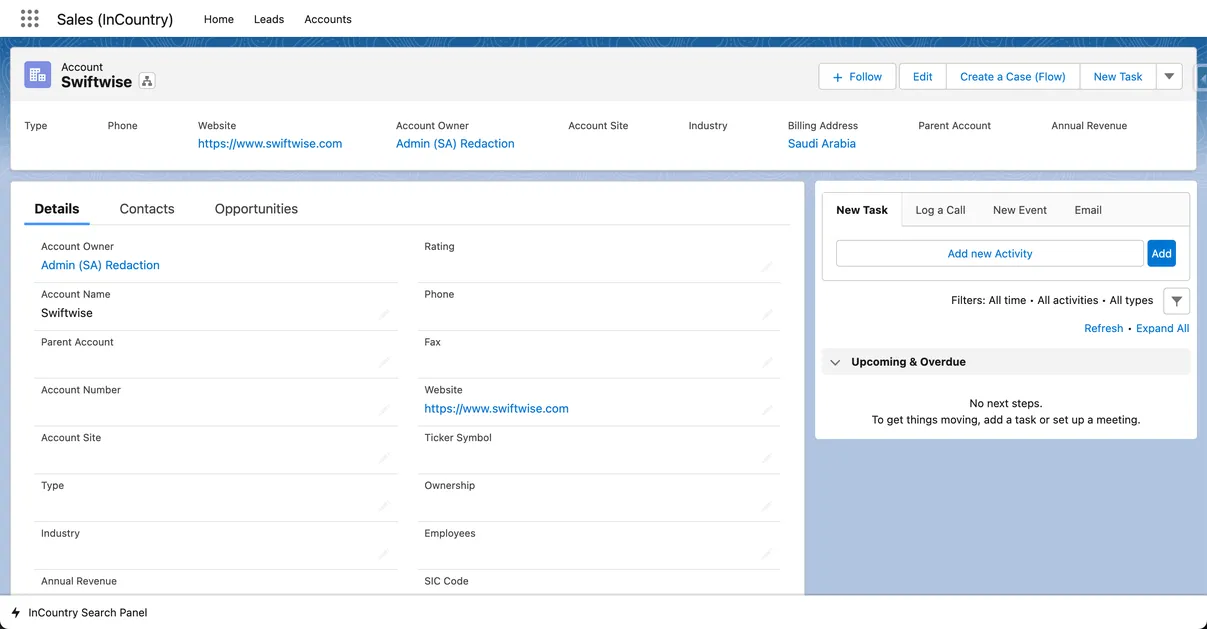
Using the application
Once you have configured the application correctly, you can proceed with the management of records containing regulated data in Salesforce.