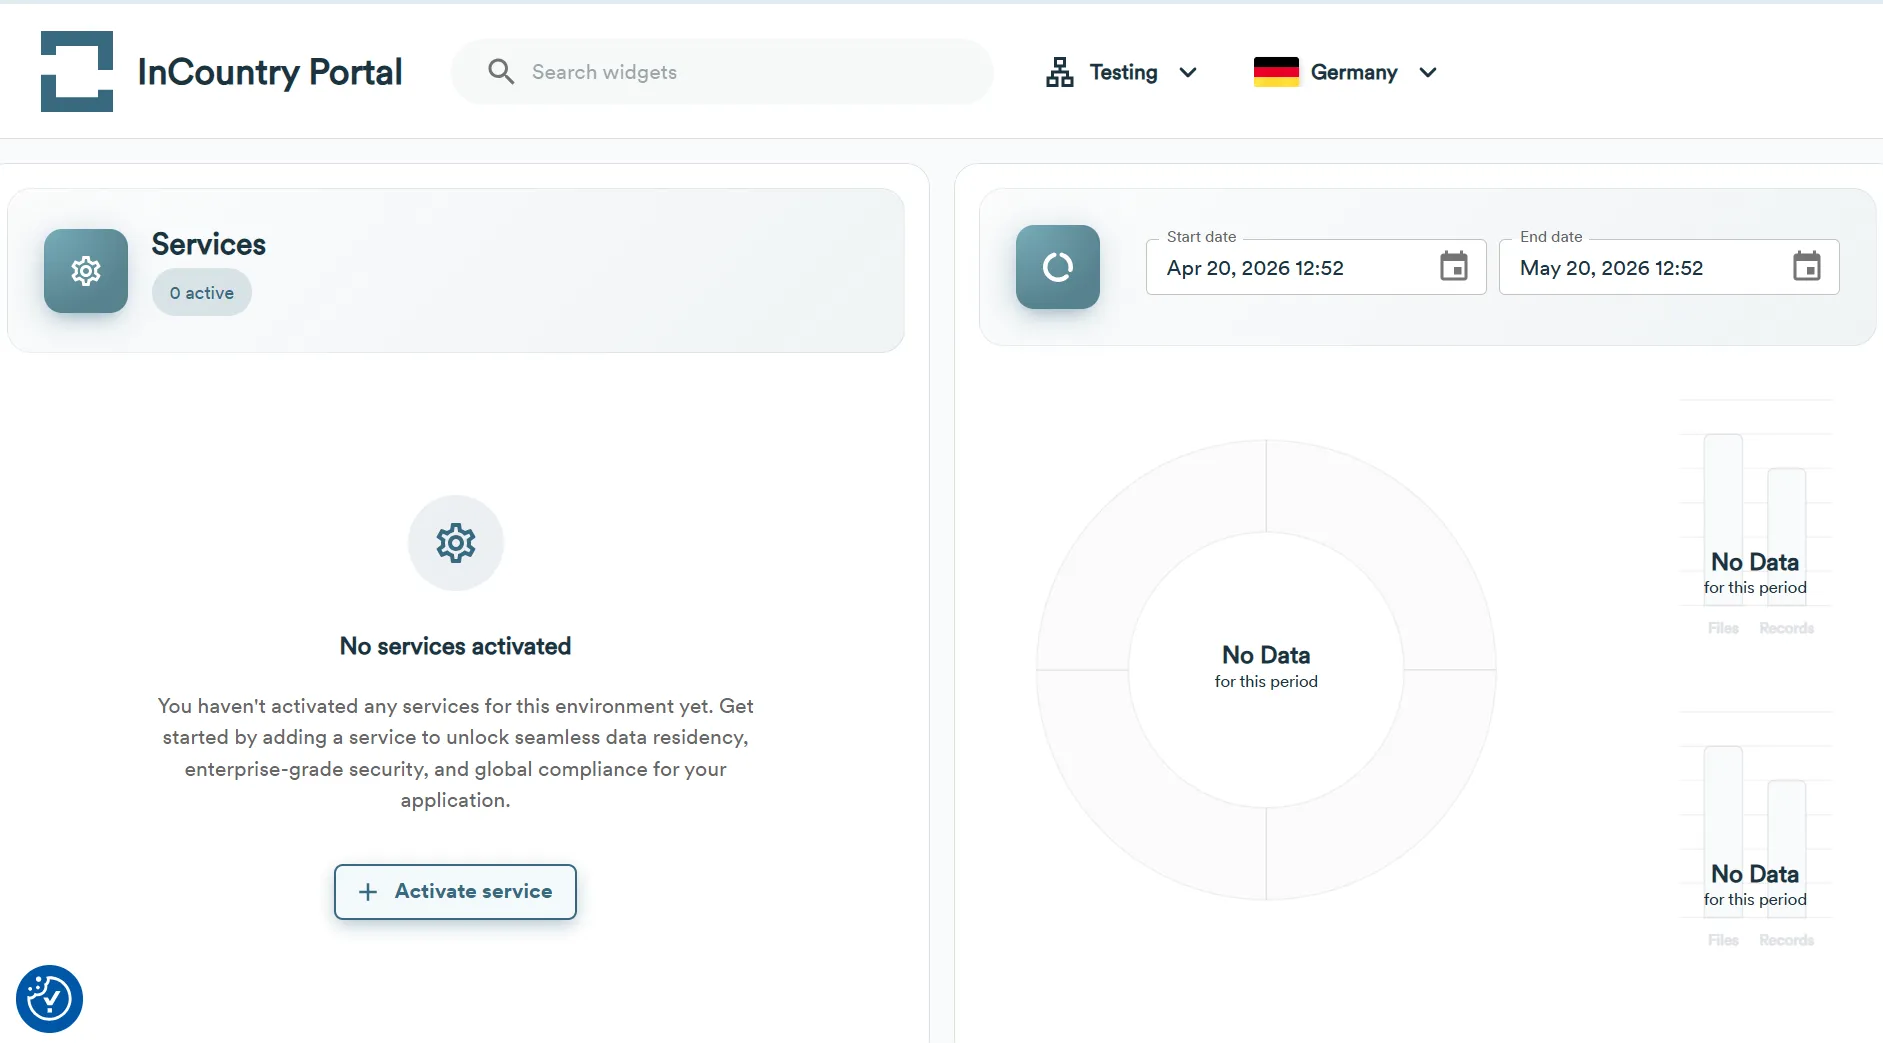
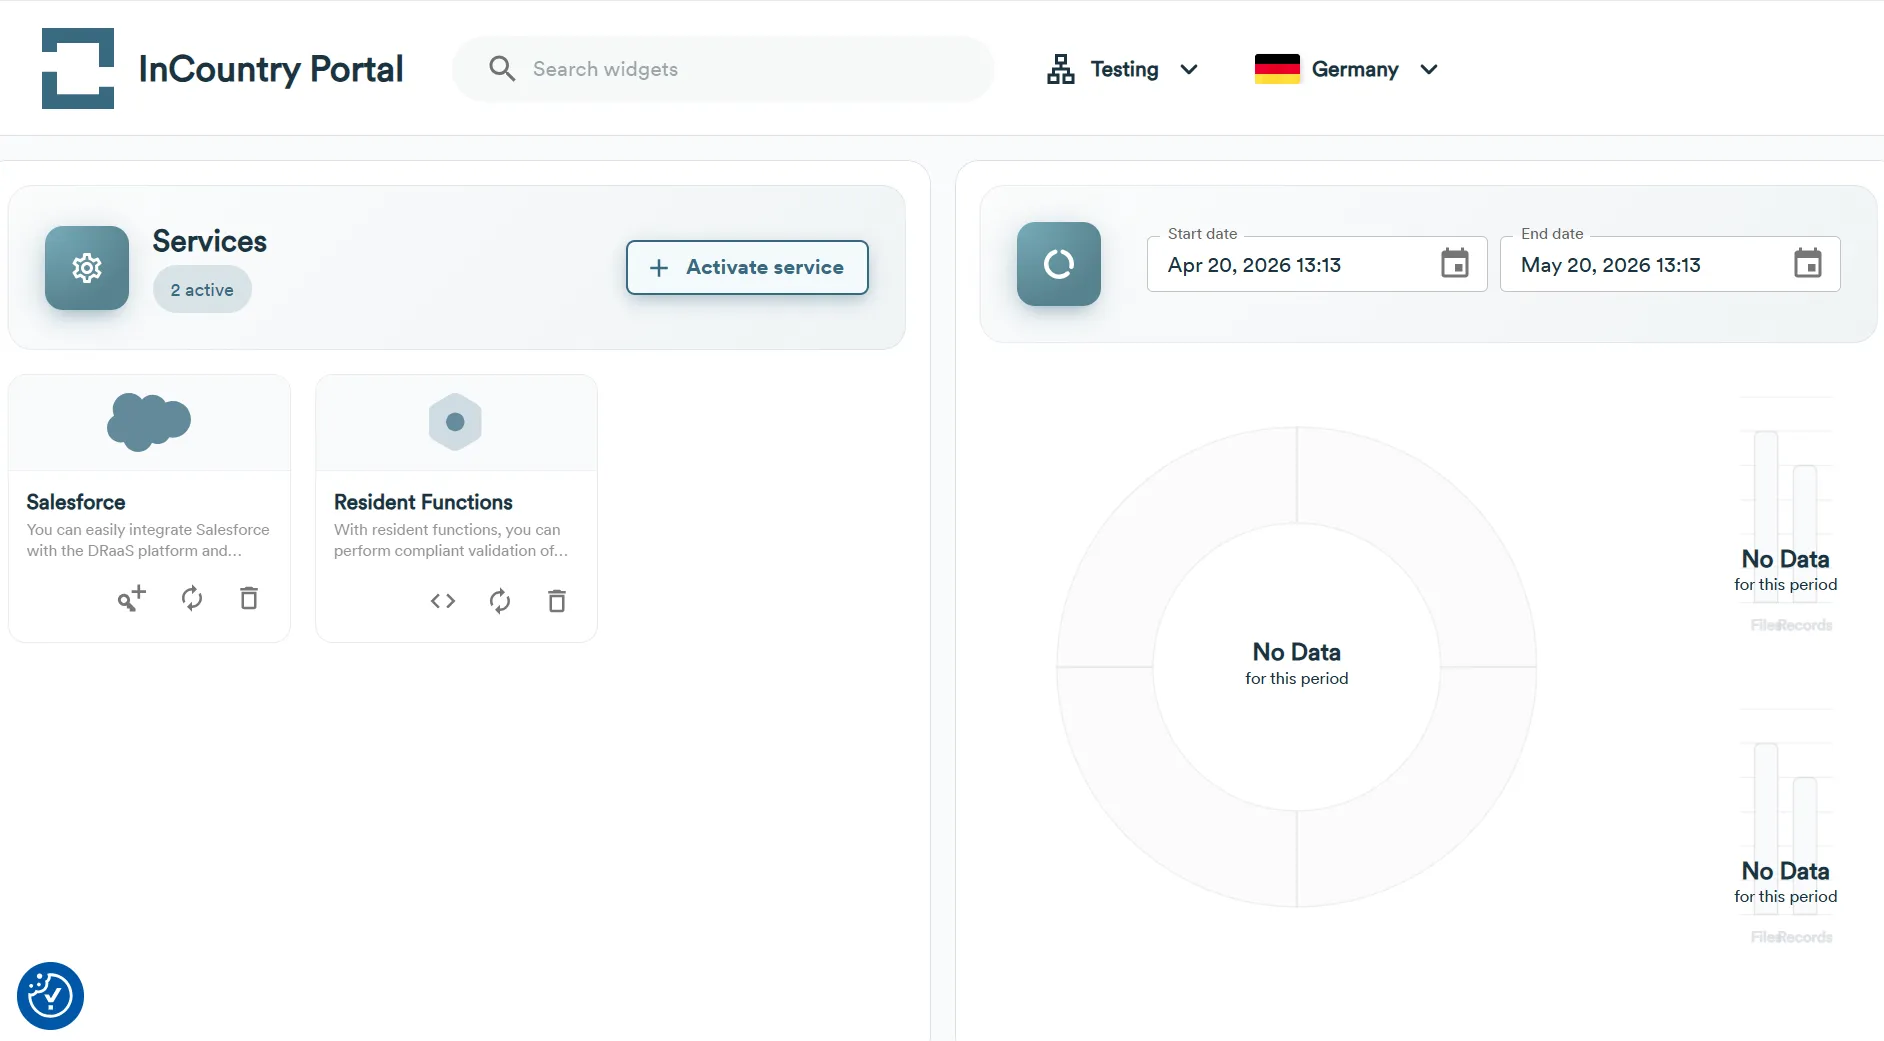
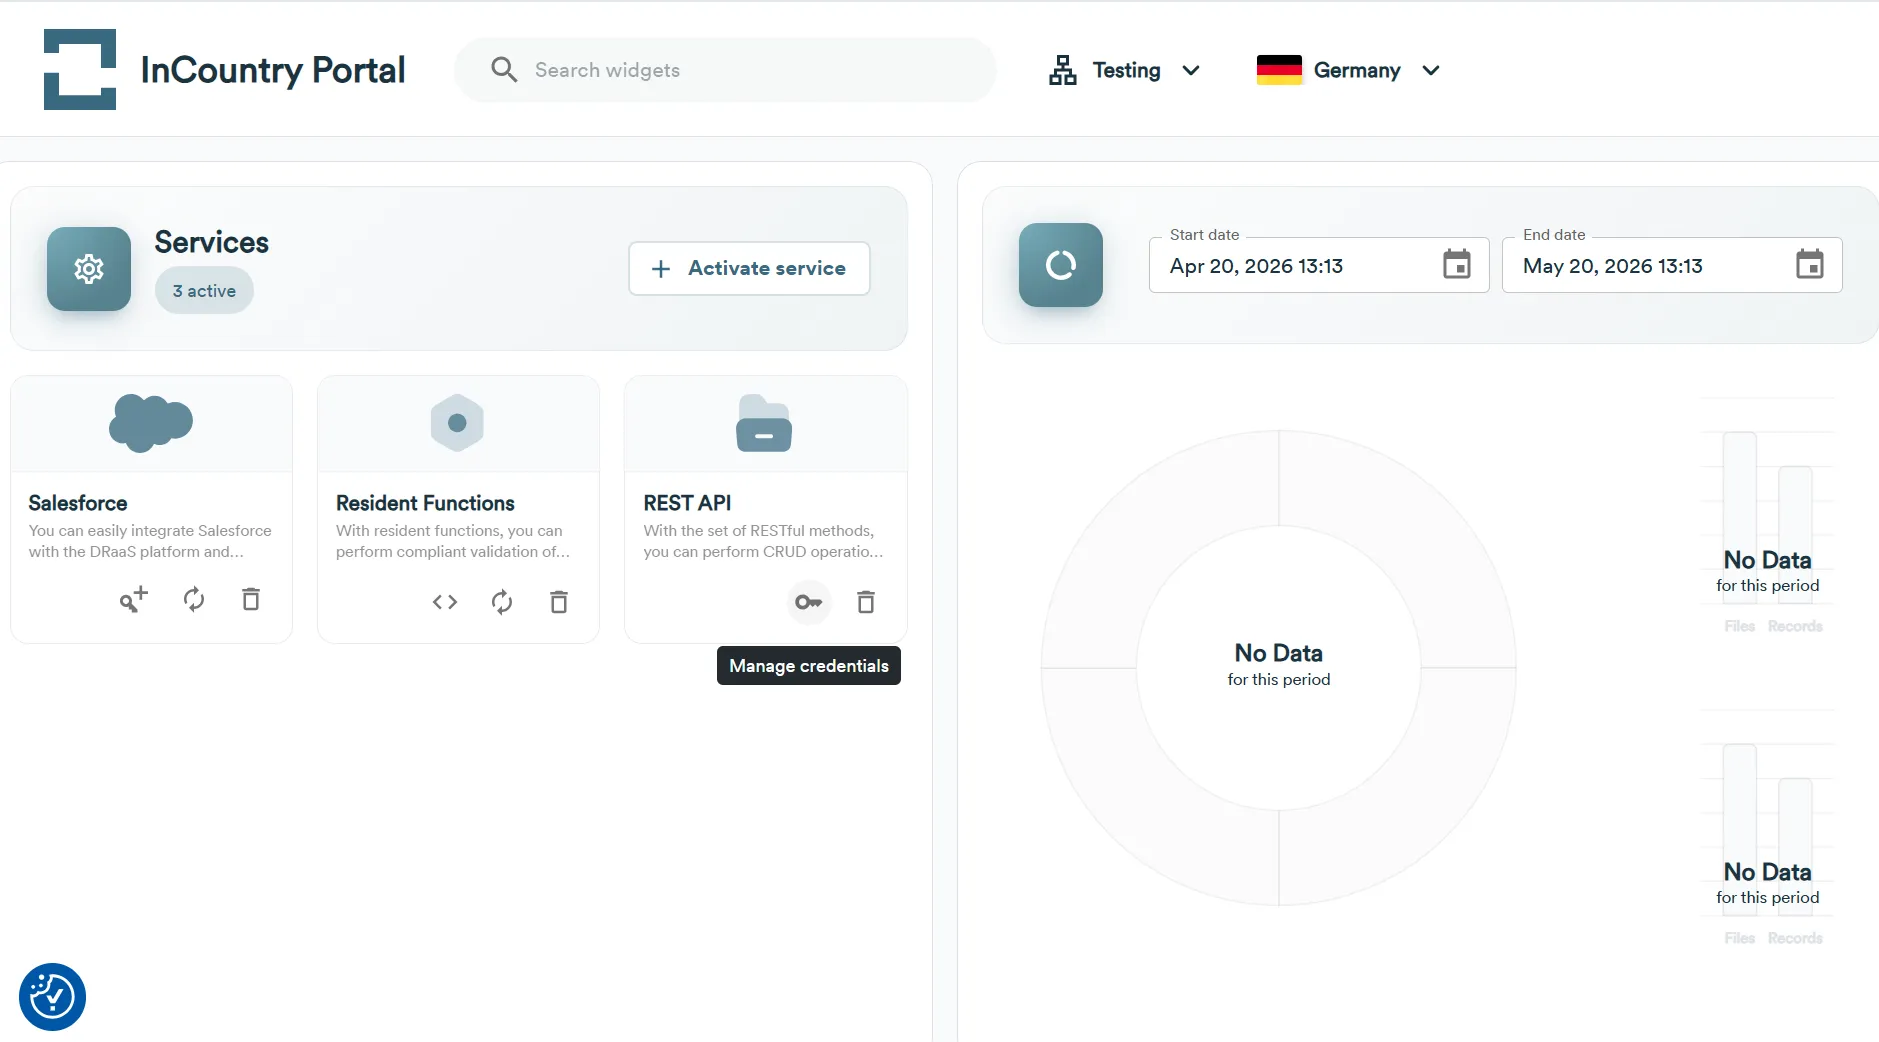
Services
A service is an entity that represents a connection point enabling integration between your system and other components of the InCountry platform or SaaS services (such as Salesforce).
Please note that you can create only one service of each type per country. This means you cannot create multiple Salesforce, resident functions, or REST API services for the same country within the same environment.
Creating new services
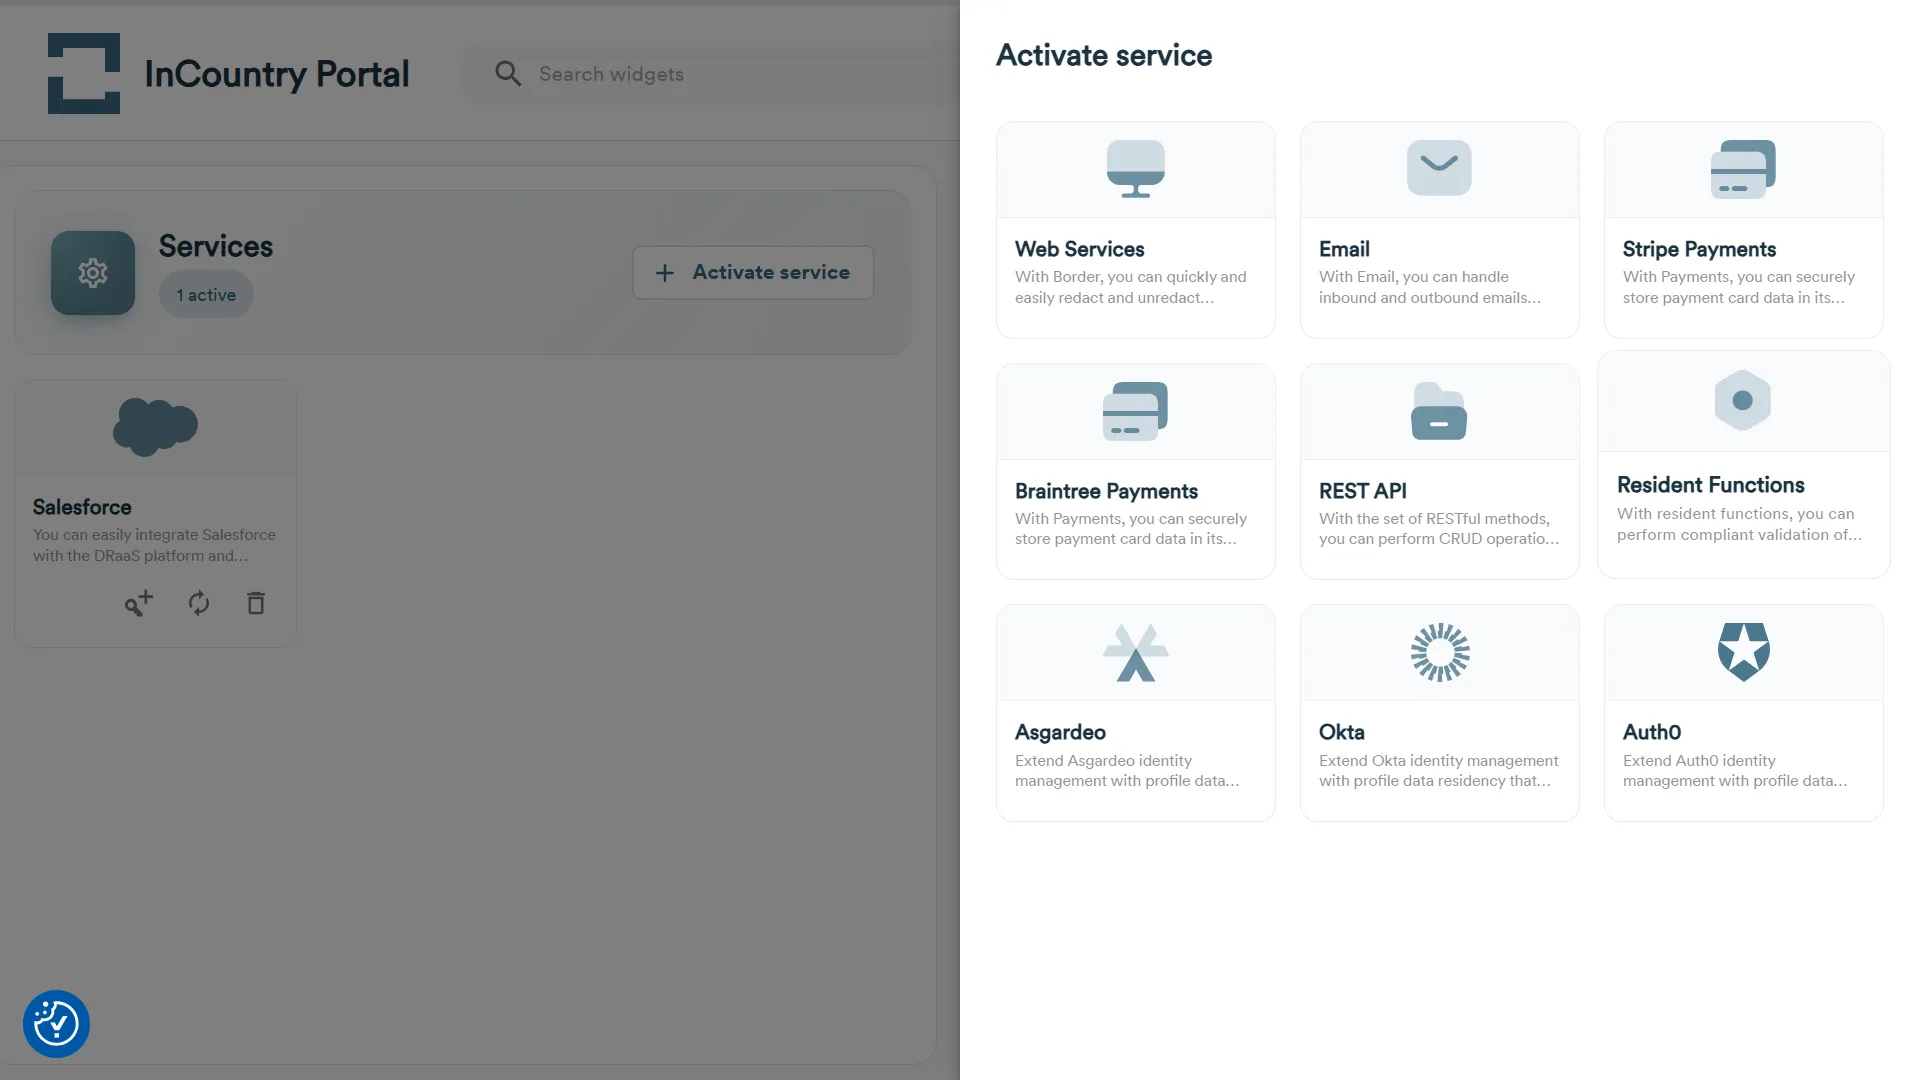
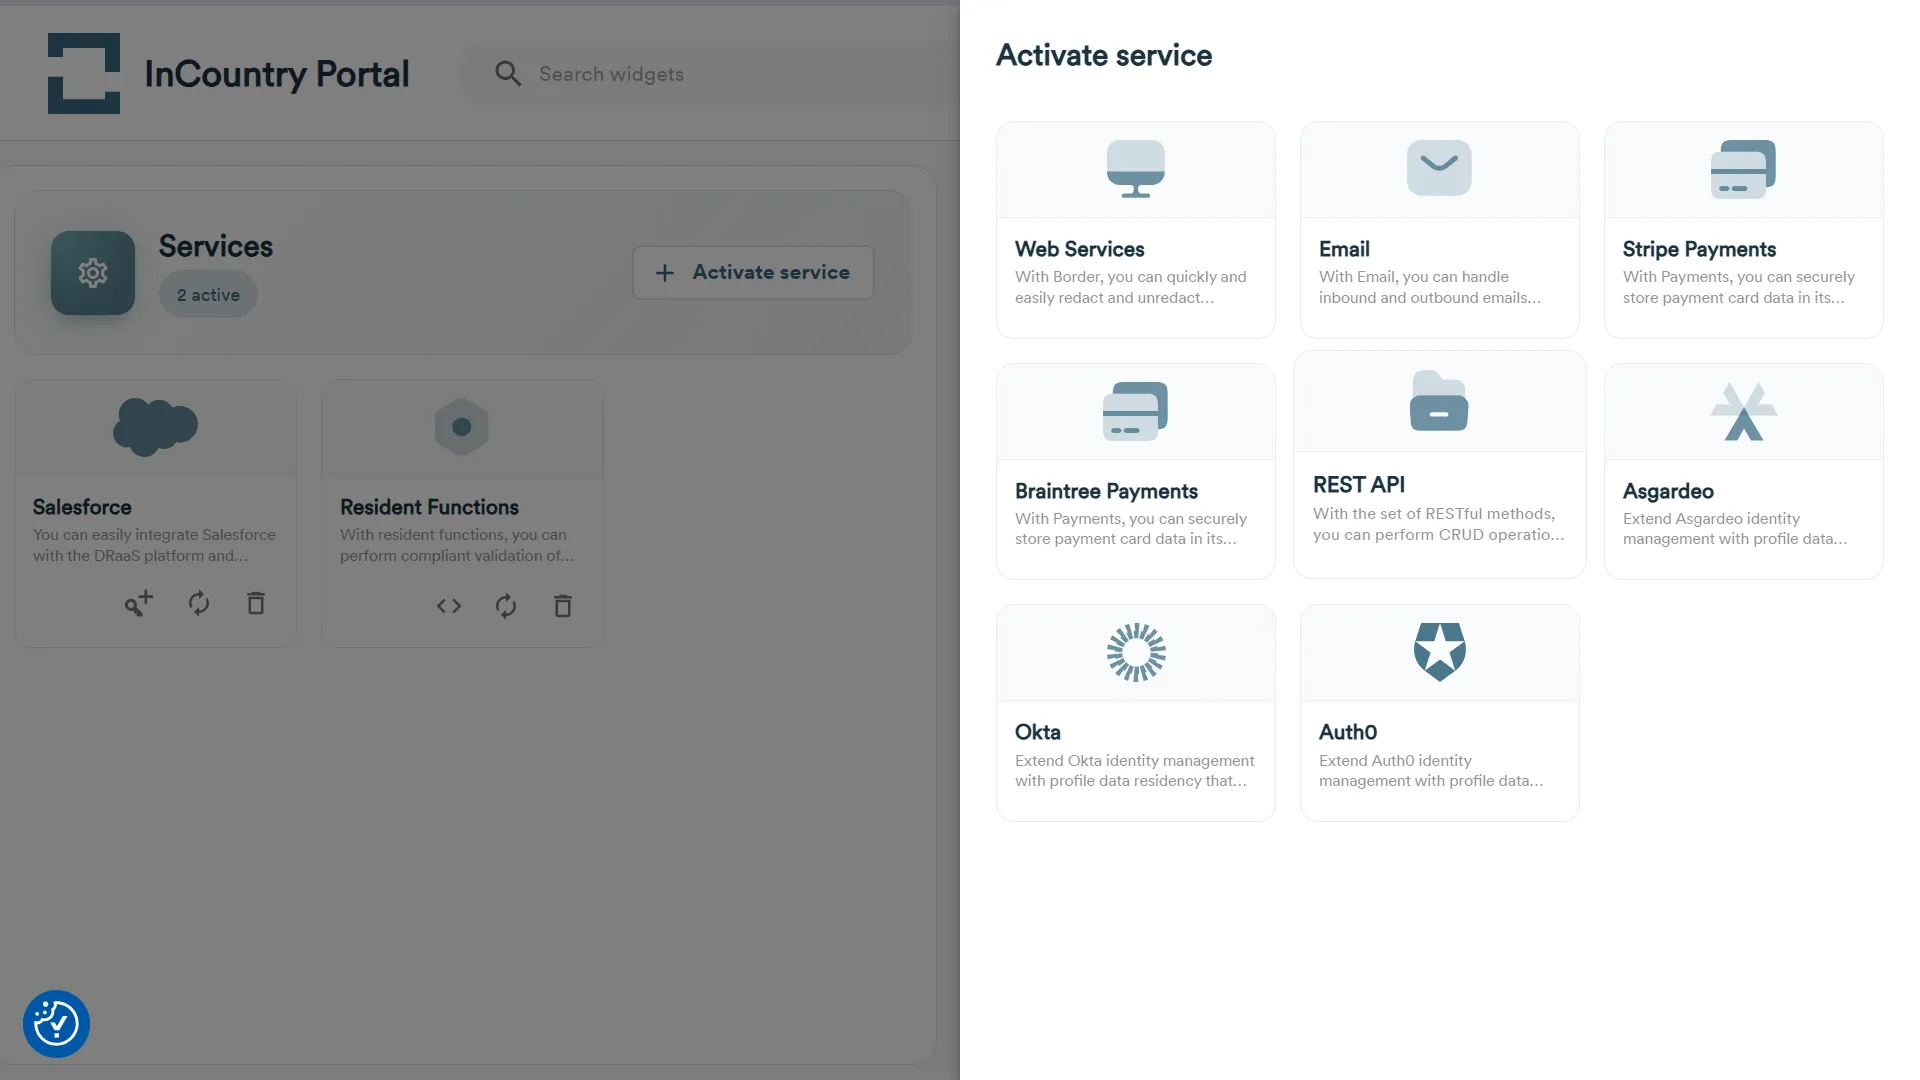
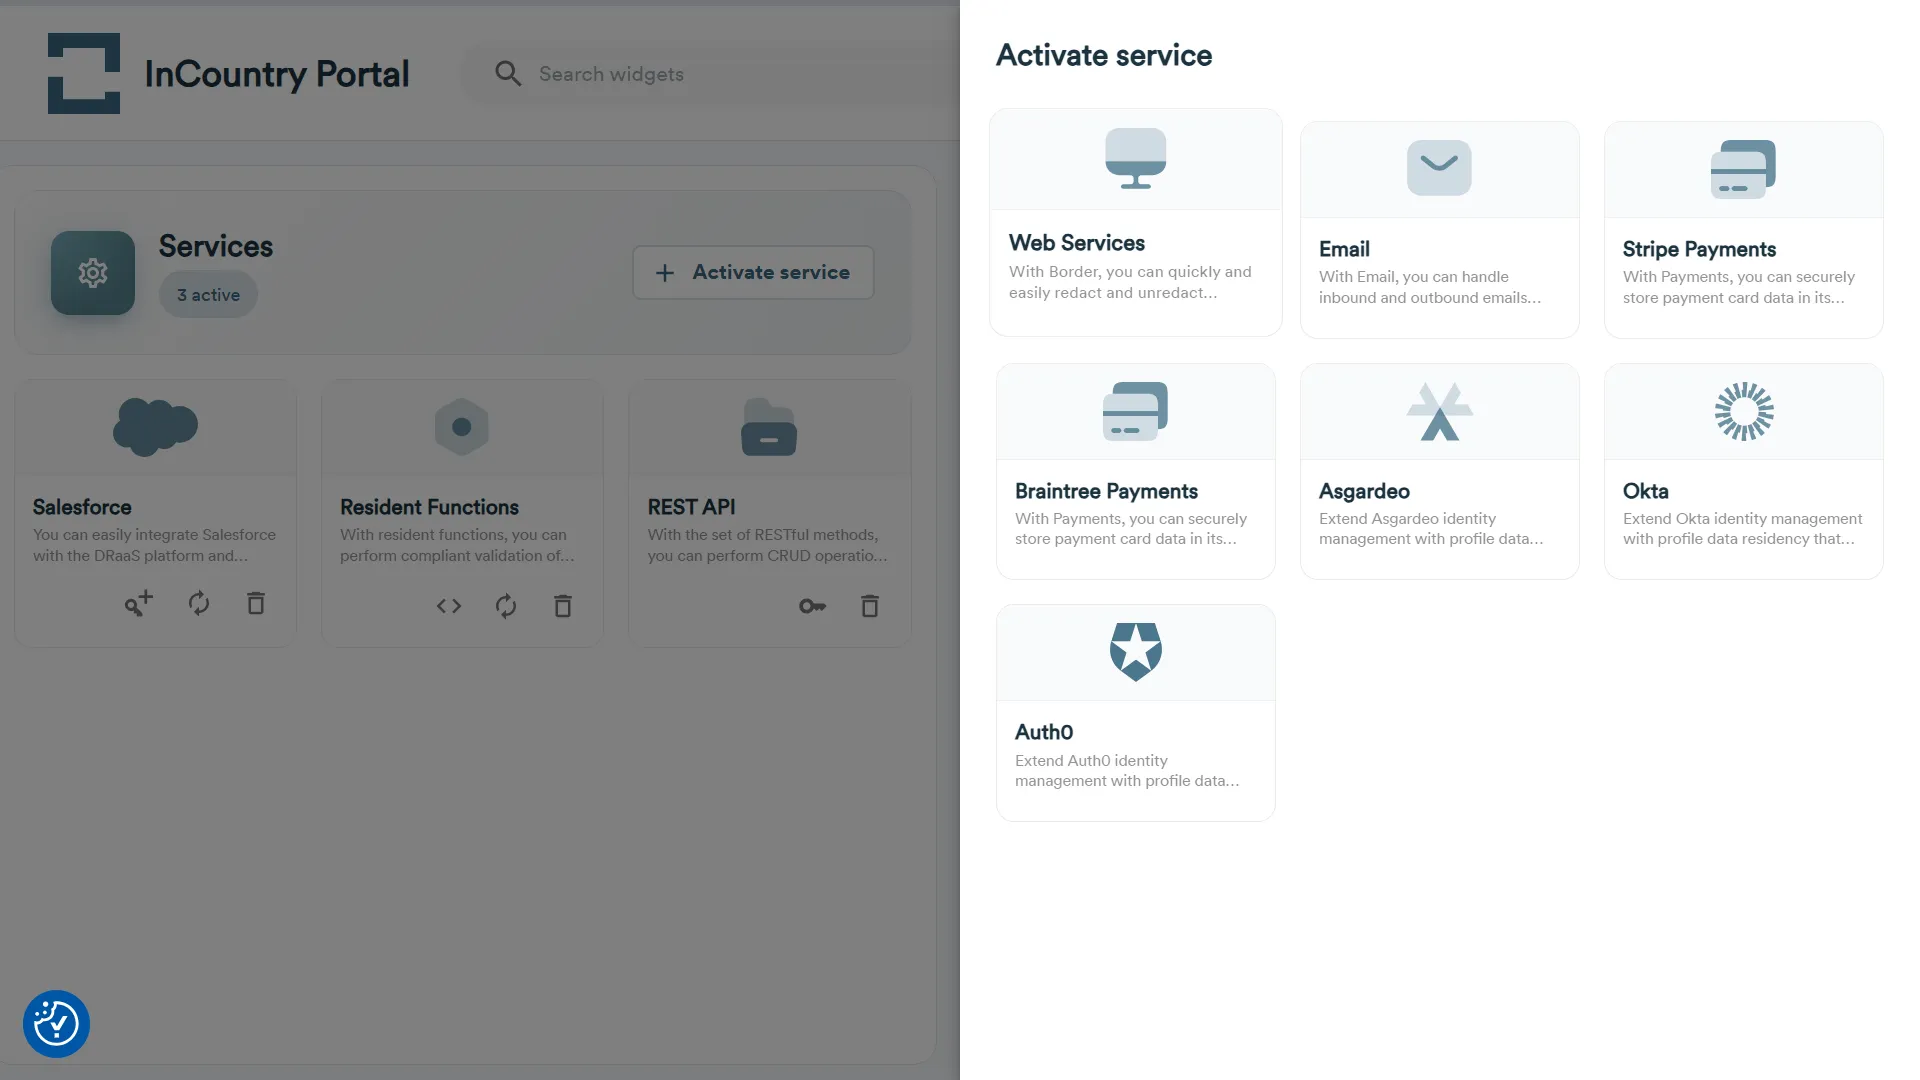
The InCountry Portal does not automatically create a default service when you create a default environment. You can manually create one of the four types of services as follows:
- Salesforce service is used for the operation of the InCountry Data Residency for Salesforce package.
- Resident Functions service is used for the management and execution of resident functions on the target Point-of-Presence (PoP).
- REST API service is used for data communication with REST API (for server-to-server connection). For the details on how to use it, please check the REST API documentation.
- Web Services service is used for data communication through Border and redaction / unredaction of regulated data processed by Border.
Creating a new Salesforce service
- From the top menu, select the environment and country where you wish to create a new service, then navigate to the Services widget.

- Click the Activate service button.
- On the Activate Service page, select the Salesforce service.
- On the page with the created Salesforce service, save the Environment ID, Client ID, Client Secret, Rest API address, and Subject Claim. To download a text file with all these credentials, click the Download button. To copy these credentials to the clipboard, click the Copy all button.
- When complete, click the Close button.

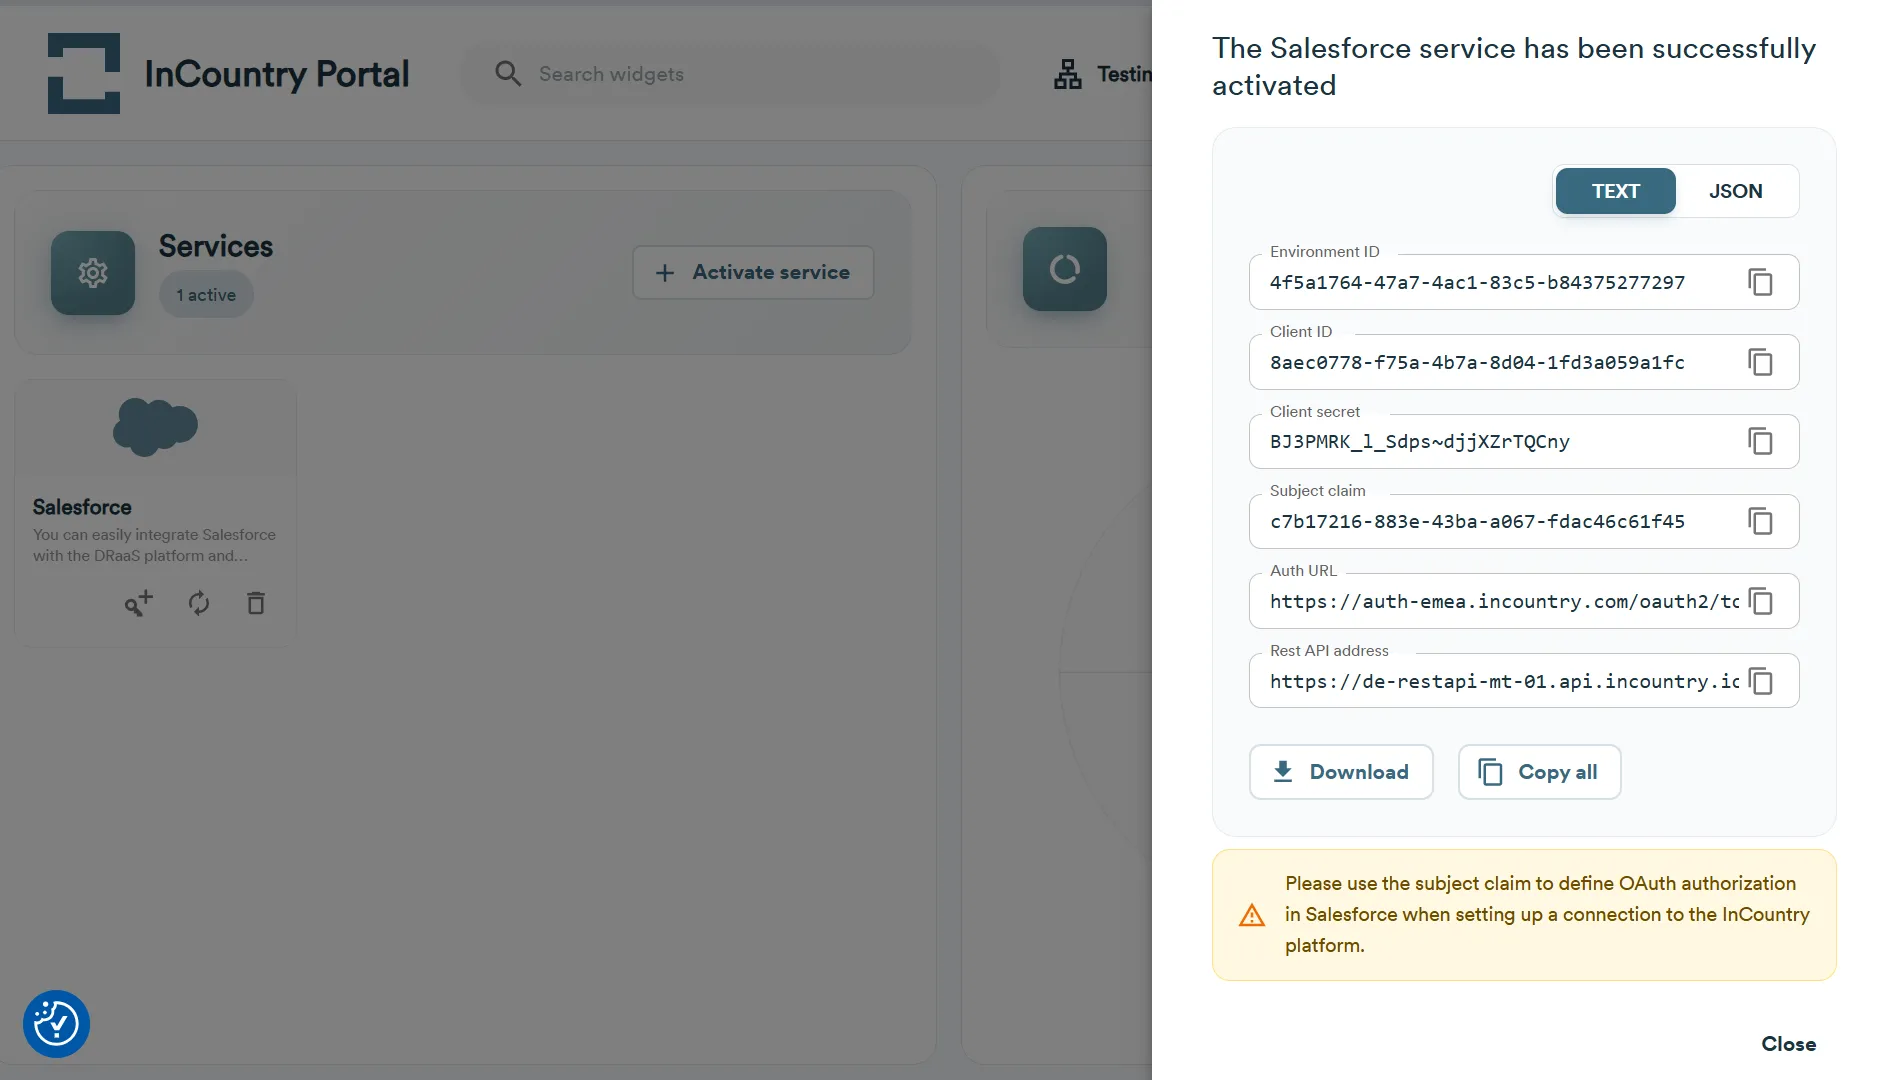
Use the received credentials to establish a connection to the InCountry platform in the InCountry Data Residency for Salesforce package and to configure endpoints. Please do not forget to save the subject claim as it is used as a unique identifier of the tenant on the InCountry platform.
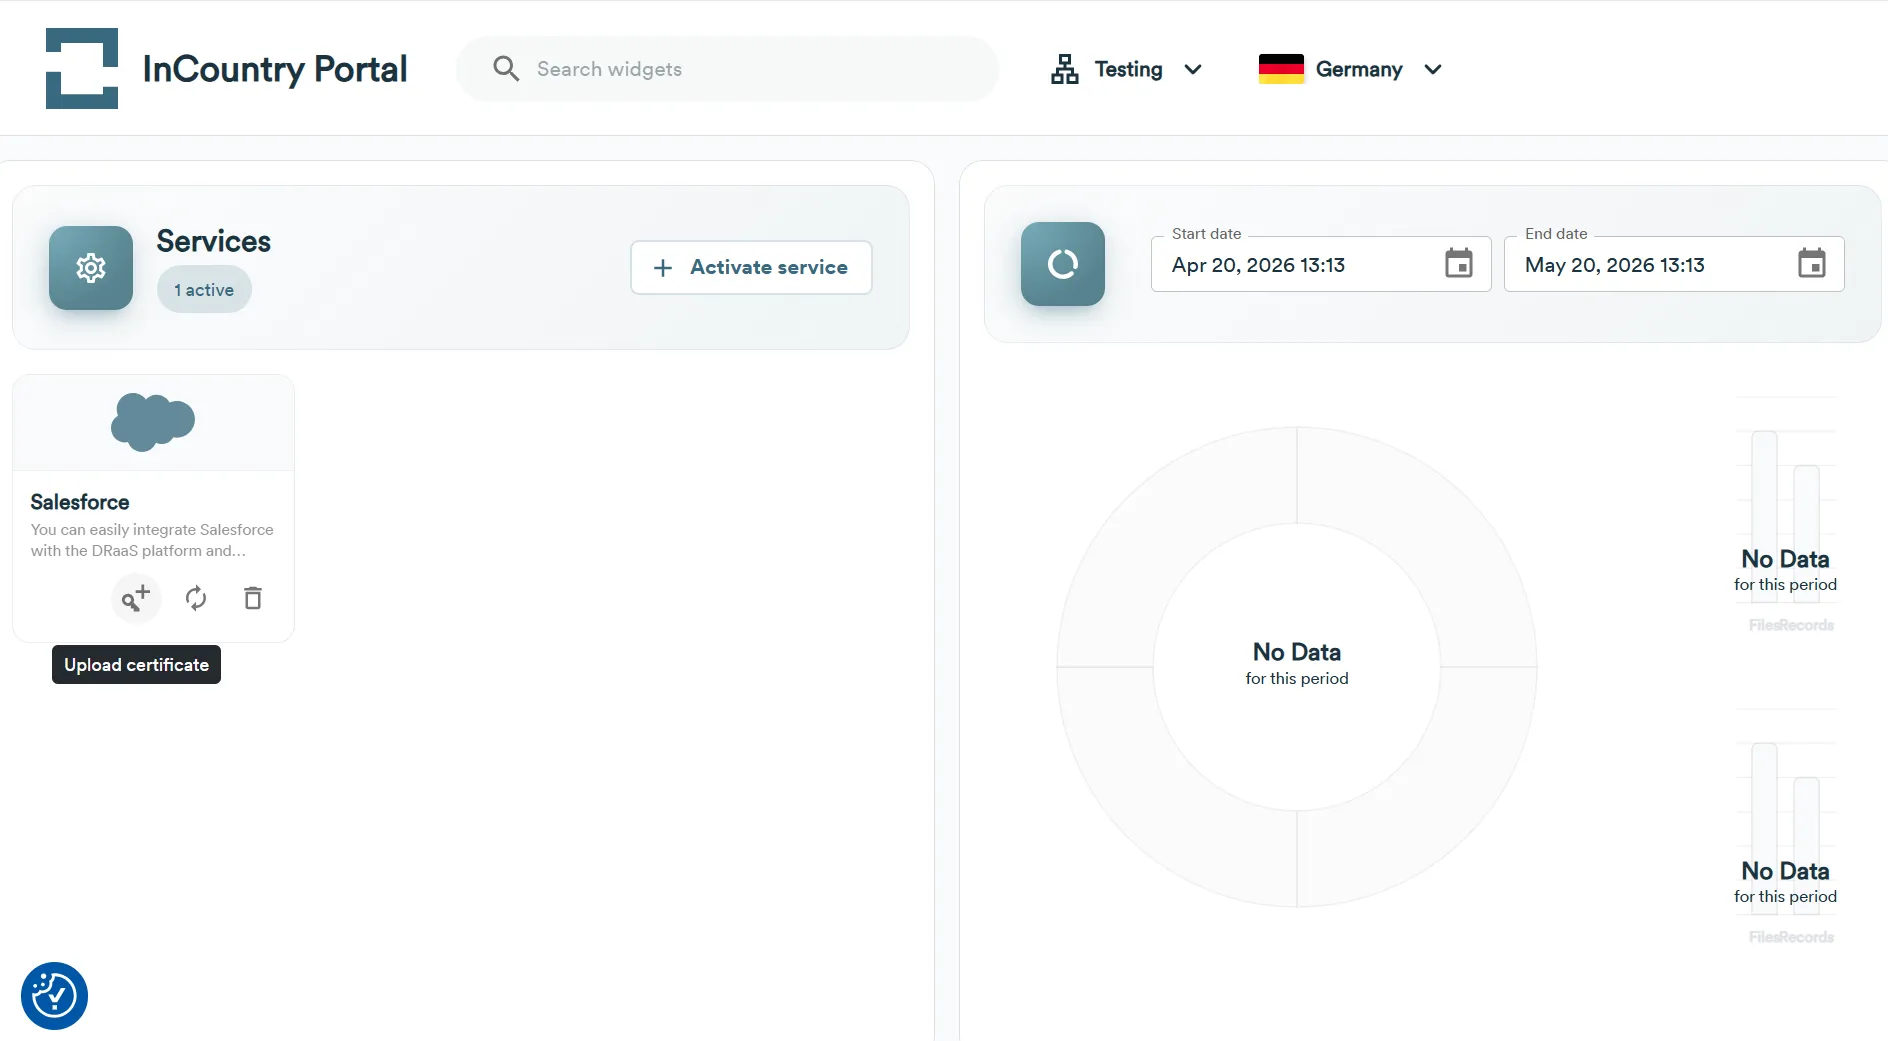
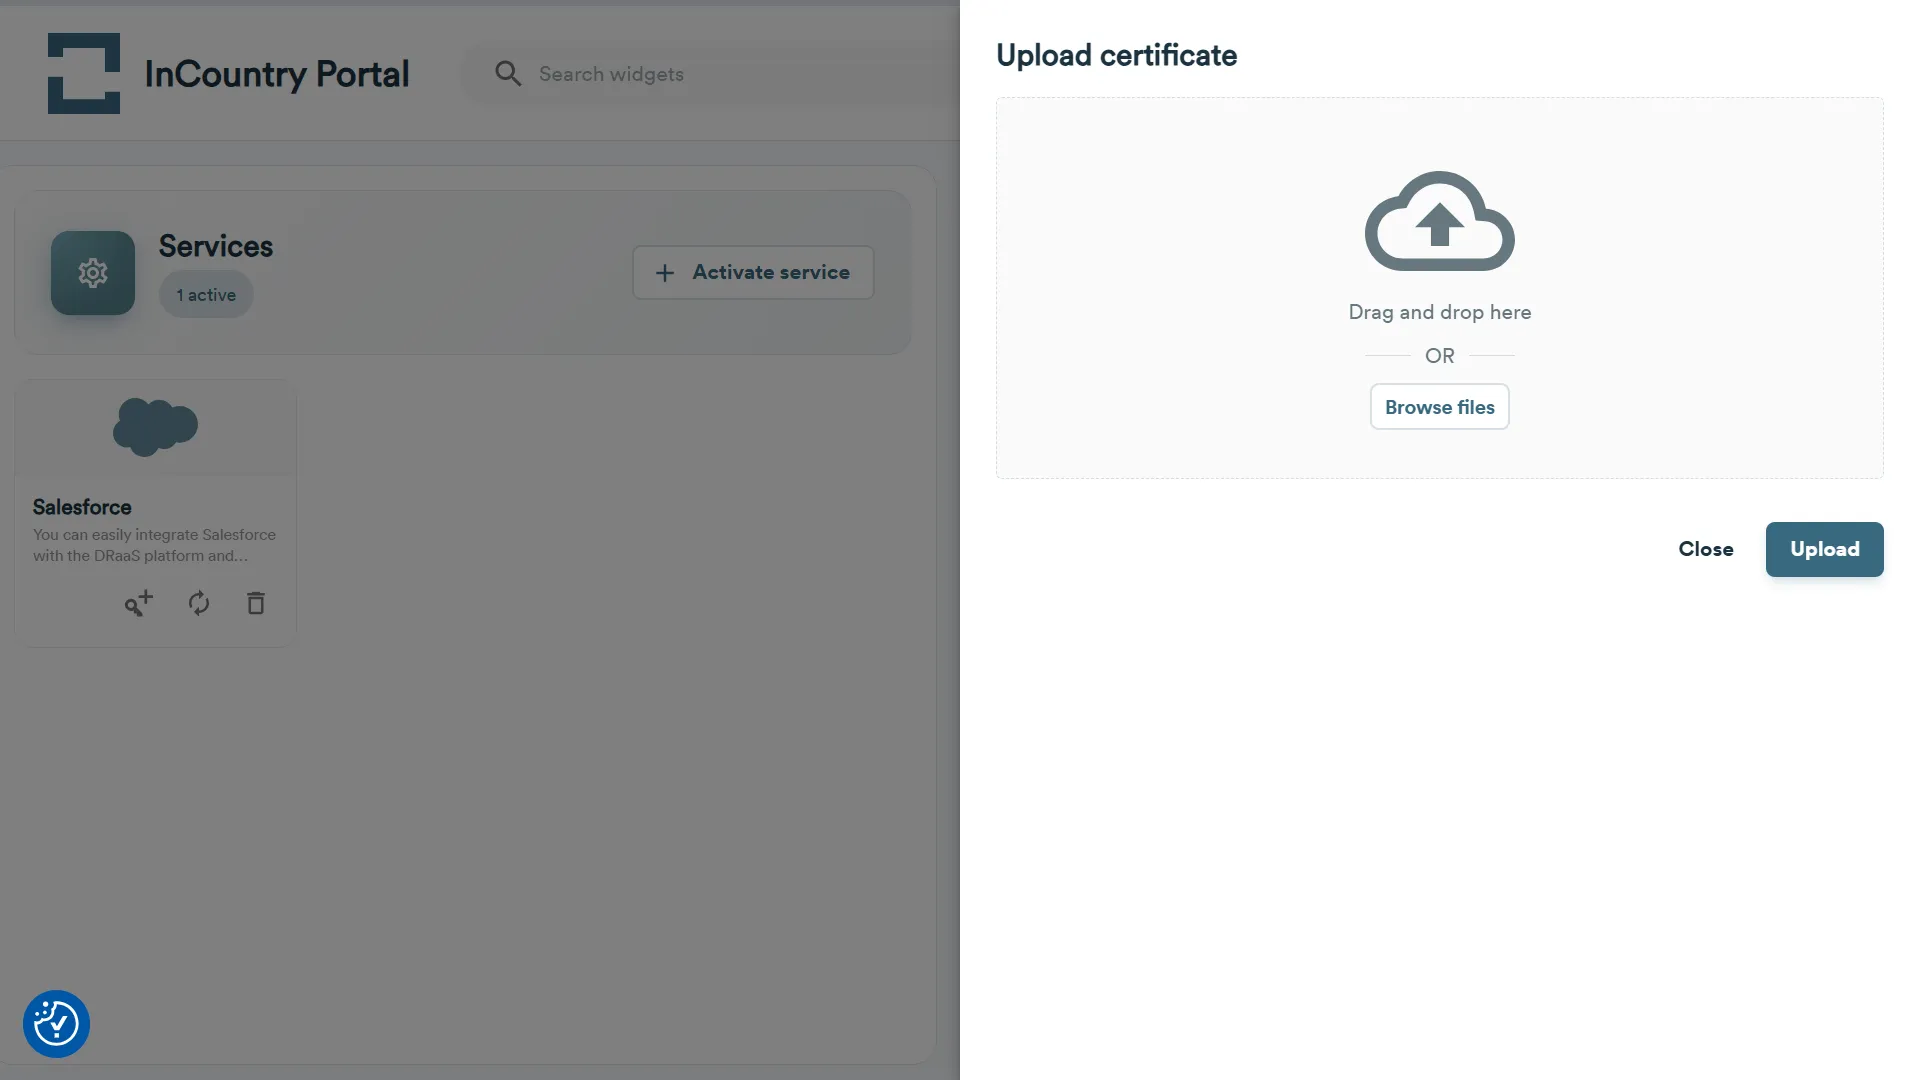
Uploading the public certificate
Before uploading a public certificate to InCountry Portal, please configure OAuth2 authorization in Salesforce as described in our documentation.
Once you have created the Salesforce service and registered a self-signed certificate in Salesforce, you need to upload the public certificate in the CRT format to the InCountry Portal.
- From the top menu, select the environment and country where you wish to create a new service, then navigate to the Services widget.
- In the Salesforce widget, click the Upload certificate icon.
- On the Upload certificate page, select the public certificate you downloaded from Salesforce.
- Click the Upload button.
Salesforce generates a certificate for one year, after this period you need to re-generate the certificate and upload its new version on the InCountry Portal. Click the Replace Certificate icon and upload a new version of the certificate. The procedure is quite similar to certificate upload.
Creating a new Resident Functions service
-
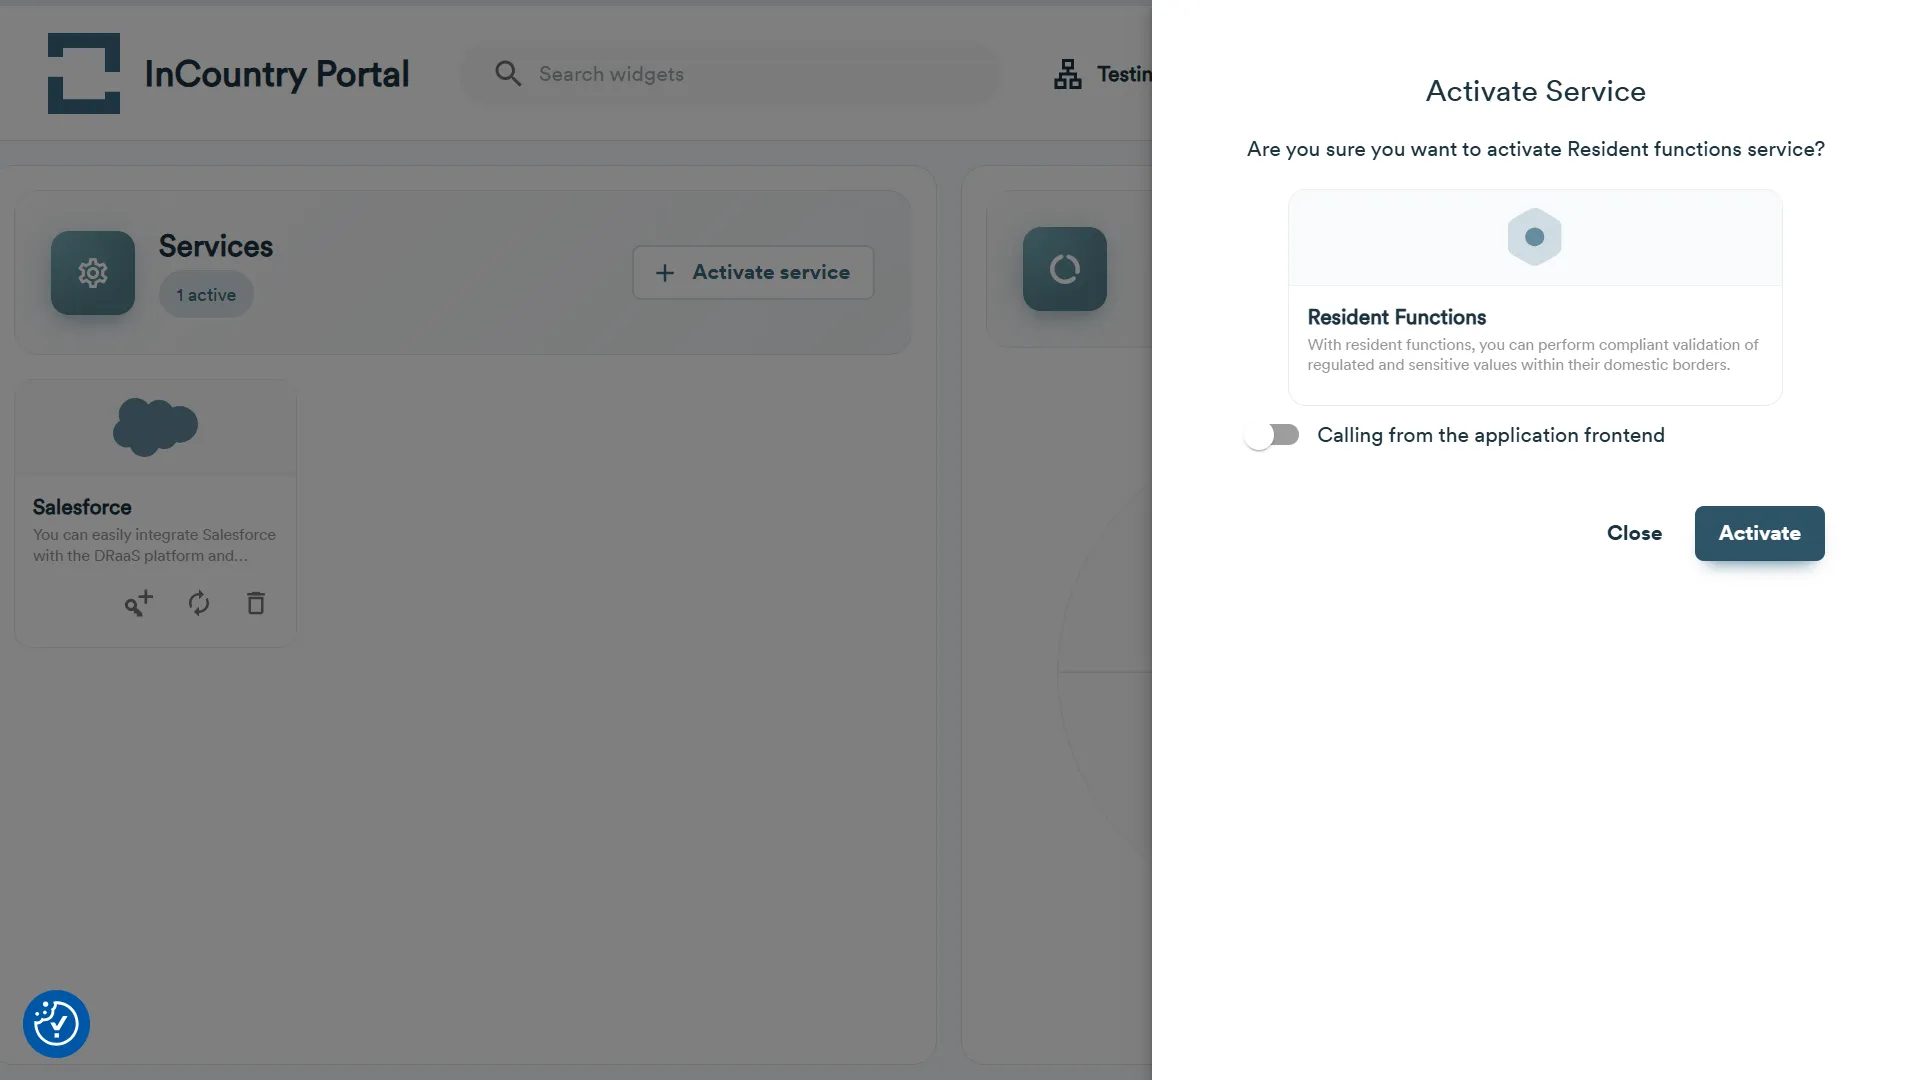
From the top menu, select the environment and country where you wish to create a new service, then navigate to the Services widget.
-
Click the Activate service button.
-
On the Activate Service page, select the Resident Functions service.
-
Click the Activate button.
-
On the page with the created Resident Functions service, save the Environment ID, Client ID, Client Secret, and Rest API address. To download a text file with all these credentials, click the Download button. To copy these credentials to the clipboard, click the Copy all button.
-
When complete, click the Close button.
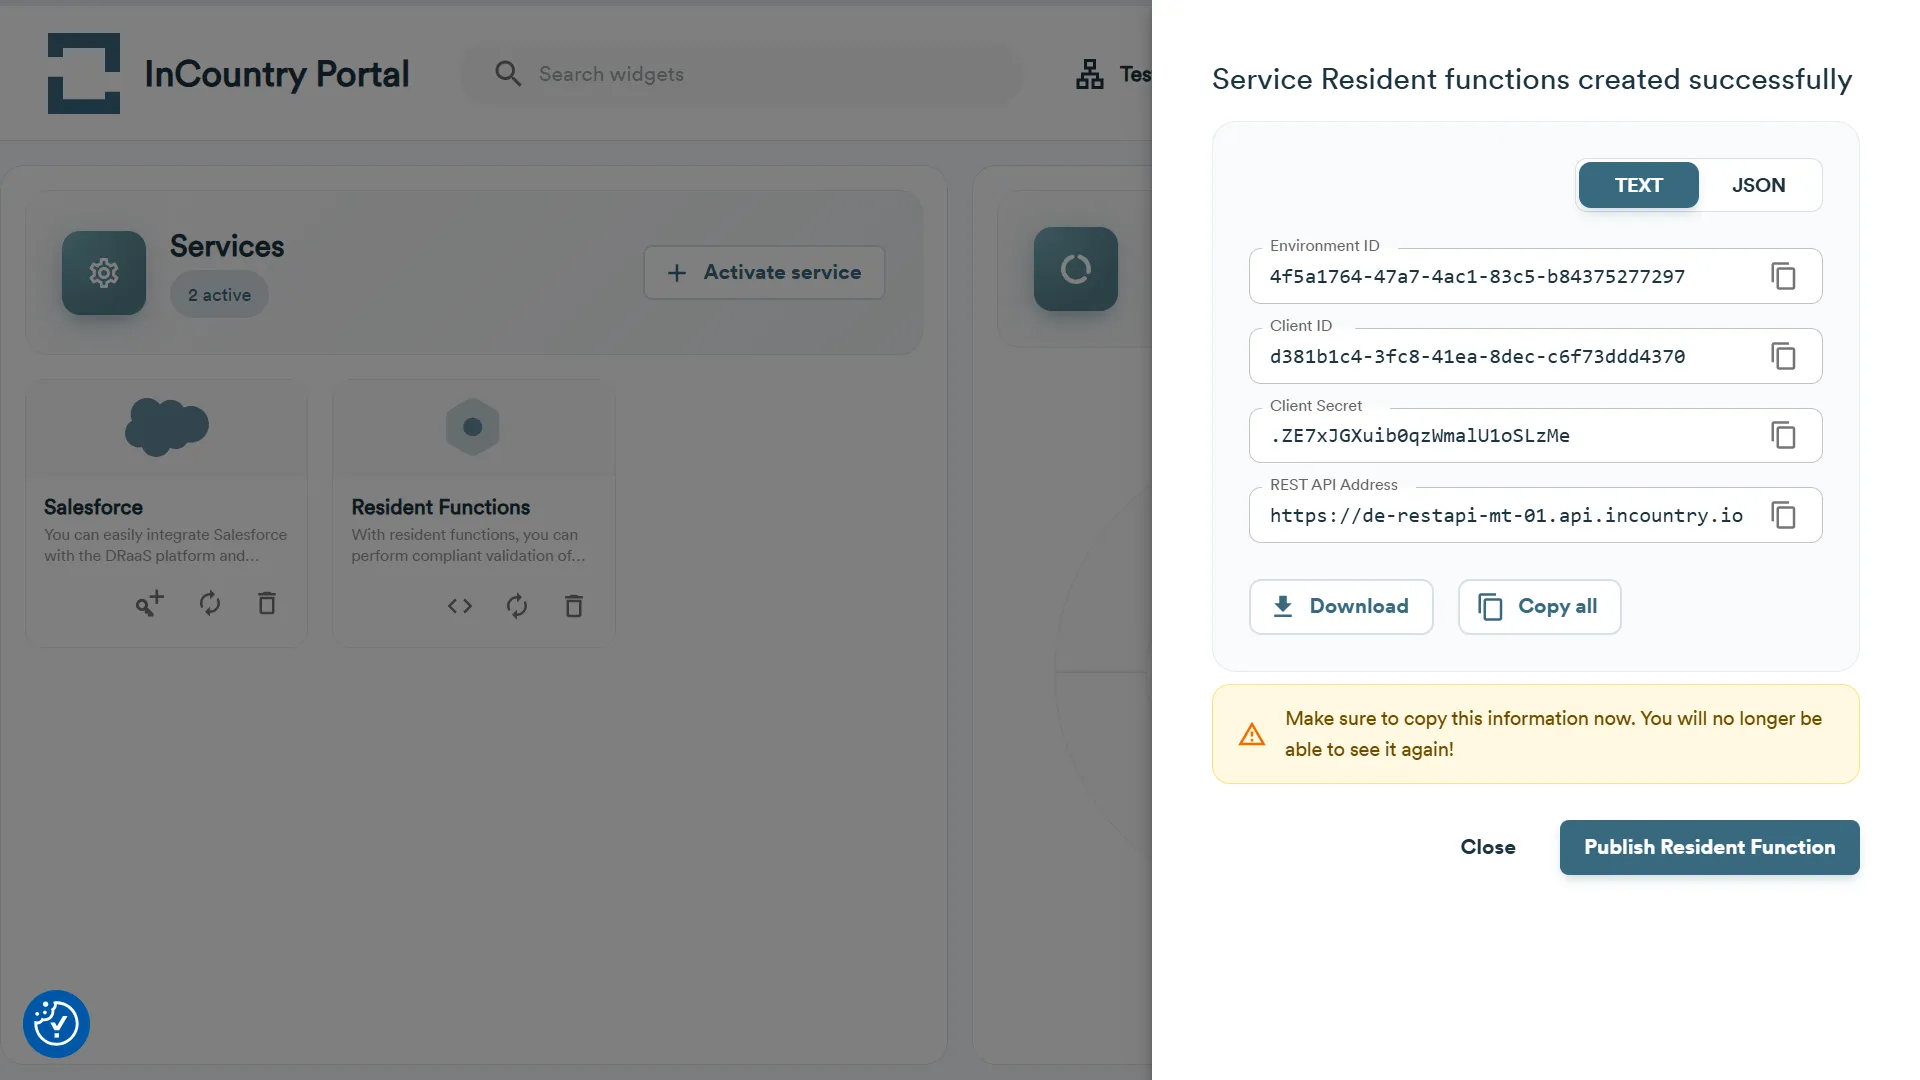
For the details on managing resident functions, please refer to our documentation.
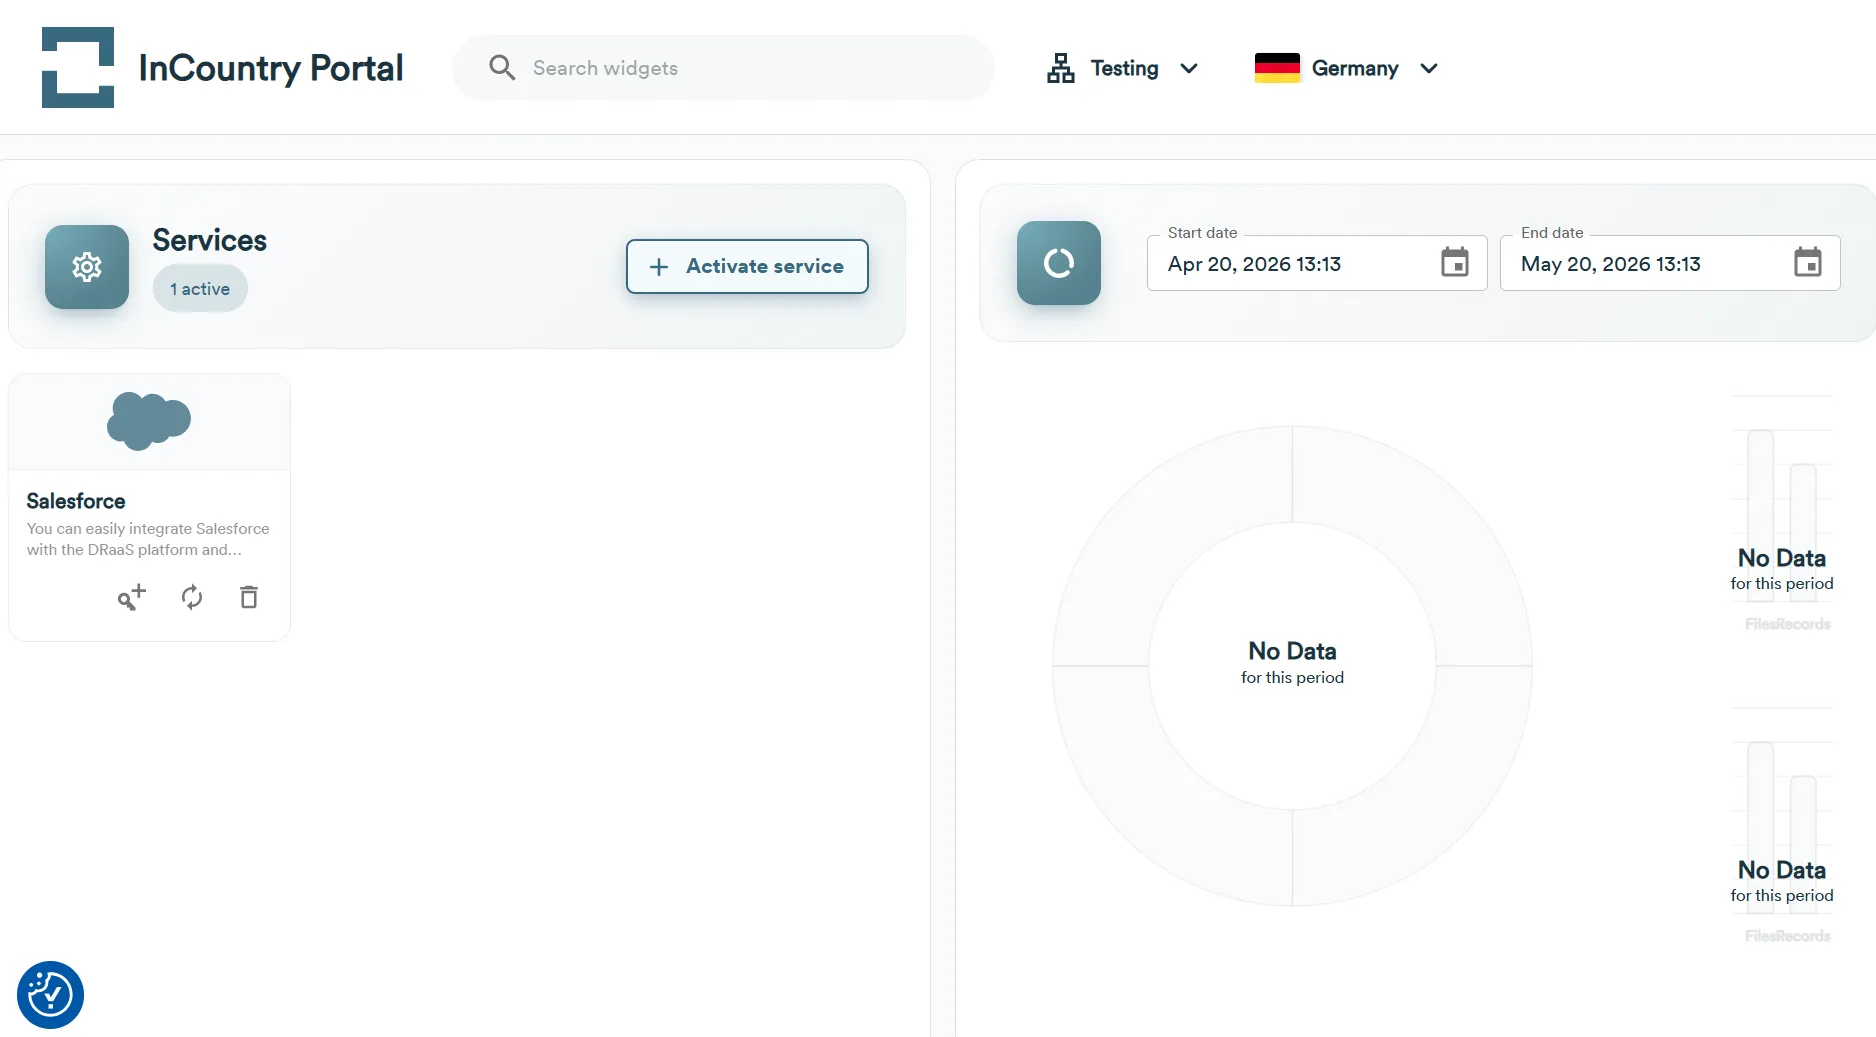
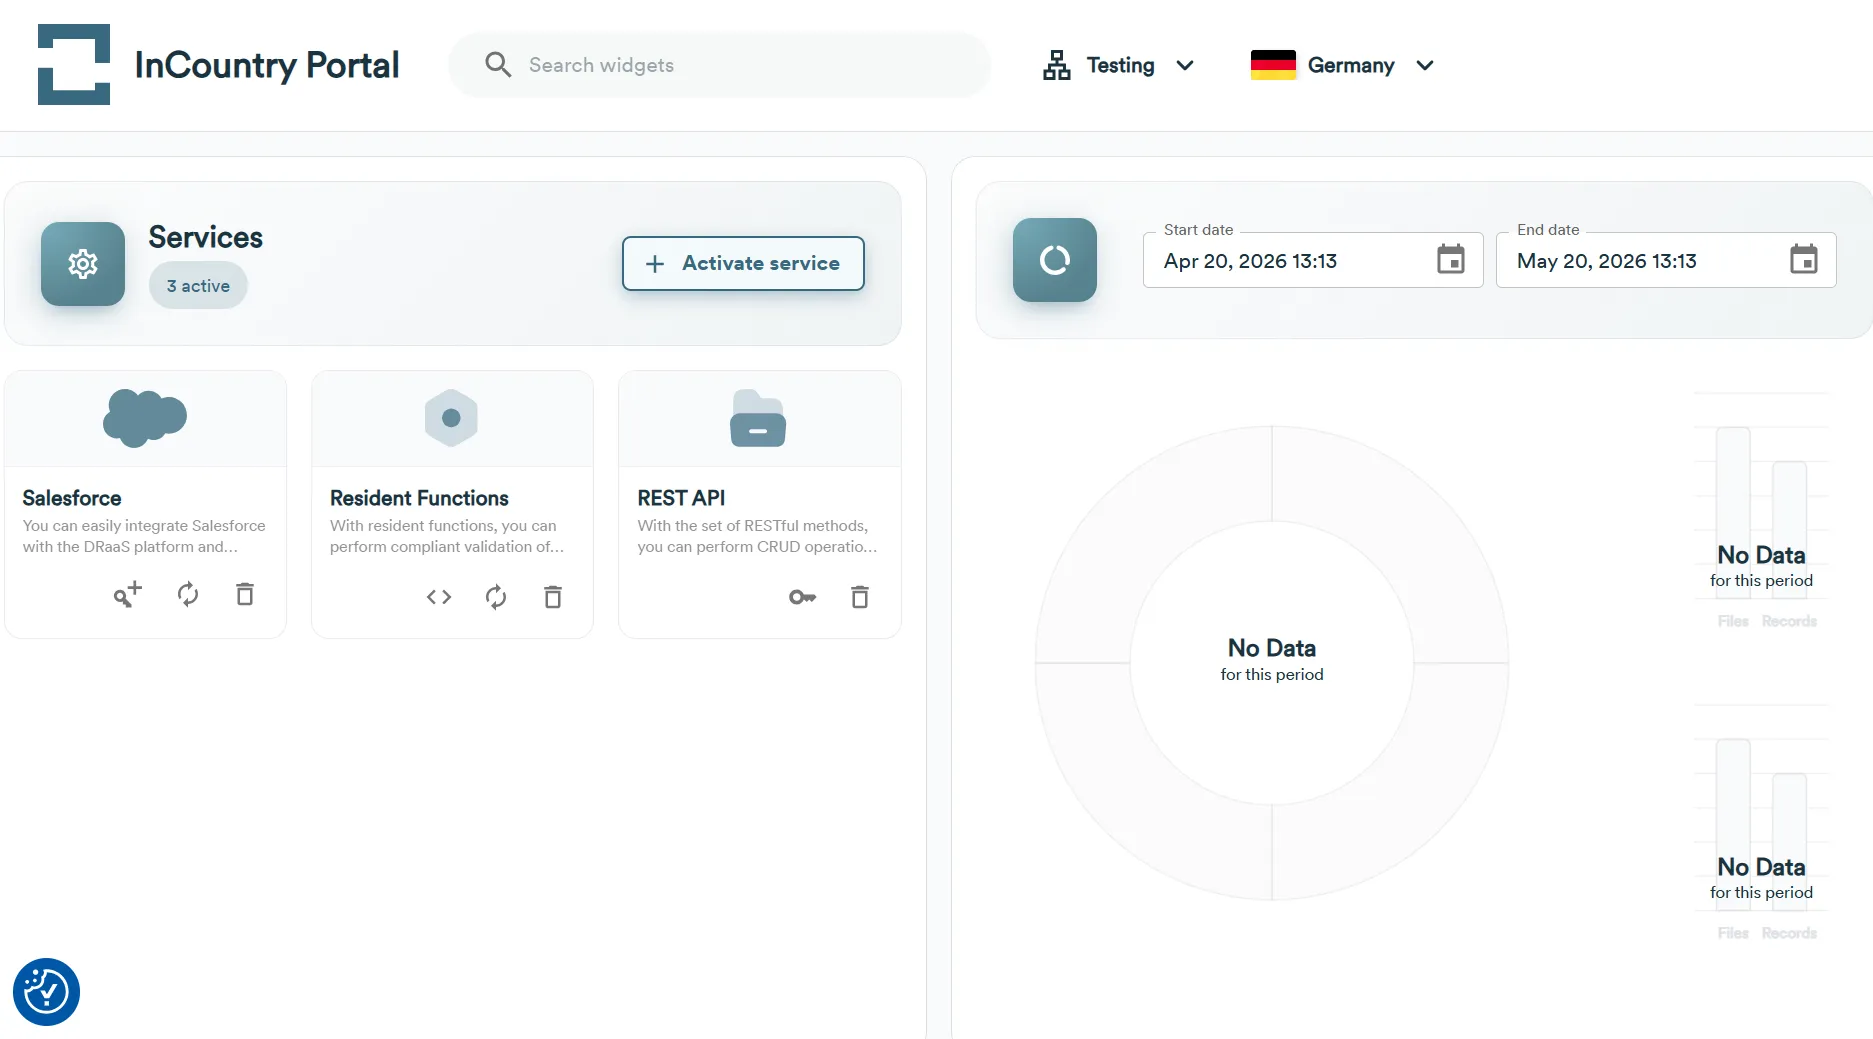
A new service of the Resident Functions type will appear on the list with other services within the current environment and country. Having created such a service, you can proceed with the publication of resident functions.
Creating a new REST API service
This service type is used for server-to-server communication (backend requests only).
- From the top menu, select the environment and country where you wish to create a new service, then navigate to the Services widget.
- Click the Activate service button.
- On the Activate Service page, select the REST API service.
- On the page with the created service, save the Environment ID, Client ID, Client Secret, and REST API address. To download a text file with all these credentials, click the Download button. To copy these credentials to the clipboard, click the Copy all button.
- When complete, click the Close button.
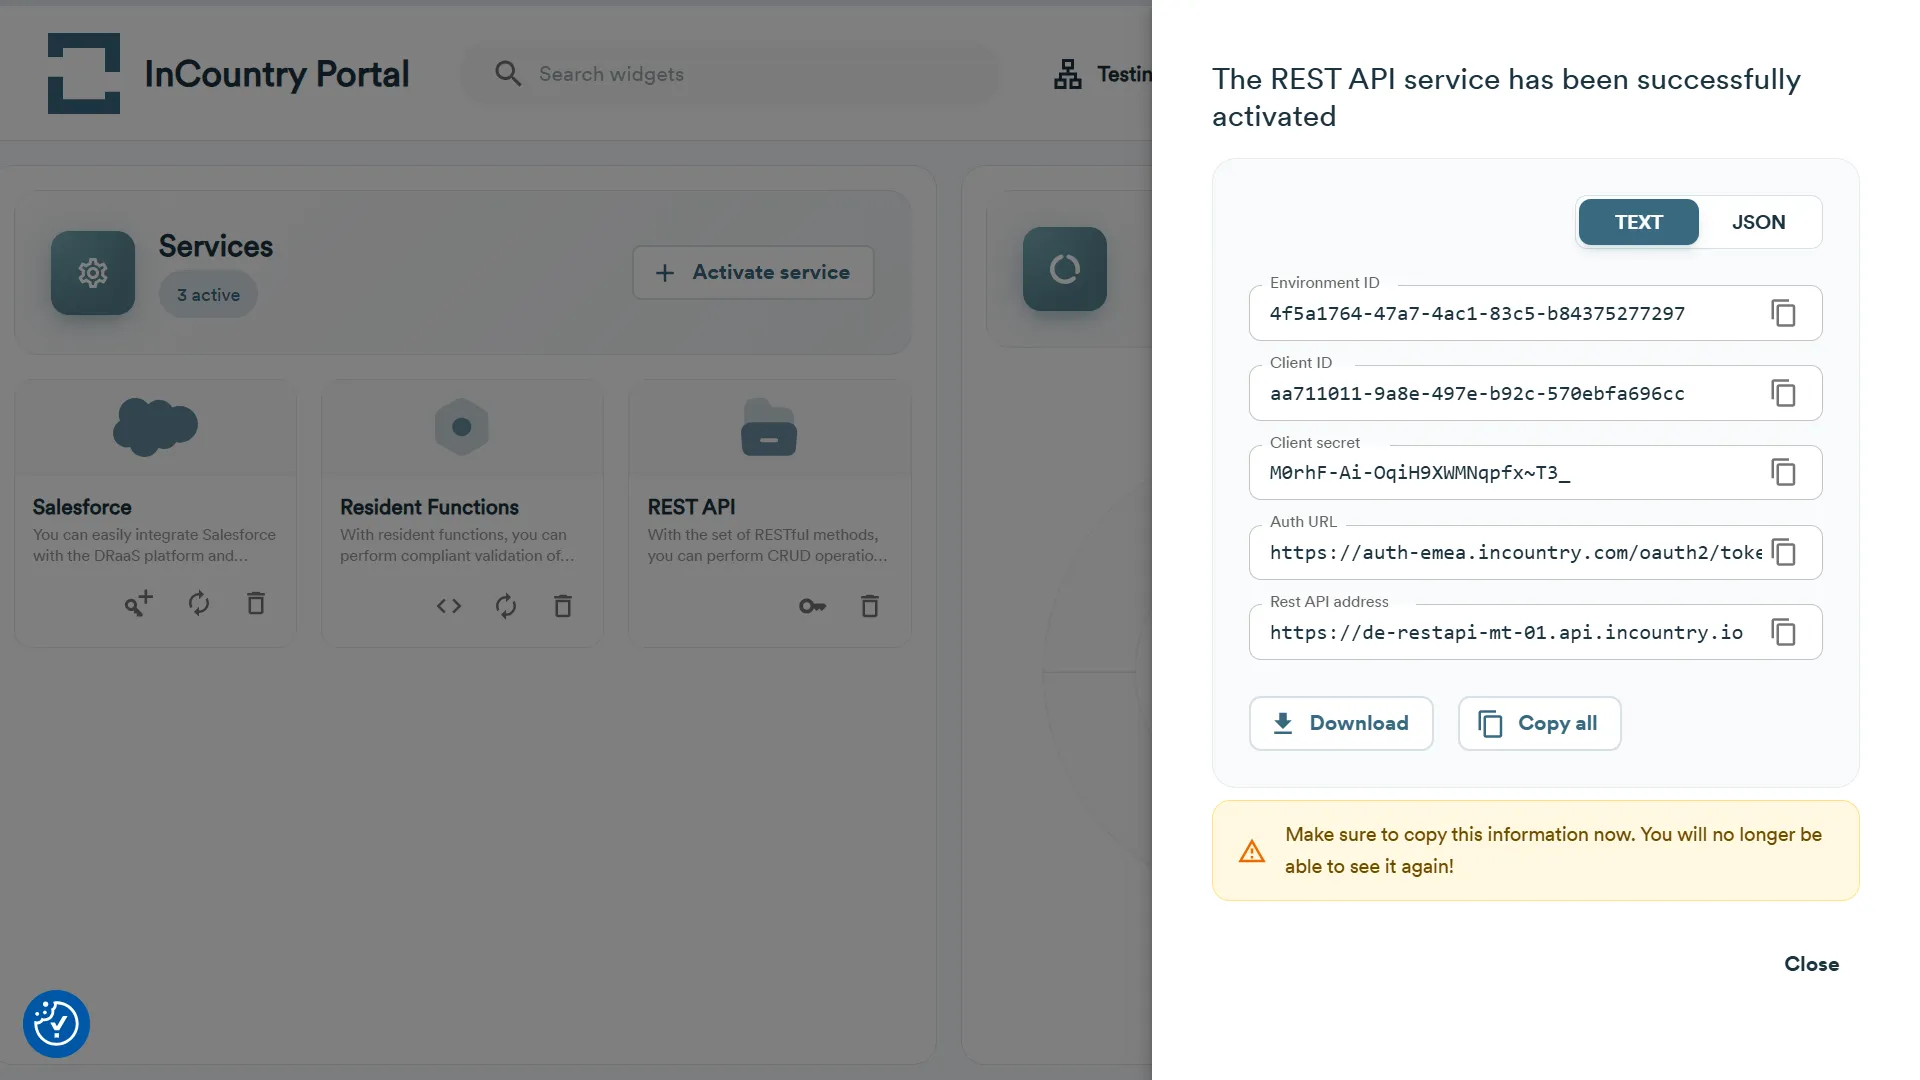
A new REST API service will appear on the list with other services within the current environment and country. Once you have created a REST API service, you need to manage its credentials.
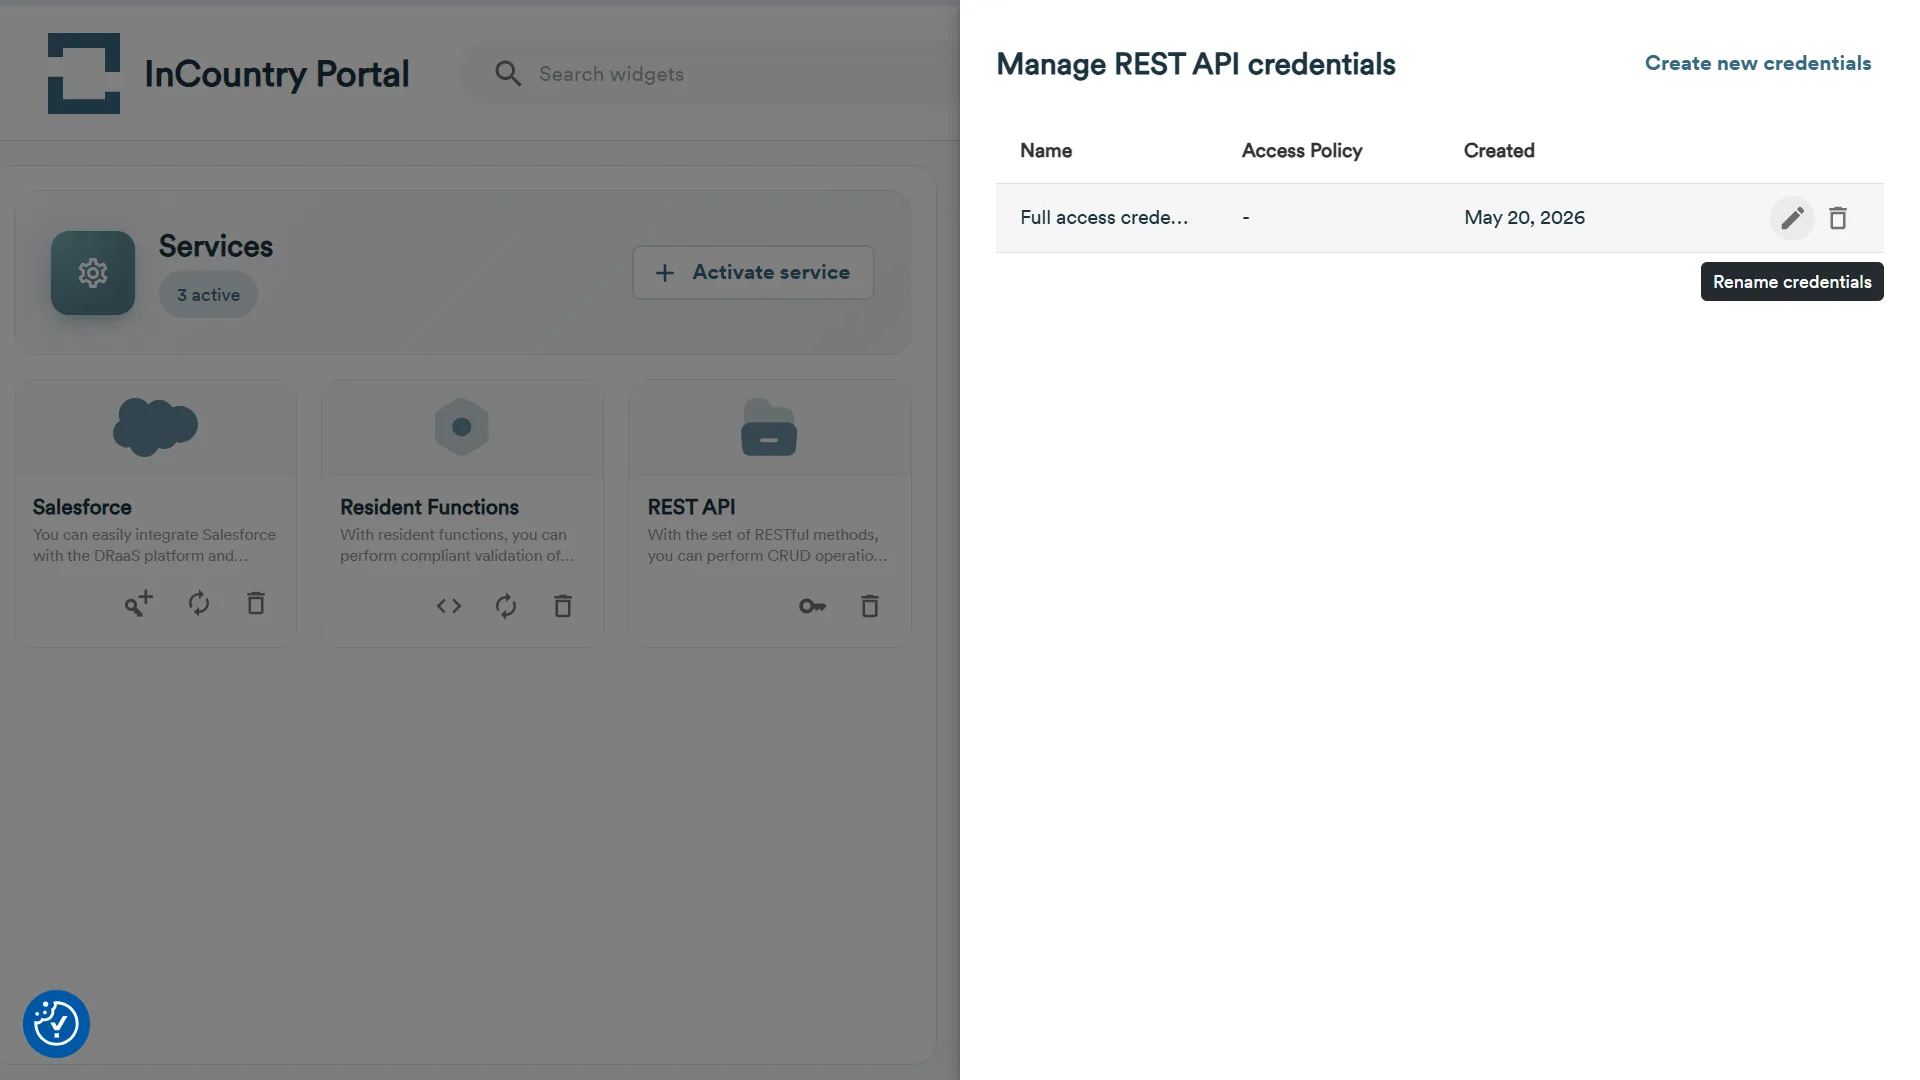
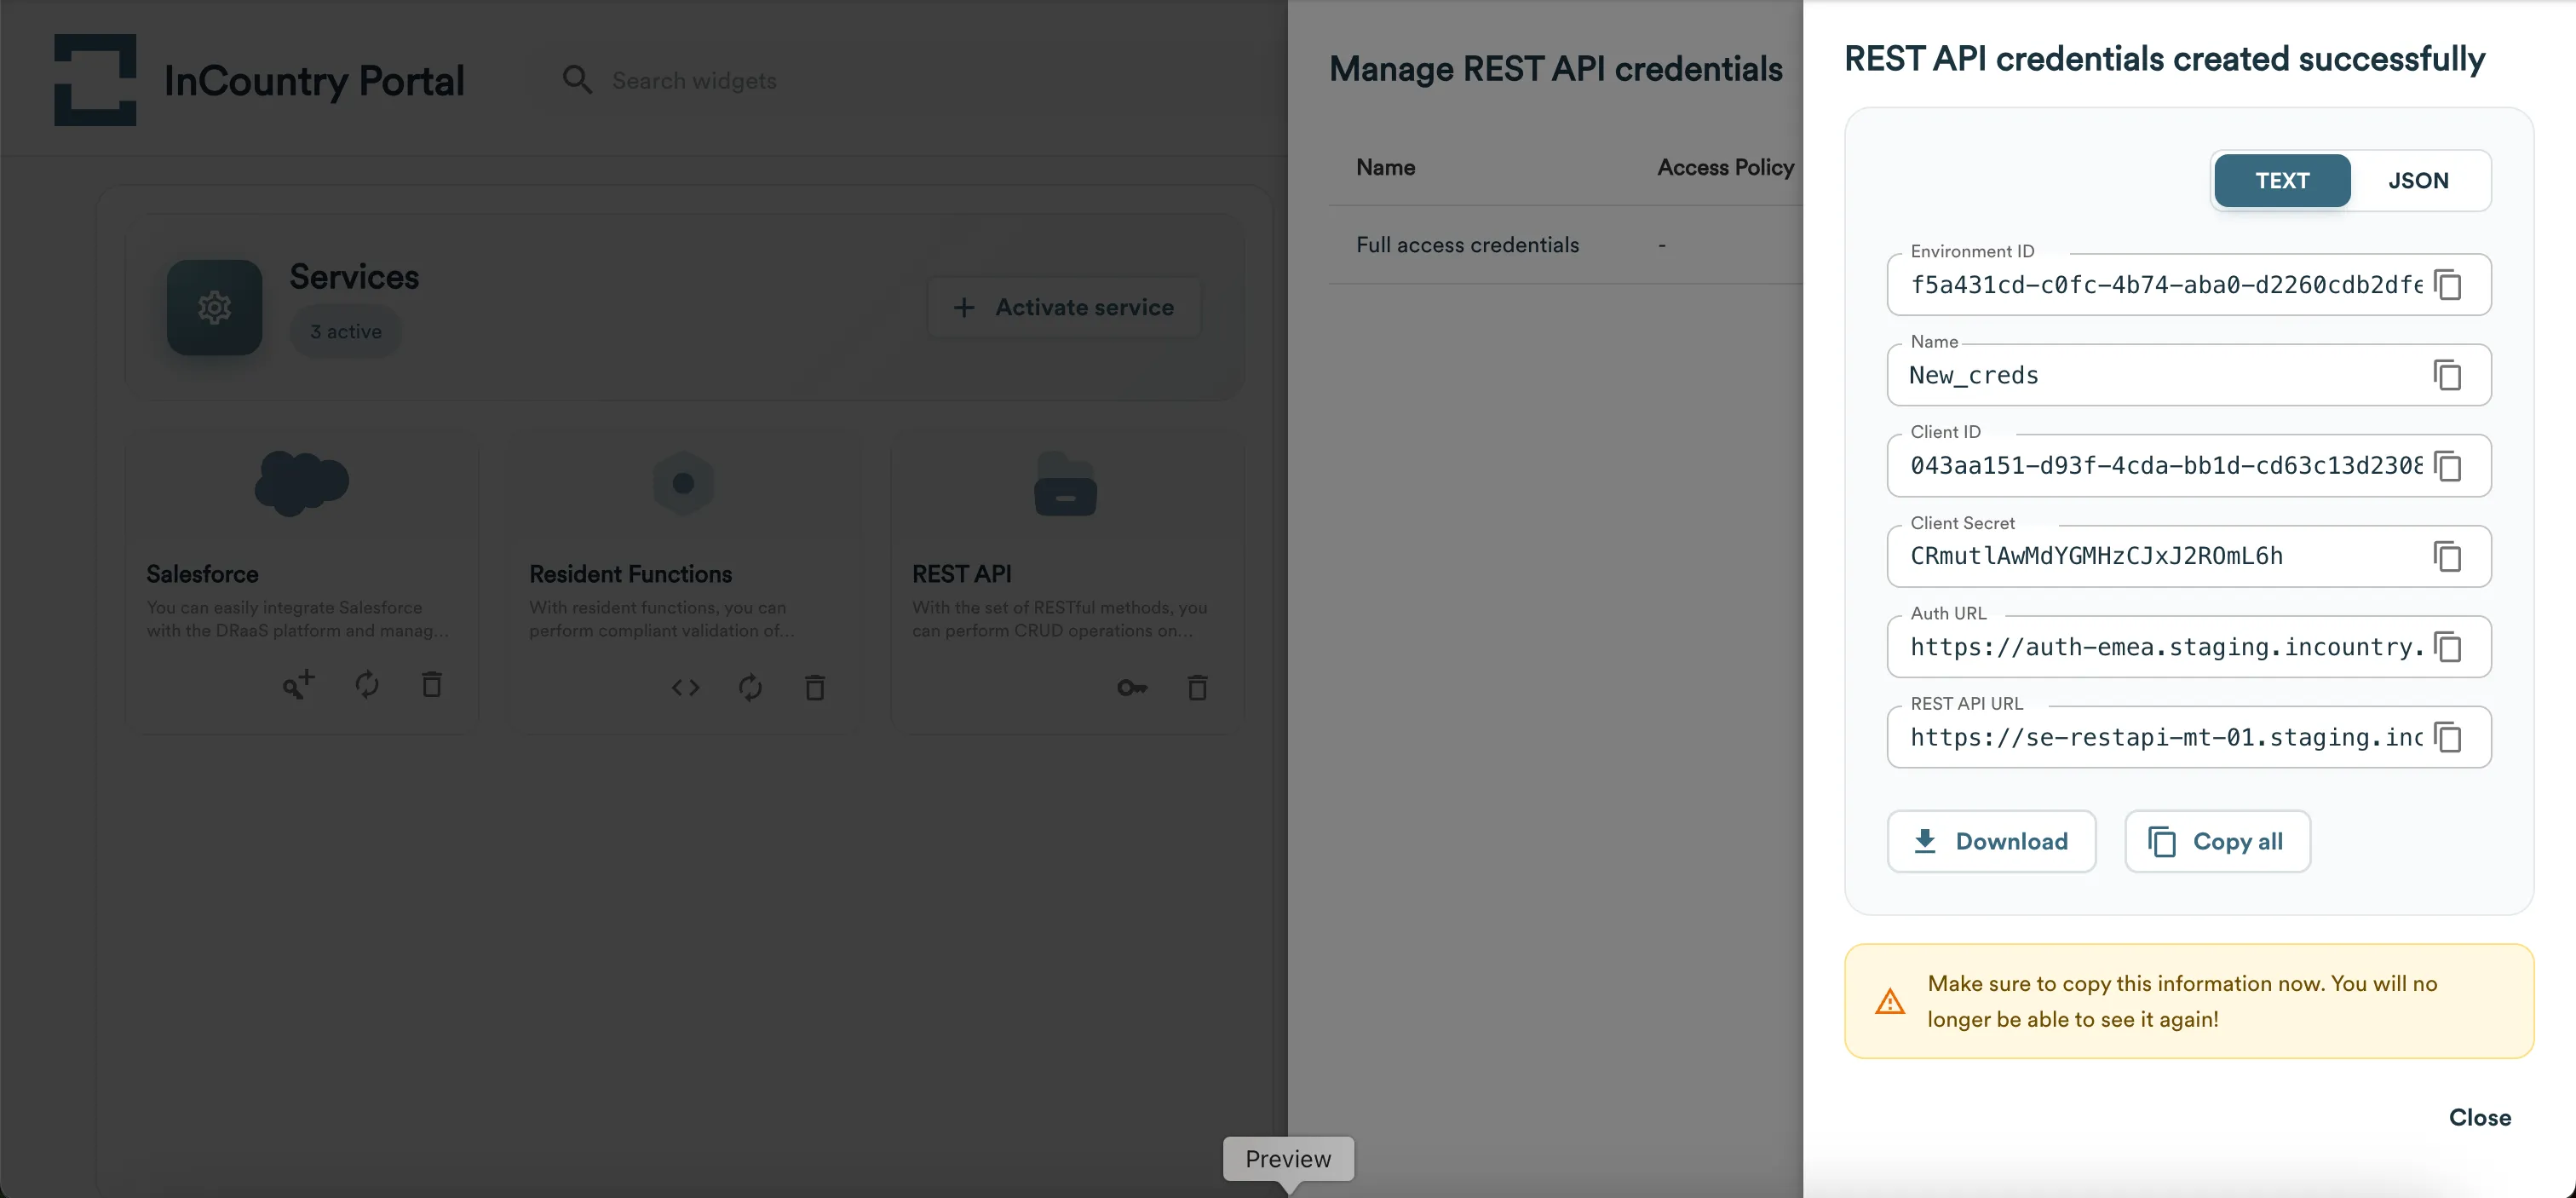
Managing REST API service credentials
- From the top menu, select the environment and country where you wish to create a new service, then navigate to the Services widget.
- In the REST API widget, click the Manage credentials icon.
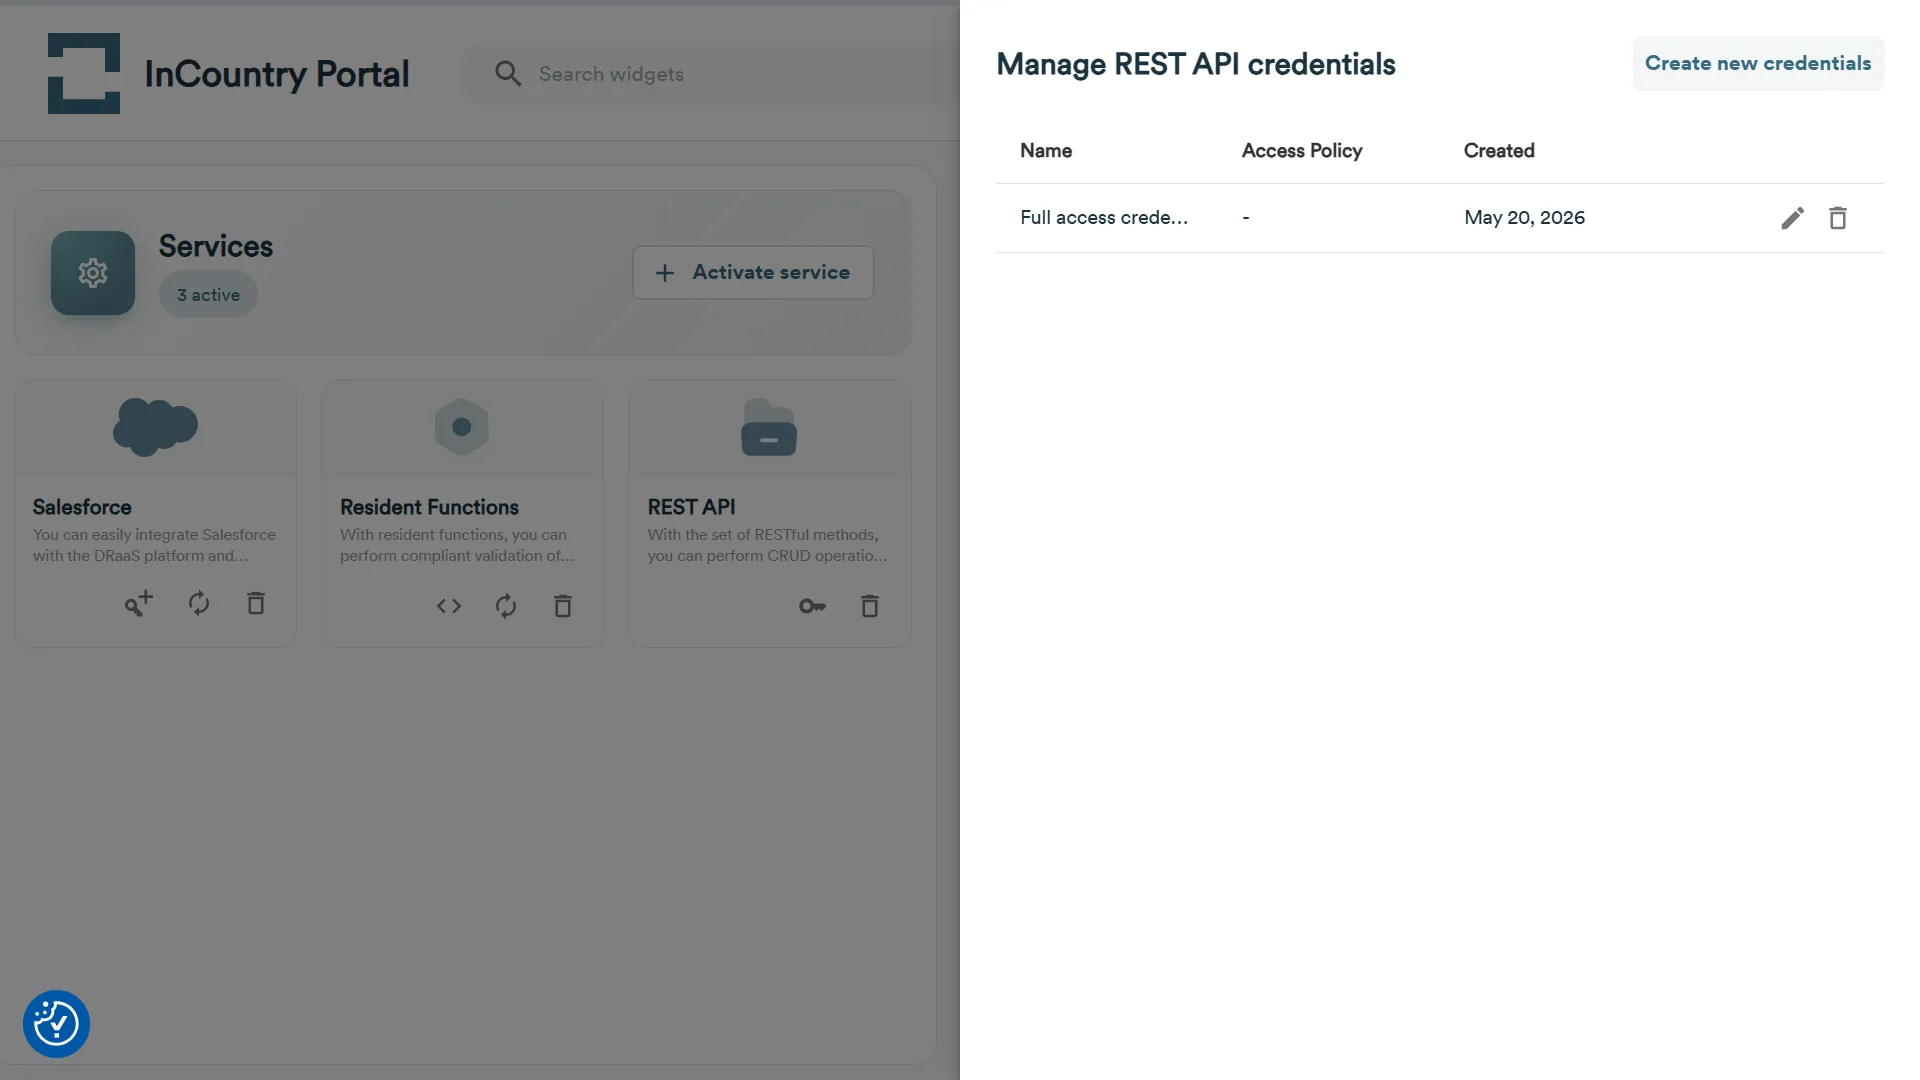
- On the Manage REST API credentials page, you will see
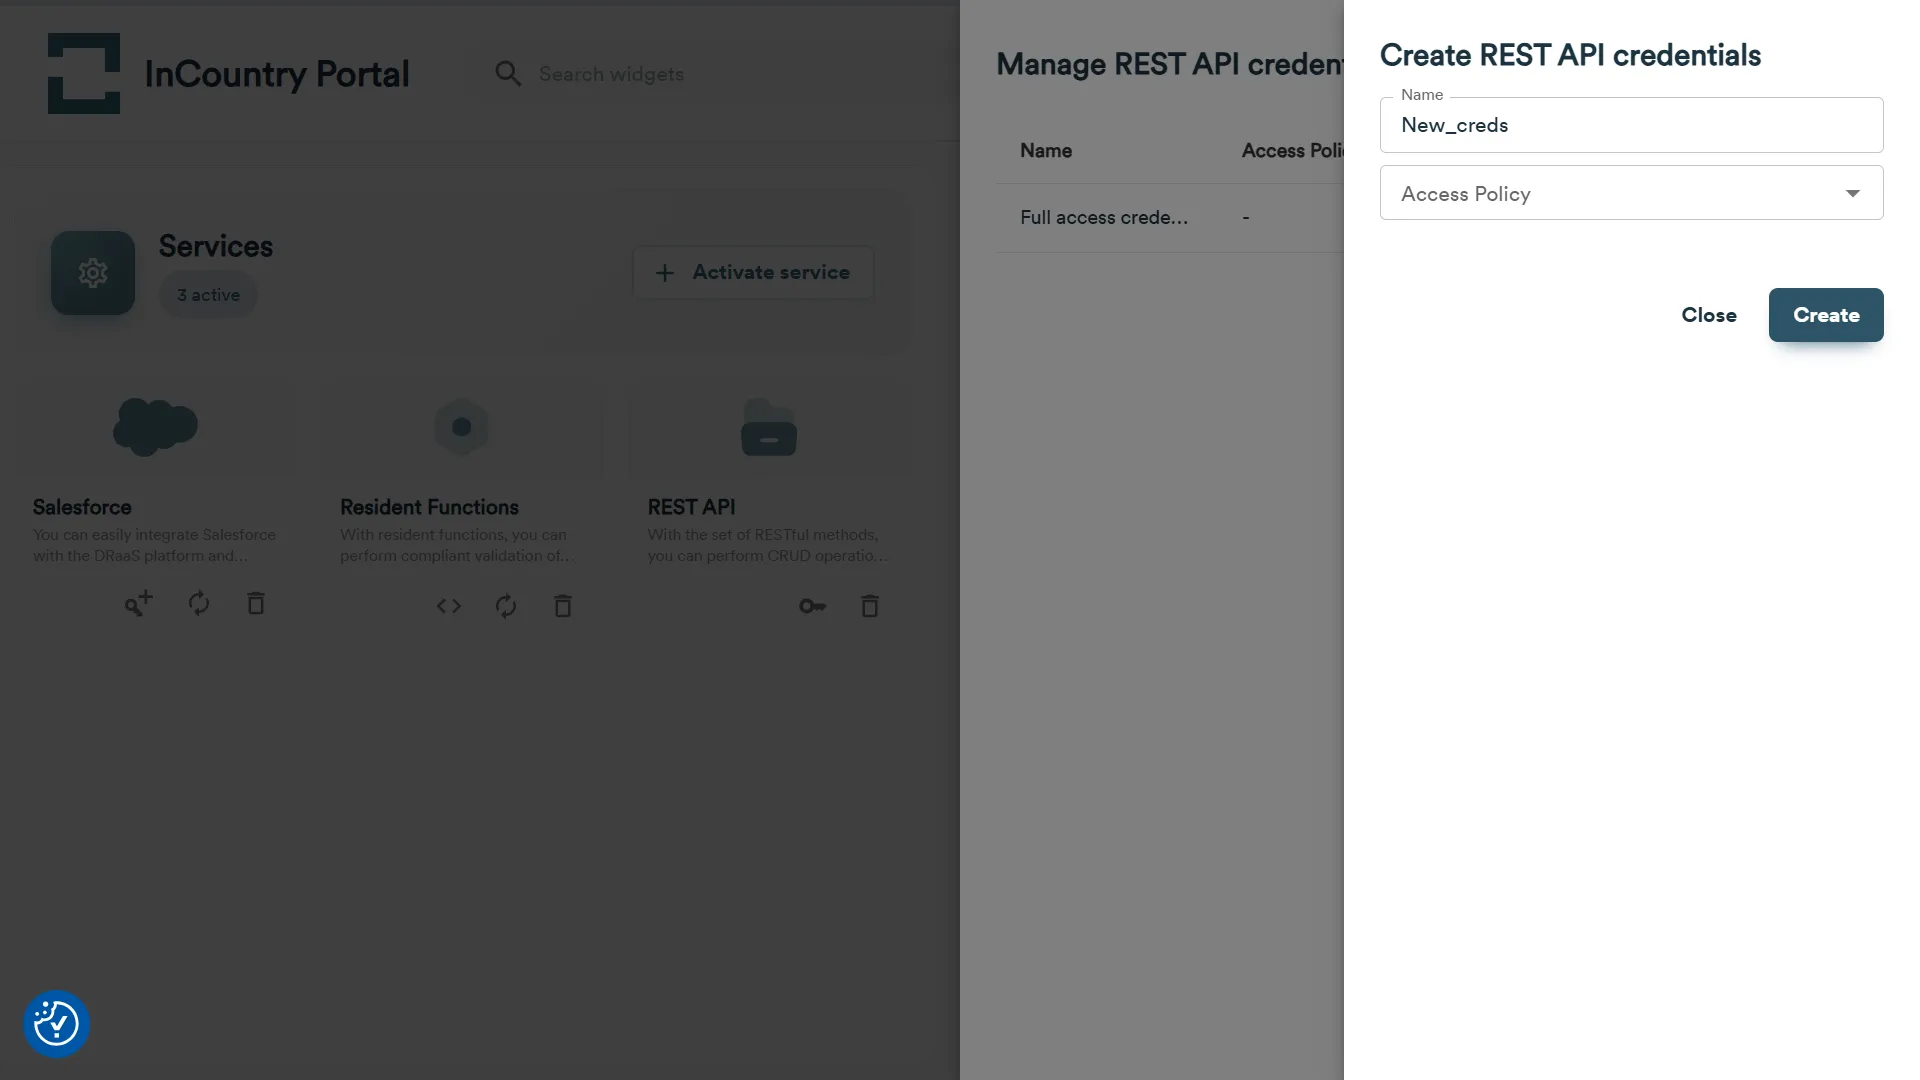
Full access credentialscreated for you by default. Here, you can create new credentials, assign access policies to them, or edit/remove existing credentials. - Click Create new credentials. On the new page, enter
Nameand optionally selectAccess Policyfor the new credentials. - Click the Create button.
- On the page with the created REST API credentials, save the Environment ID, Name, Client ID and Client Secret. To download a text file with all these credentials, click the Download button. To copy these credentials to the clipboard, click the Copy all button. Click the Close button.
- The newly created credentials will appear in the credentials list of the REST API service.

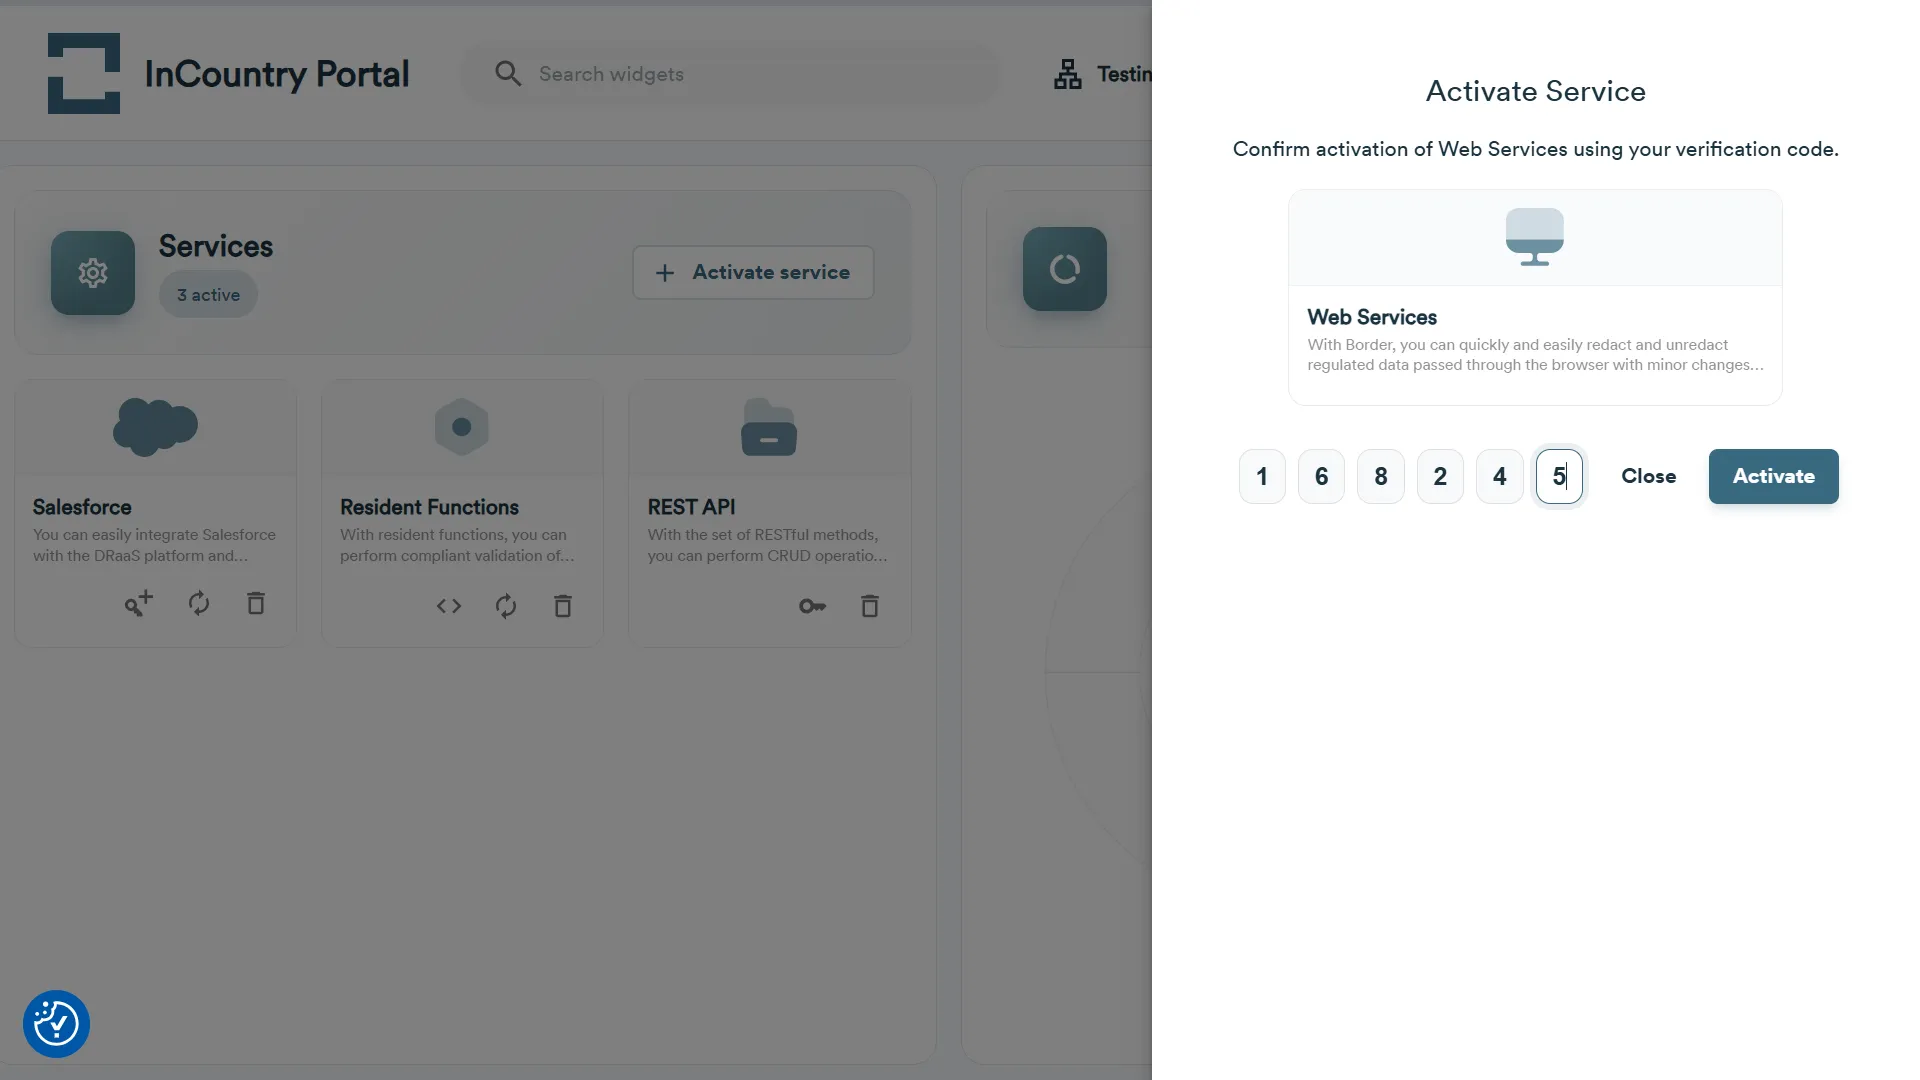
Creating a new Web Services service
- From the top menu, select the environment and country where you wish to create a new service, then navigate to the Services widget.
- Click the Activate service button.
- On the Activate Service page, select the Web Services service.
- Enter the verification code and click the Activate button.
- On the page with the created Web Services service, save the Environment ID, Client ID, Client Secret, and Proxy address. To download a text file with all these credentials, click the Download button. To copy these credentials to the clipboard, click the Copy all button.
- When complete, click the Close button.
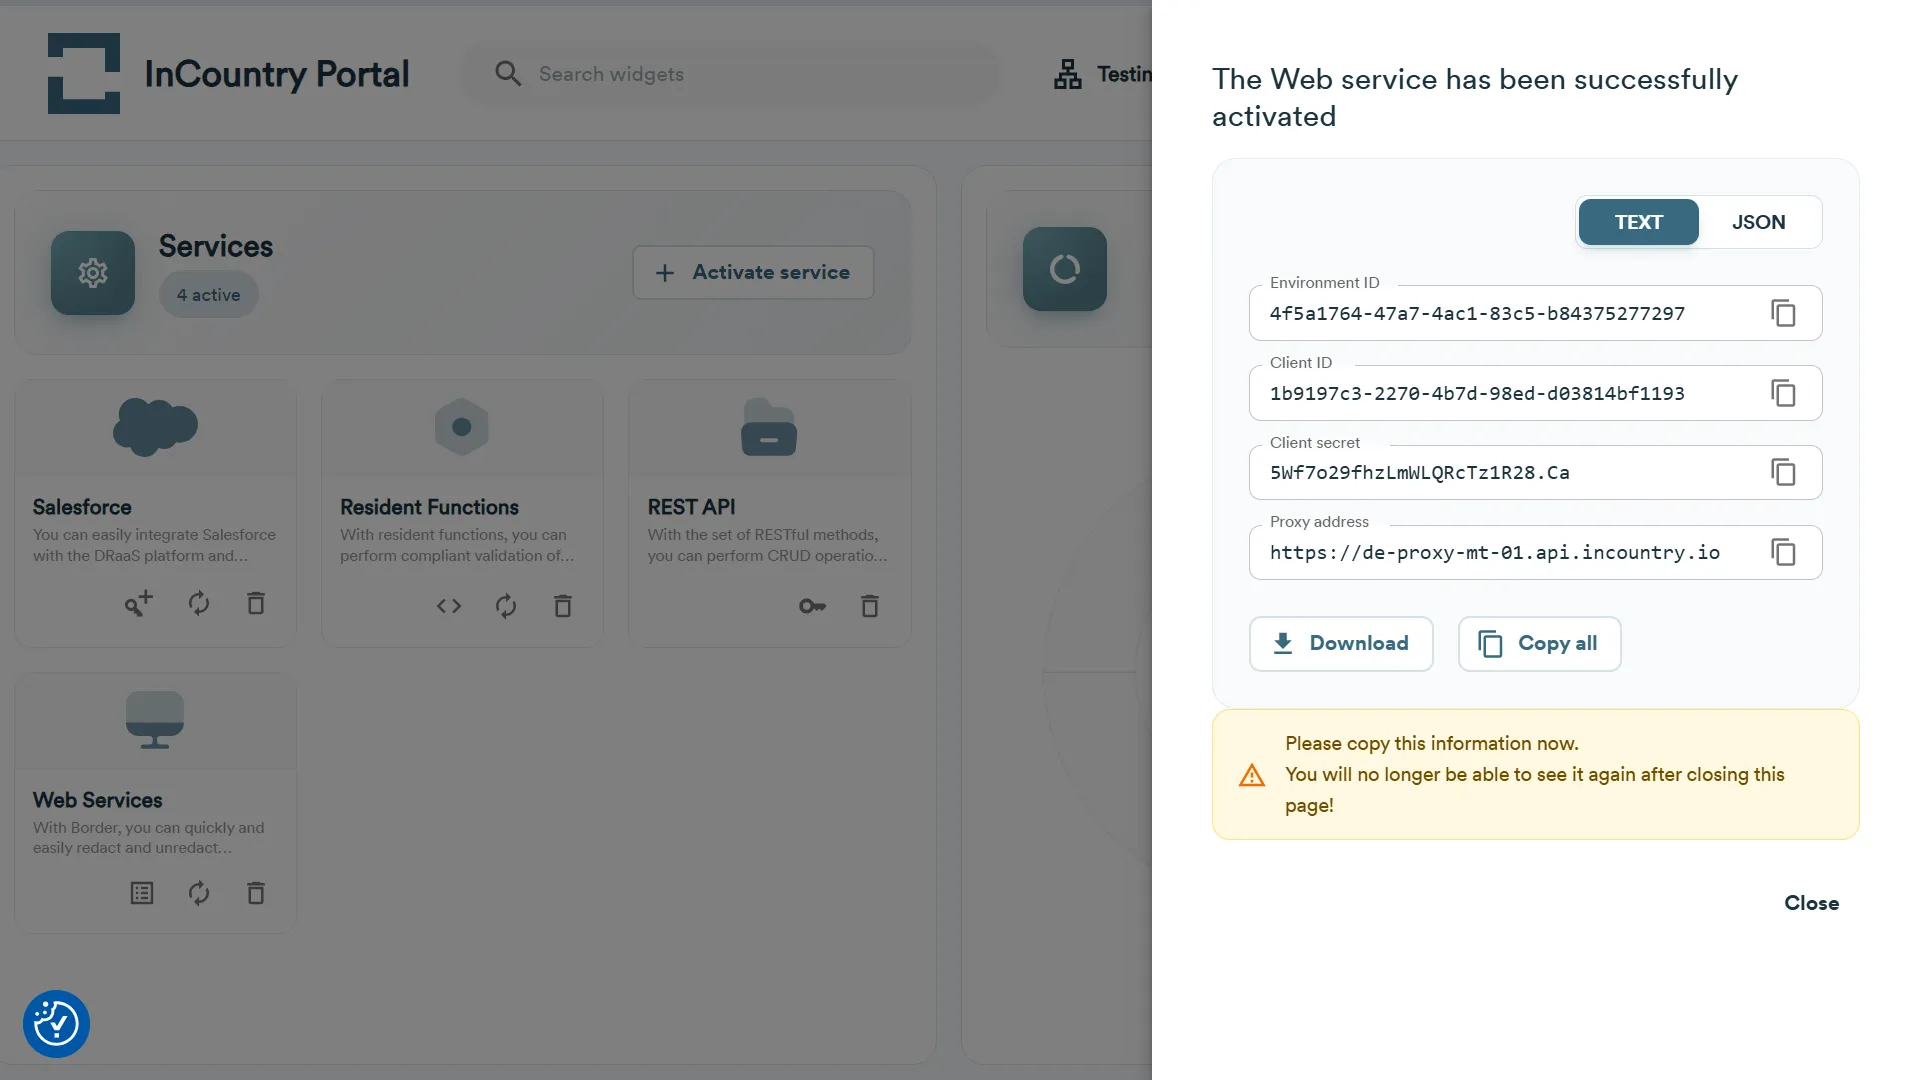
A new Web Services service will appear on the list with other services within the current environment and country. You can proceed with defining the Border configuration.
Renewing the service
You can renew the Client ID and Client Secret used within a particular service. This may be necessary if you lose the client secret but prefer not to create a new service.
- From the top menu, select the environment and country where you wish to renew the existing service credentials, then navigate to the Services widget.
- On the list of services, locate the service you want to renew.
- Click the Renew service icon.
- On the Renew service page, enter the verification code and click the Renew button.
- On the page with the renewed service credentials, save the Environment ID, Client ID, Client Secret, and REST API address. To download a text file with all these credentials, click the Download button. To copy these credentials to the clipboard, click the Copy all button.
- When complete, click the Close button.
Deleting the service
If you no longer need a service, you can delete it. After deletion, the credentials issued for the service will become invalid, preventing further use for data management on the InCountry platform.
- From the top menu, select the environment and country where you wish to delete the existing service, then navigate to the Services widget.
- On the list of services, locate the service you want to delete.
- Click the Delete service icon.
- On the Delete service page, enter the verification code and click the Delete button.