Environments
The environment is an entity that determines the scope within which records with regulated data are stored on the InCountry platform. You can also think about an environment as a bucket that stores sensitive data. Data records stored within a specific environment (so-called, bucket) are separated from records stored in other environments. The environment allows you to get access to your data stores on the InCountry platform.
Within each environment, you can have multiple pairs of Storage credentials and multiple services that you can use for storing regulated data in the InCountry Vault.
You can manage environments as follows:
- Create new environments
- Edit the existing environments
- Delete the no longer needed environments
- Restore the deleted environments
- Exporting environment configuration
- Importing environment configuration
- Creating and renewing a migration client
For each environment, the following information is available:
| Attribute | Description |
|---|---|
| Name | Name of the environment that exists for your organization. |
| Type | Type of the environment. |
Creating new environments
To create a new environment:
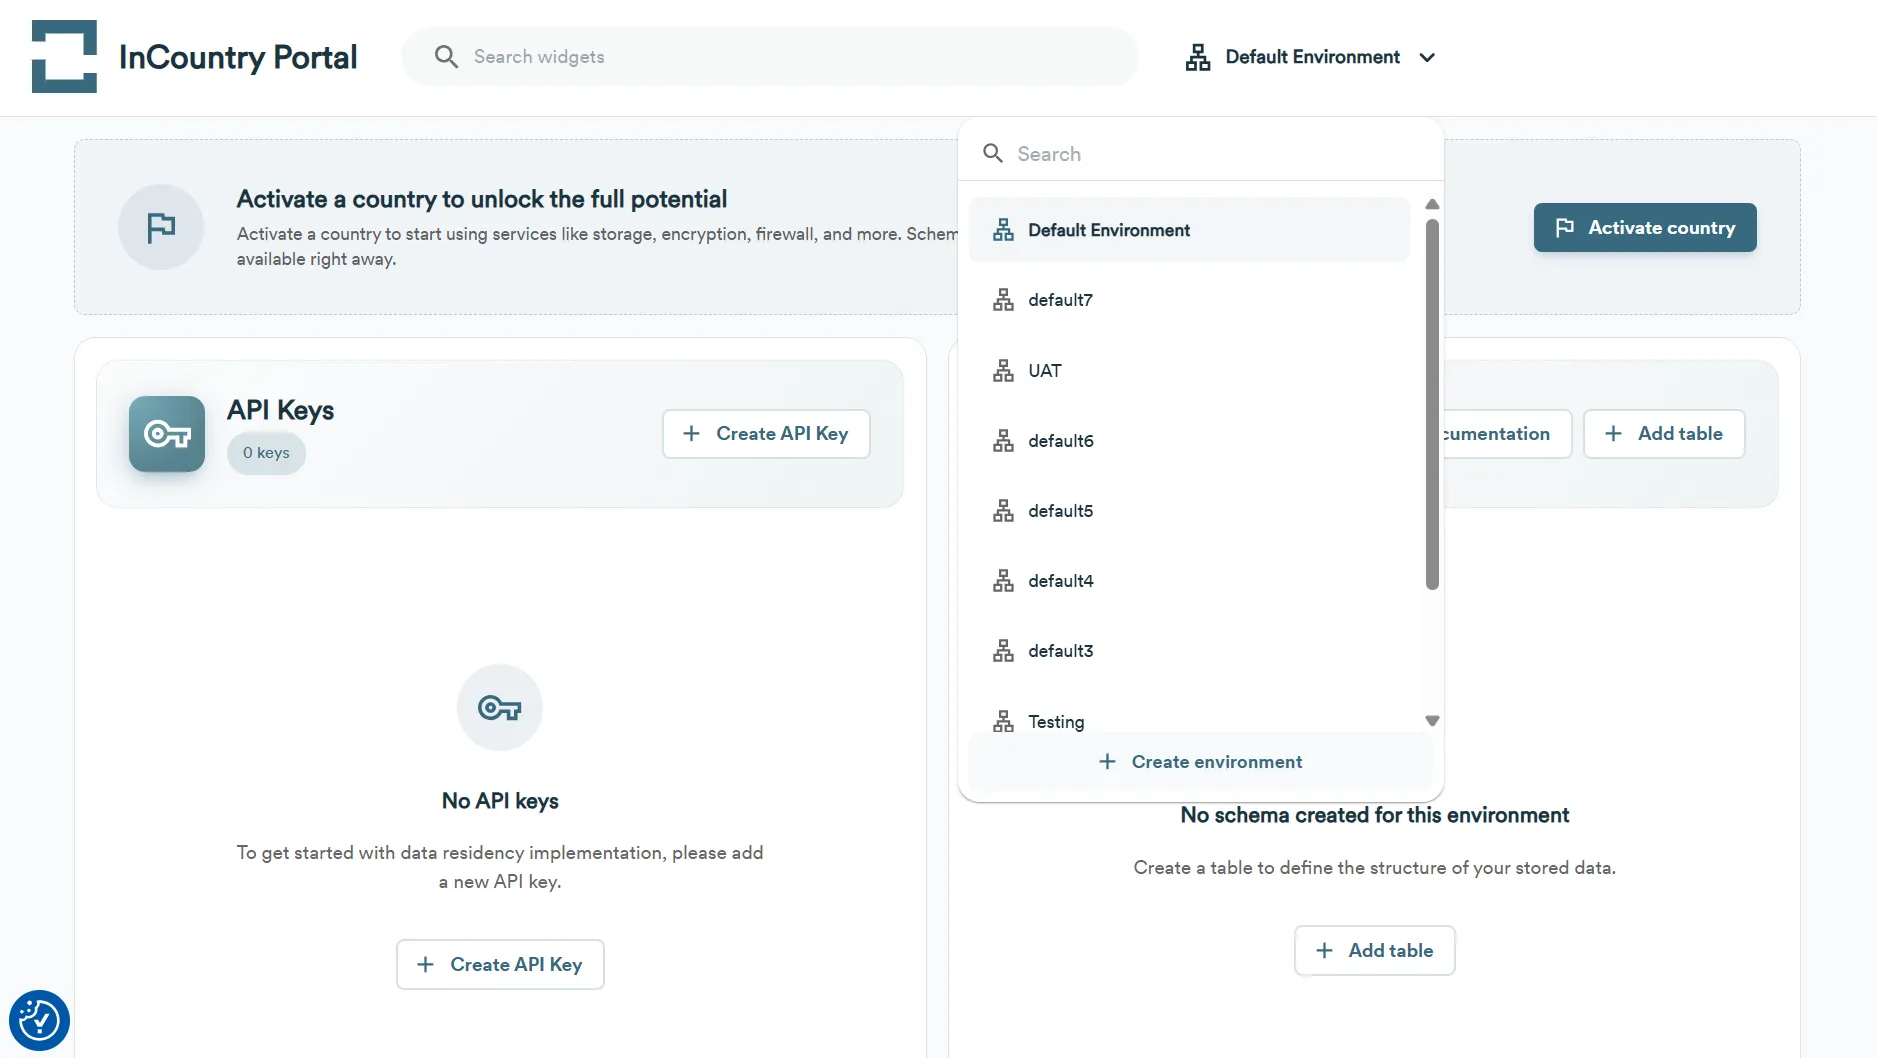
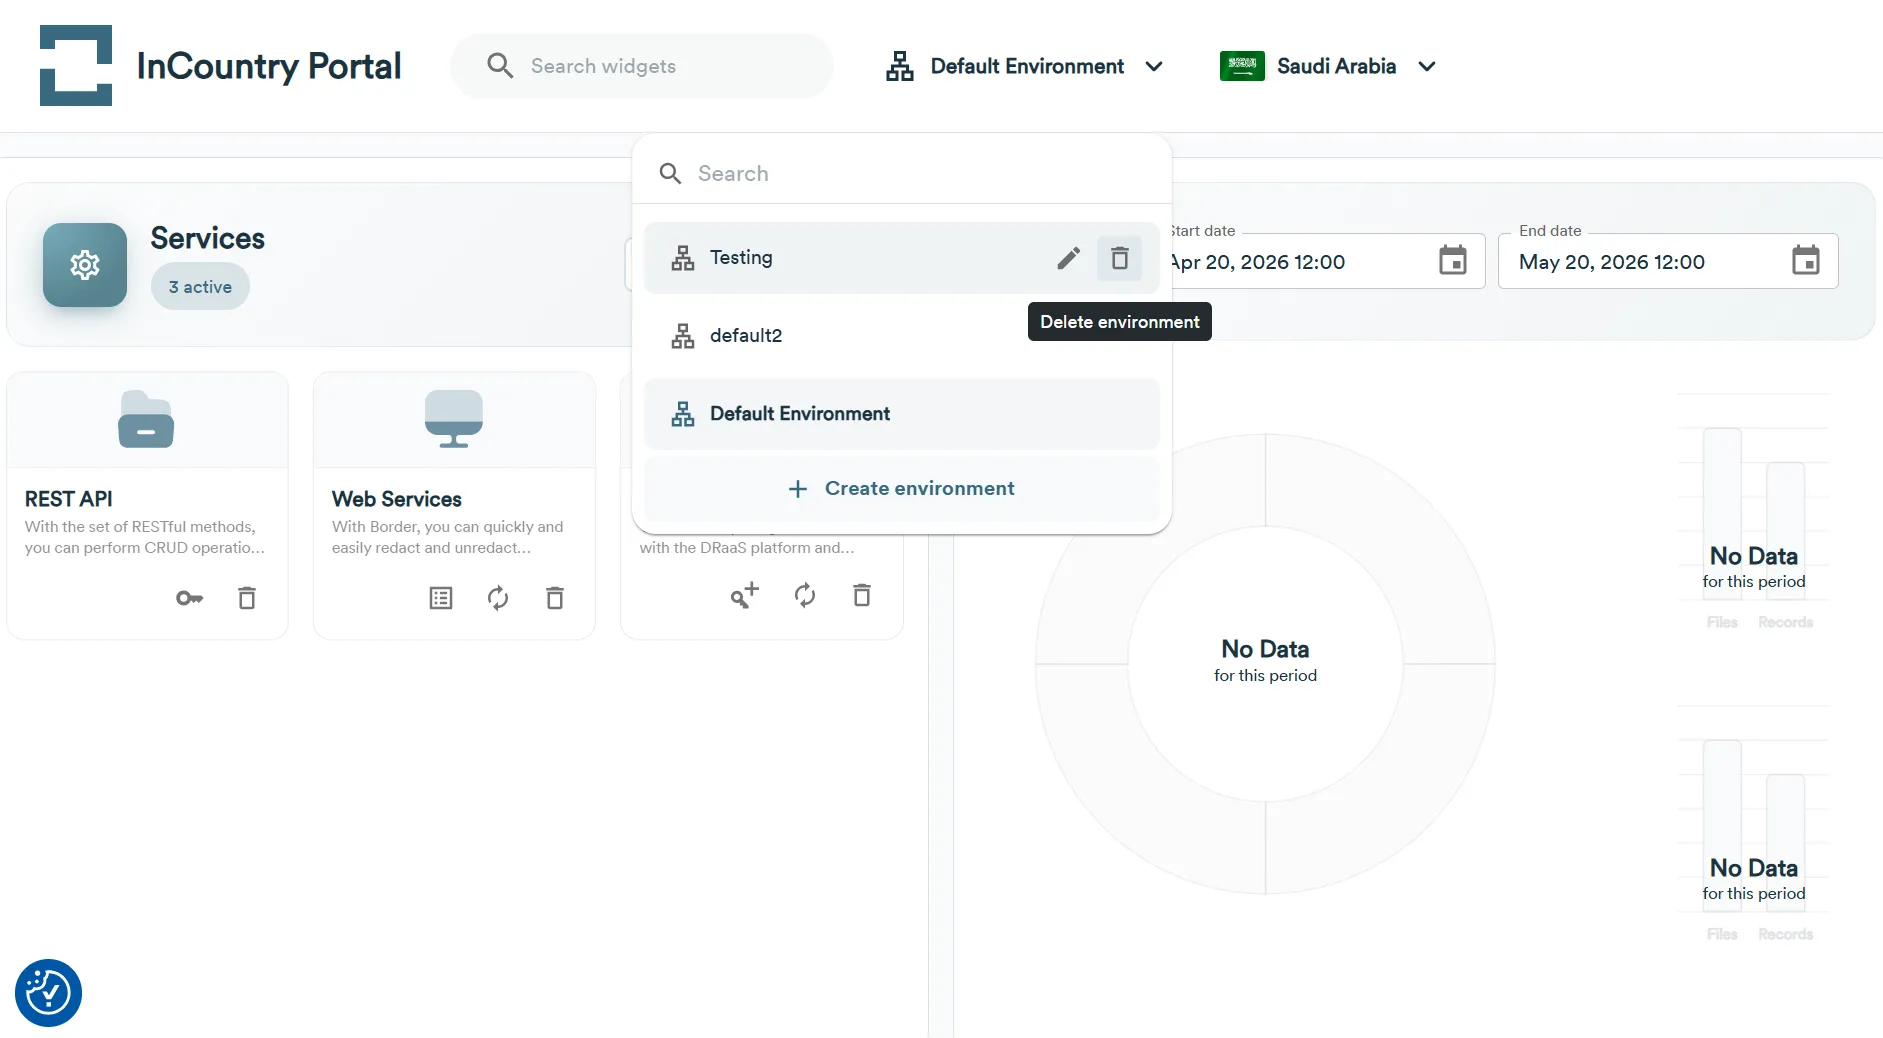
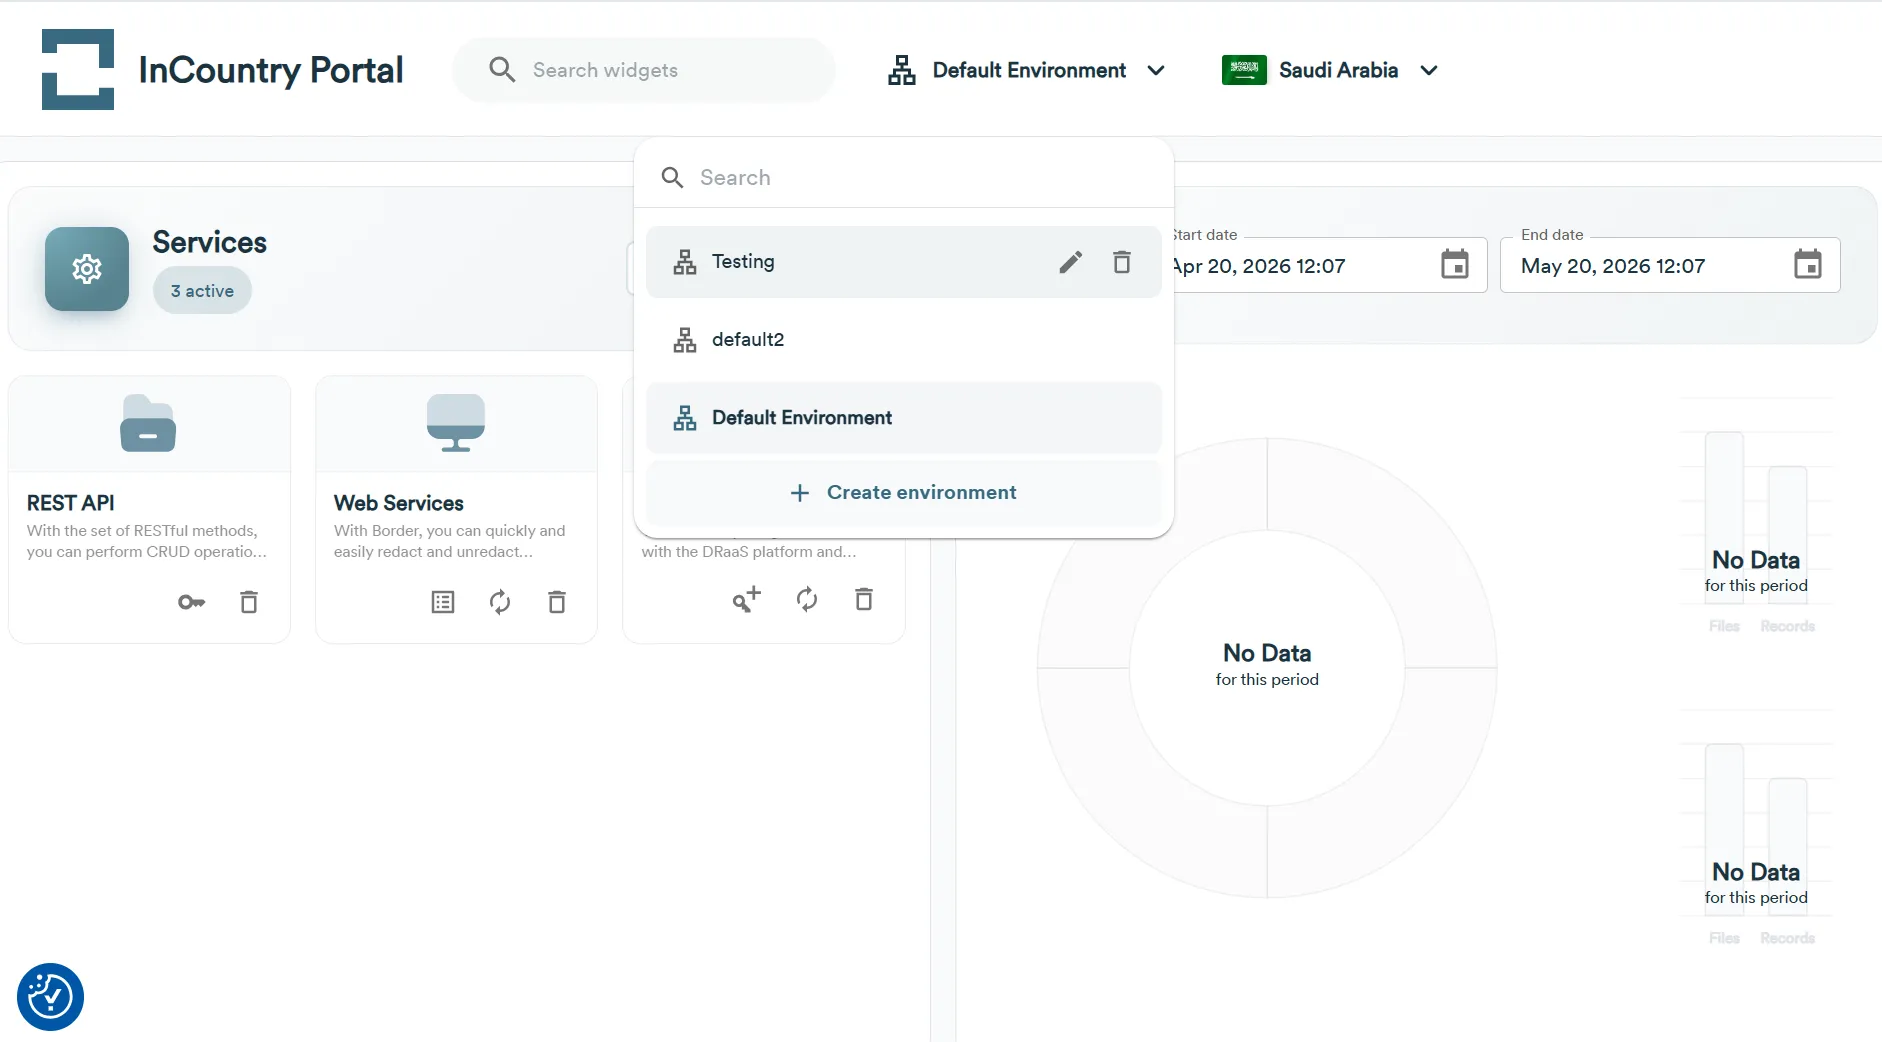
- On the home page, click Default Environment. The Environments list opens, as follows:

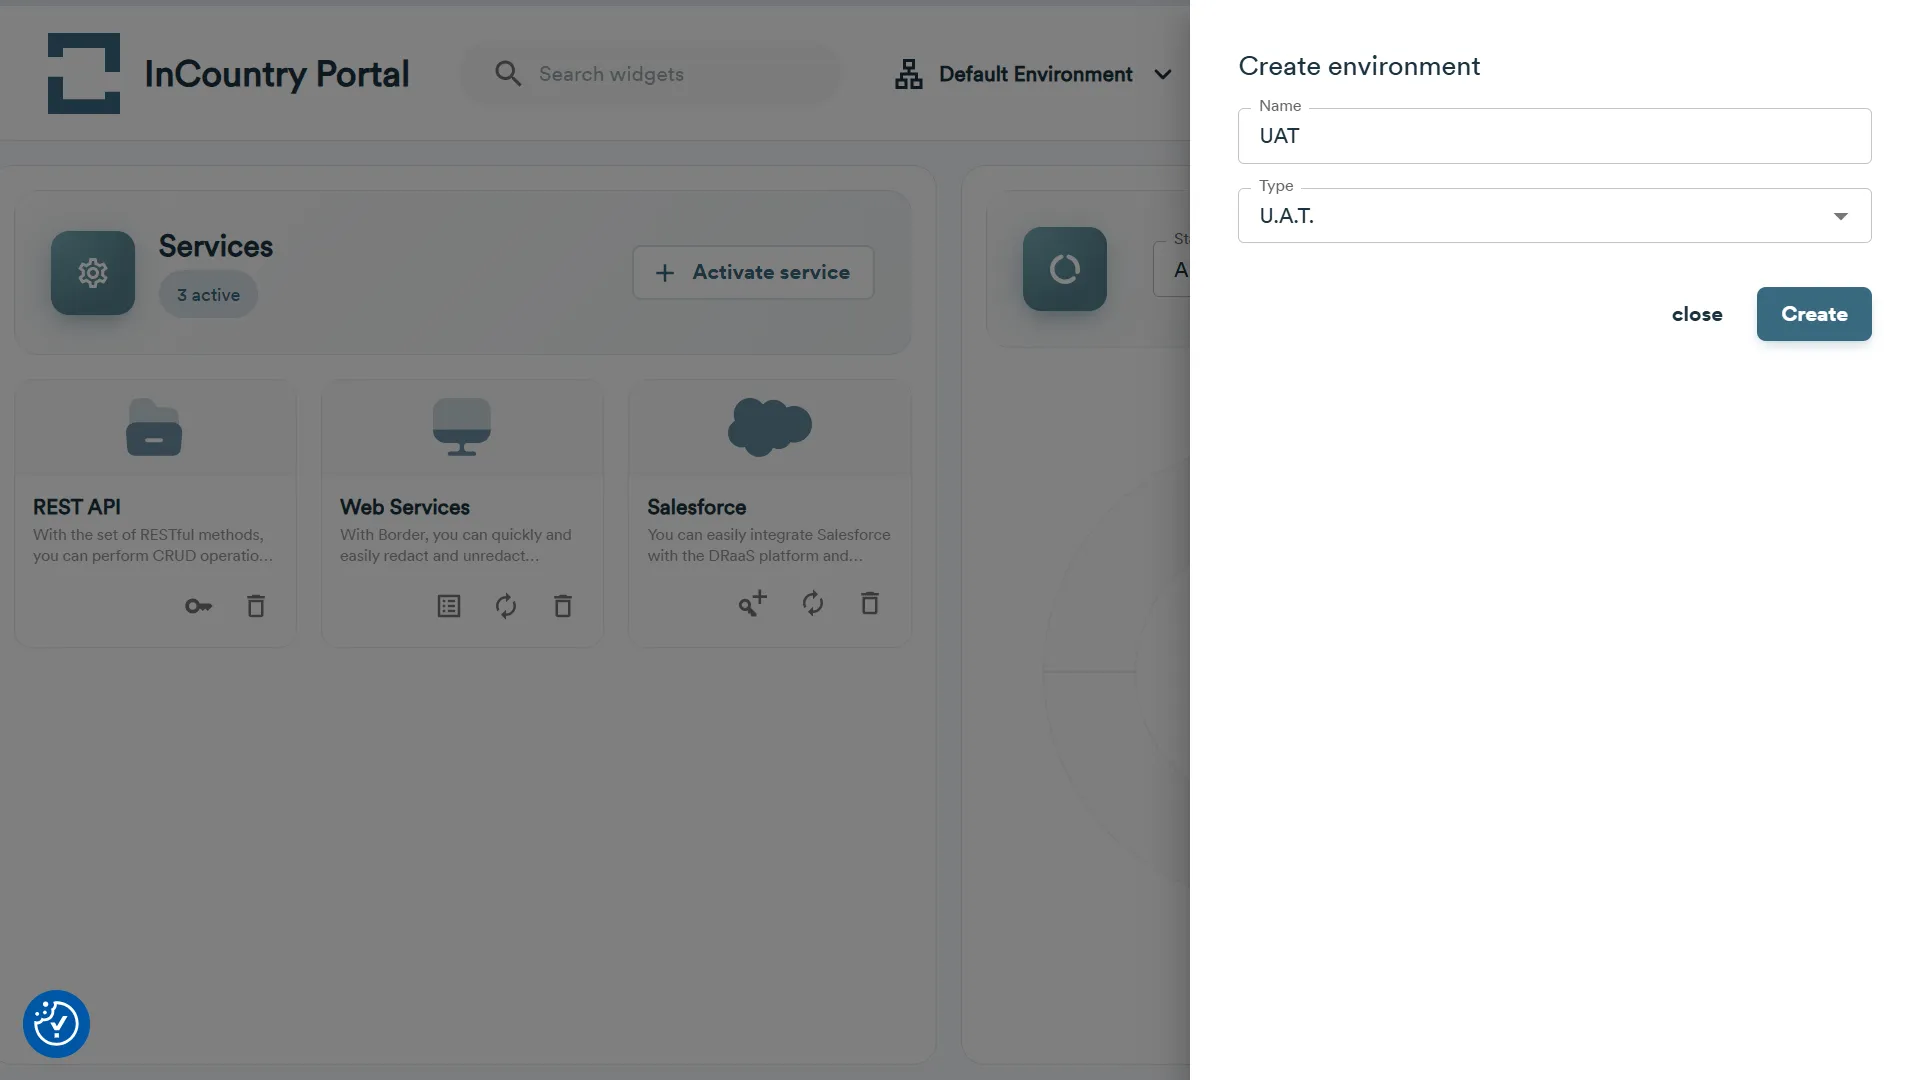
- At the bottom of the Environments list, click the + Create environment button.
- In the Create Environment form, specify the following information:
- Name - enter the name of the environment to identify it among other environments.
- Type - select the type of environment which you want to set up (Dev, Test, Staging, Integration, U.A.T., or Production). Depending on your project stage you can select the corresponding option from the list.
- When complete, enter the verification code and click Create.
A newly created environment will appear on the list with environments.
You can create up to 20 environments per organization.
Editing the environment
- On the home page, locate the environment you want to edit and hover over it.
- Click the Edit icon.
- On the Edit environment page, make the required modifications to the environment.
- When complete, enter the confirmation code and click Save.

Deleting environments
If you no longer need some environment, you can delete it on the InCountry Portal.
Removal of the environment is not performed immediately. It is scheduled for removal in 60 days, during this period you can restore the environment with all its data. SDK credentials, services, encryption keys, and records stored within this environment will be removed automatically with the removal of the environment.
Within the 60-day period, you can restore the removed environment before it’s wiped permanently.
- On the home page, locate the environment you want to delete and hover over it.
- Click the Delete icon.
- On the Delete environment page, enter the verification code and click Delete.
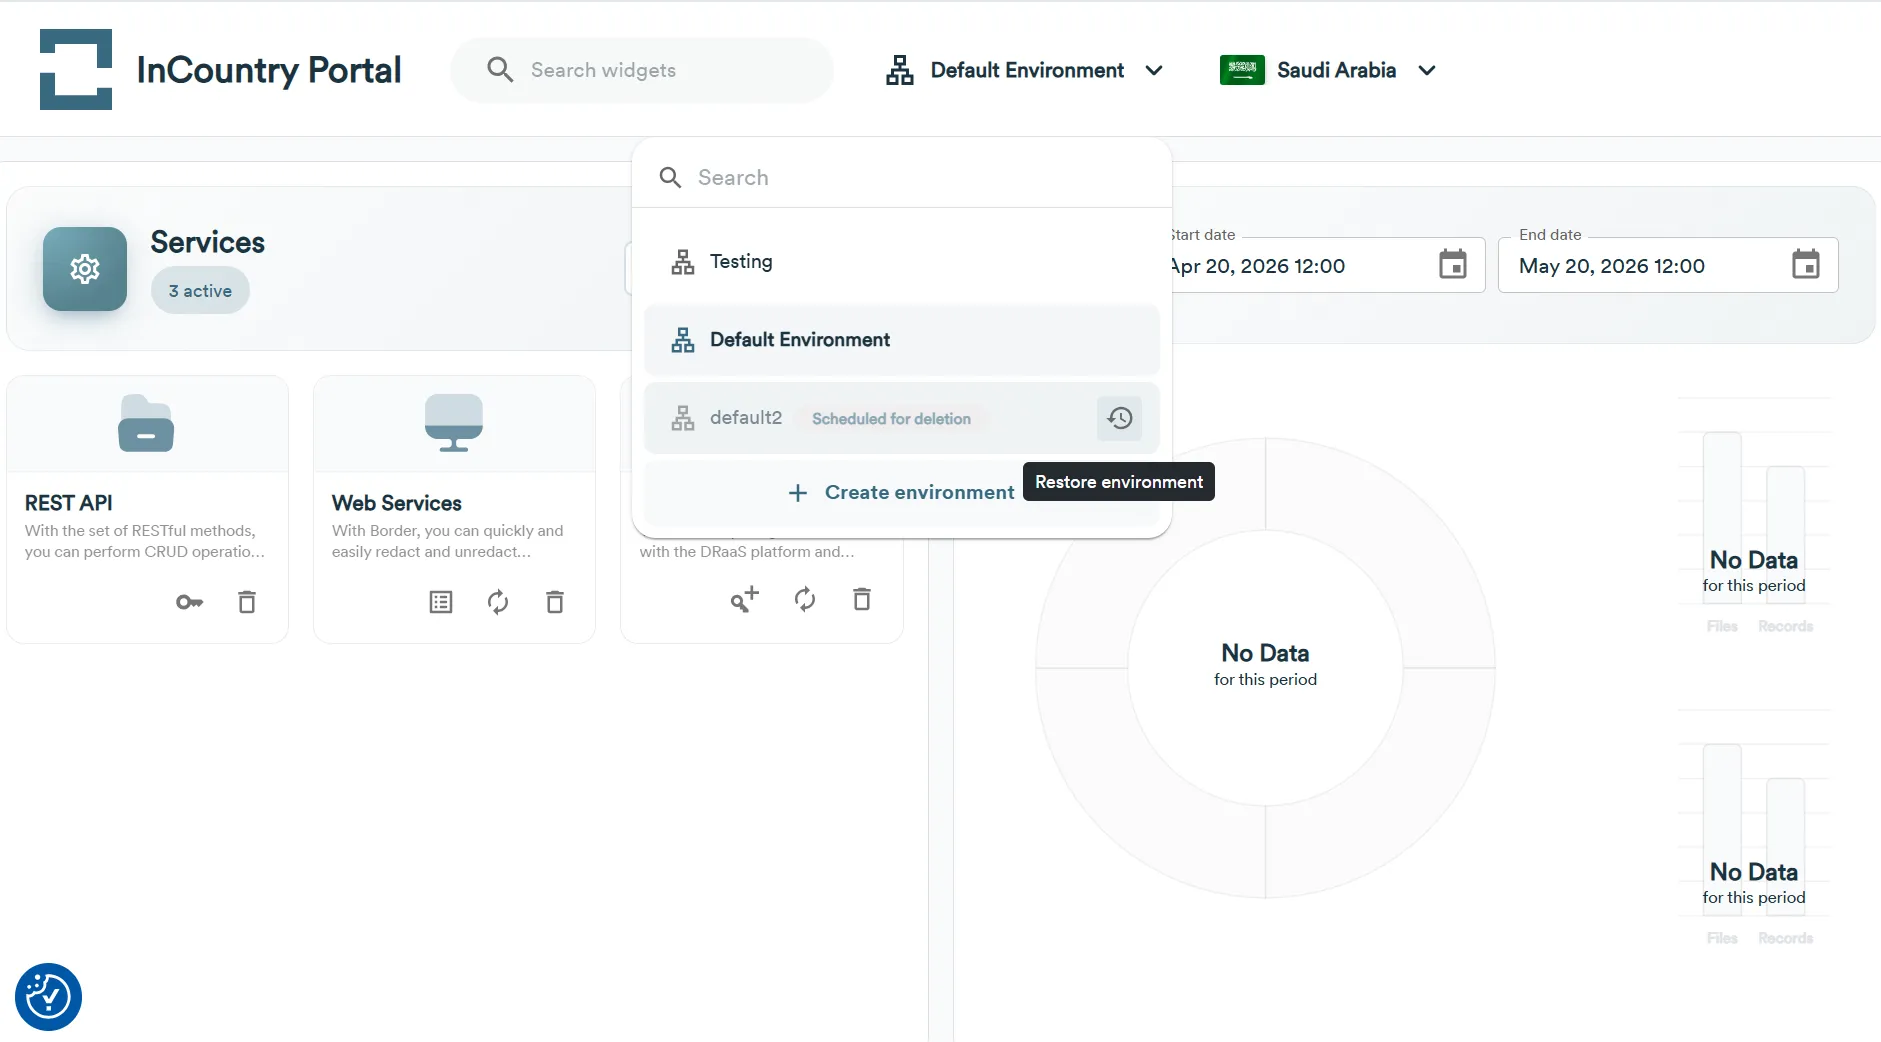
The removed environment will be marked with the DELETED label. You will not be able to access records within the removed environment, as well as use services associated with this environment.
Restoring environments
You can restore the removed environment within the 60-day period from the removal date. InCountry Portal will send notifications about the approaching the removal date.
- On the home page, locate the environment you want to restore and hover over it. Removed environments are highlighted with the
DELETEDlabel. - Click the Restore environment icon.
- On the Restore environment page, enter the verification code and confirm the recovery of the environment.
- Click Restore.
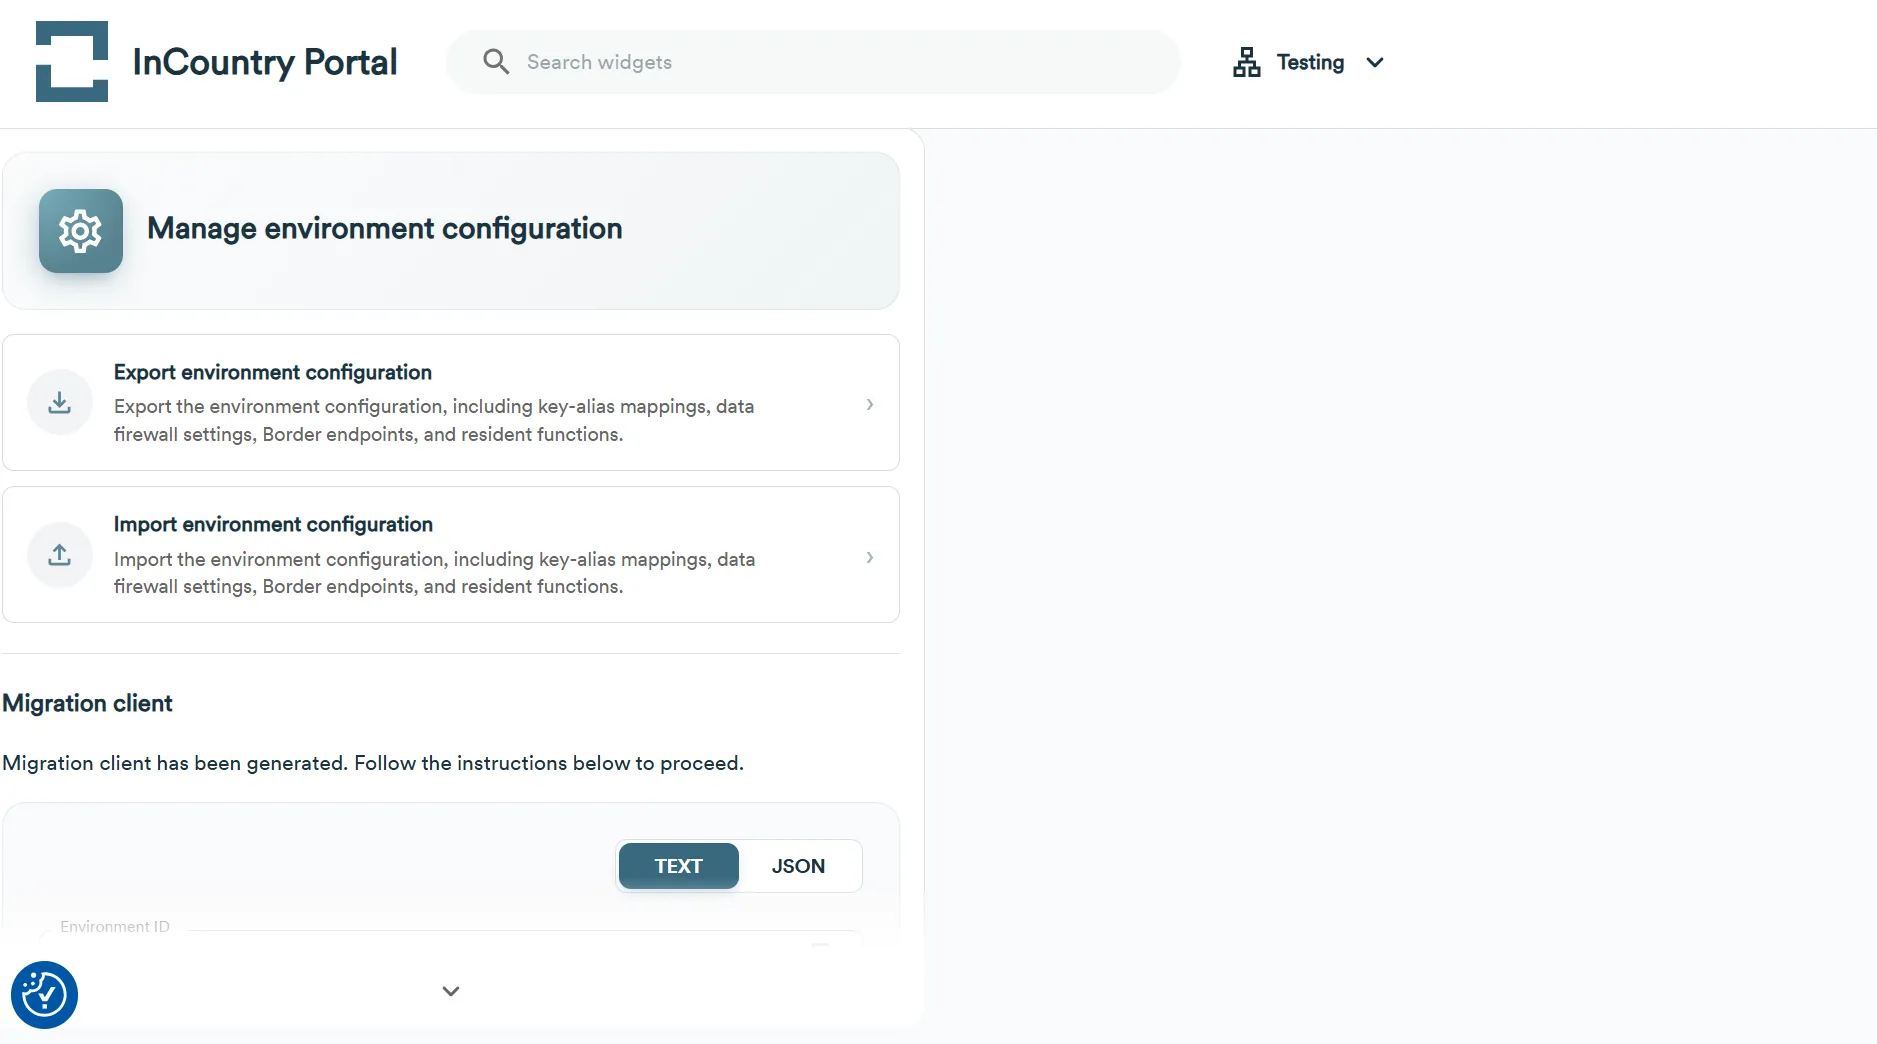
Exporting environment configuration
- On the home page, select the environment you wish to export or import.
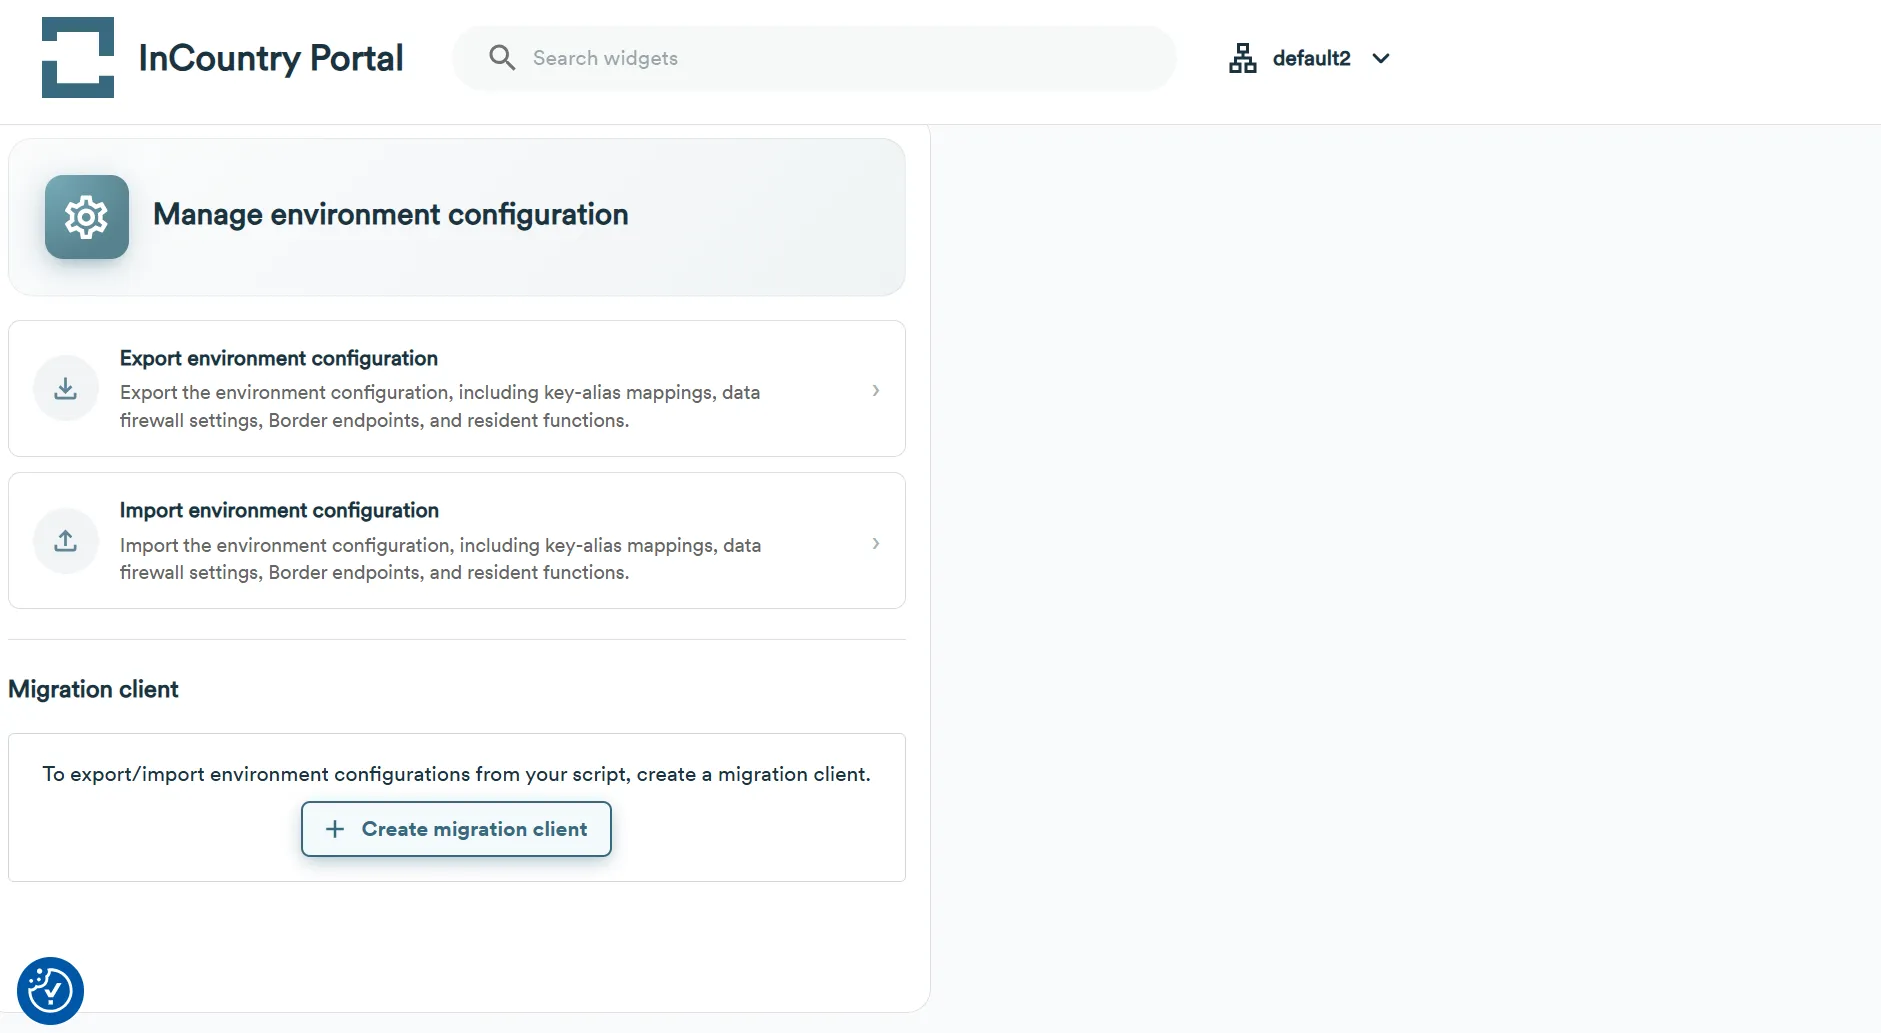
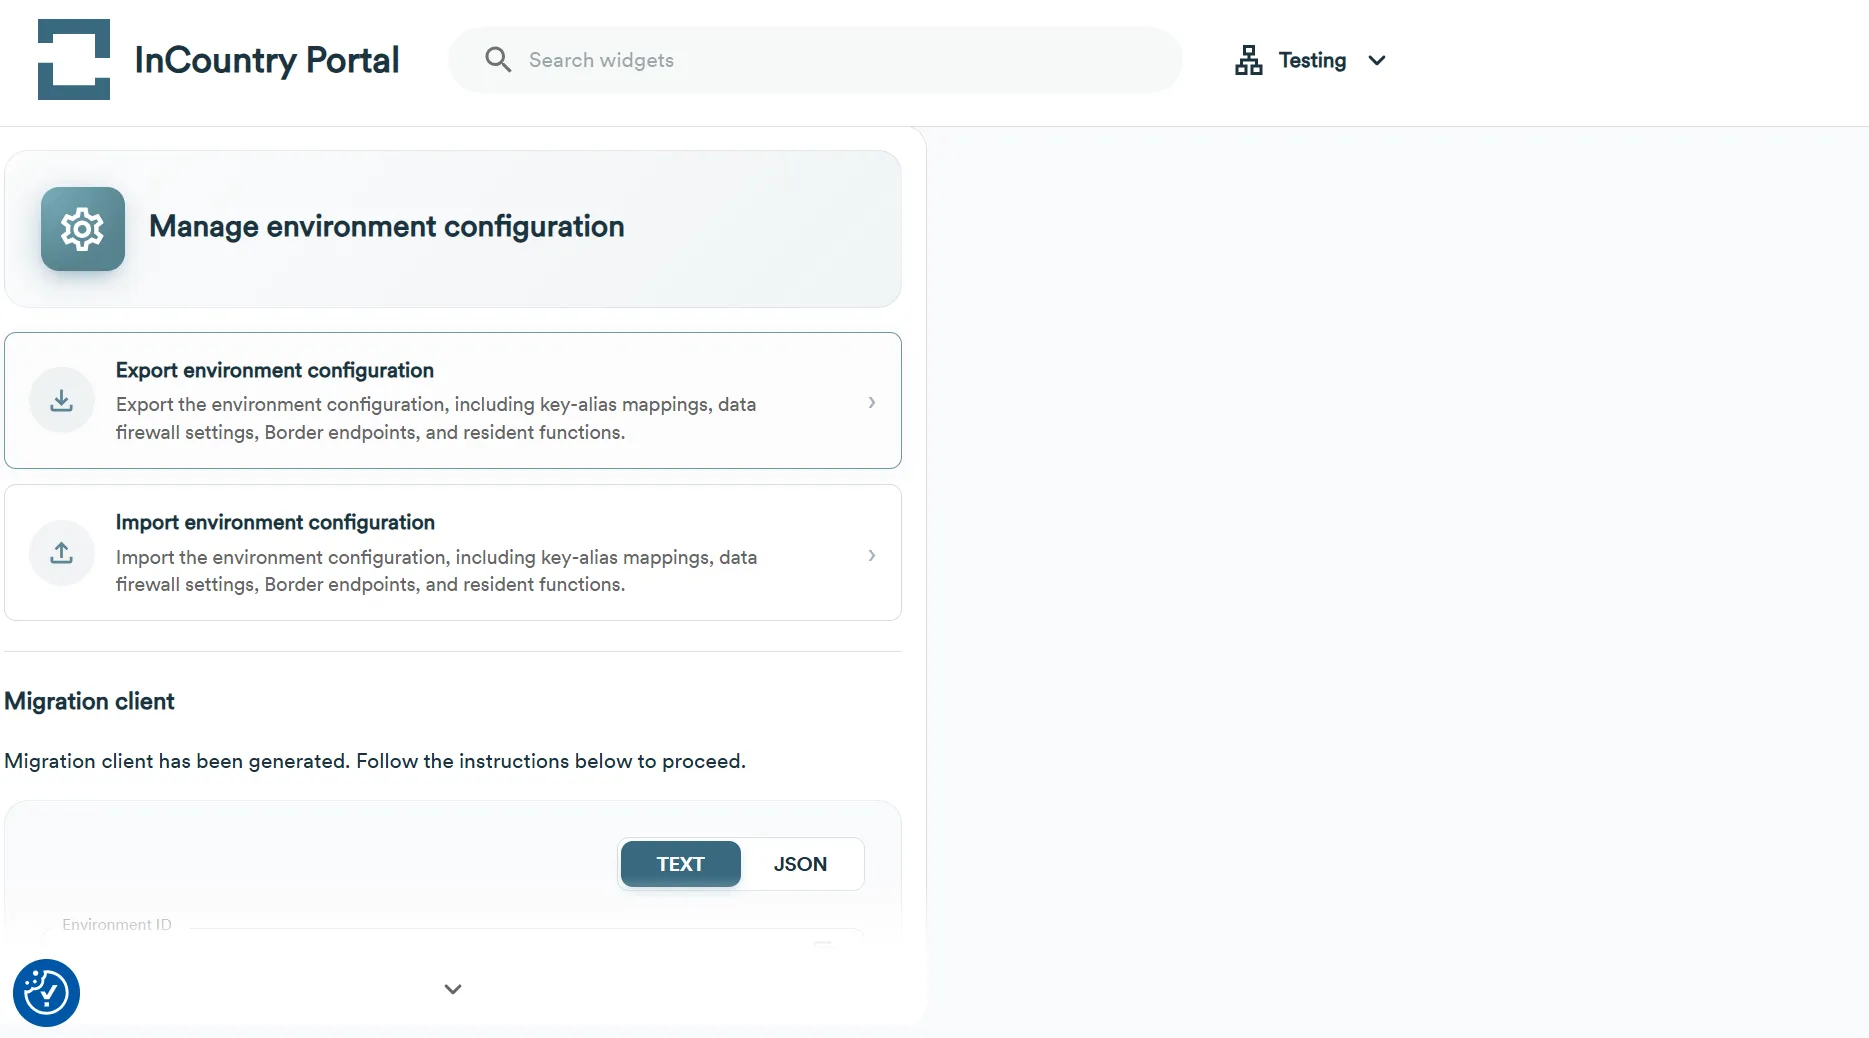
- Navigate down to the Manage environment configuration widget.
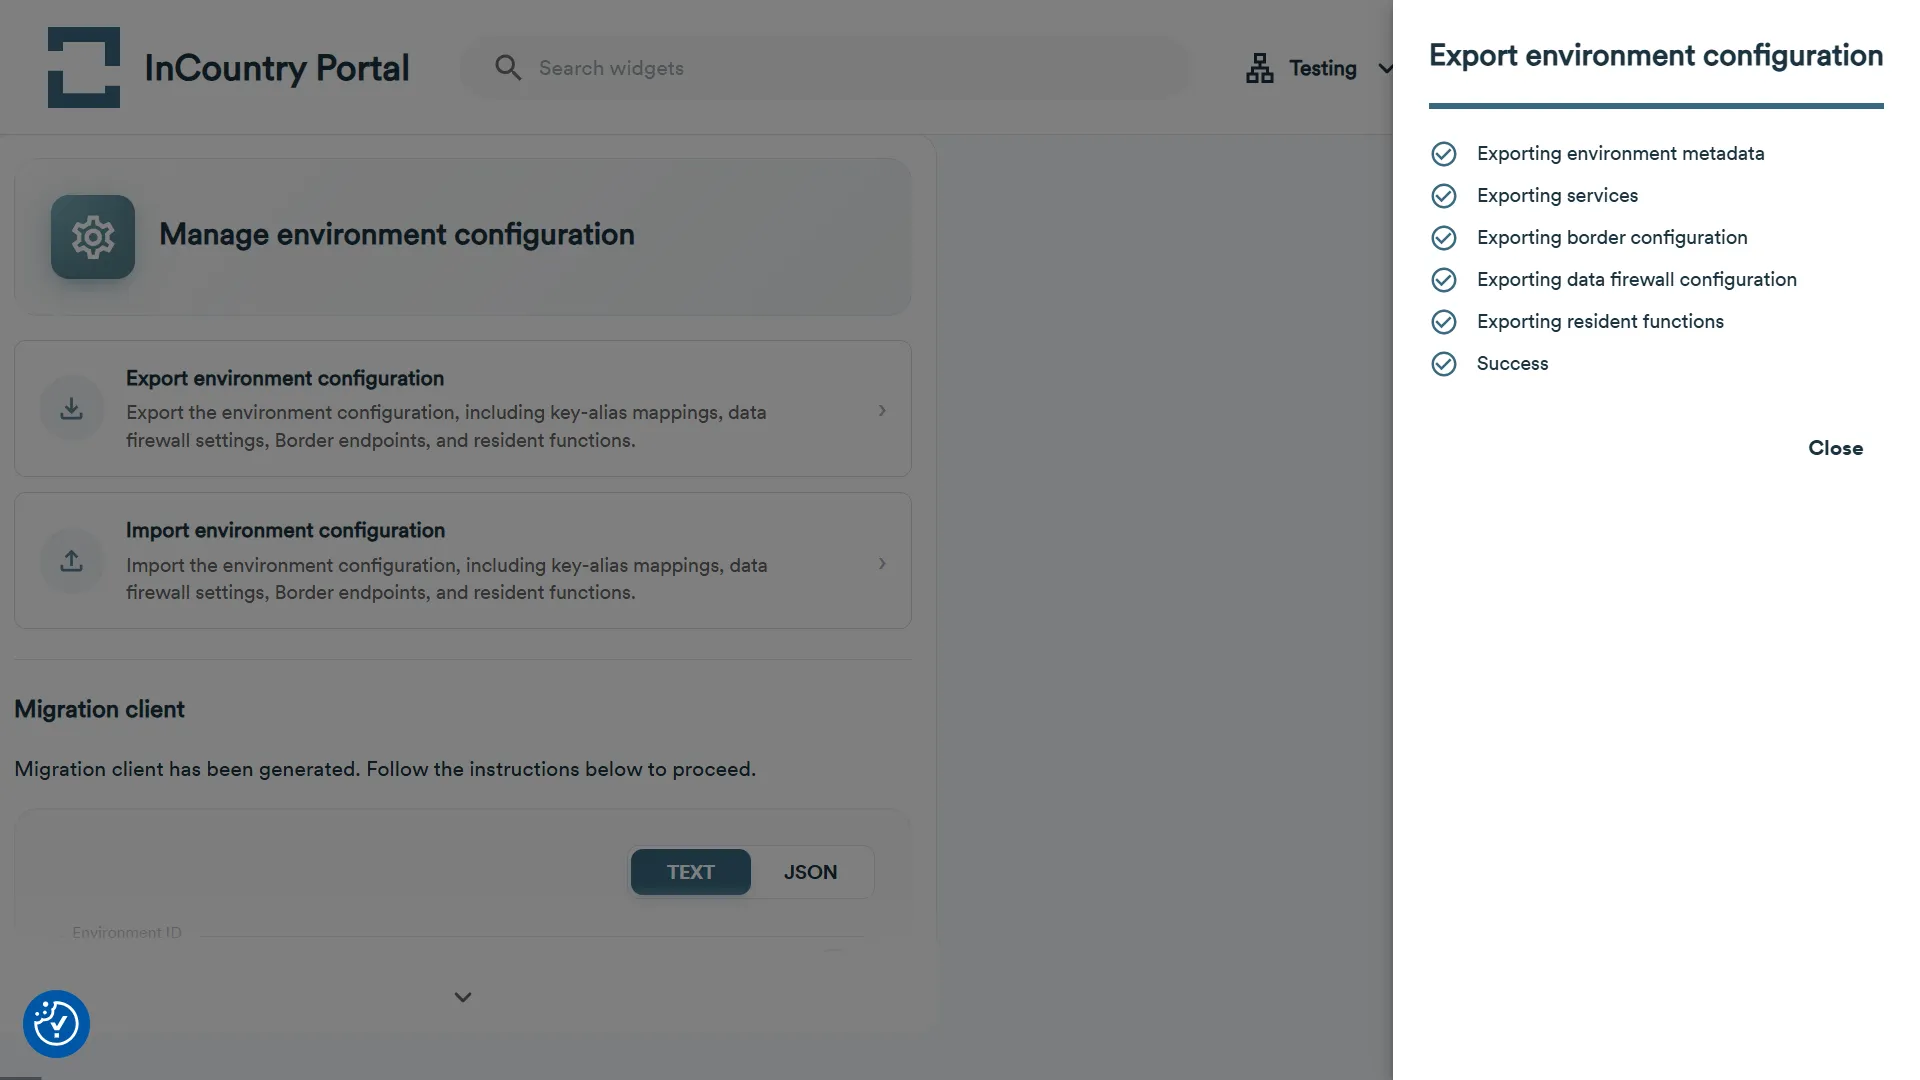
- In the Manage environment configuration widget, choose Export Environment Configuration and click the Export button.
- The environment configuration will be downloaded as a JSON file to your computer.
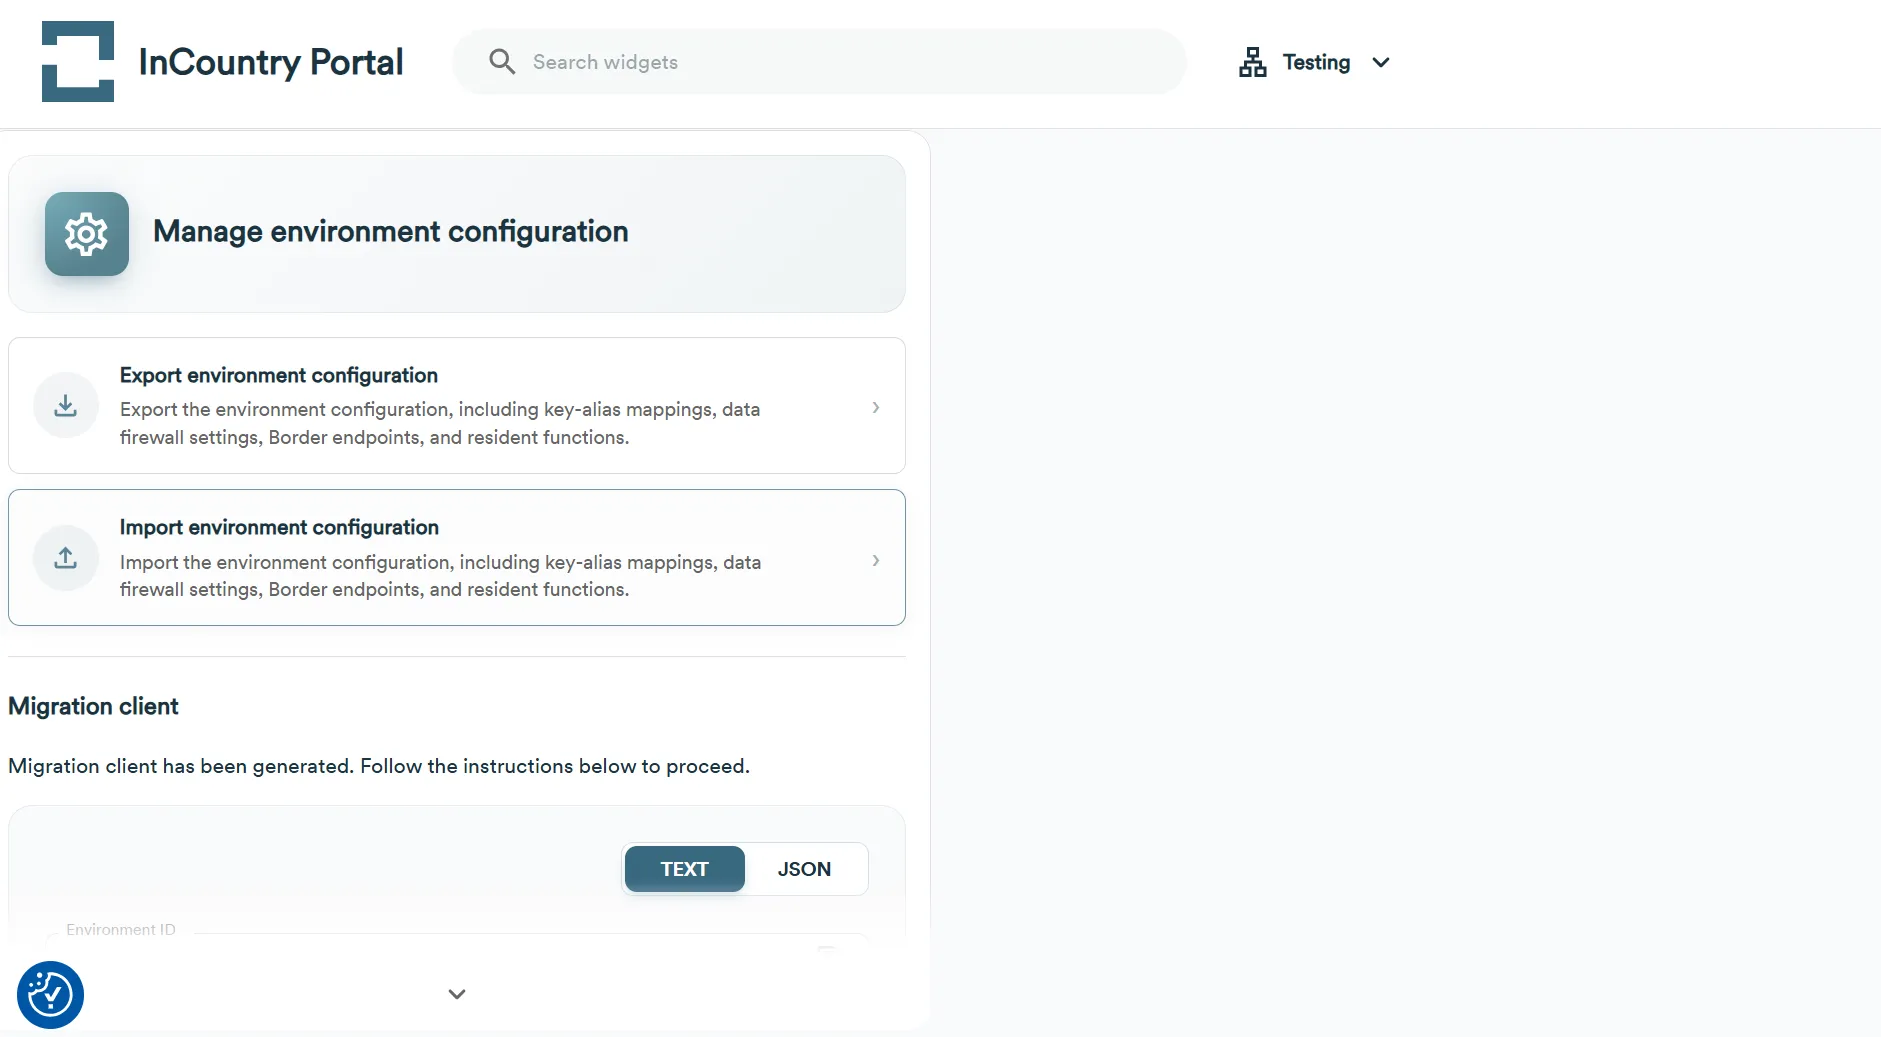
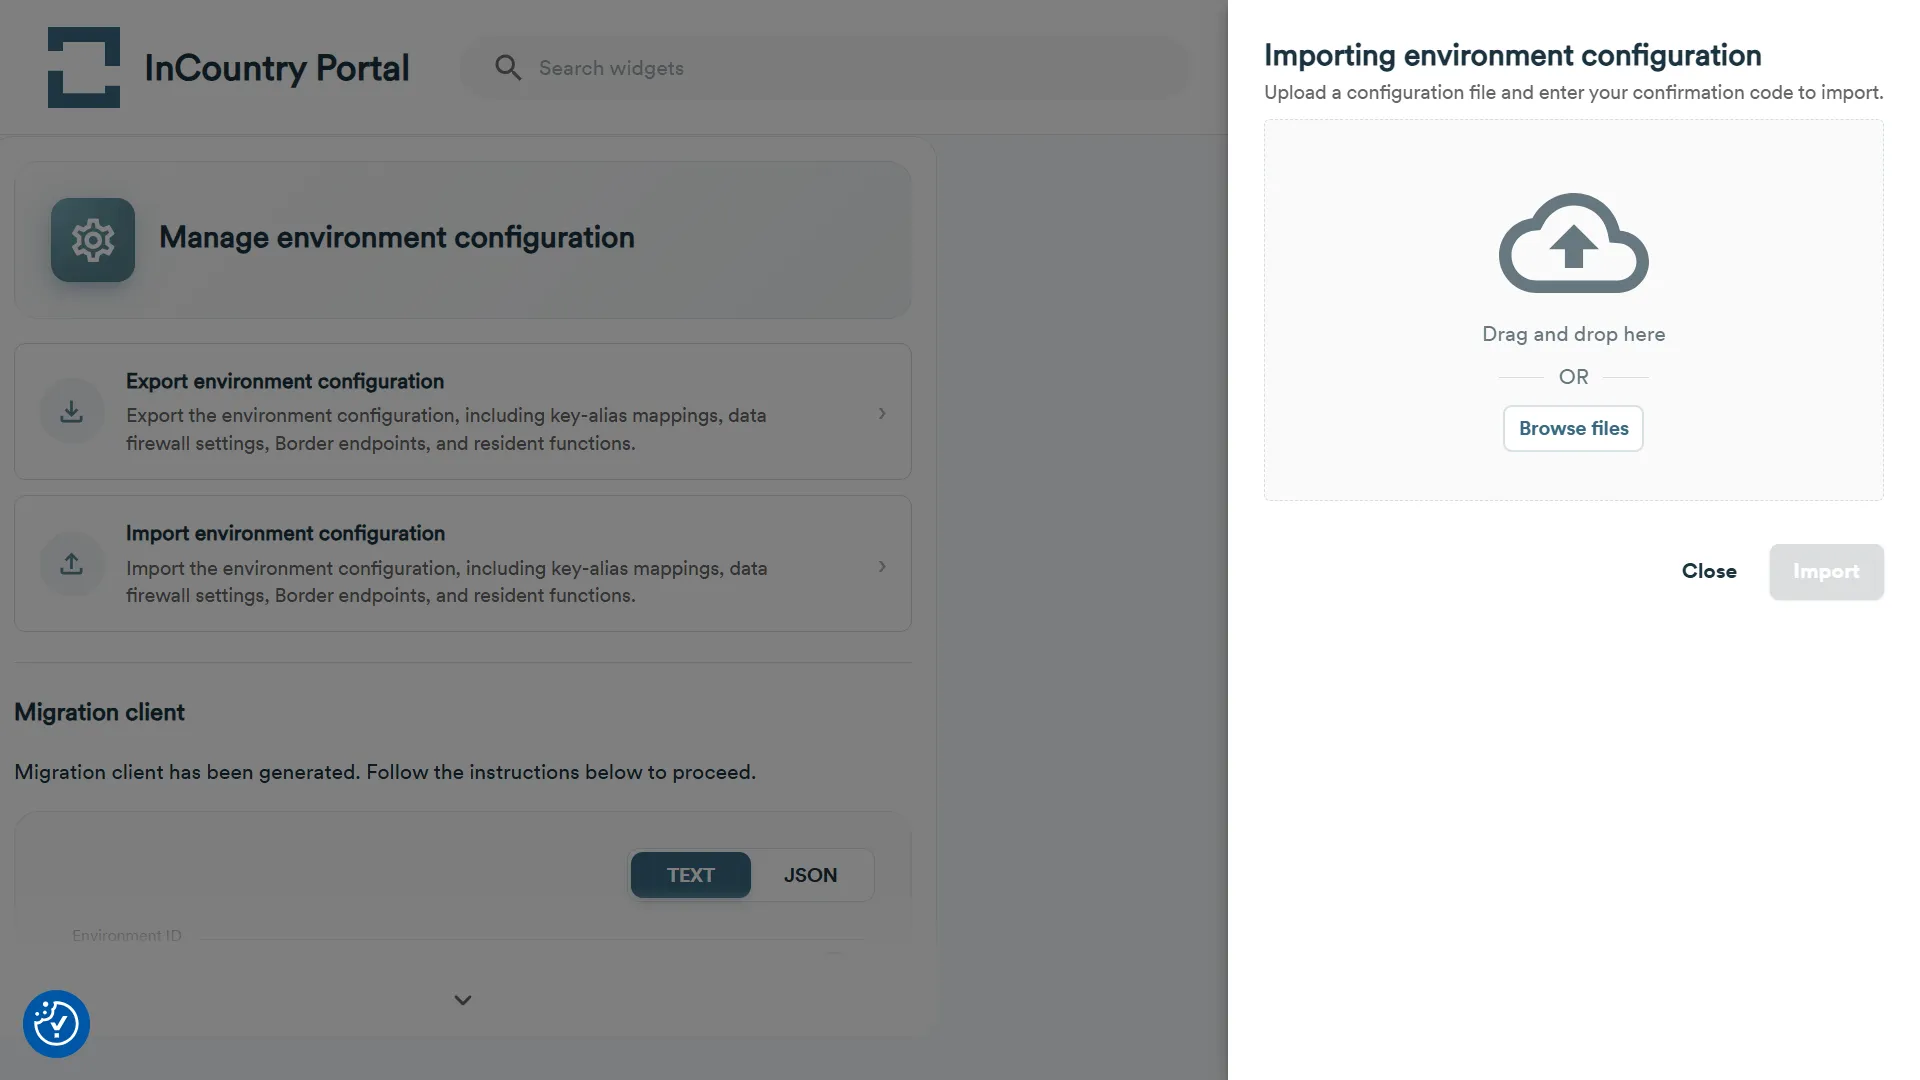
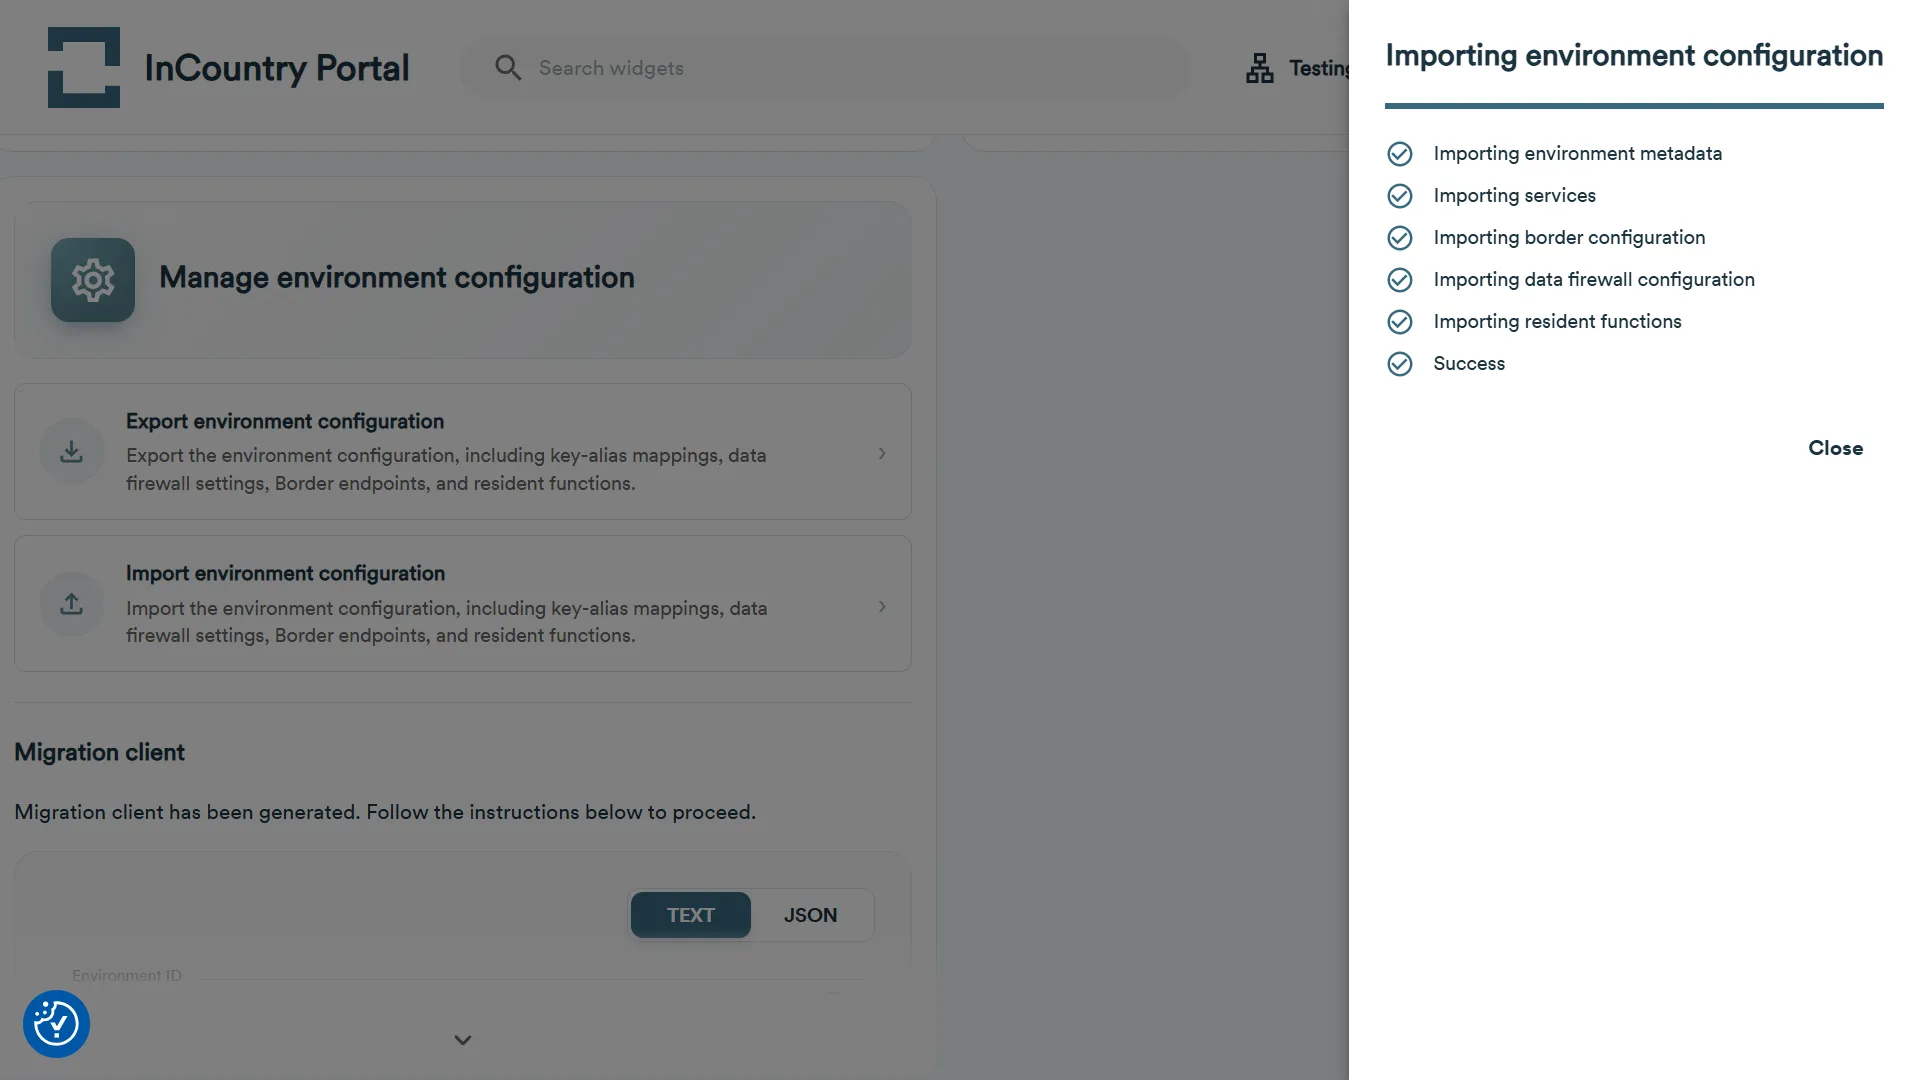
Importing environment configuration
- To import the environment configuration, select Import Environment Configuration, provide the environment configuration JSON file, and click the Import button.
- The provided environment configuration JSON file will be imported into the current environment.
Creating and renewing a migration client
Alternatively, instead of exporting and importing environment configuration manually, you can create a migration client to facilitate the configuration process from your script.
-
On the home page, select the environment where you wish to create a migration client.
-
Navigate down to the Manage environment configuration widget.
-
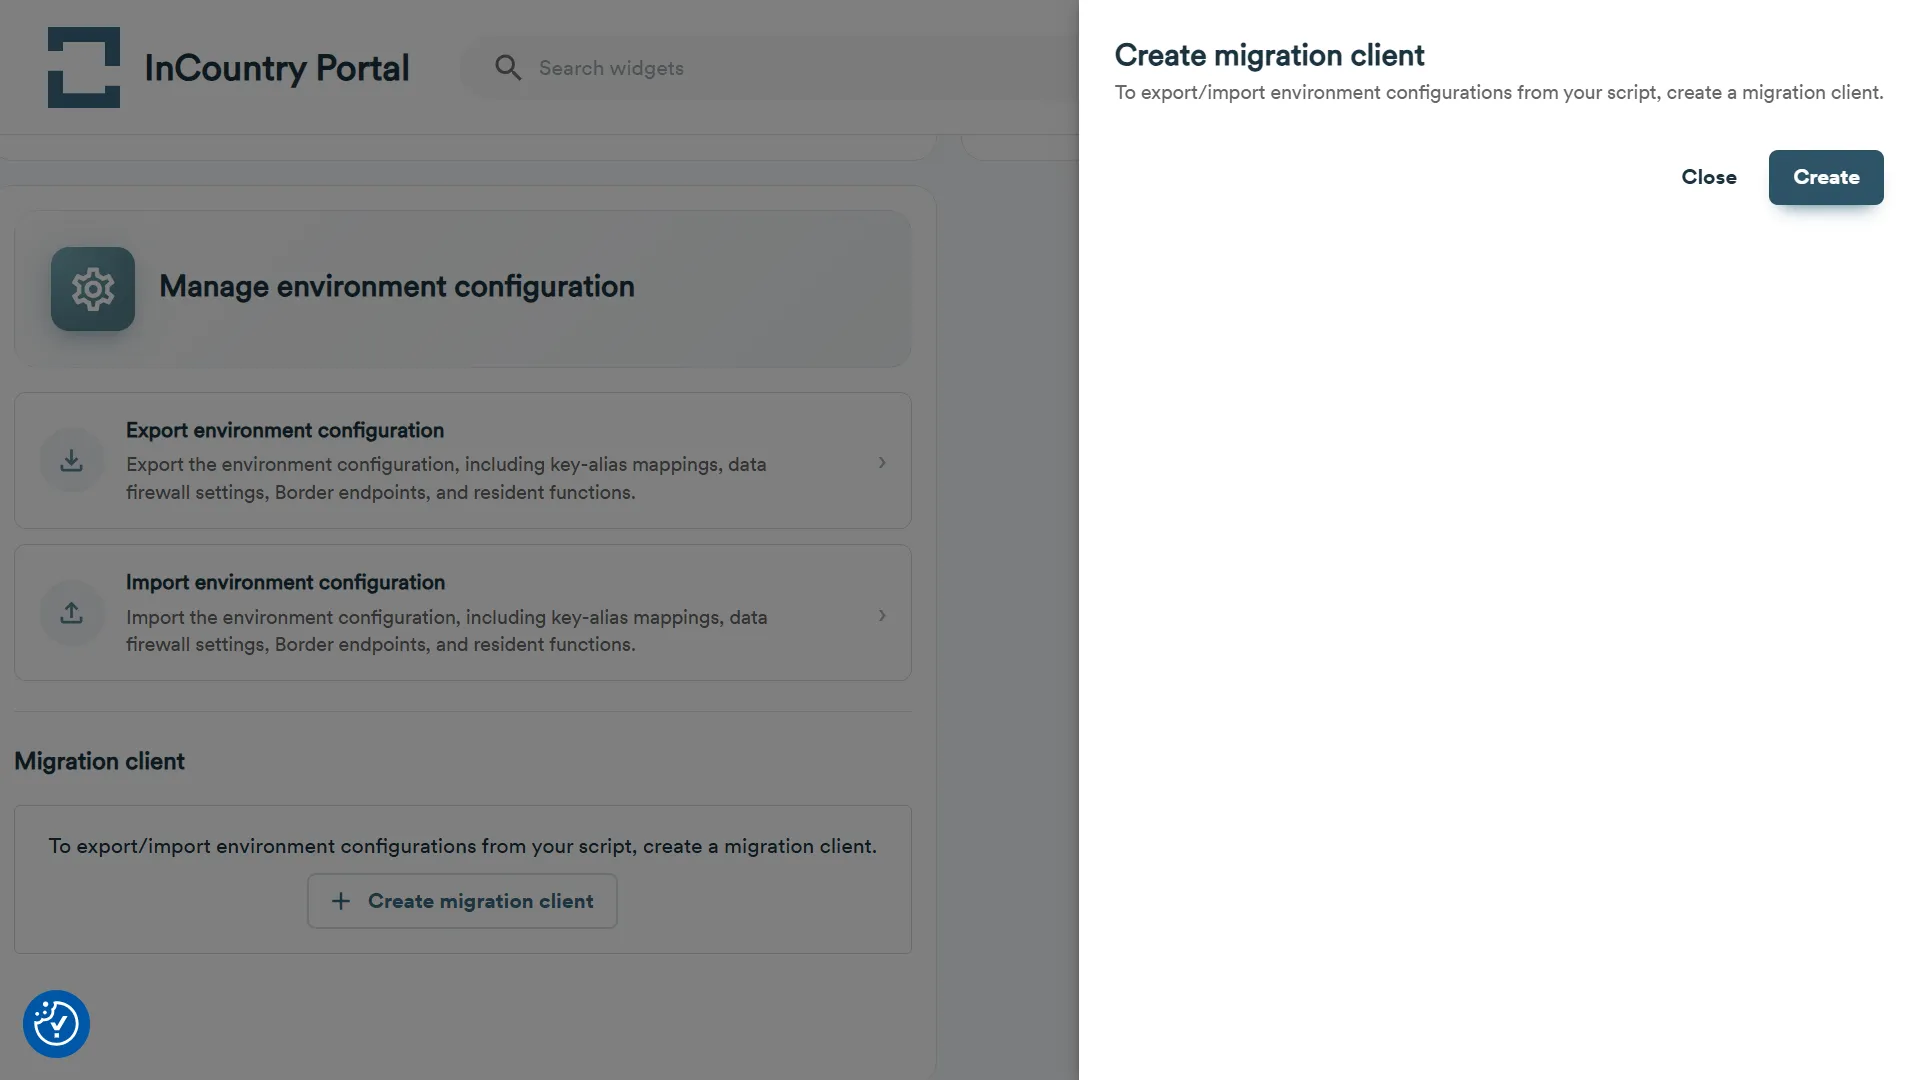
In the Manage environment configuration widget, locate the Migration Client section and click the + Create Migration Client button.
-
Click Create.
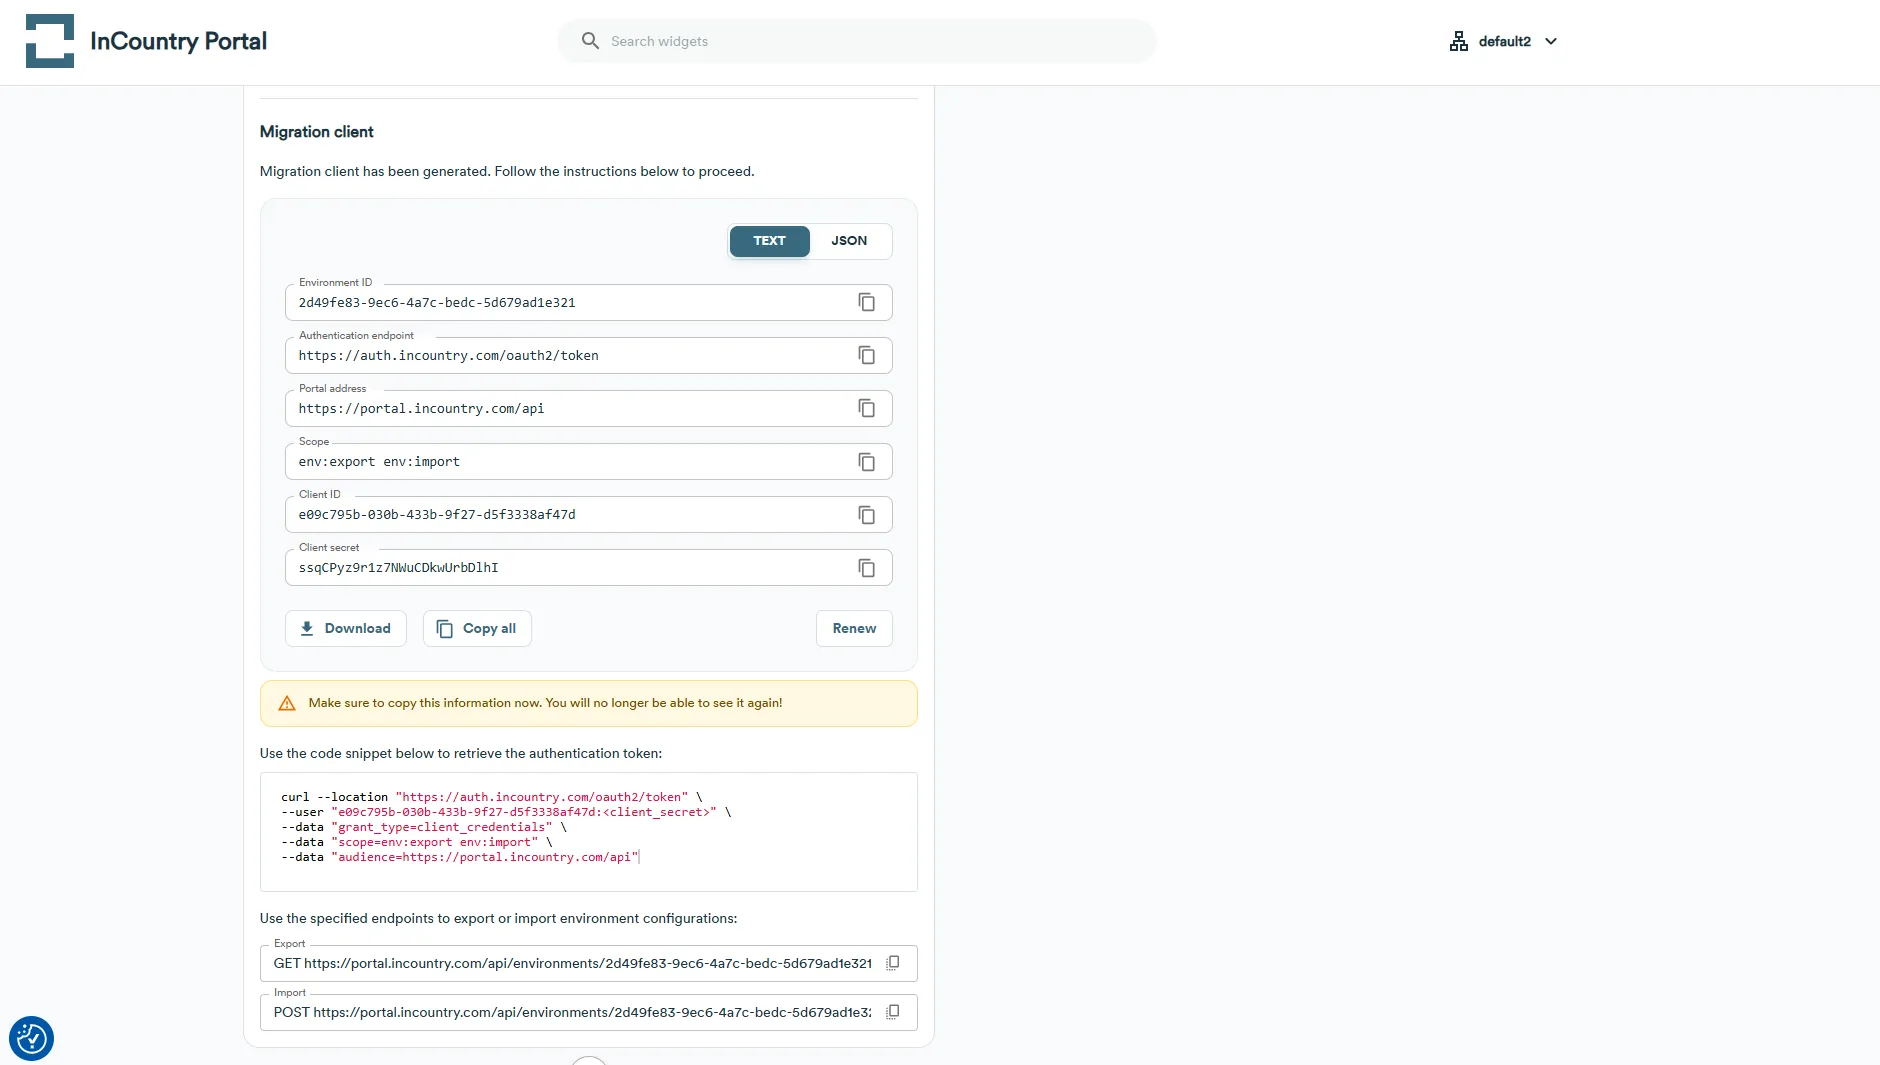
You will be provided with Migration Client credentials and instructions. Make sure to copy this information now. You will not be able to view the Client Secret again!
-
If you have lost your migration client credentials, you can renew them by clicking the Renew button.