Members
The InCountry Portal lets you manage users within your organization and invite new users.
-
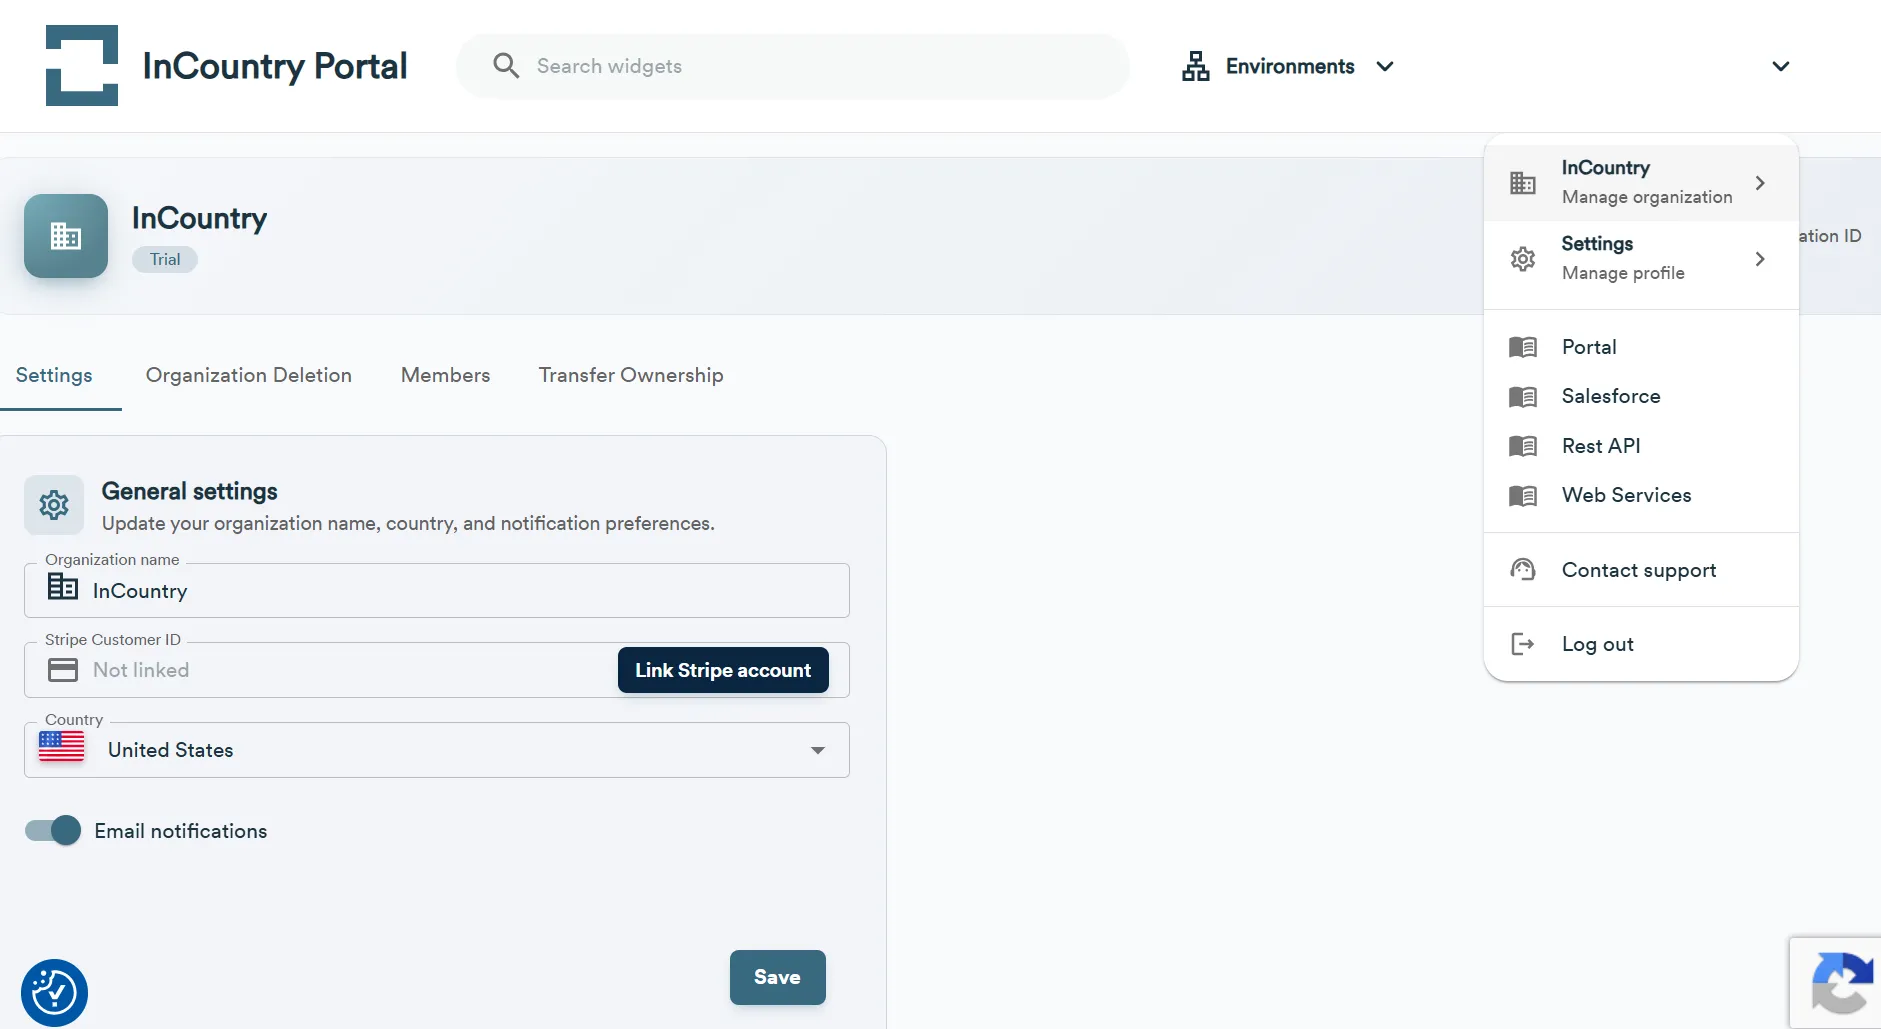
In the top-right corner, click the Manage Organization menu item.
-
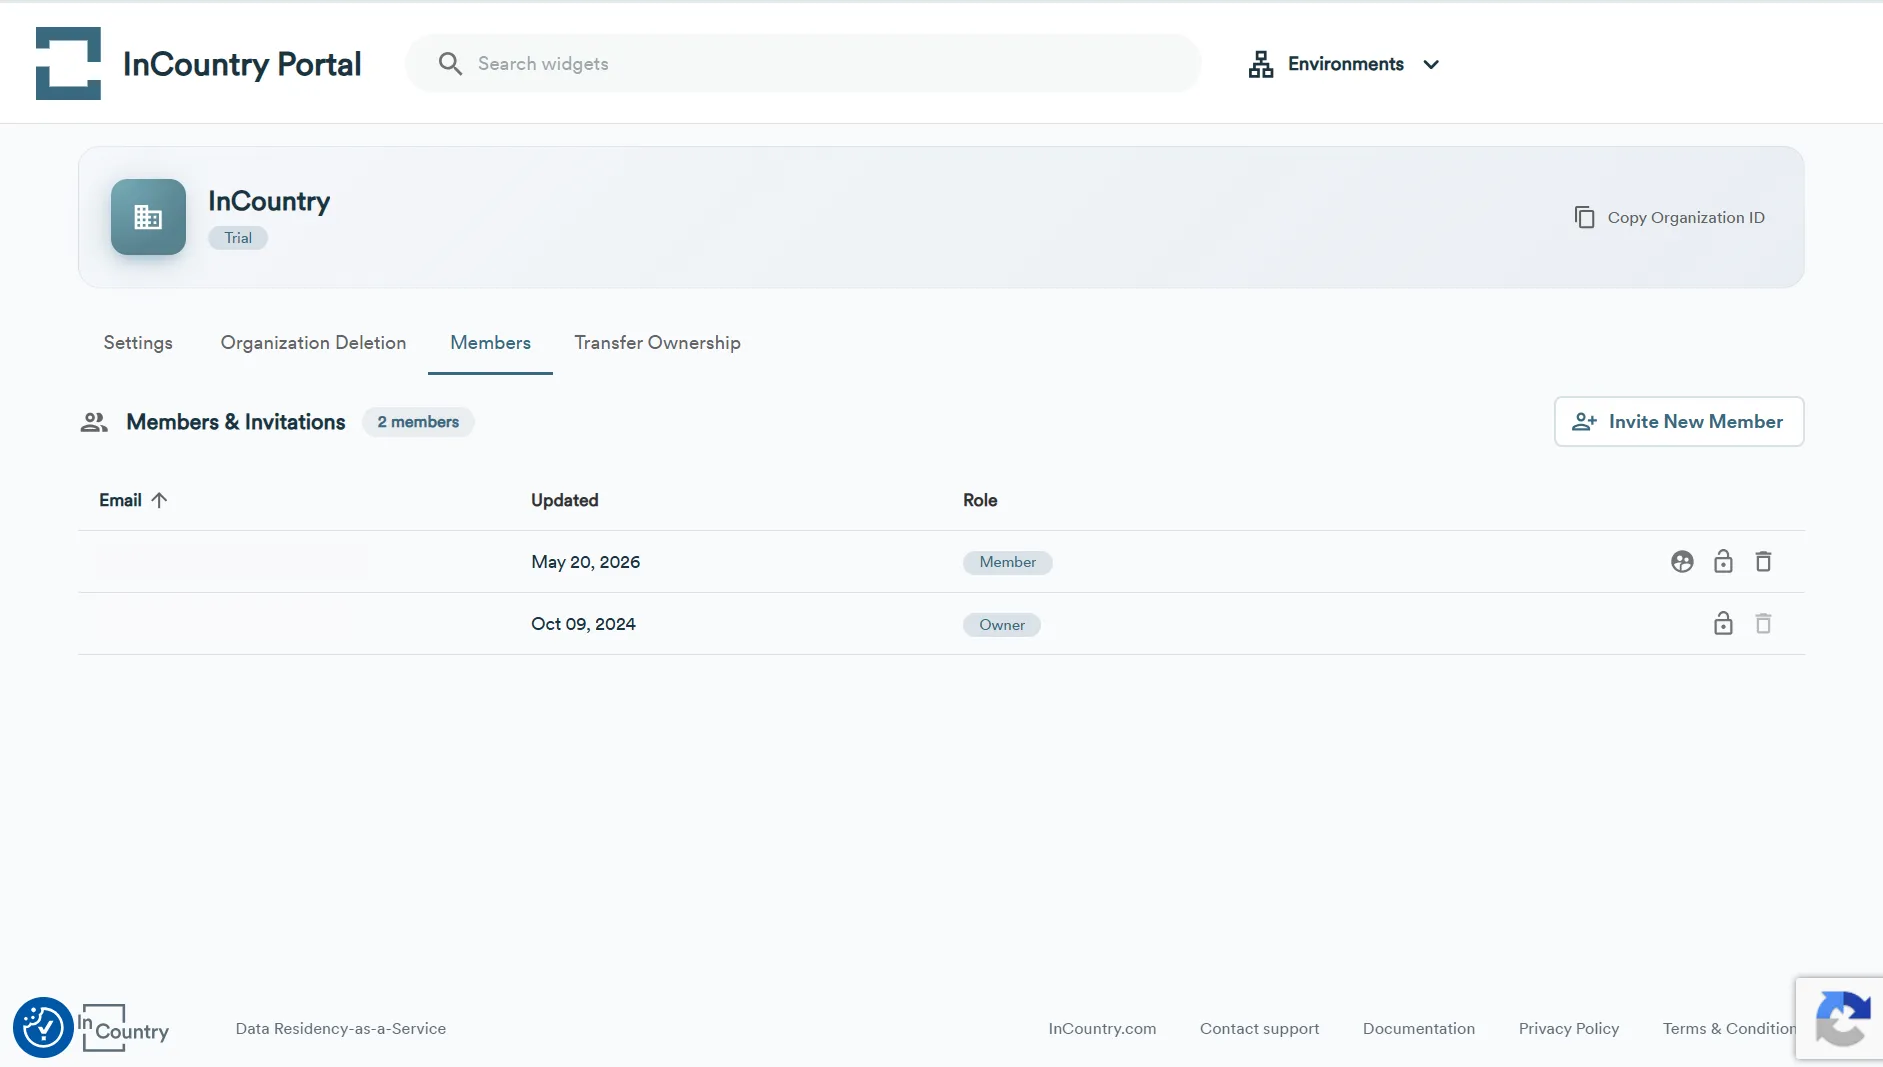
The Manage Organization page opens as follows:

-
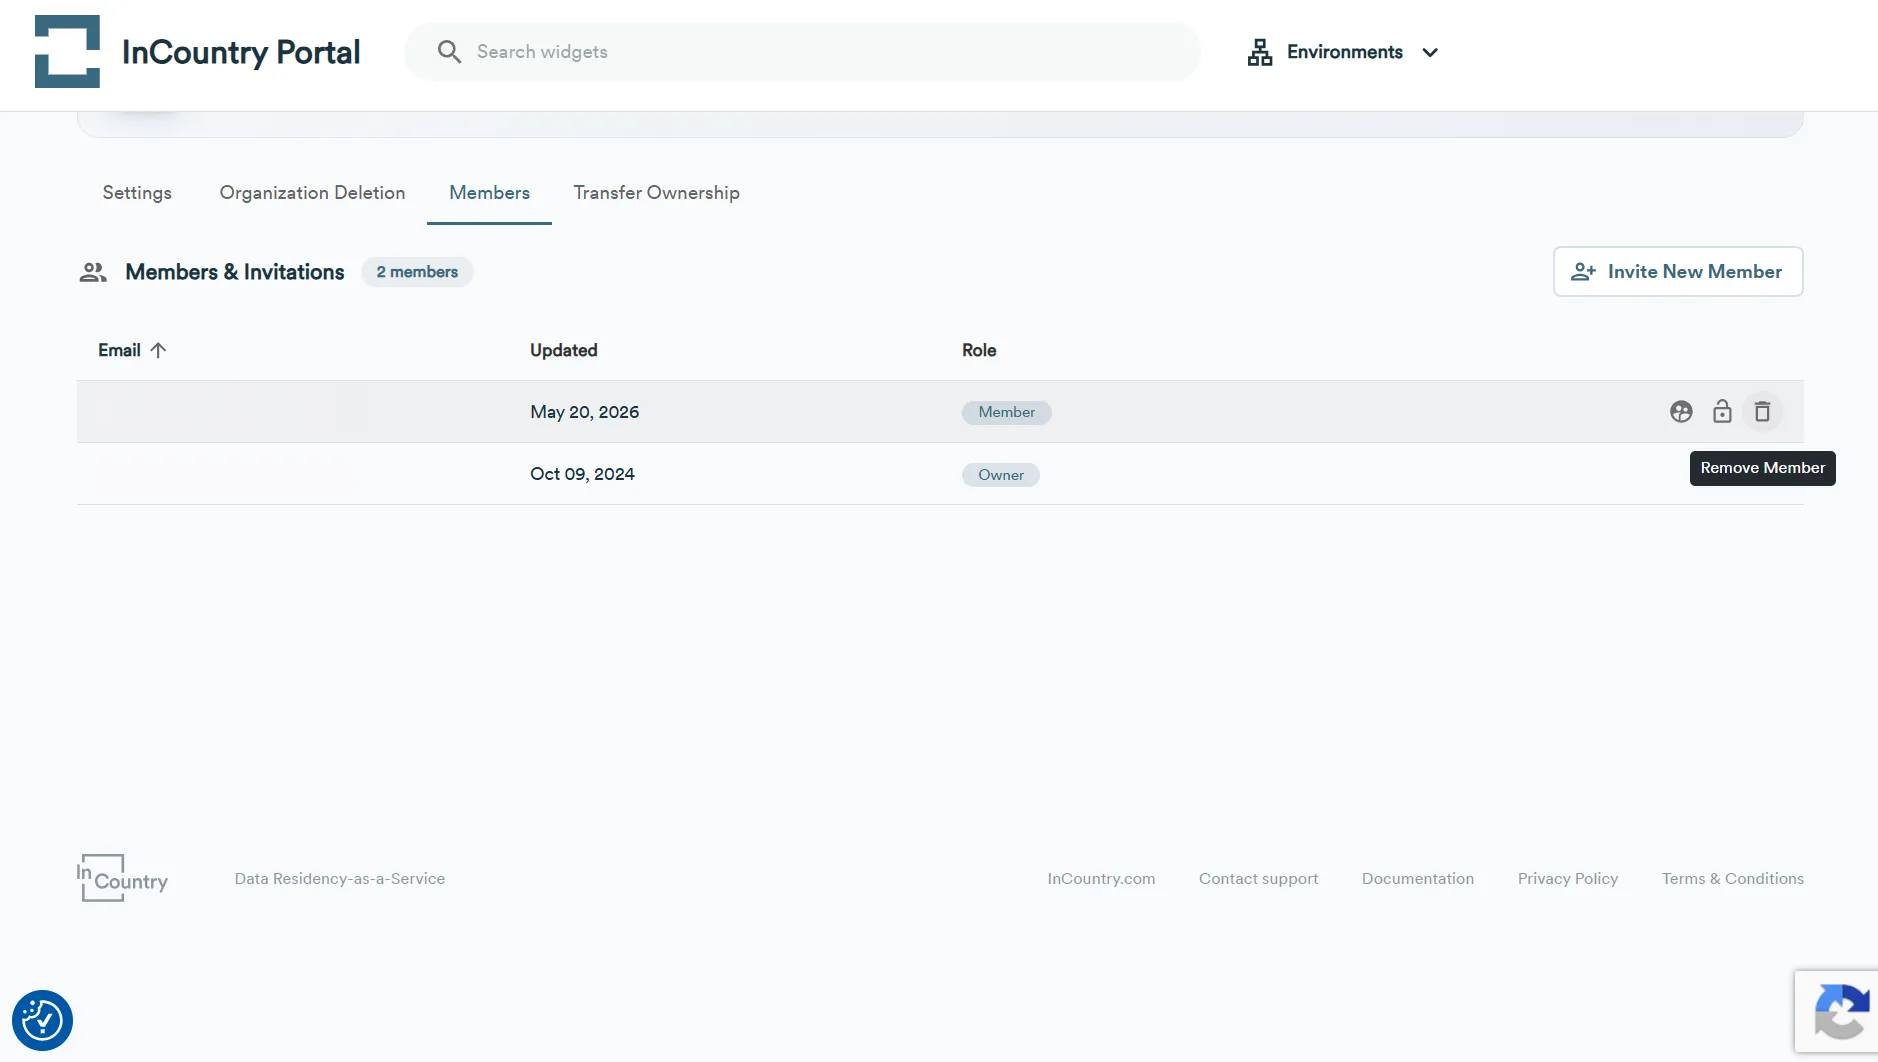
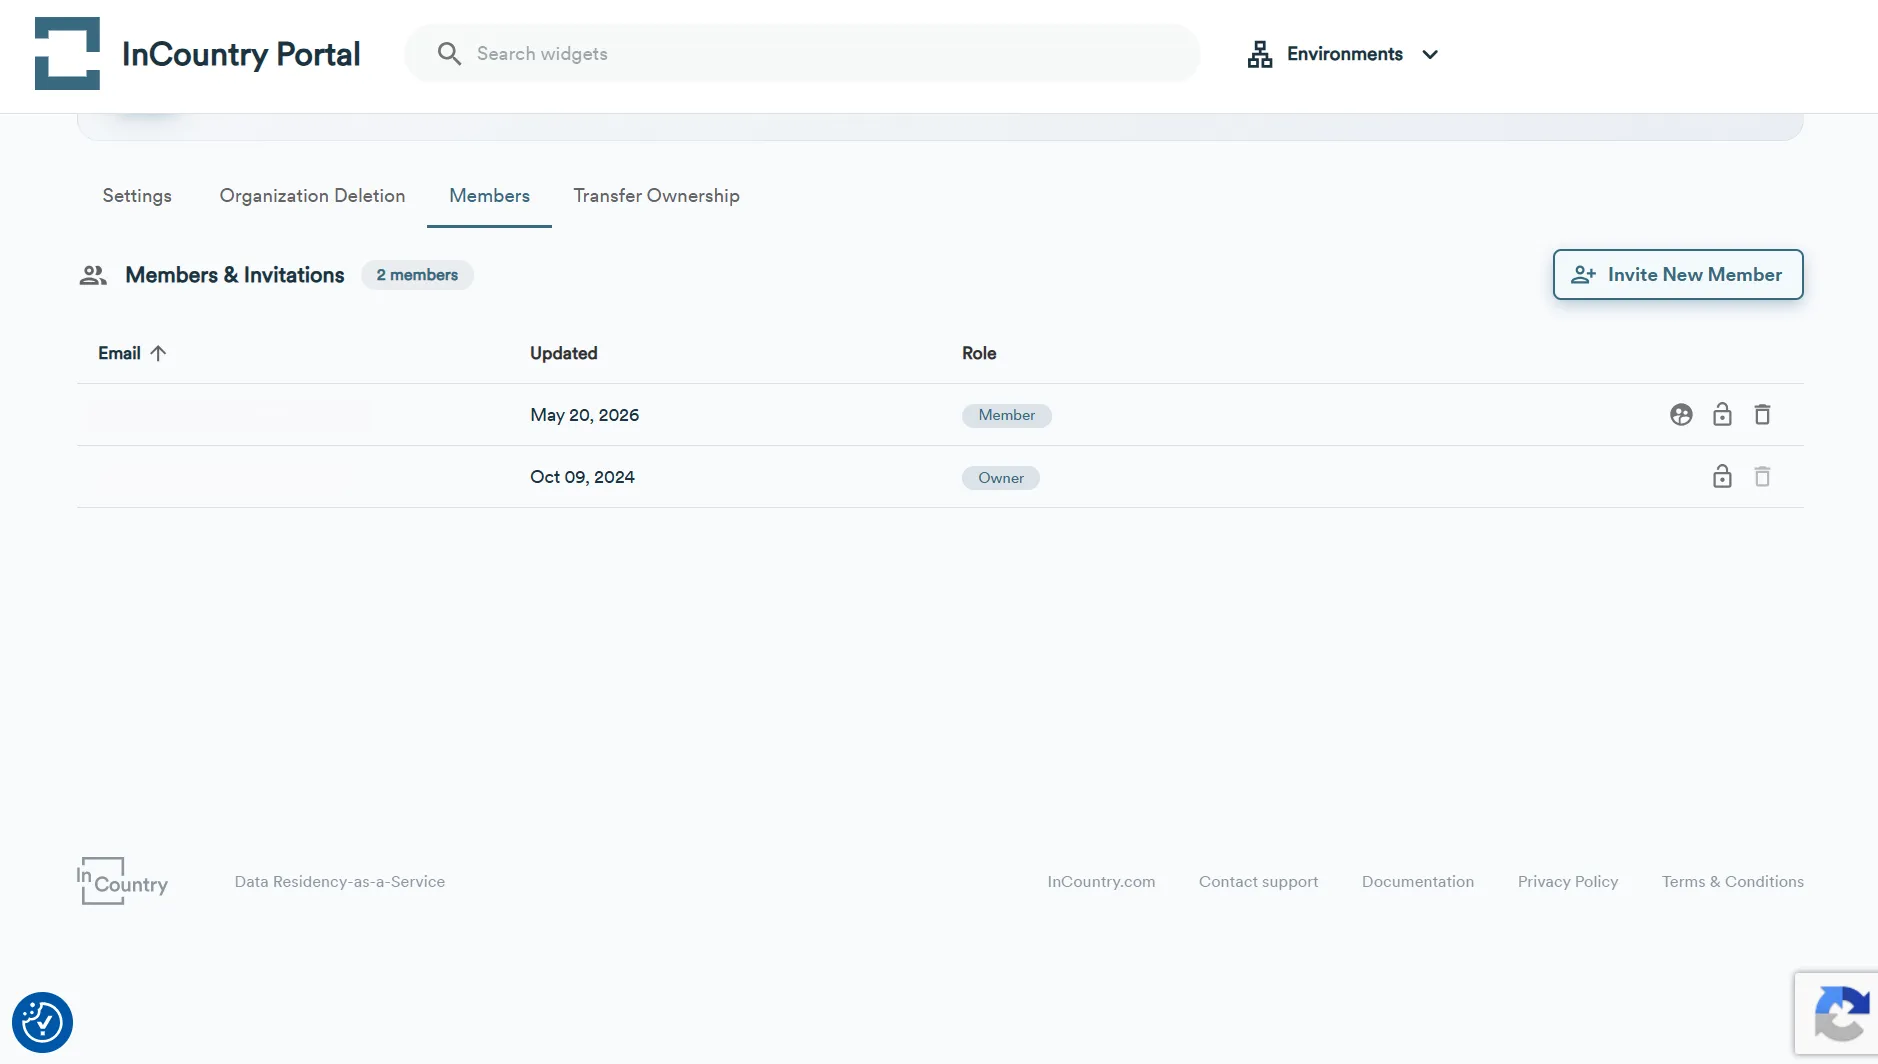
Select the Members tab.
Here you can view the list of users that are registered within your organization. For each user, the following information is available:
| Attribute | Description |
|---|---|
| Email address of the registered user. | |
| Updated | Date when the user account was updated. |
| Role | The current role of the user. Only one user with the Owner role can be within one organization. |
You can perform the following operations on users:
Deleting users
You can delete accounts of users who you want to remove from your organization.
User deleted from your organization is still able to log into InCountry Portal, but they will no longer have access to your organization. At their first attempt to sign in to InCountry Portal, they will be prompted to create a new organization.
-
On the Members page, locate the user who you want to delete.
-
Click the Remove Member icon.
-
Enter the verification code and then click Remove.
The user will be deleted from your organization.
You cannot delete your own user account while you act as the Owner of the organization.
Resetting the password for the user
You can initiate the reset of the password for any user within your organization on InCountry Portal.
-
On the Members page, locate the user whose password you want to reset.
-
Click the Reset Password icon.
-
On the Reset User Password page, enter the verification code and then click Reset Password.

The password will be reset for the user, he/she will no longer be able to sign in to the InCountry Portal with the old password. The email with the password reset details will be sent to the email of this user.
Managing user’s role
By default, all the users' roles within your organization can be managed by the user with the Owner or Account Management role. All the newly registered users receive the Member role. The assigned role defines the actions that the user can perform on the InCountry Portal.
The following table shows what sections of the InCountry Portal are available to users with different roles:
| Action | Owner | Configuration Administrator | Configuration Auditor | Account Manager | Member |
|---|---|---|---|---|---|
| ACCOUNT MANAGEMENT (OWN) | |||||
| Log in | |||||
| Change email | |||||
| This option is unavailable when using SSO. | |||||
| Change password | |||||
| This option is unavailable when using SSO. | |||||
| Terminate session | |||||
| Change authentication method | |||||
| DASHBOARD | |||||
| View | |||||
| ENVIRONMENTS | |||||
| View list | |||||
| Add | |||||
| Edit | |||||
| Delete | |||||
| COUNTRIES | |||||
| View list | |||||
| Add | |||||
| SDK CREDENTIALS | |||||
| View list | |||||
| Add | |||||
| Edit | |||||
| Delete | |||||
| SERVICES | |||||
| View list | |||||
| Add | |||||
| Edit | |||||
| Delete | |||||
| Upload certificate (for Salesforce service) | |||||
| BORDER ENDPOINTS | |||||
| View list | |||||
| Add | |||||
| View | |||||
| Edit | |||||
| Delete | |||||
| ENCRYPTION KEYS | |||||
| View list | |||||
| Add | |||||
| Edit | |||||
| Rotate | |||||
| RESIDENT FUNCTIONS | |||||
| View list | |||||
| View | |||||
| Publish / Edit | |||||
| Execute | |||||
| Delete | |||||
| CSV FILE IMPORT | |||||
| View list | |||||
| Upload file | |||||
| View | |||||
| Process (Import) | |||||
| Delete | |||||
| USERS | |||||
| View | |||||
| Invite users | |||||
| Delete invites | |||||
| Change role | |||||
| Reset password | |||||
| Delete User | |||||
| COMPANY SETTINGS | |||||
| View | |||||
| Edit | |||||
| Transfer ownership | |||||
-
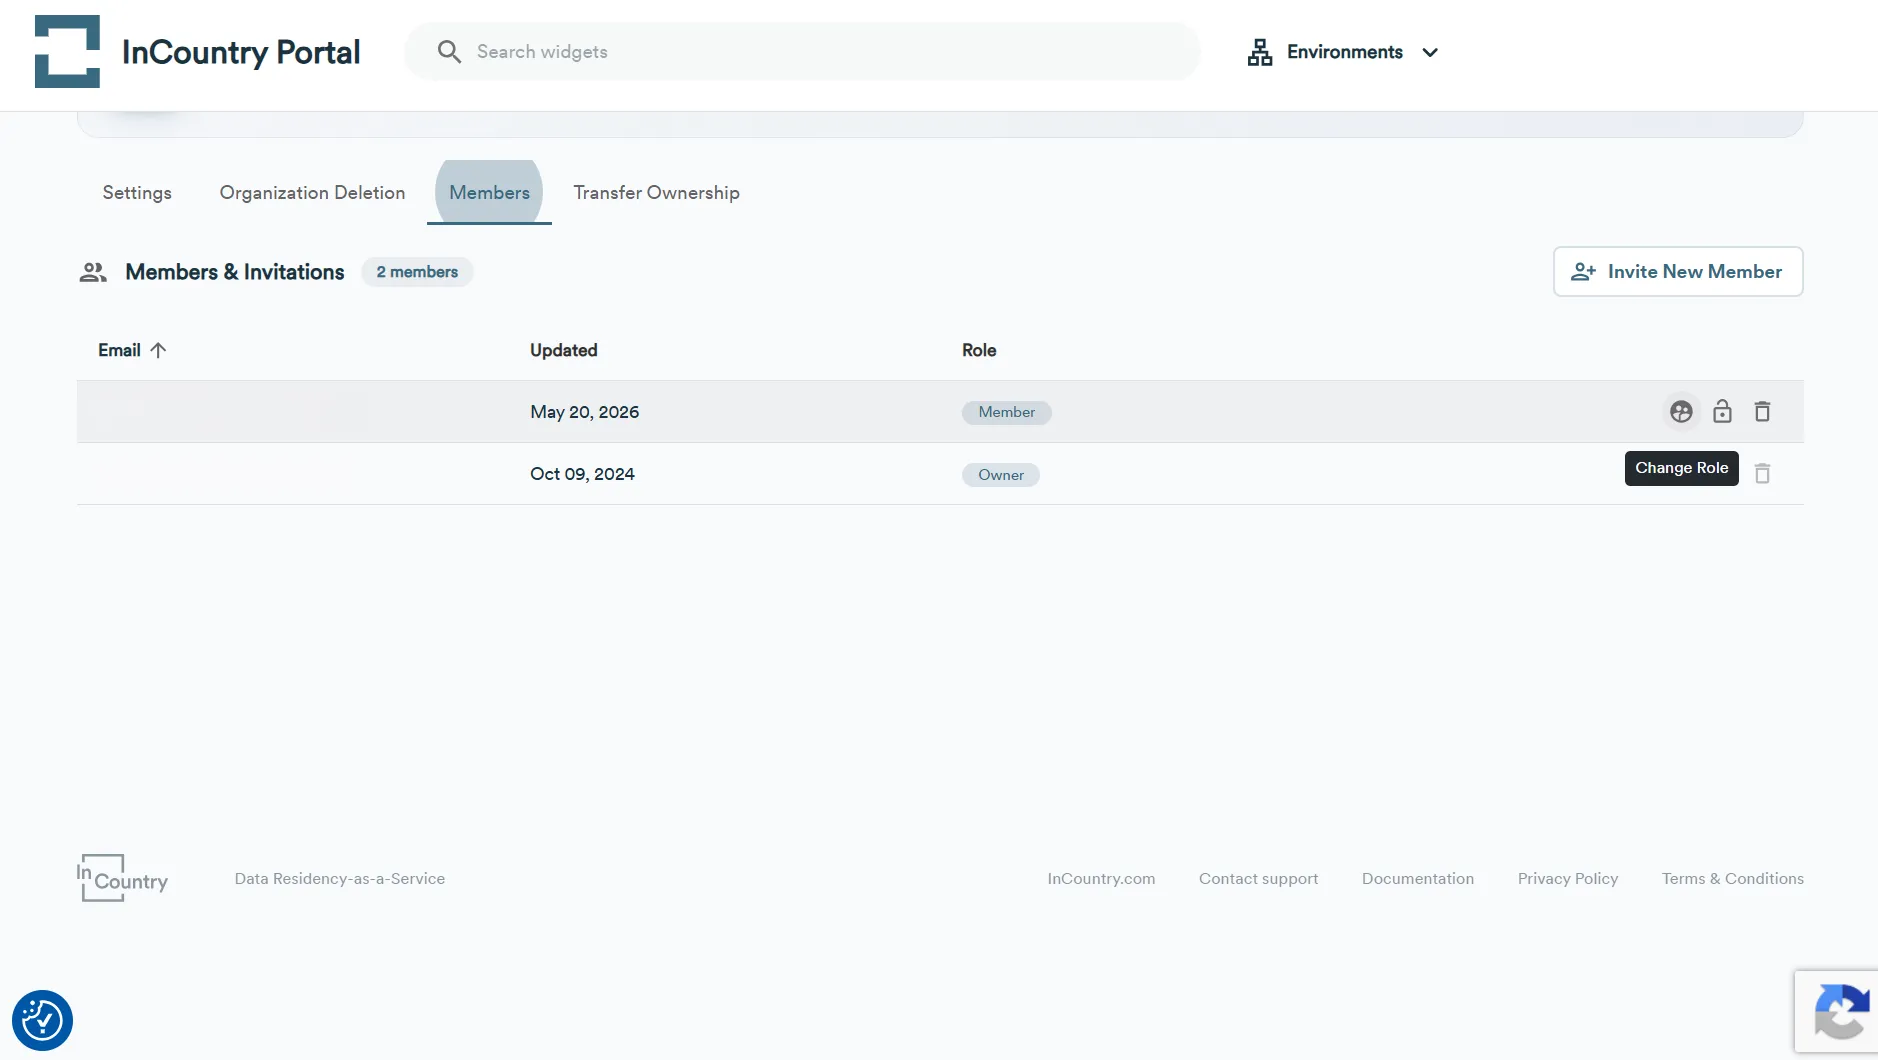
On the Members page, locate the user whose role you want to change.
-
Click the Change Role icon.
-
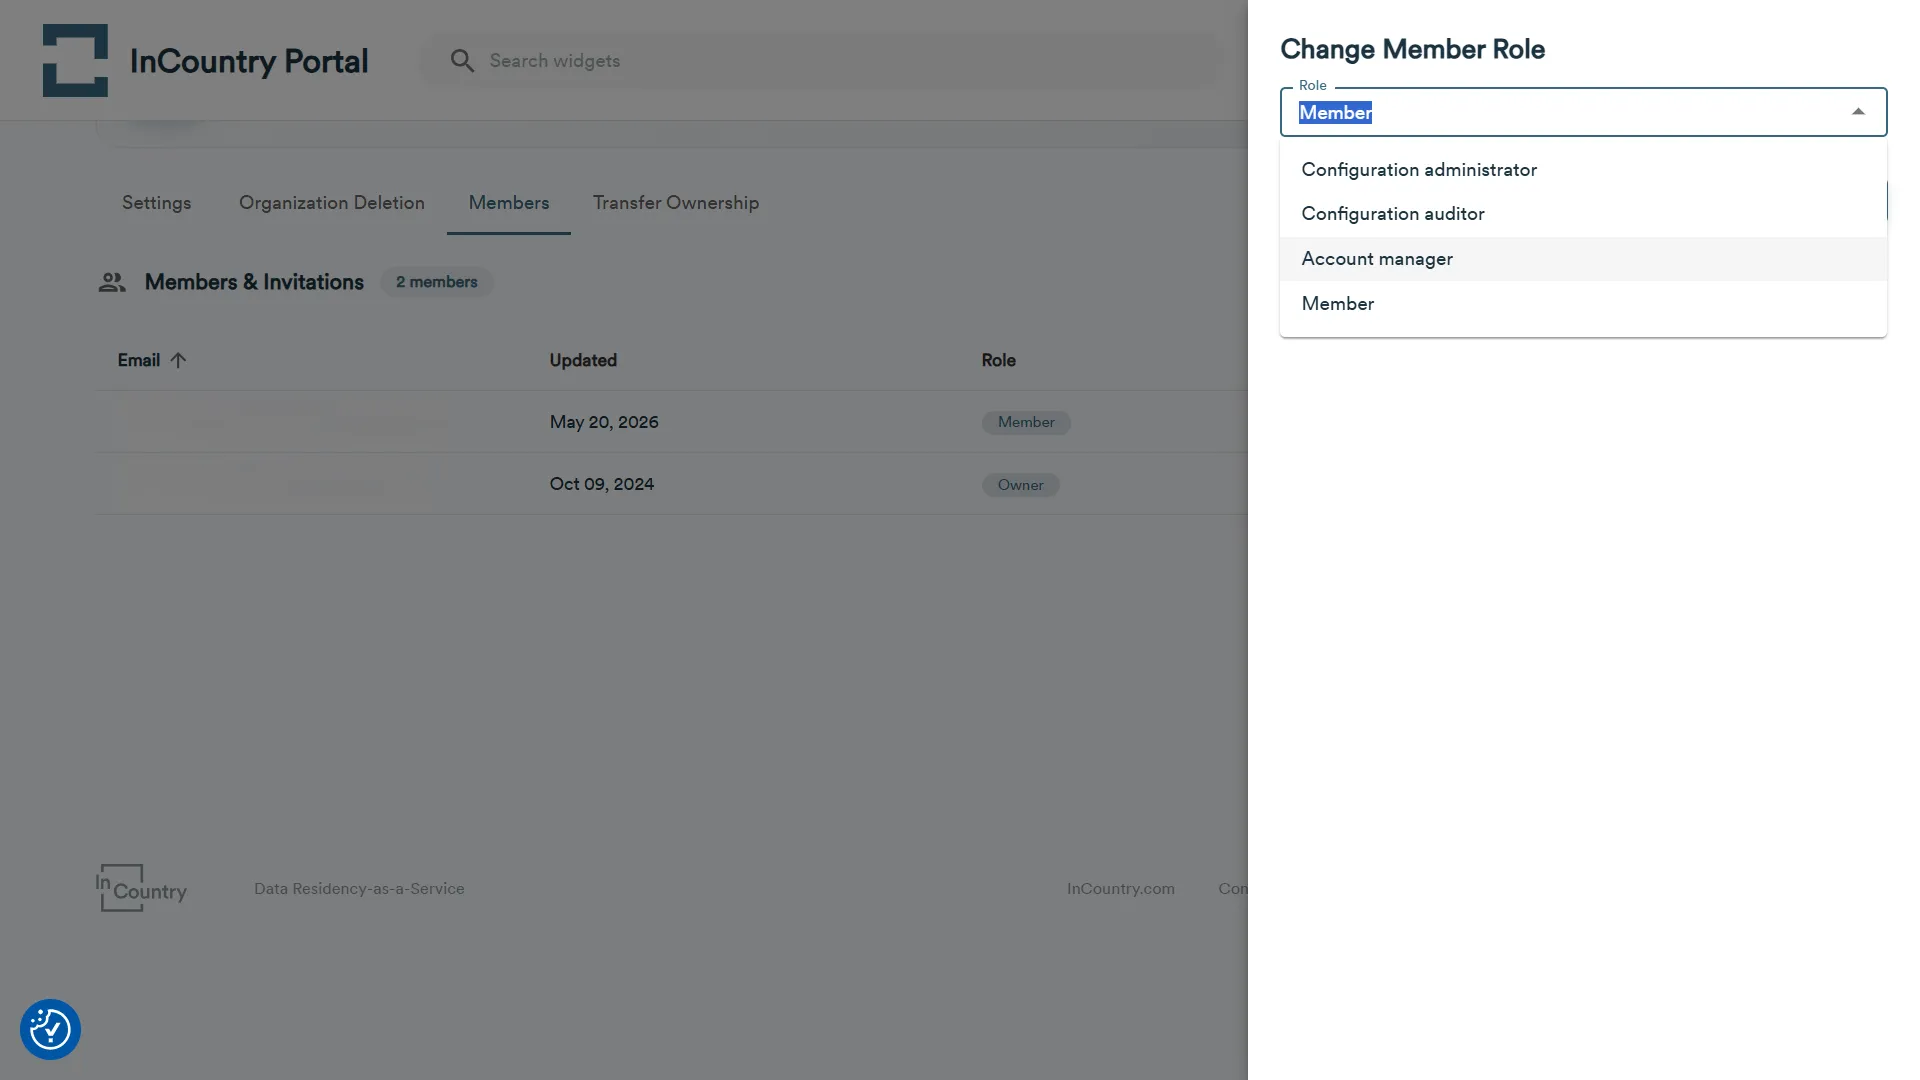
On the Change member role page, select a new role for the user.
-
Enter the verification code and then click Update.
Inviting users to InCountry Portal
Having the Owner role, you can invite users to the InCountry Portal. You can invite new users by sending an automated email with an invitation.
-
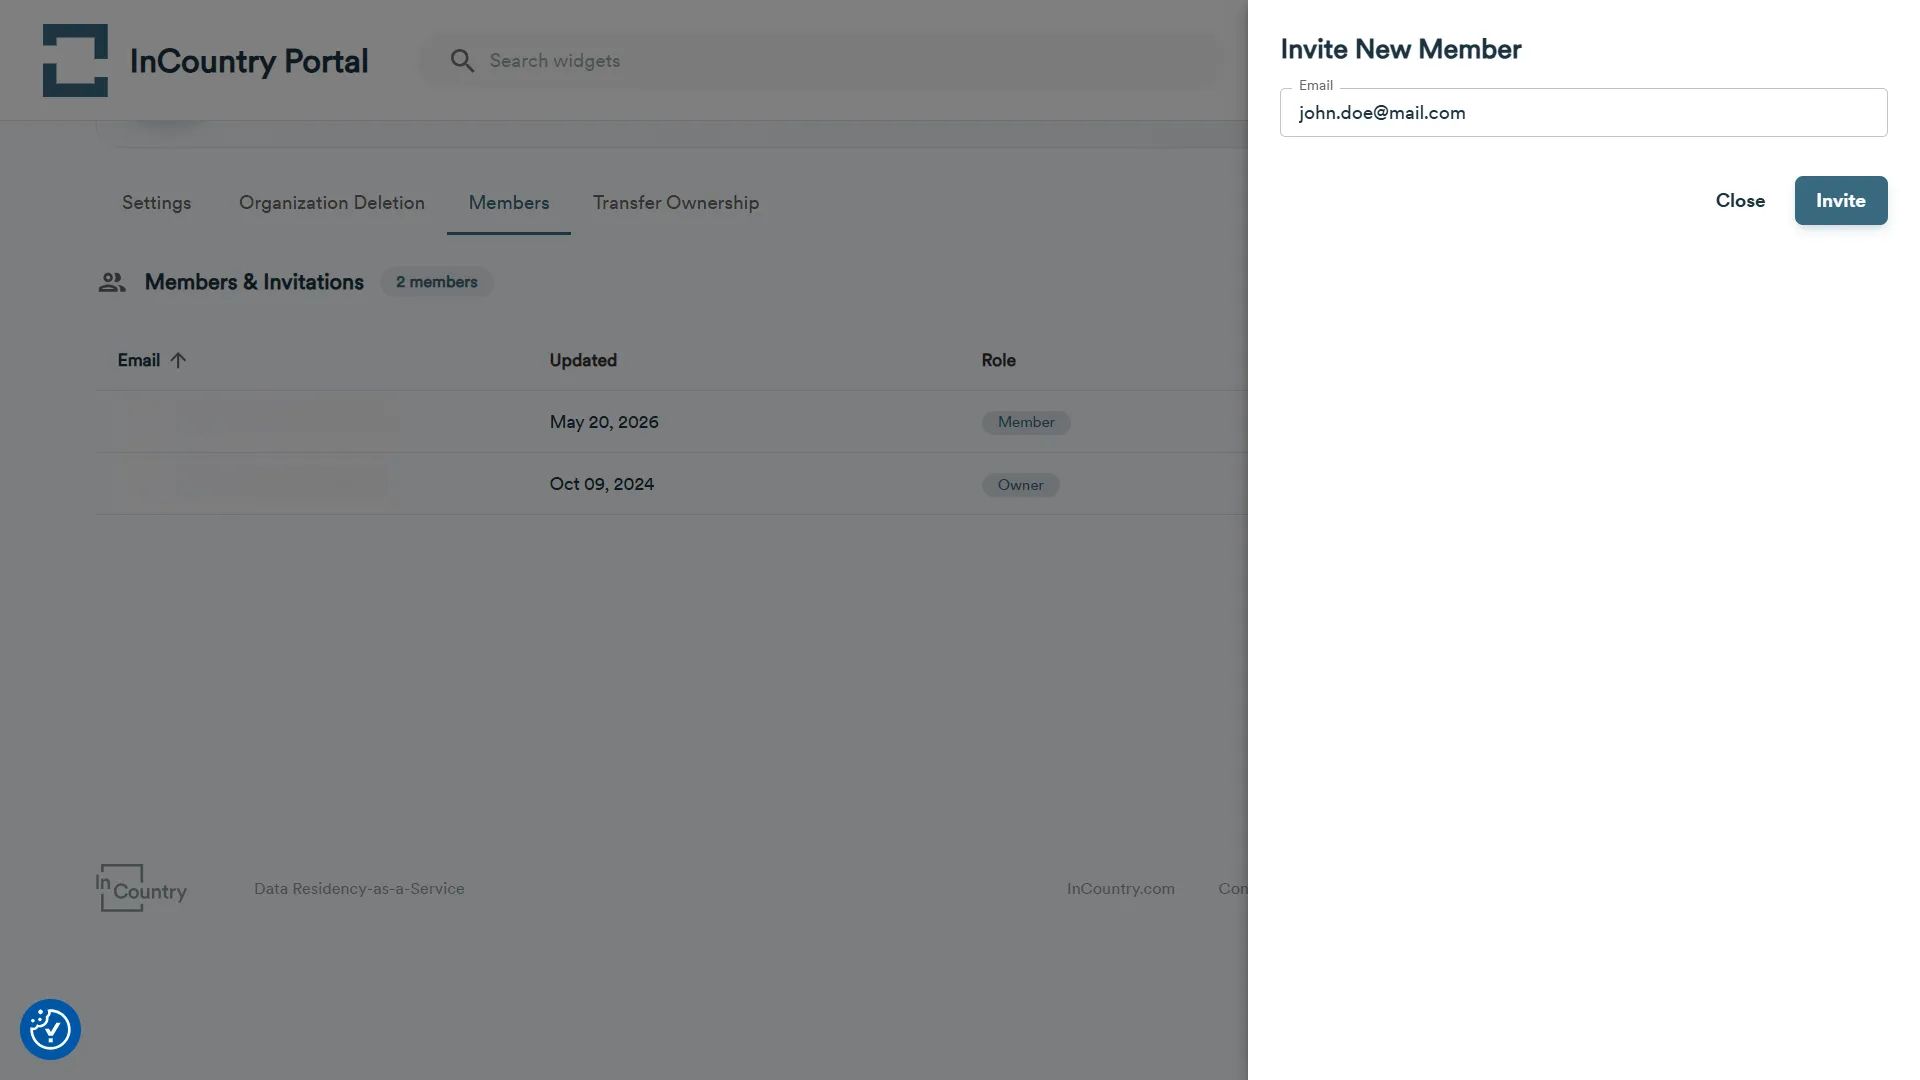
On the Members page, click Invite New Member.
-
On the Invite New Member page, enter the email address of a person you want to invite to the InCountry Portal.
-
Click Invite.
The invitation email is sent to the recipient’s email address. The Invite is pending... status will be shown in the Role column.
If you need to resend the invitation, click the Resend Invite icon.
Transferring the ownership to another user
InCountry Portal allows only one owner per organization. The owner of the organization can transfer the ownership to another registered user within the scope of the organization.
-
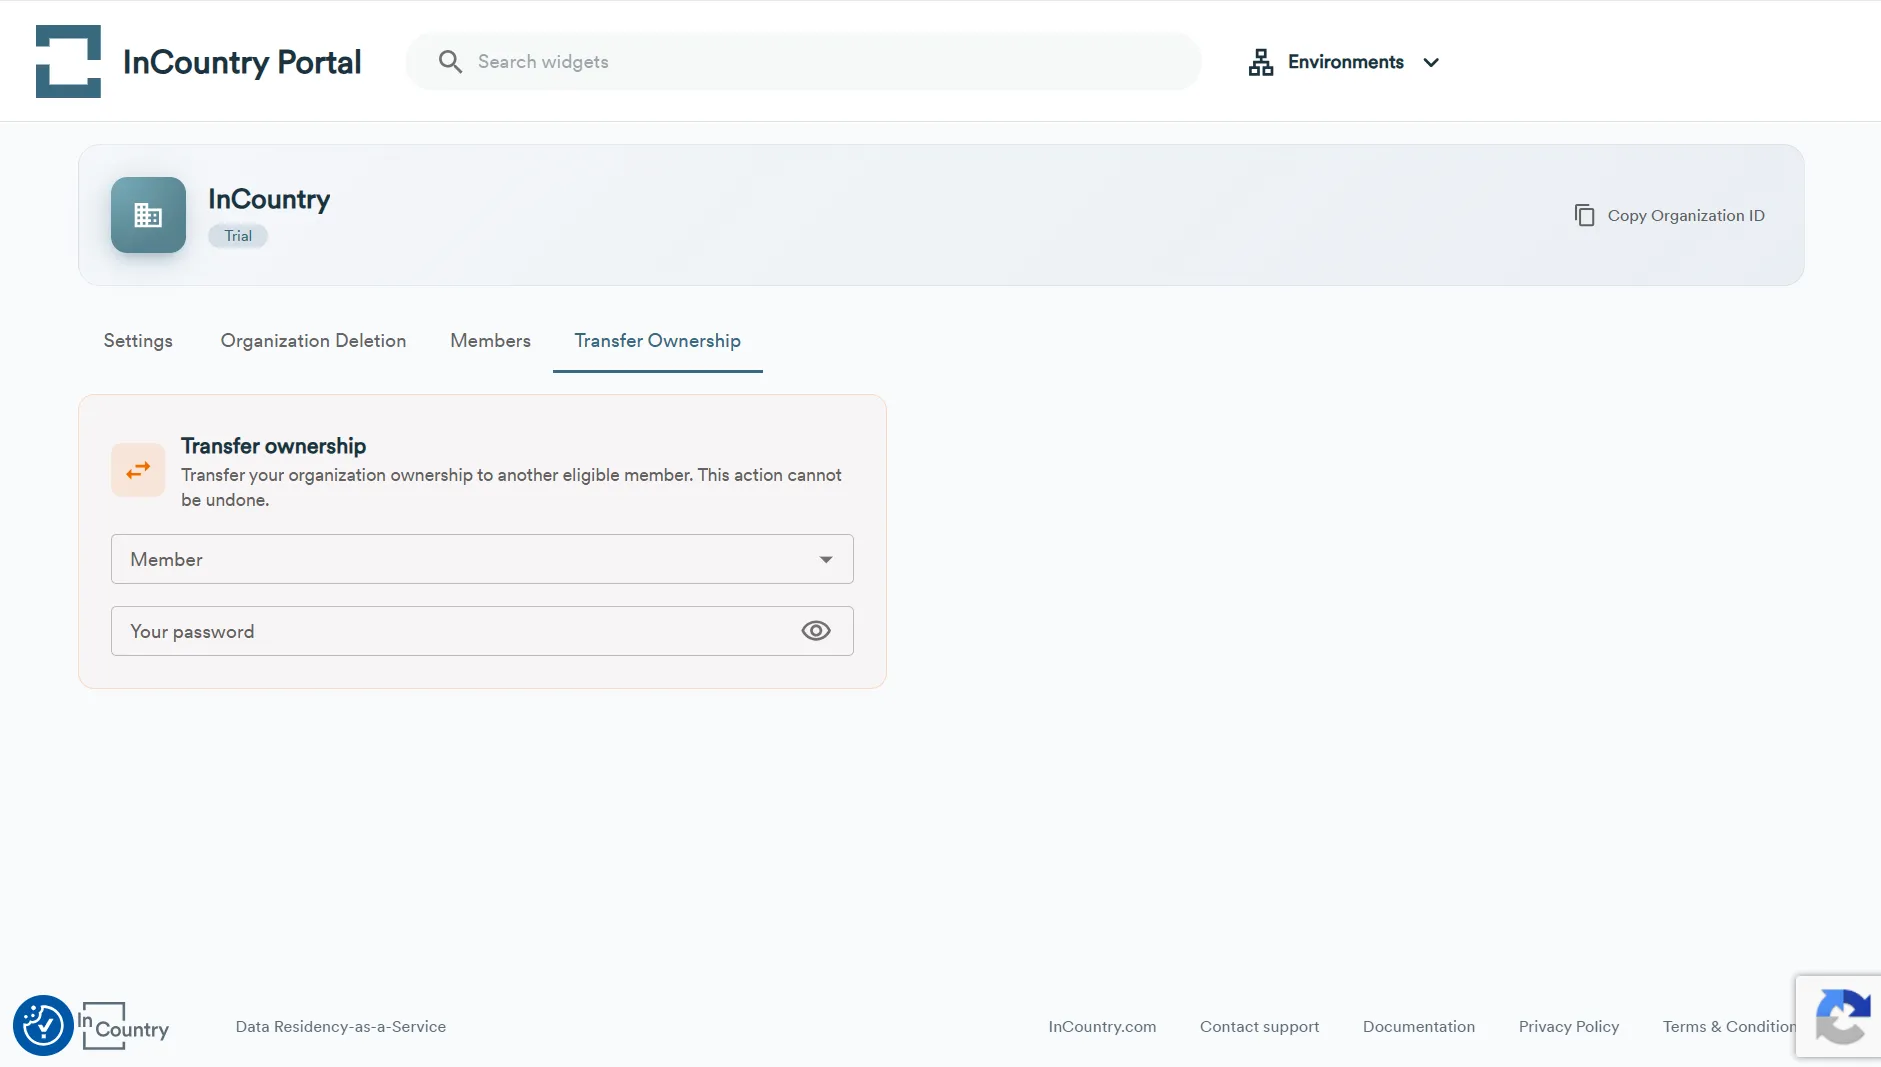
On the Manage Organization page, click the Transfer ownership tab.
-
On the Transfer ownership tab, select the user who you want to transfer the organization ownership to and enter your password.
-
Enter the verification code and then click Transfer.
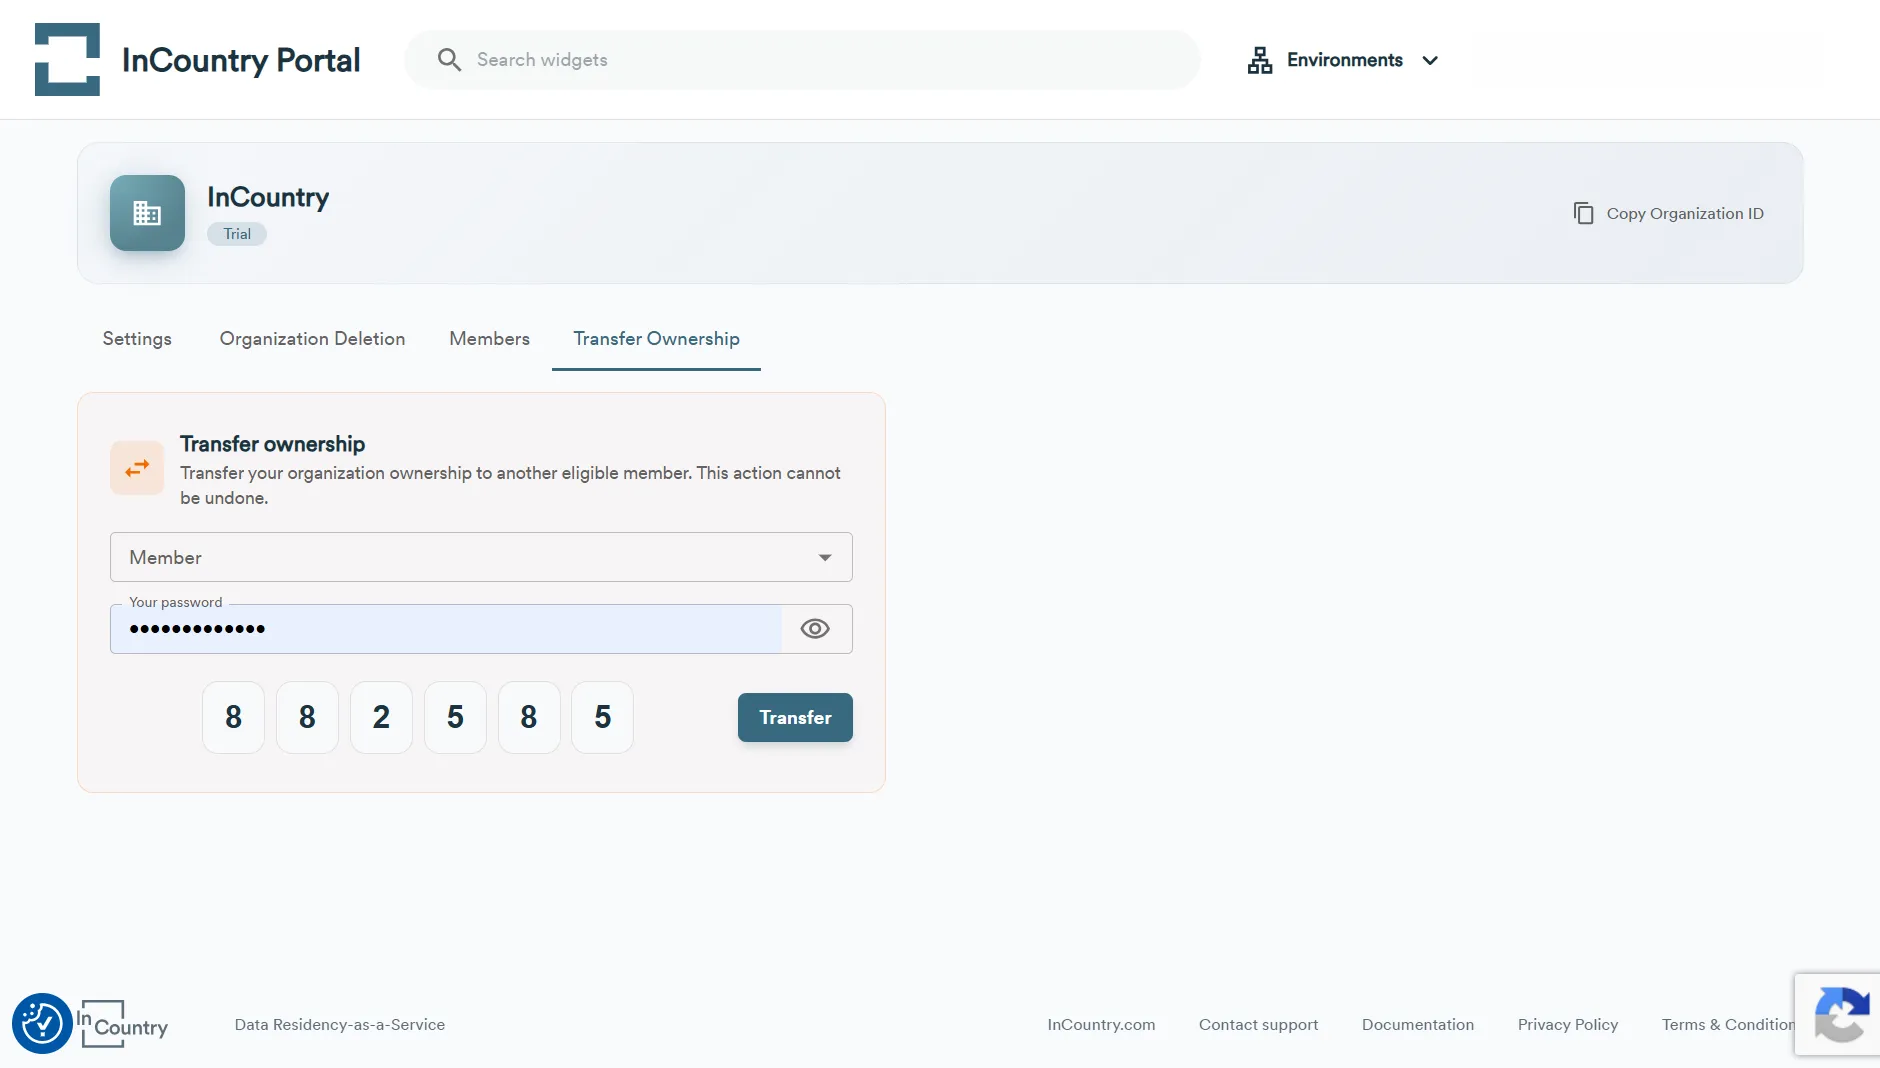
The InCountry Portal will send an email with information that the ownership has been transferred. The organization ownership will be transferred to the selected user.