HubSpot Setup Documentation
Integrating the InCountry Data Residency app with HubSpot allows organizations to meet strict regional data localization requirements. The documented setup enables administrators to apply custom protection strategies, such as masking, to regulated CRM fields to ensure sensitive data remains restricted to specified countries. By securely routing data traffic, this integration effectively mitigates compliance risks while preserving seamless CRM functionality.
Step 1: Connecting the App in HubSpot
-
Click the install button for the InCountry Data Residency app in the marketplace.
-
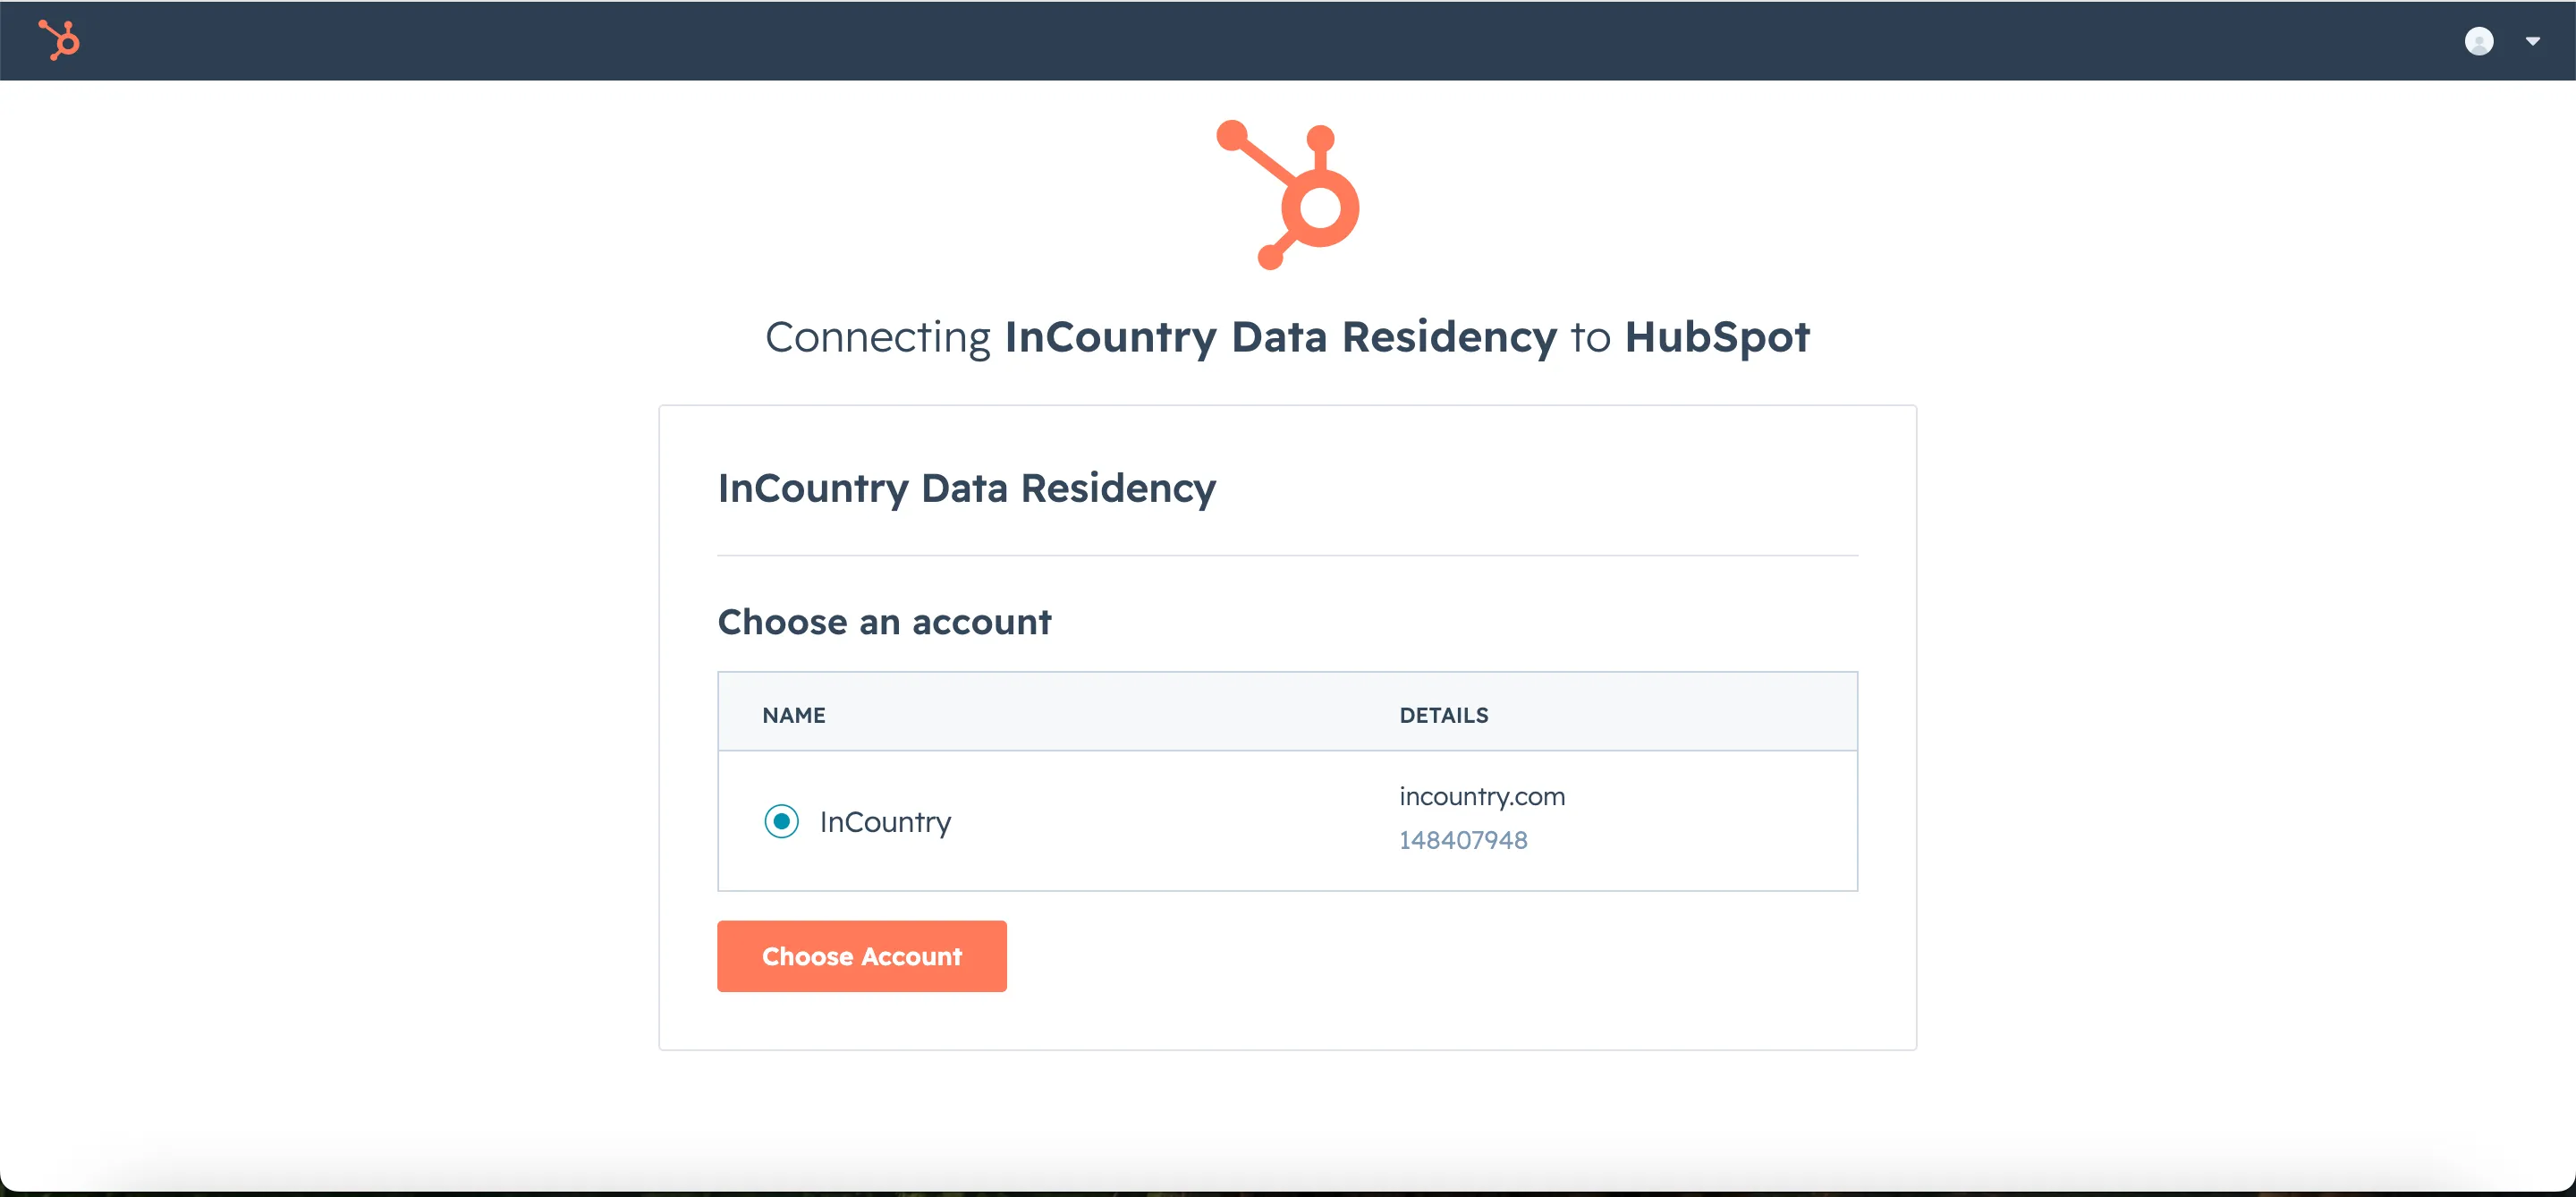
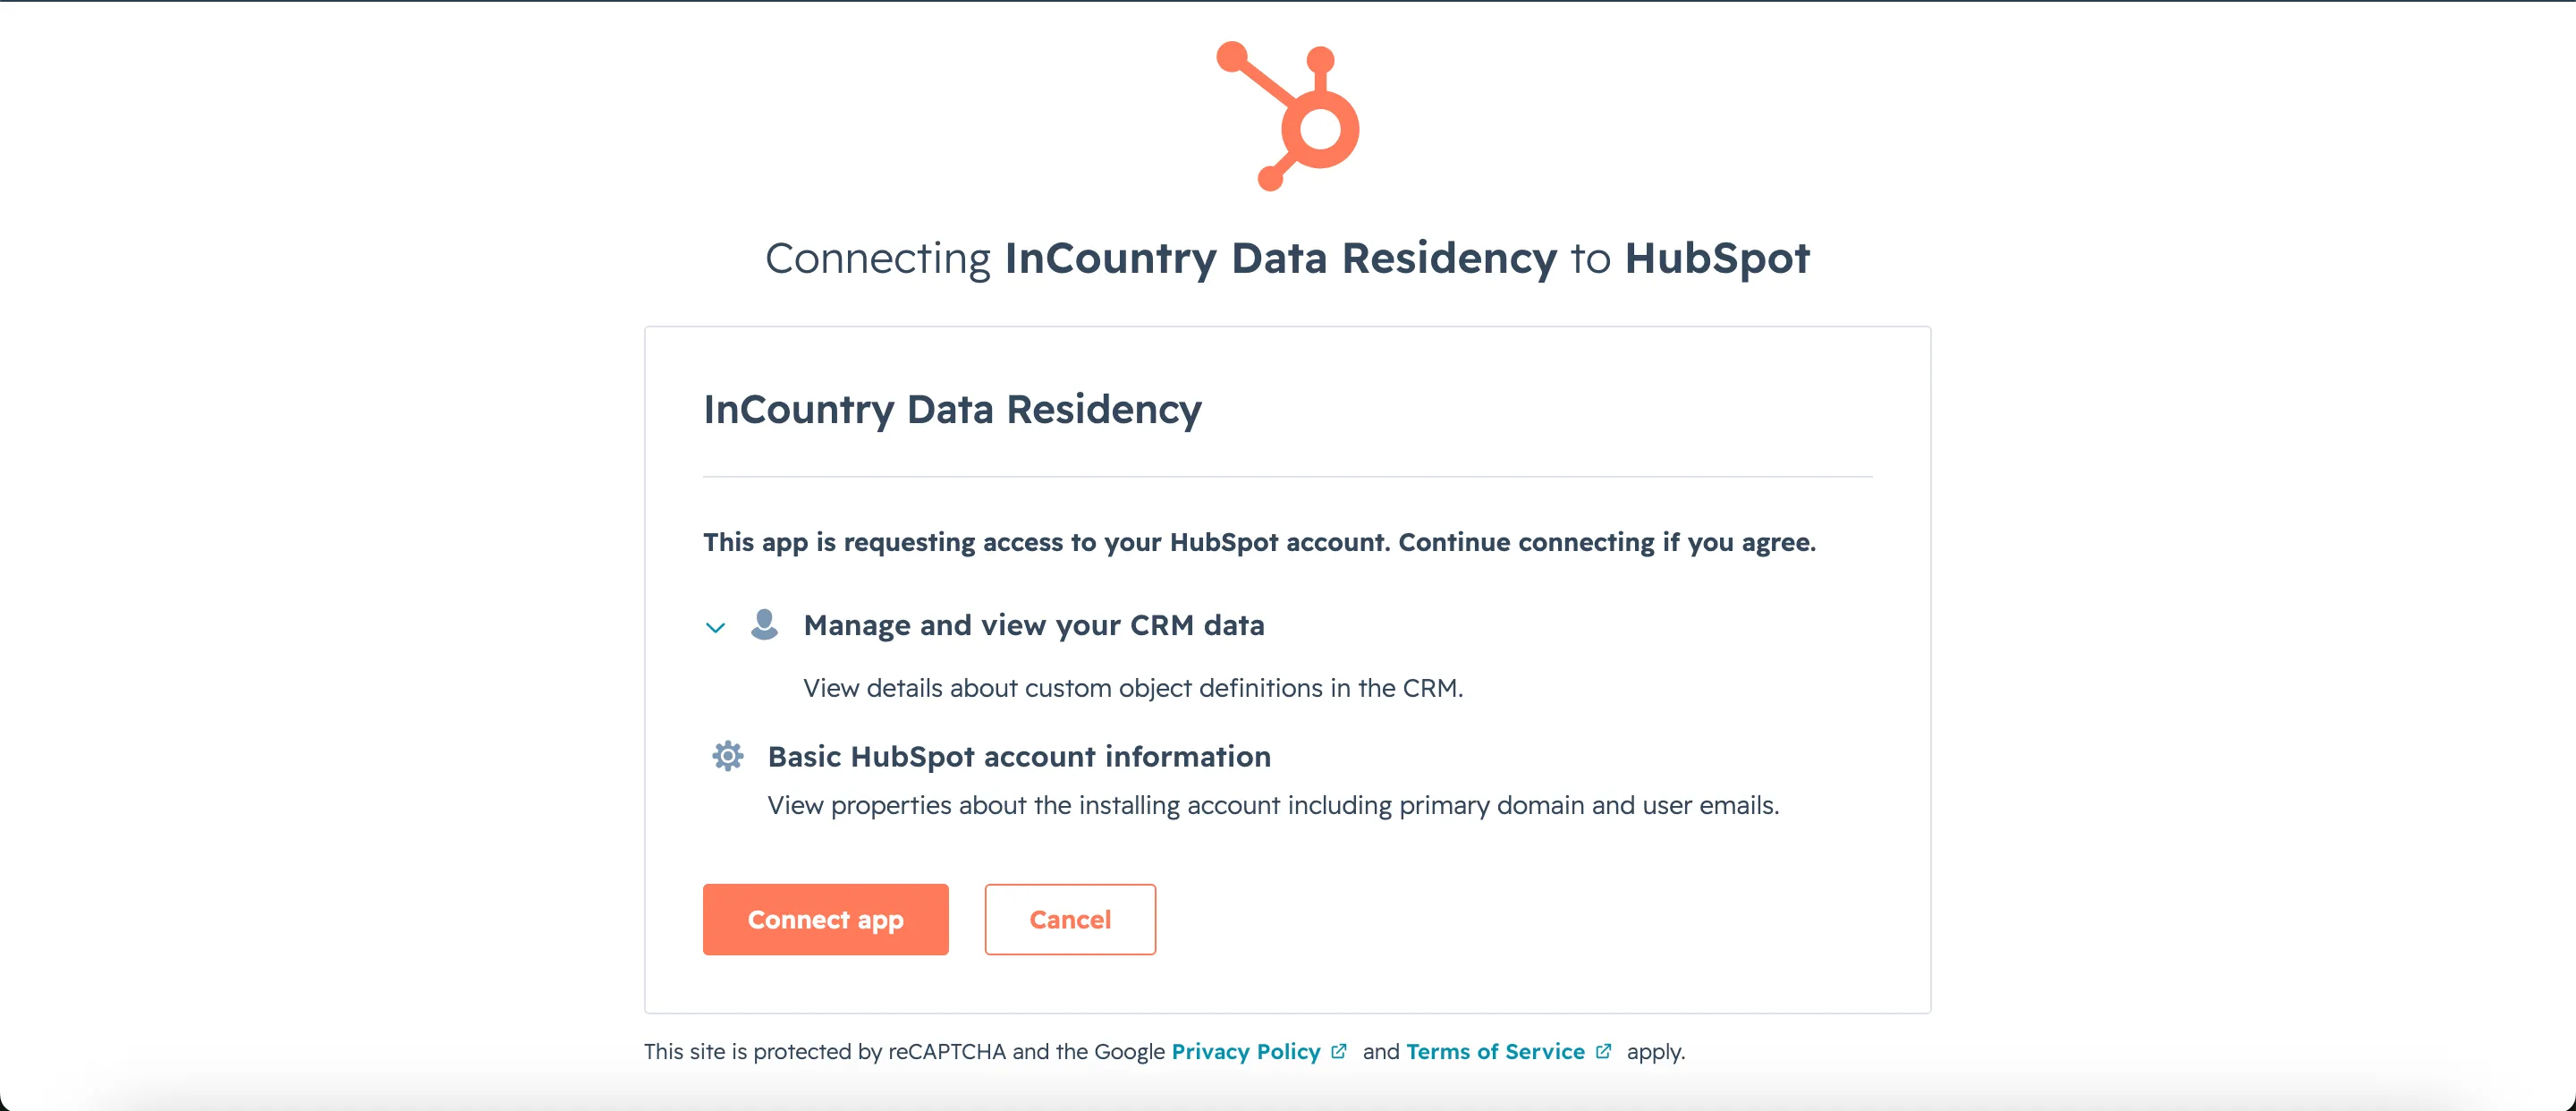
On the authorization screen titled "Connecting InCountry Data Residency to HubSpot", select your account and click the Connect app button.

-
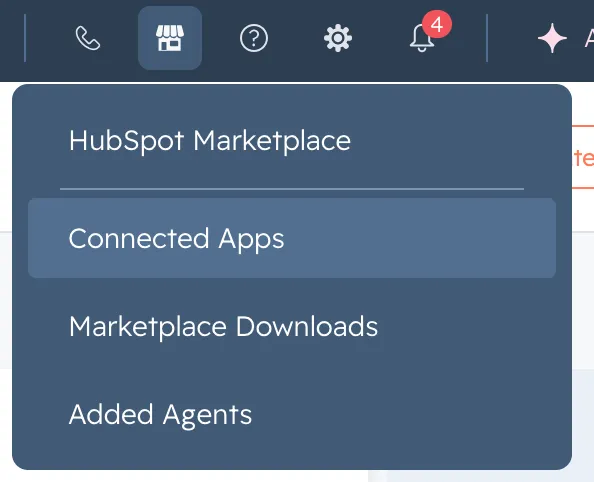
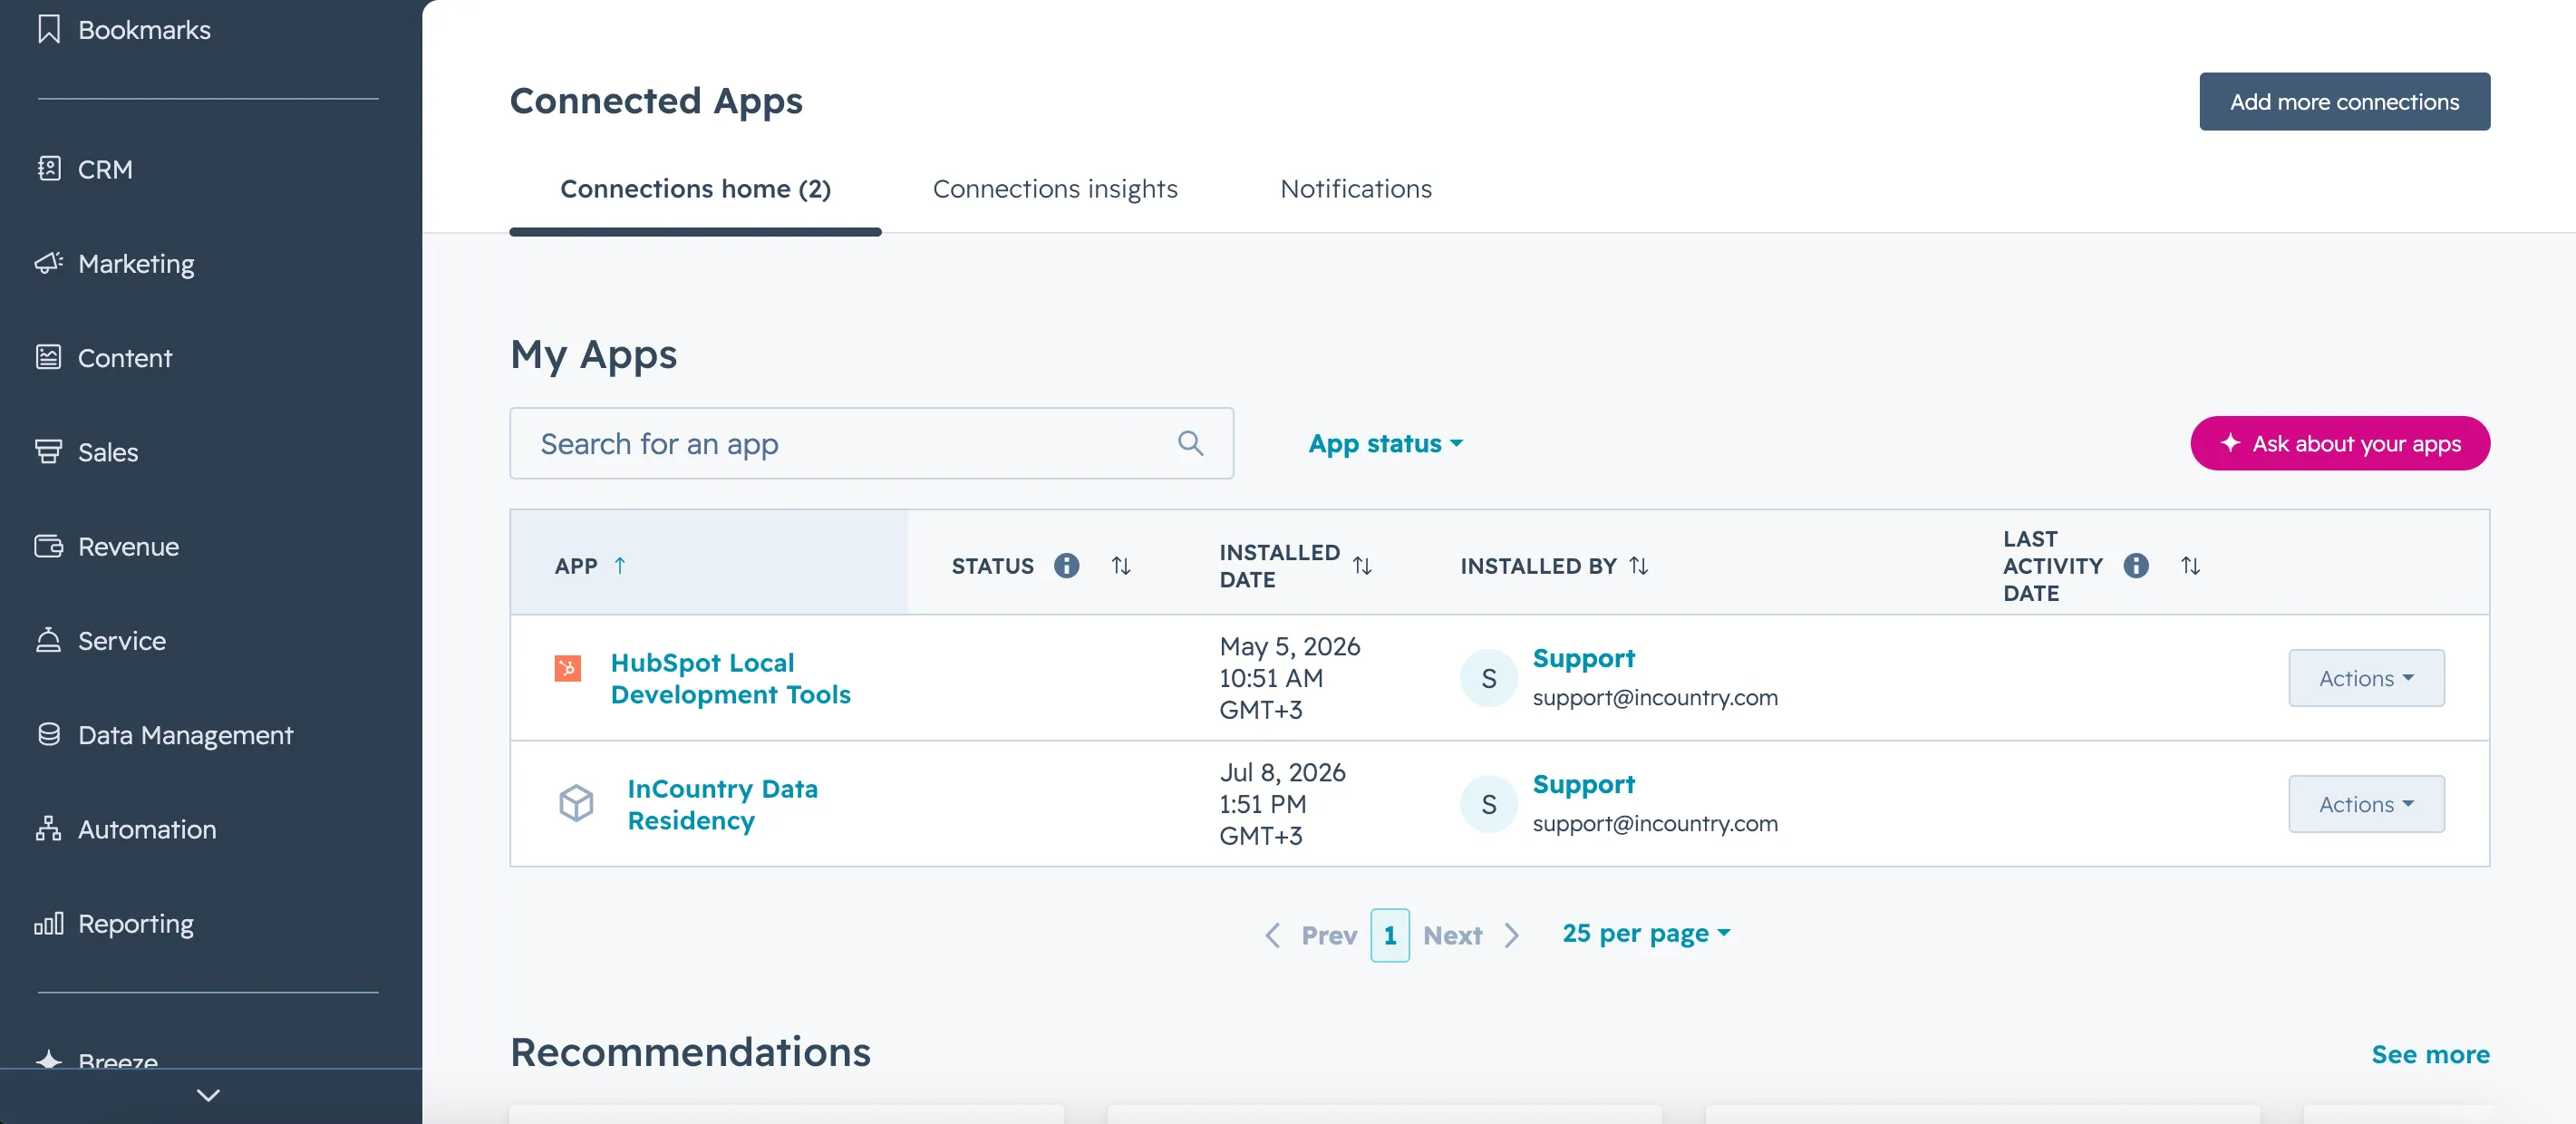
Navigate to the HubSpot menu, click the Marketplace icon, and select Connected Apps from the dropdown menu.
-
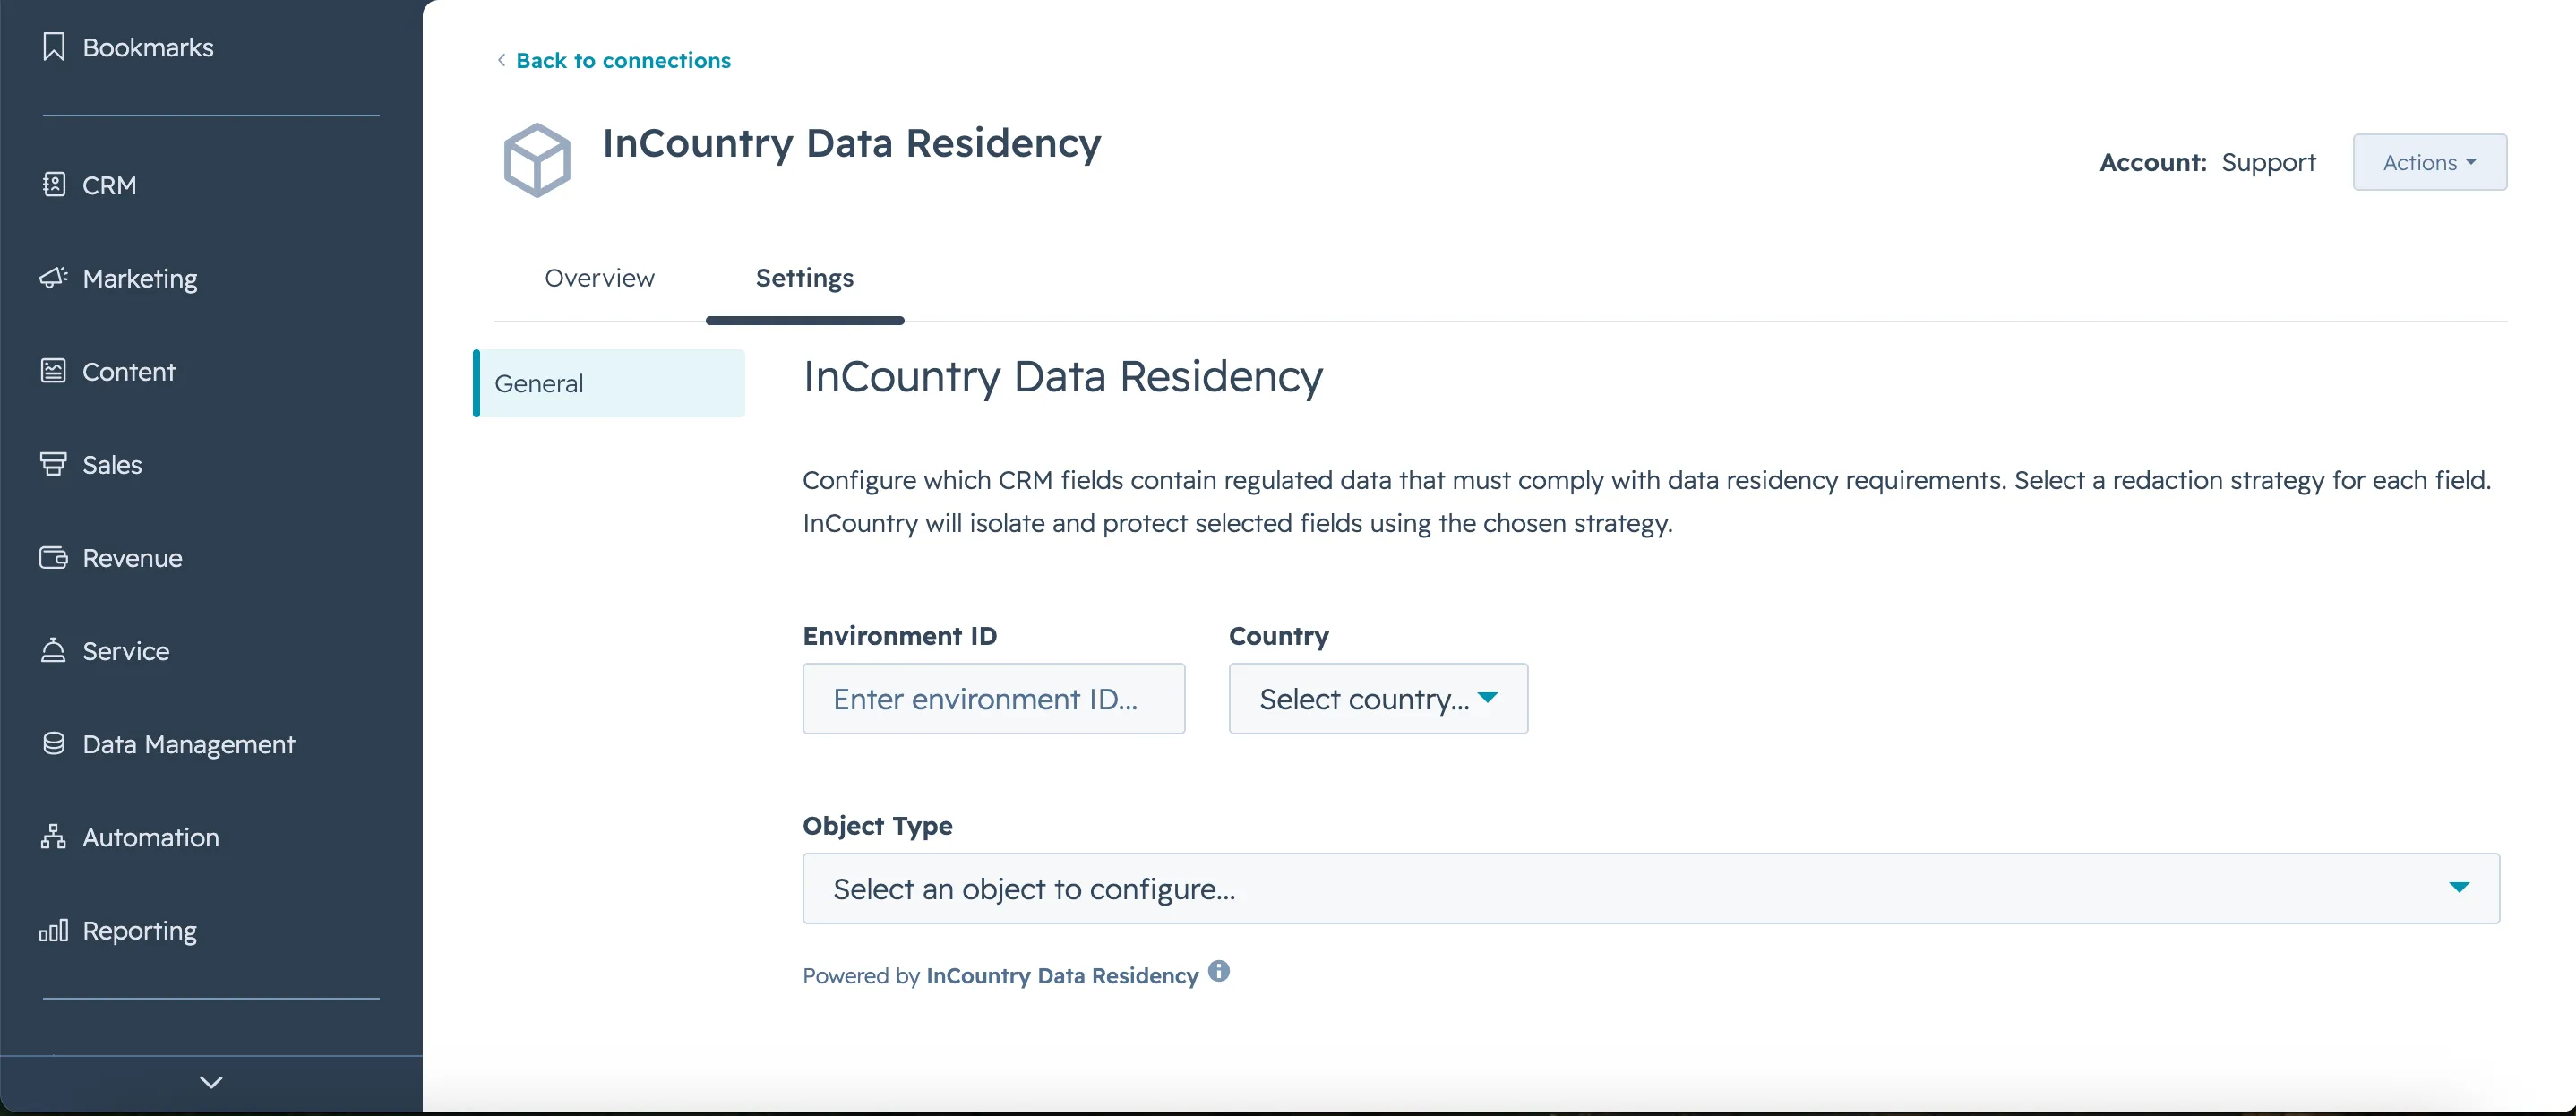
Open the Settings page.
Step 2: Activating Country and Services in the InCountry Portal
-
Open the InCountry Portal.
-
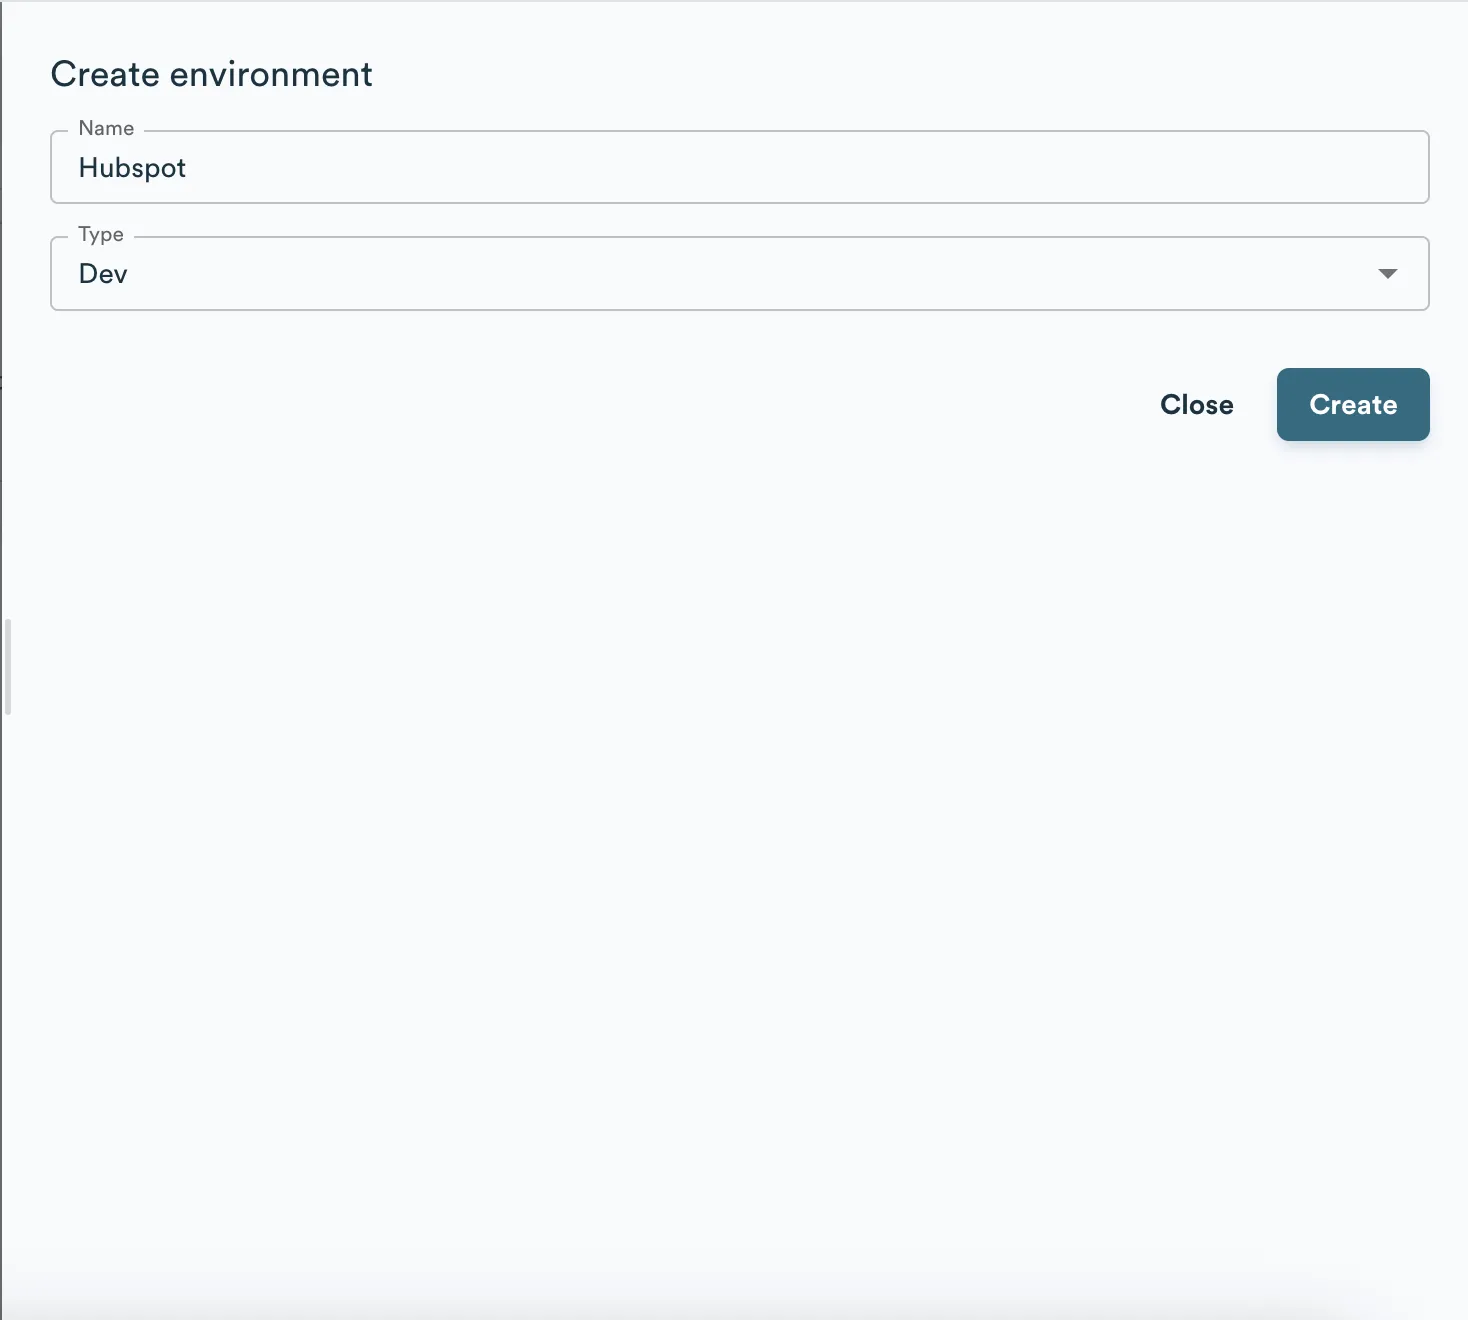
Create a new Environment.
-
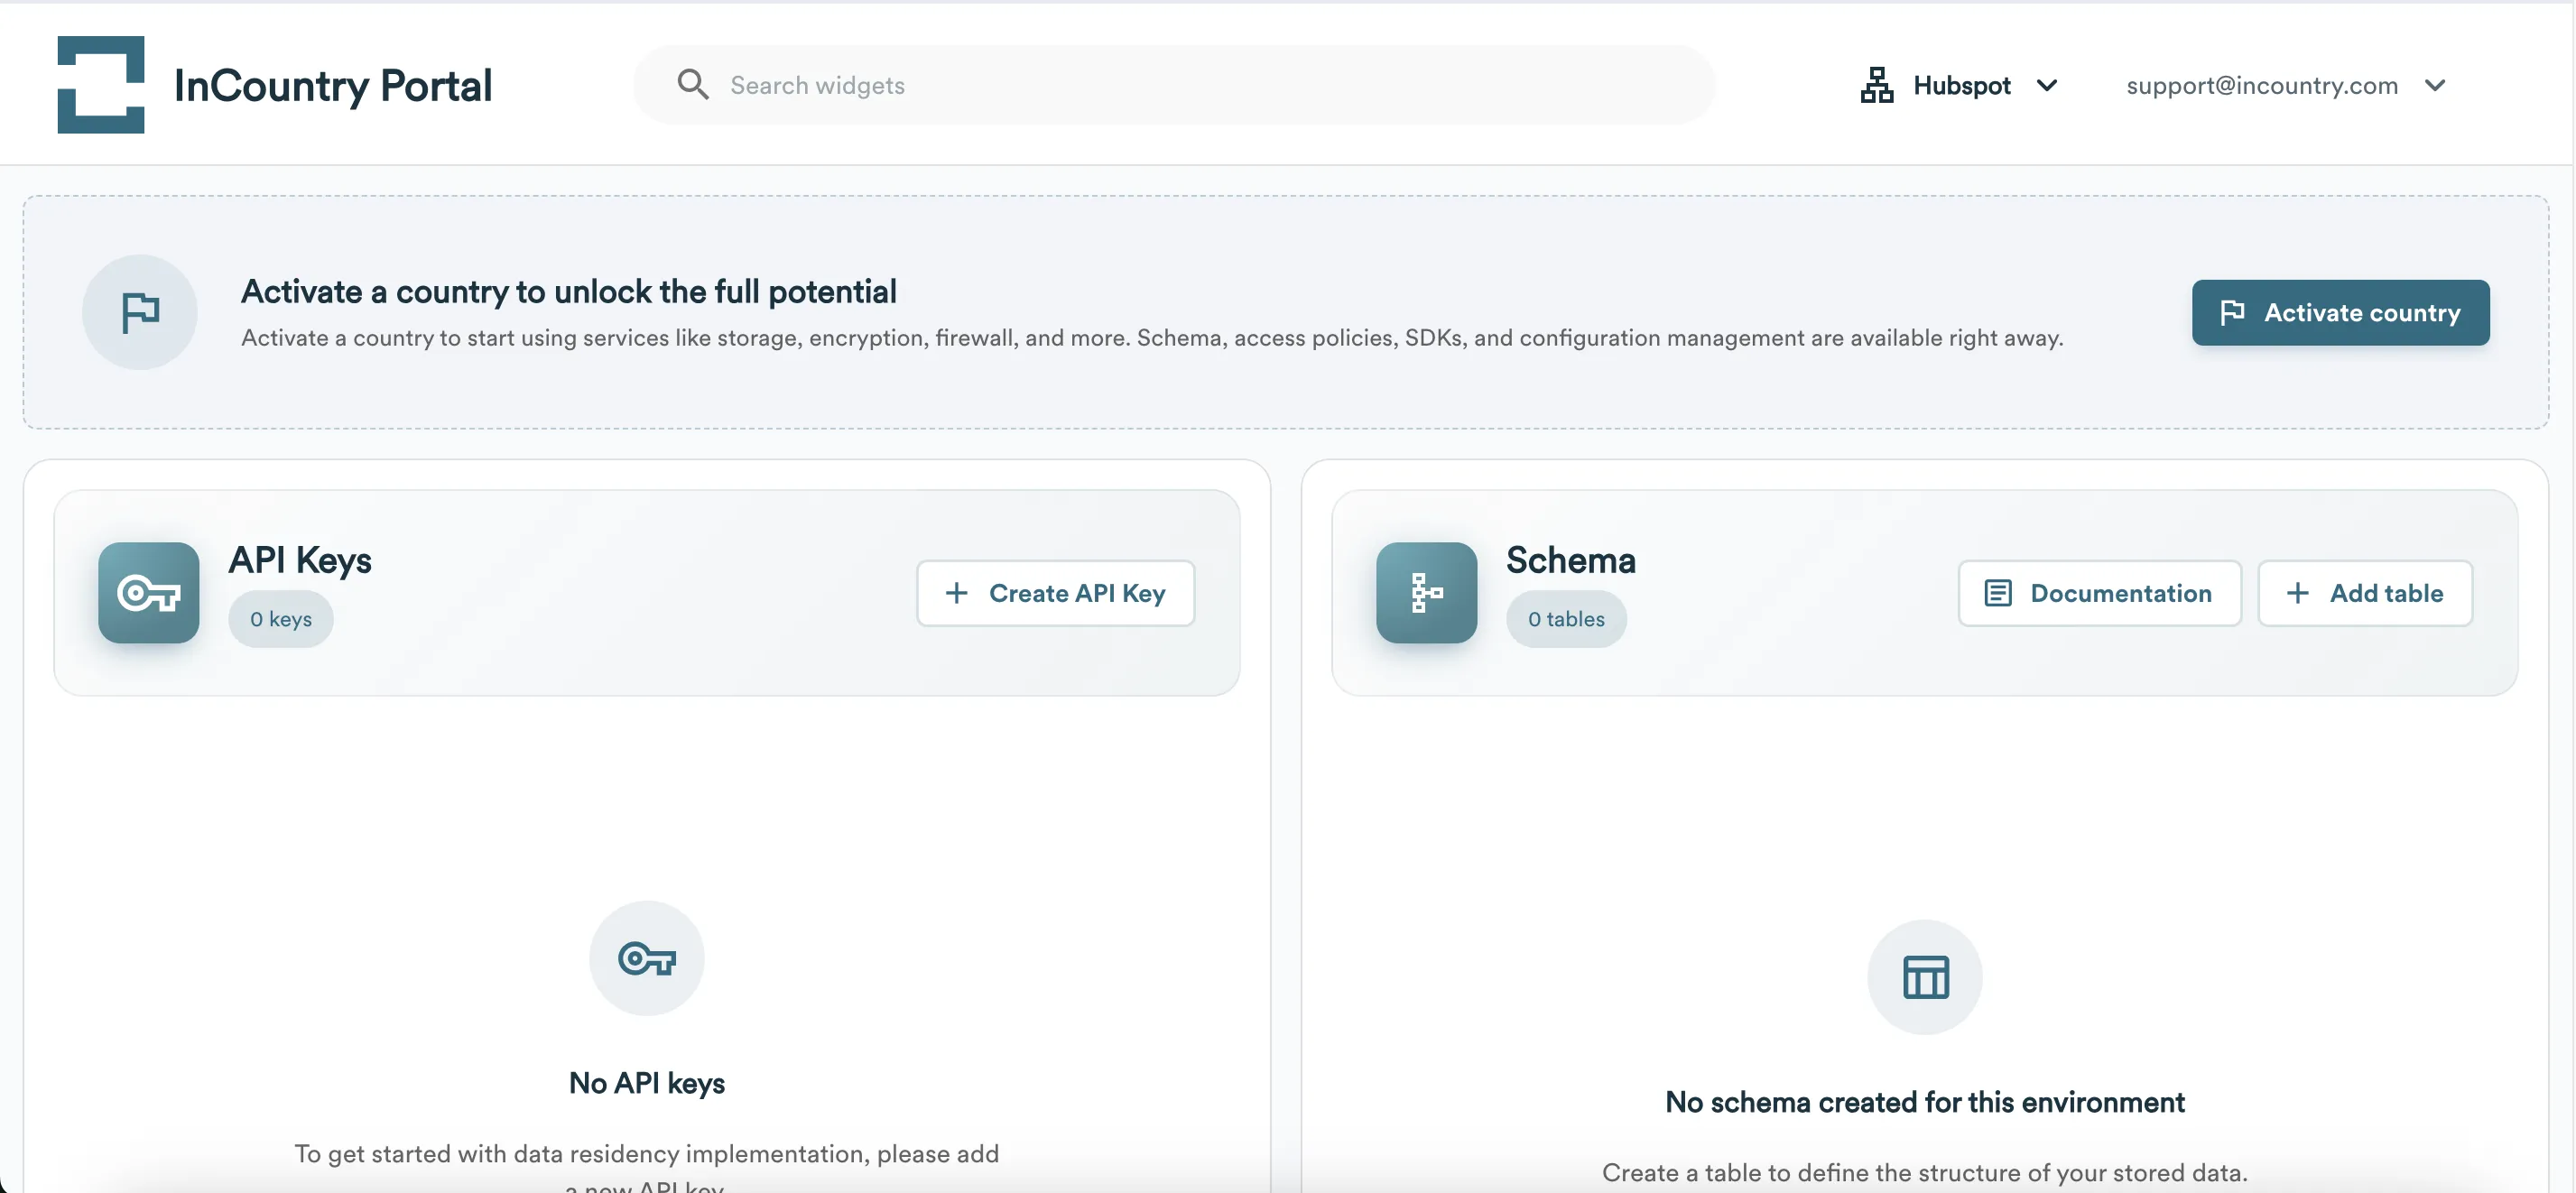
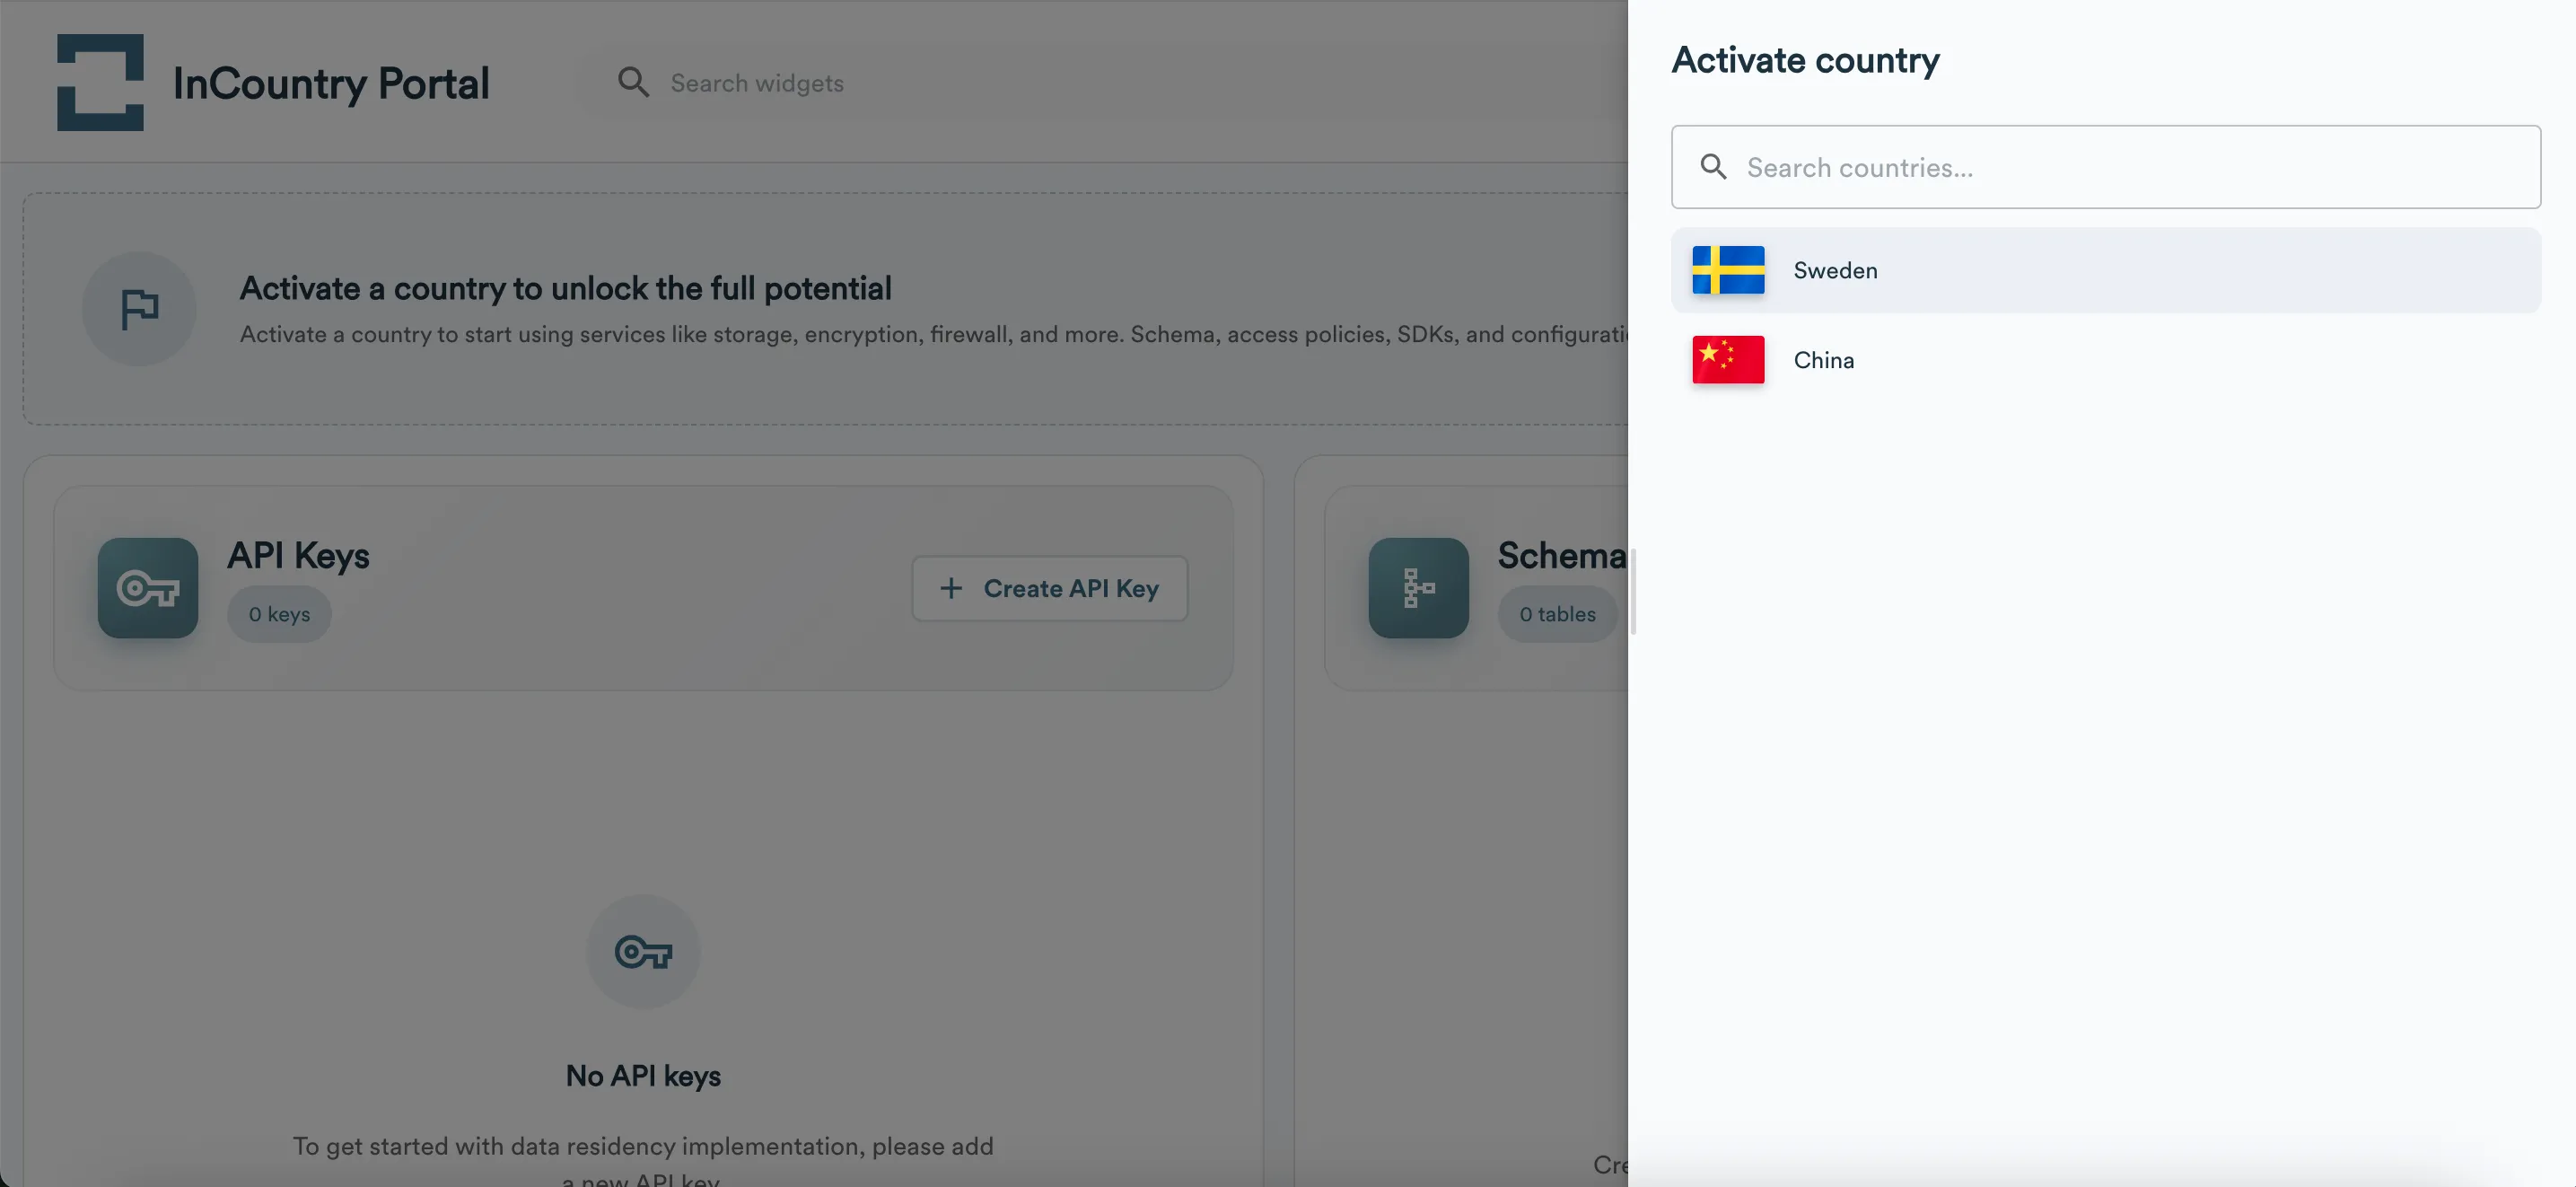
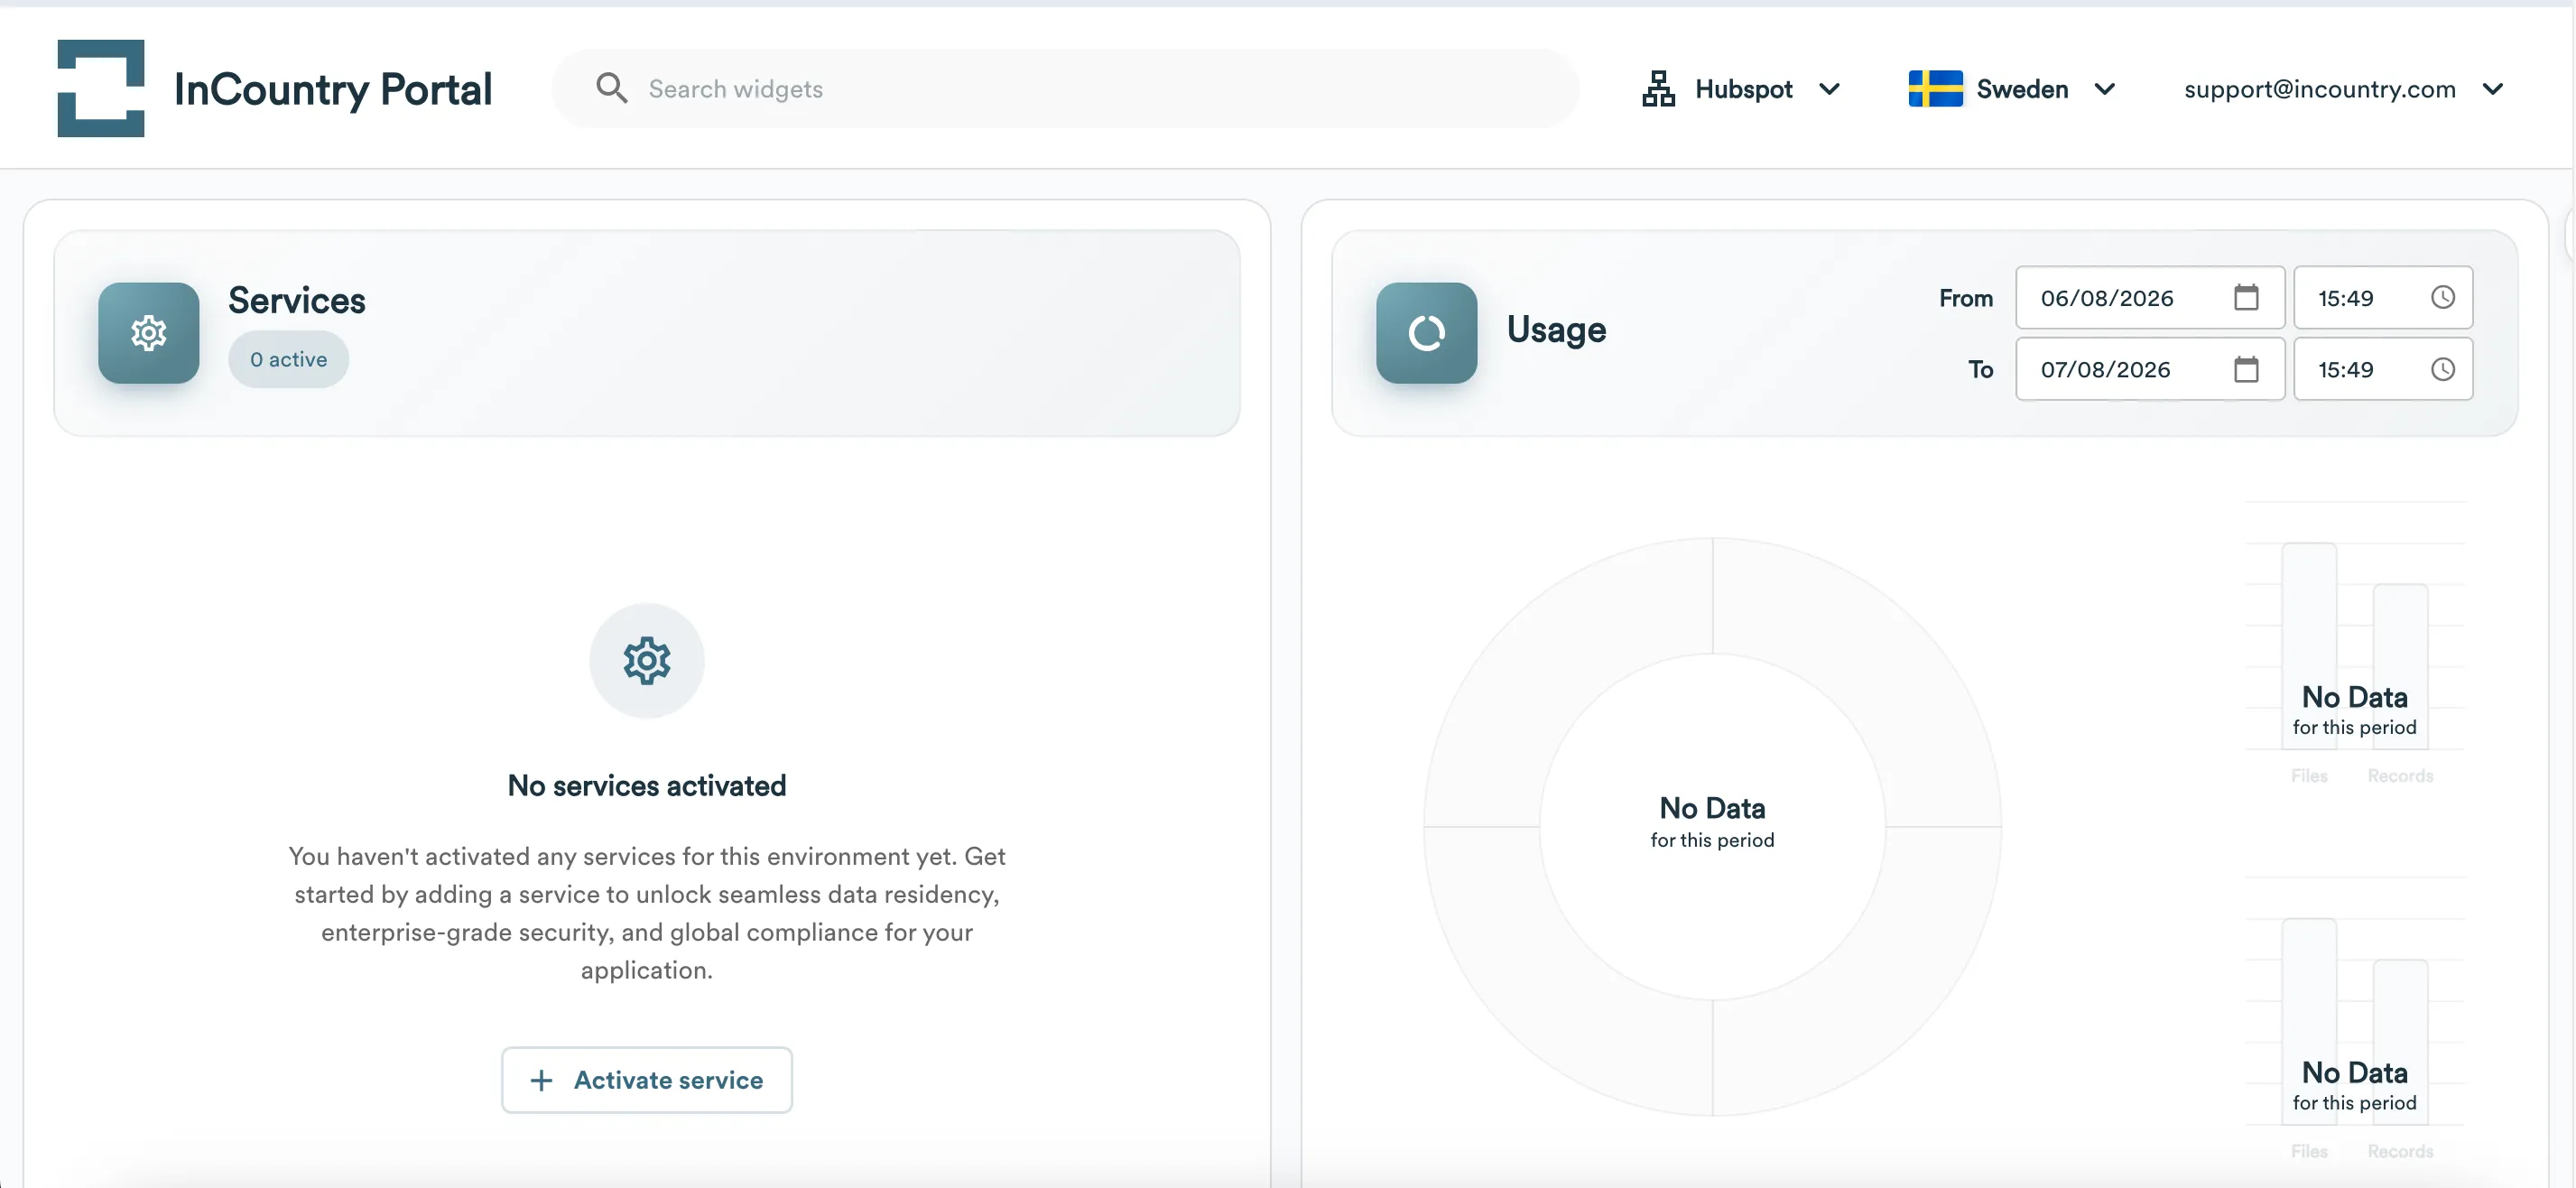
You will be prompted to "Activate a country to unlock the full potential". Search for and select the desired country (e.g., Sweden, China).
-
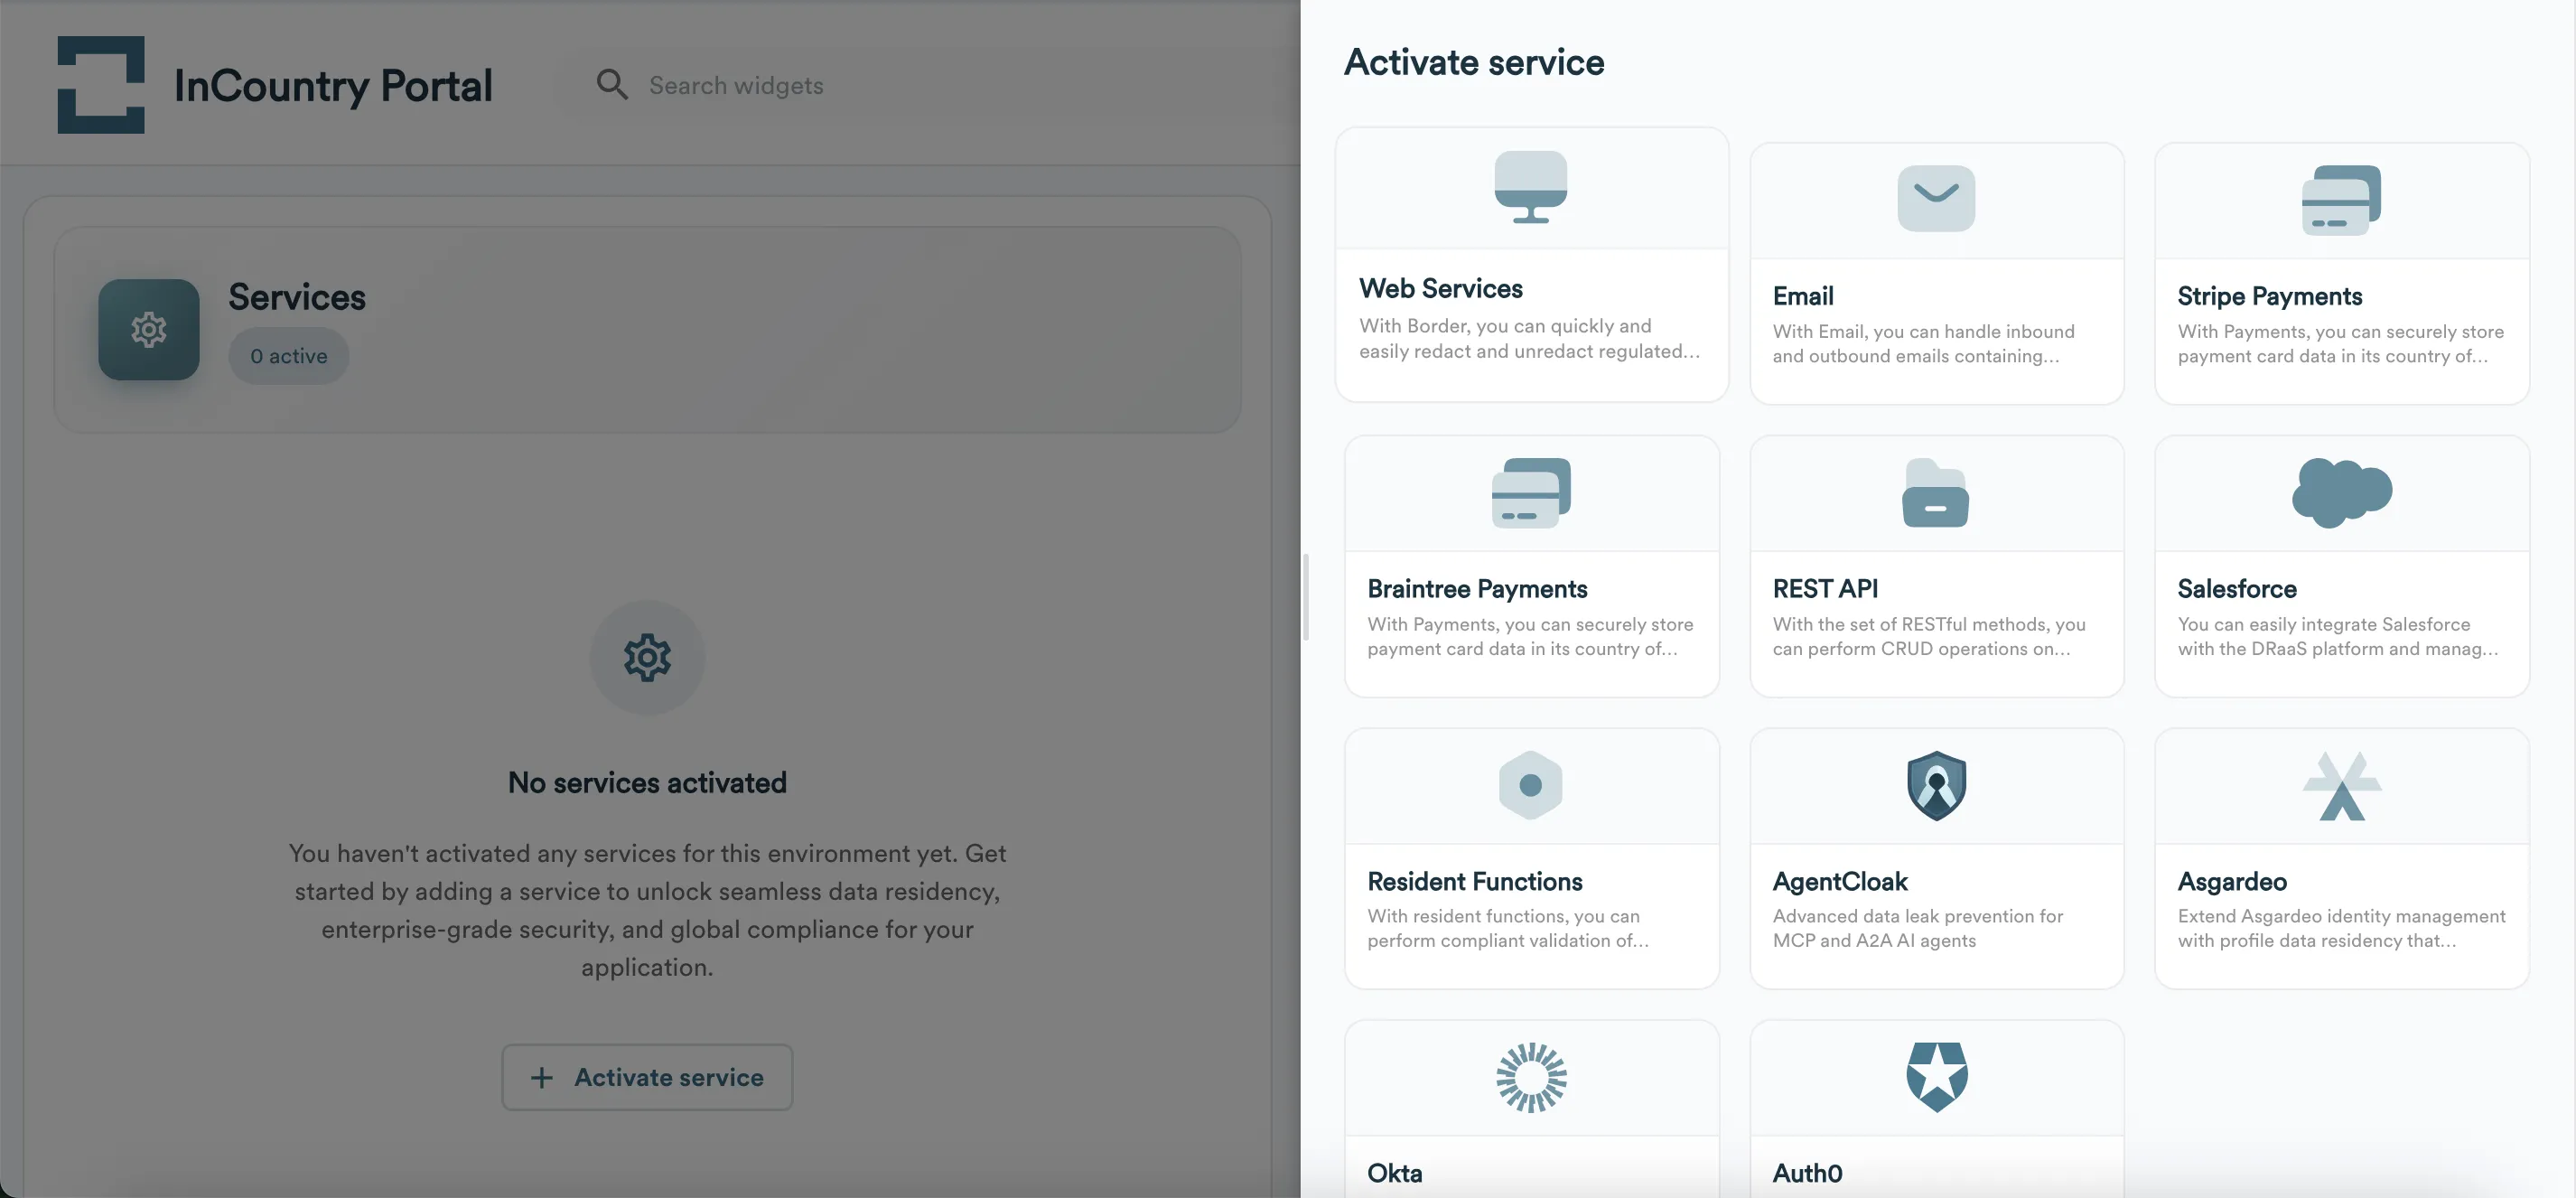
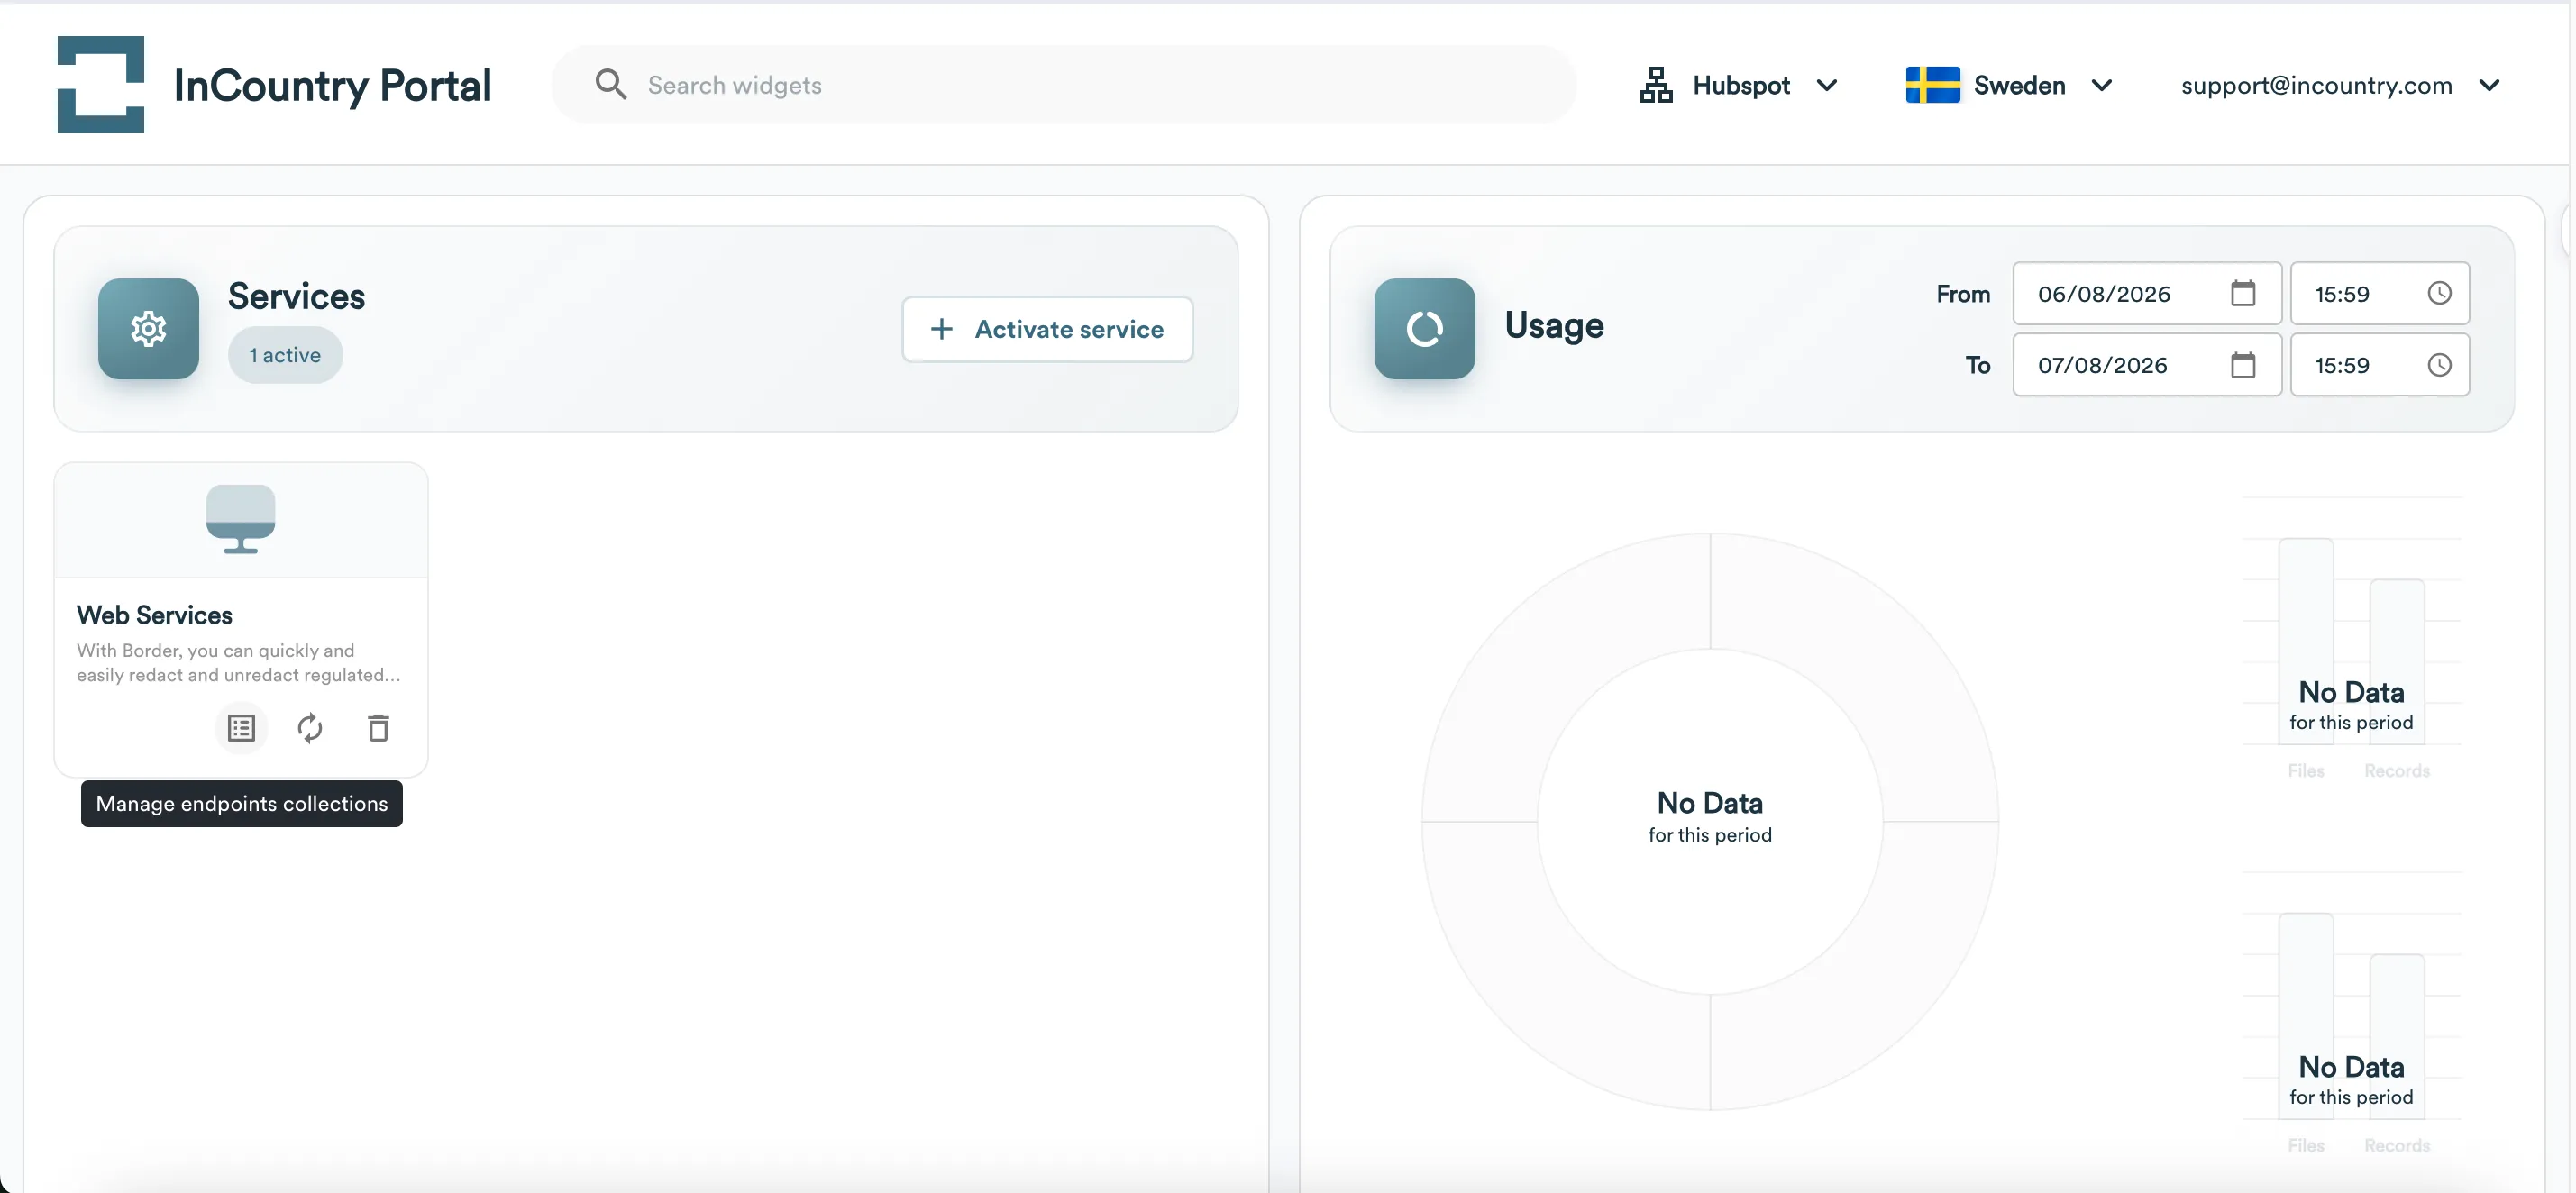
On the portal dashboard, under the Services section, click the + Activate service button.
-
From the available service options, select Web Services.
-
A success modal will appear stating "The Web service has been successfully activated".
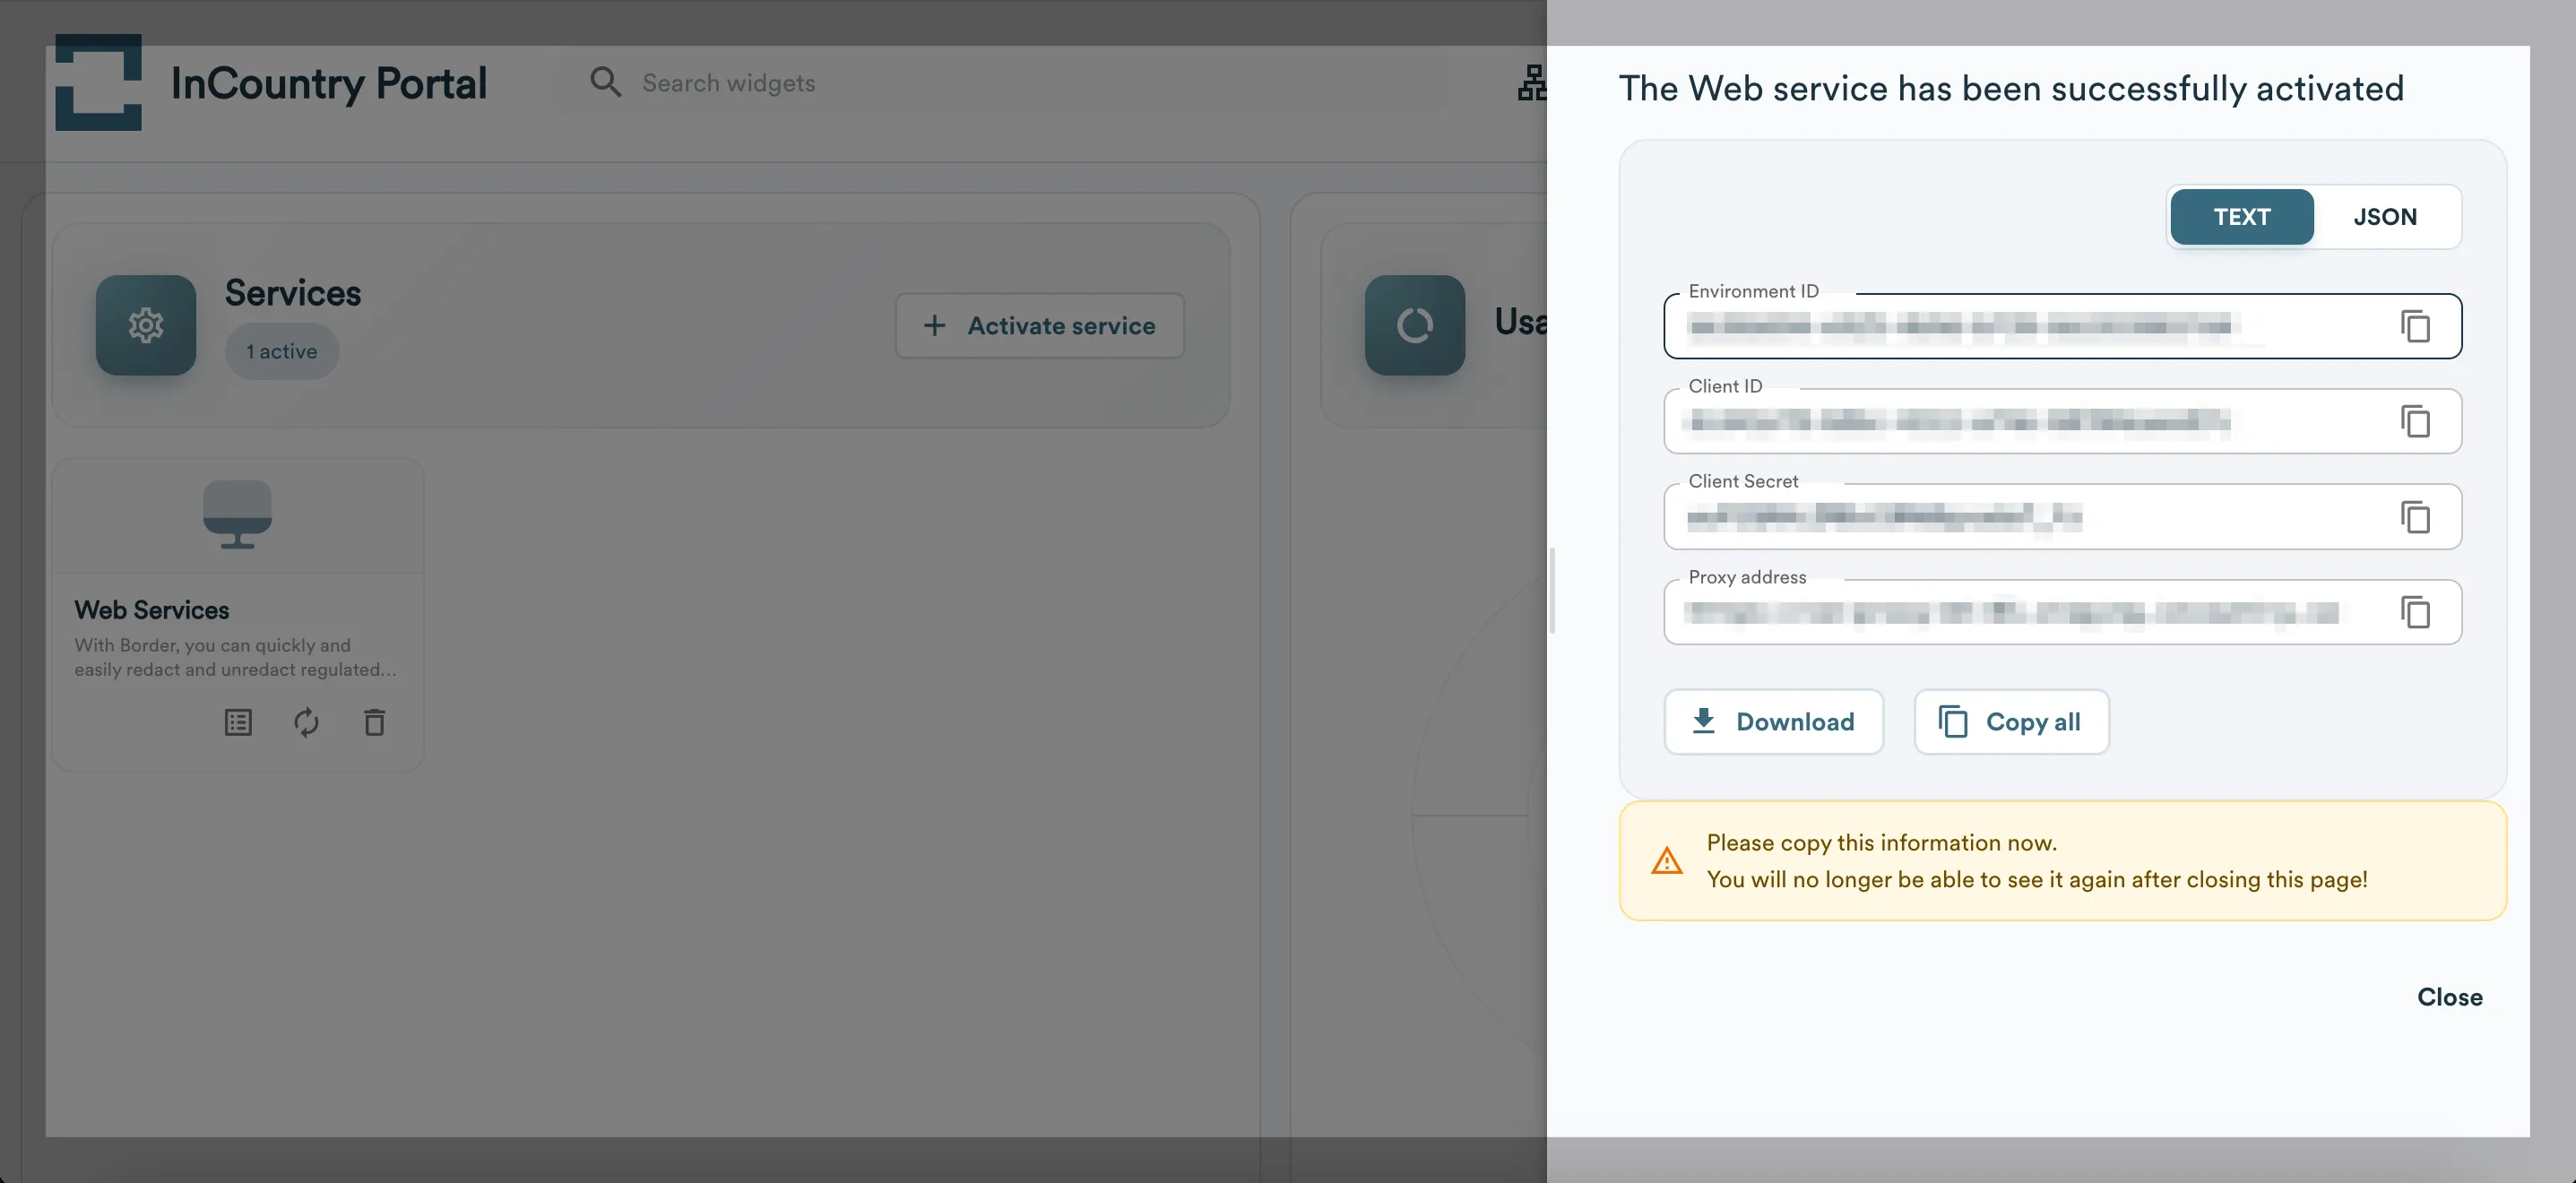
Immediately copy and securely store the provided credentials: Environment ID, Client ID, Client Secret, and Hostname. The system warns: "Please copy this information now. You will no longer be able to see it again after closing this page!"
Step 3: Configuring Data Residency Strategies
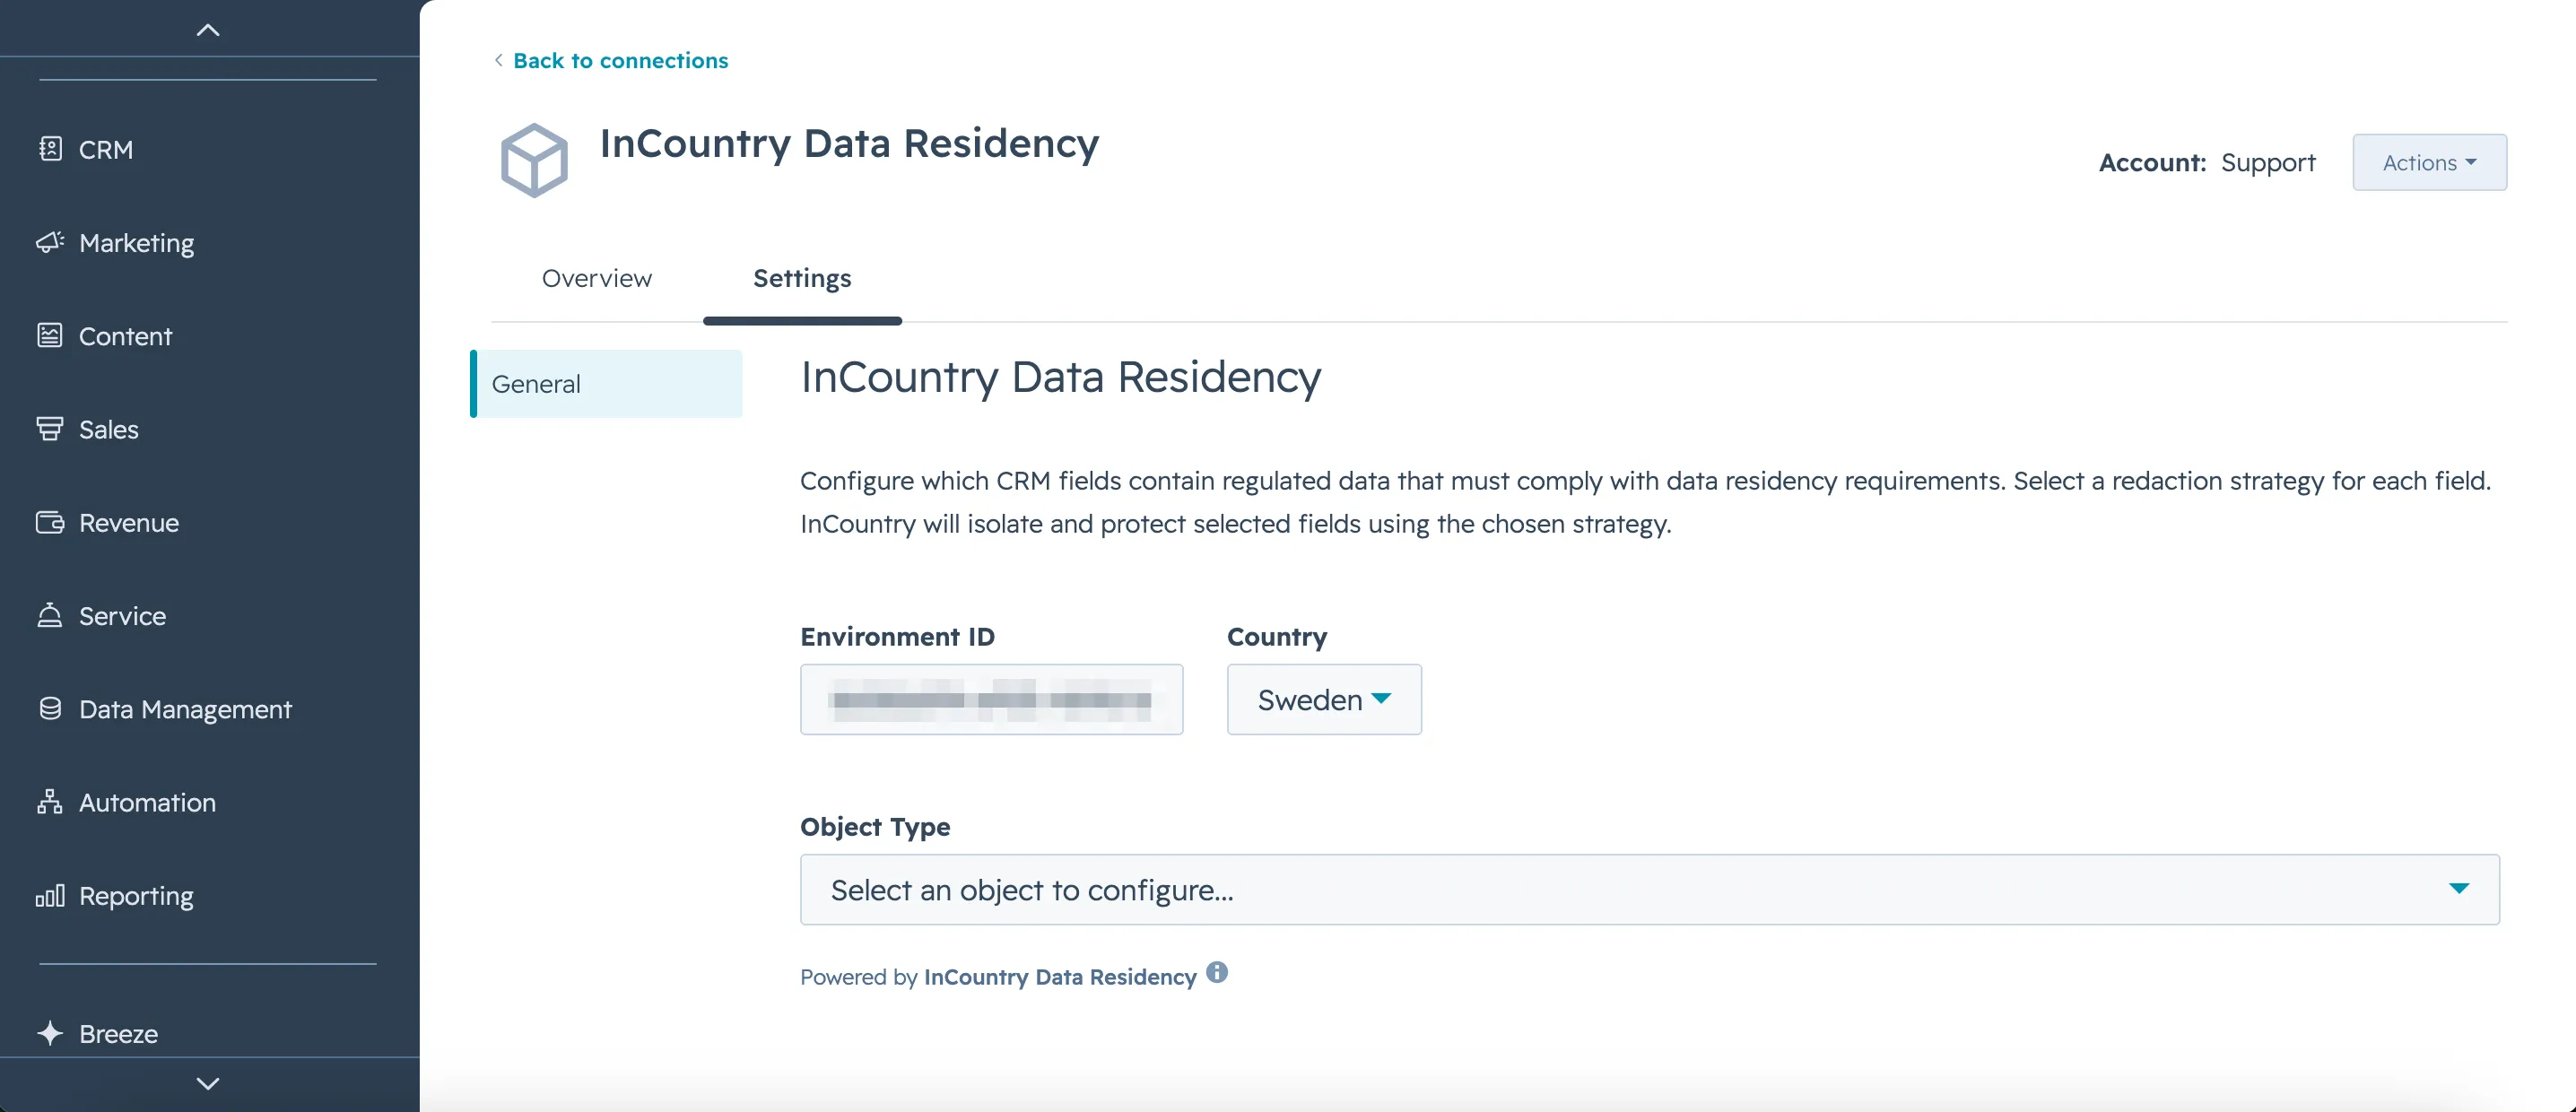
- Go back to the InCountry Data Residency Settings.
- Configure which CRM records must comply with data residency requirements by entering the Environment ID and selecting the Country.
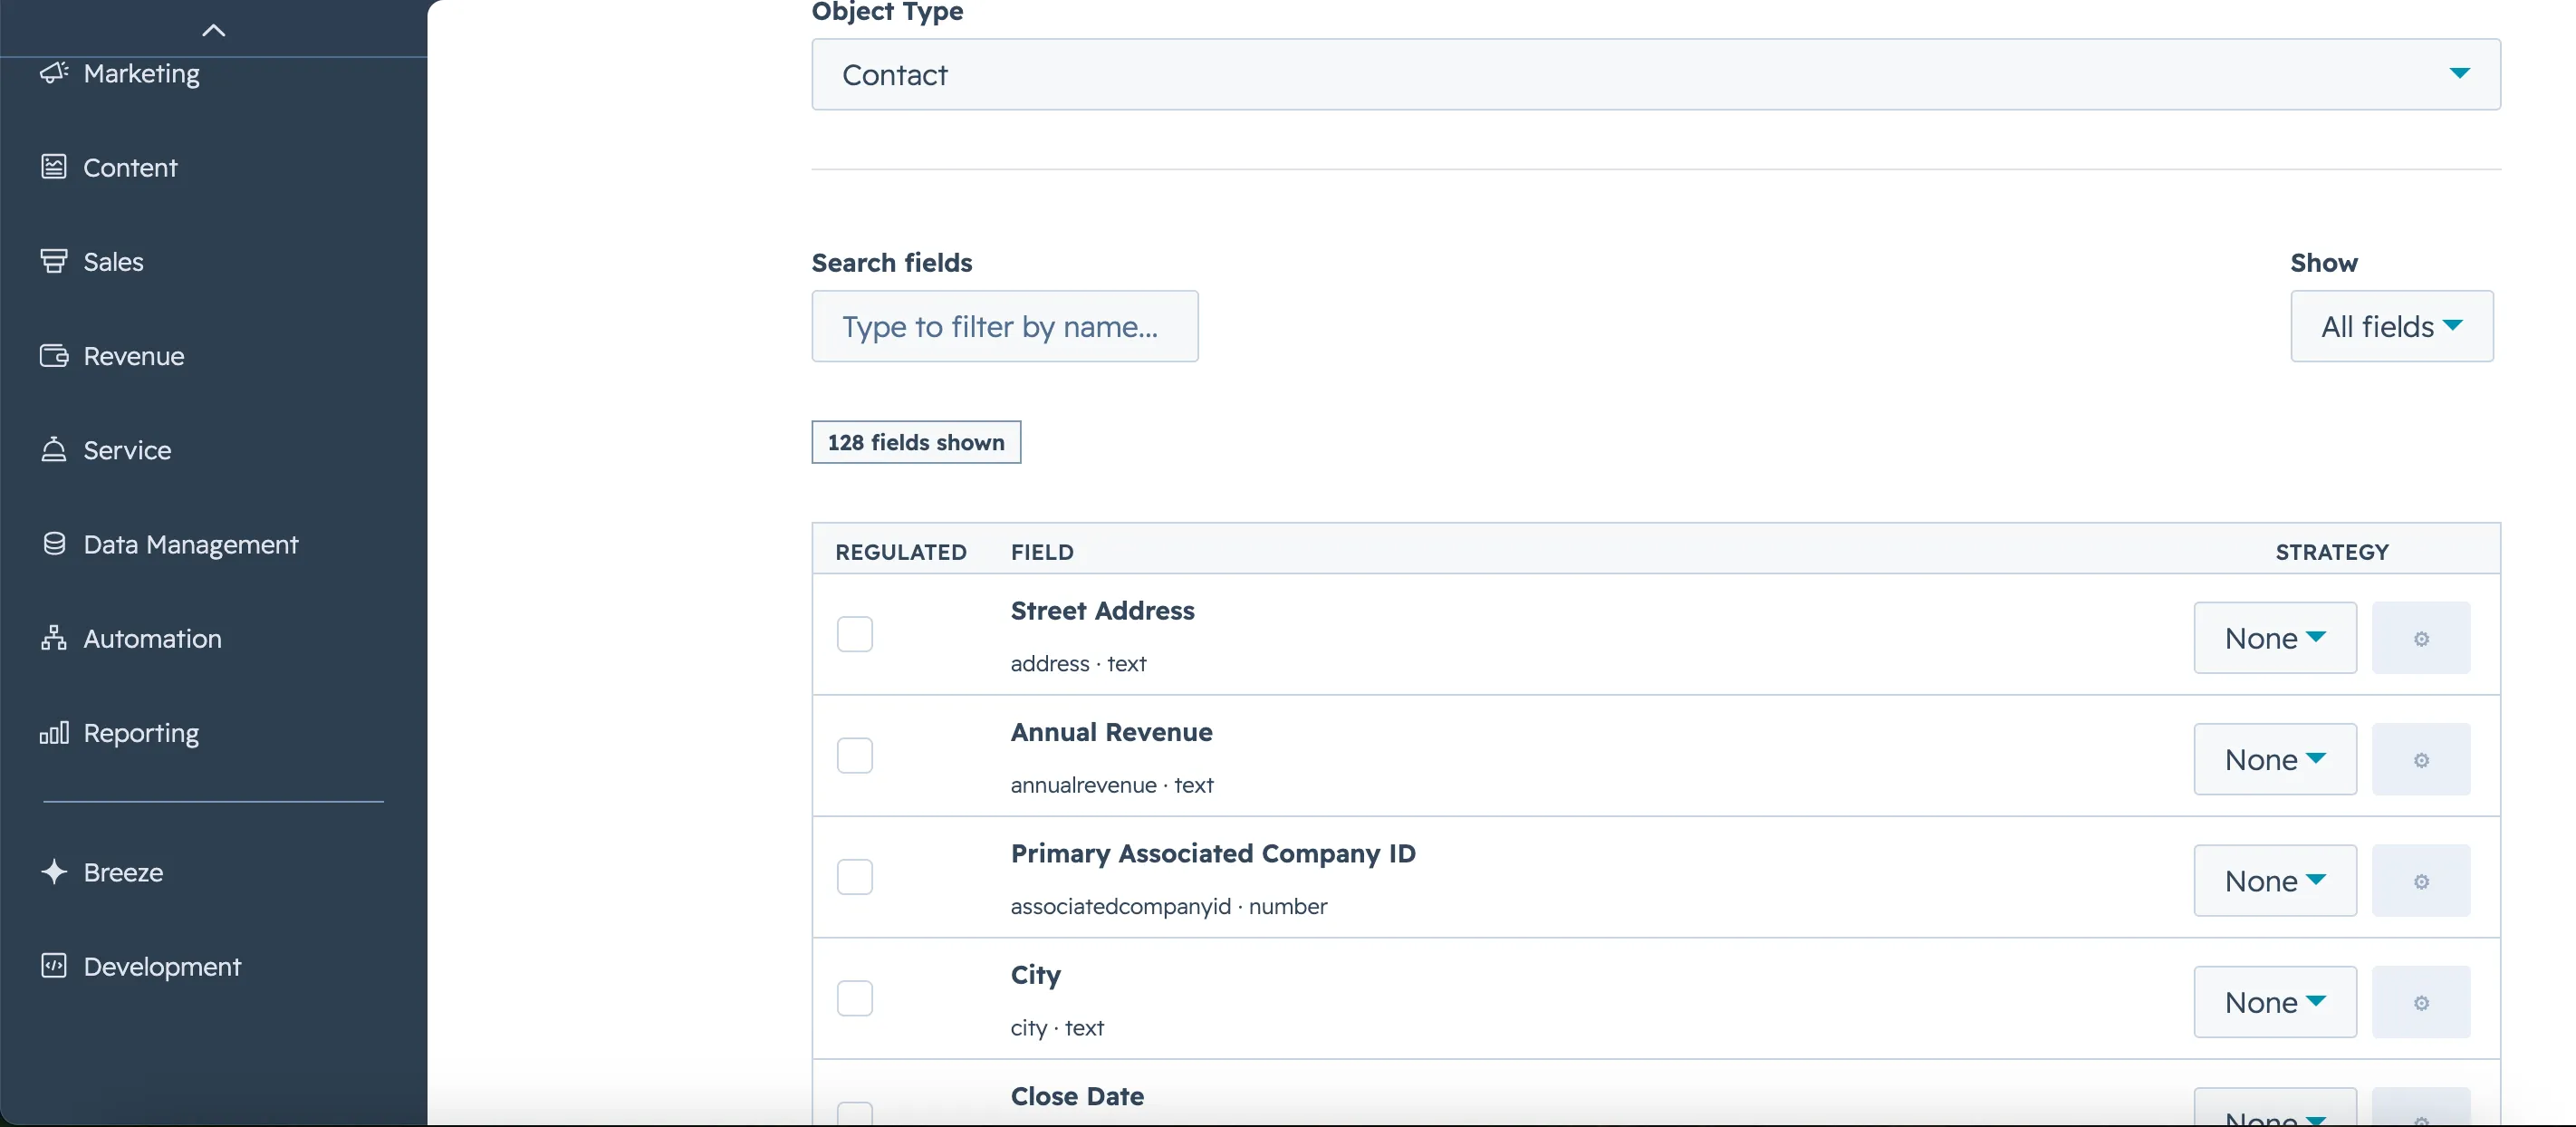
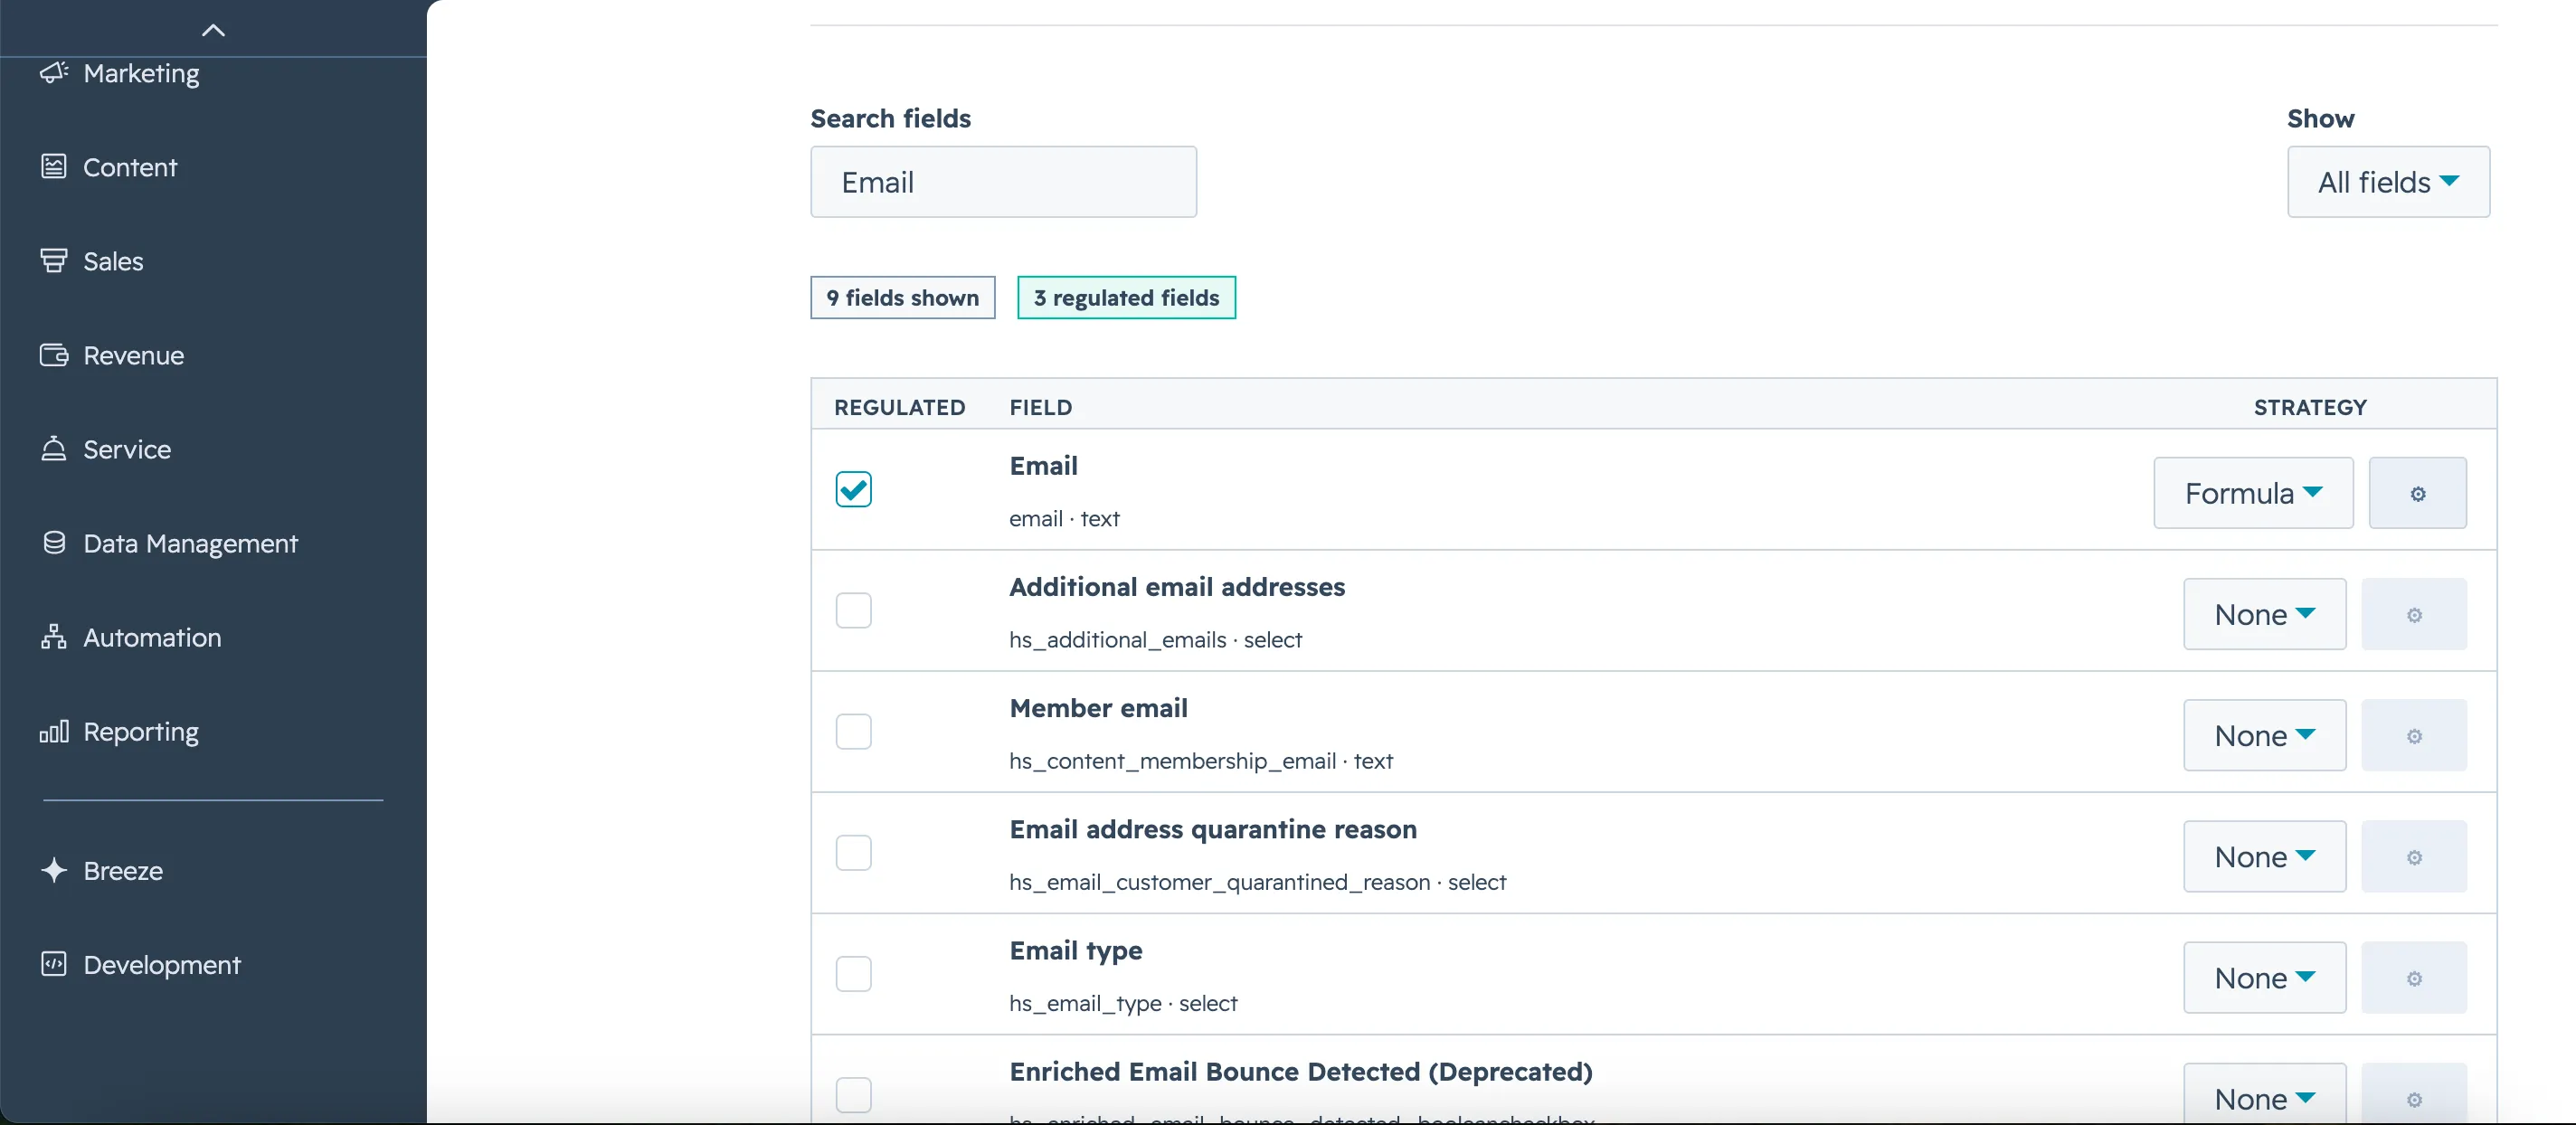
- Select an Object Type (e.g., Contact) to configure its specific fields.
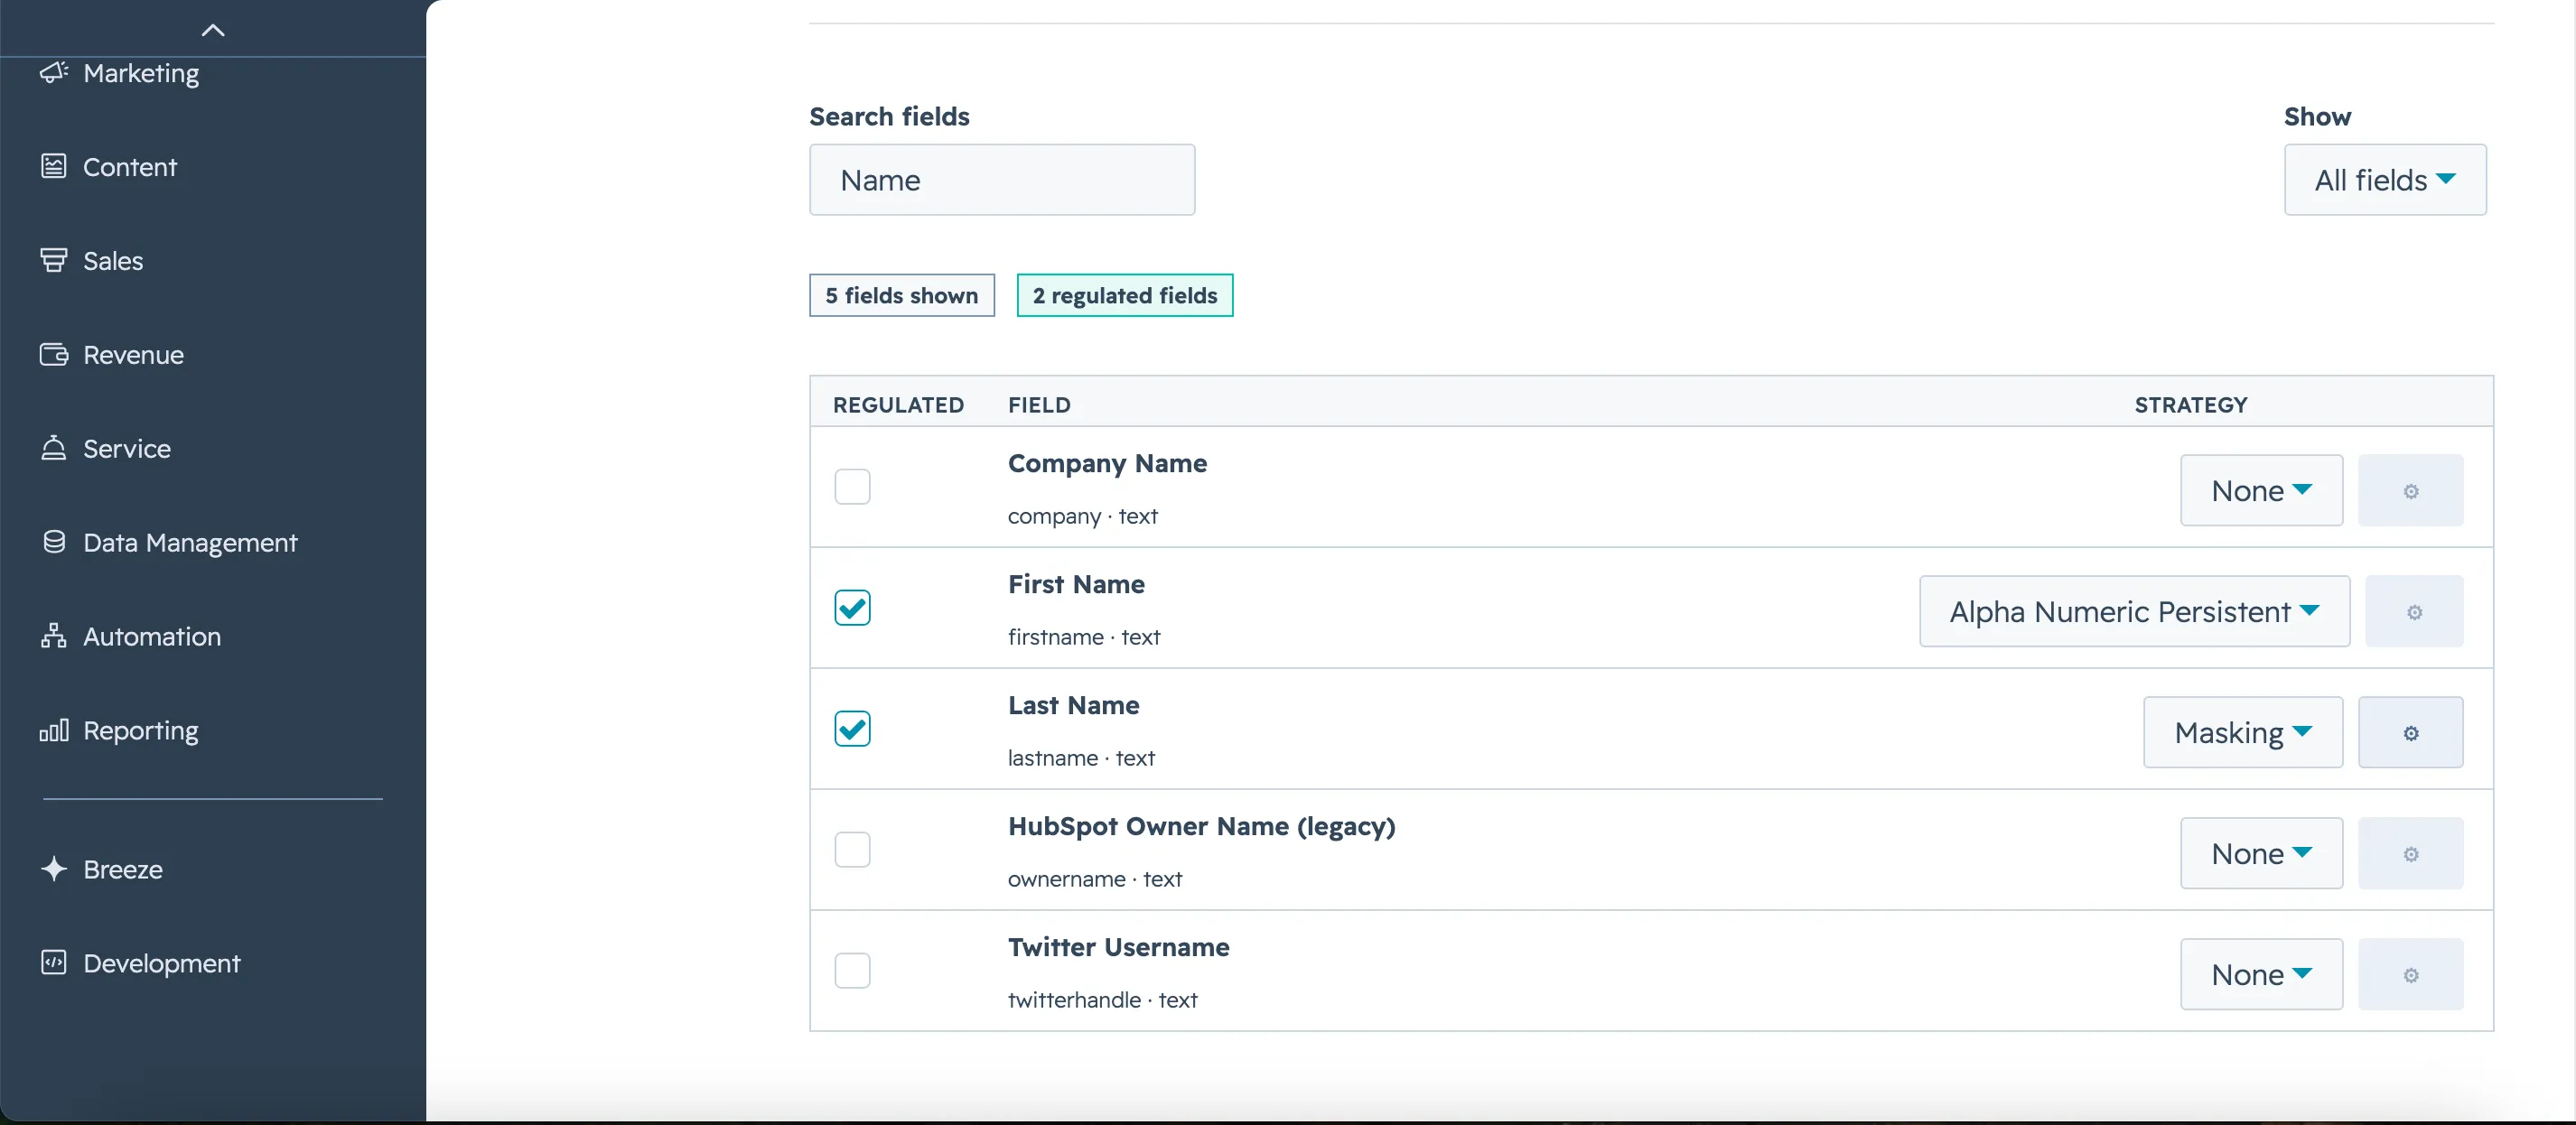
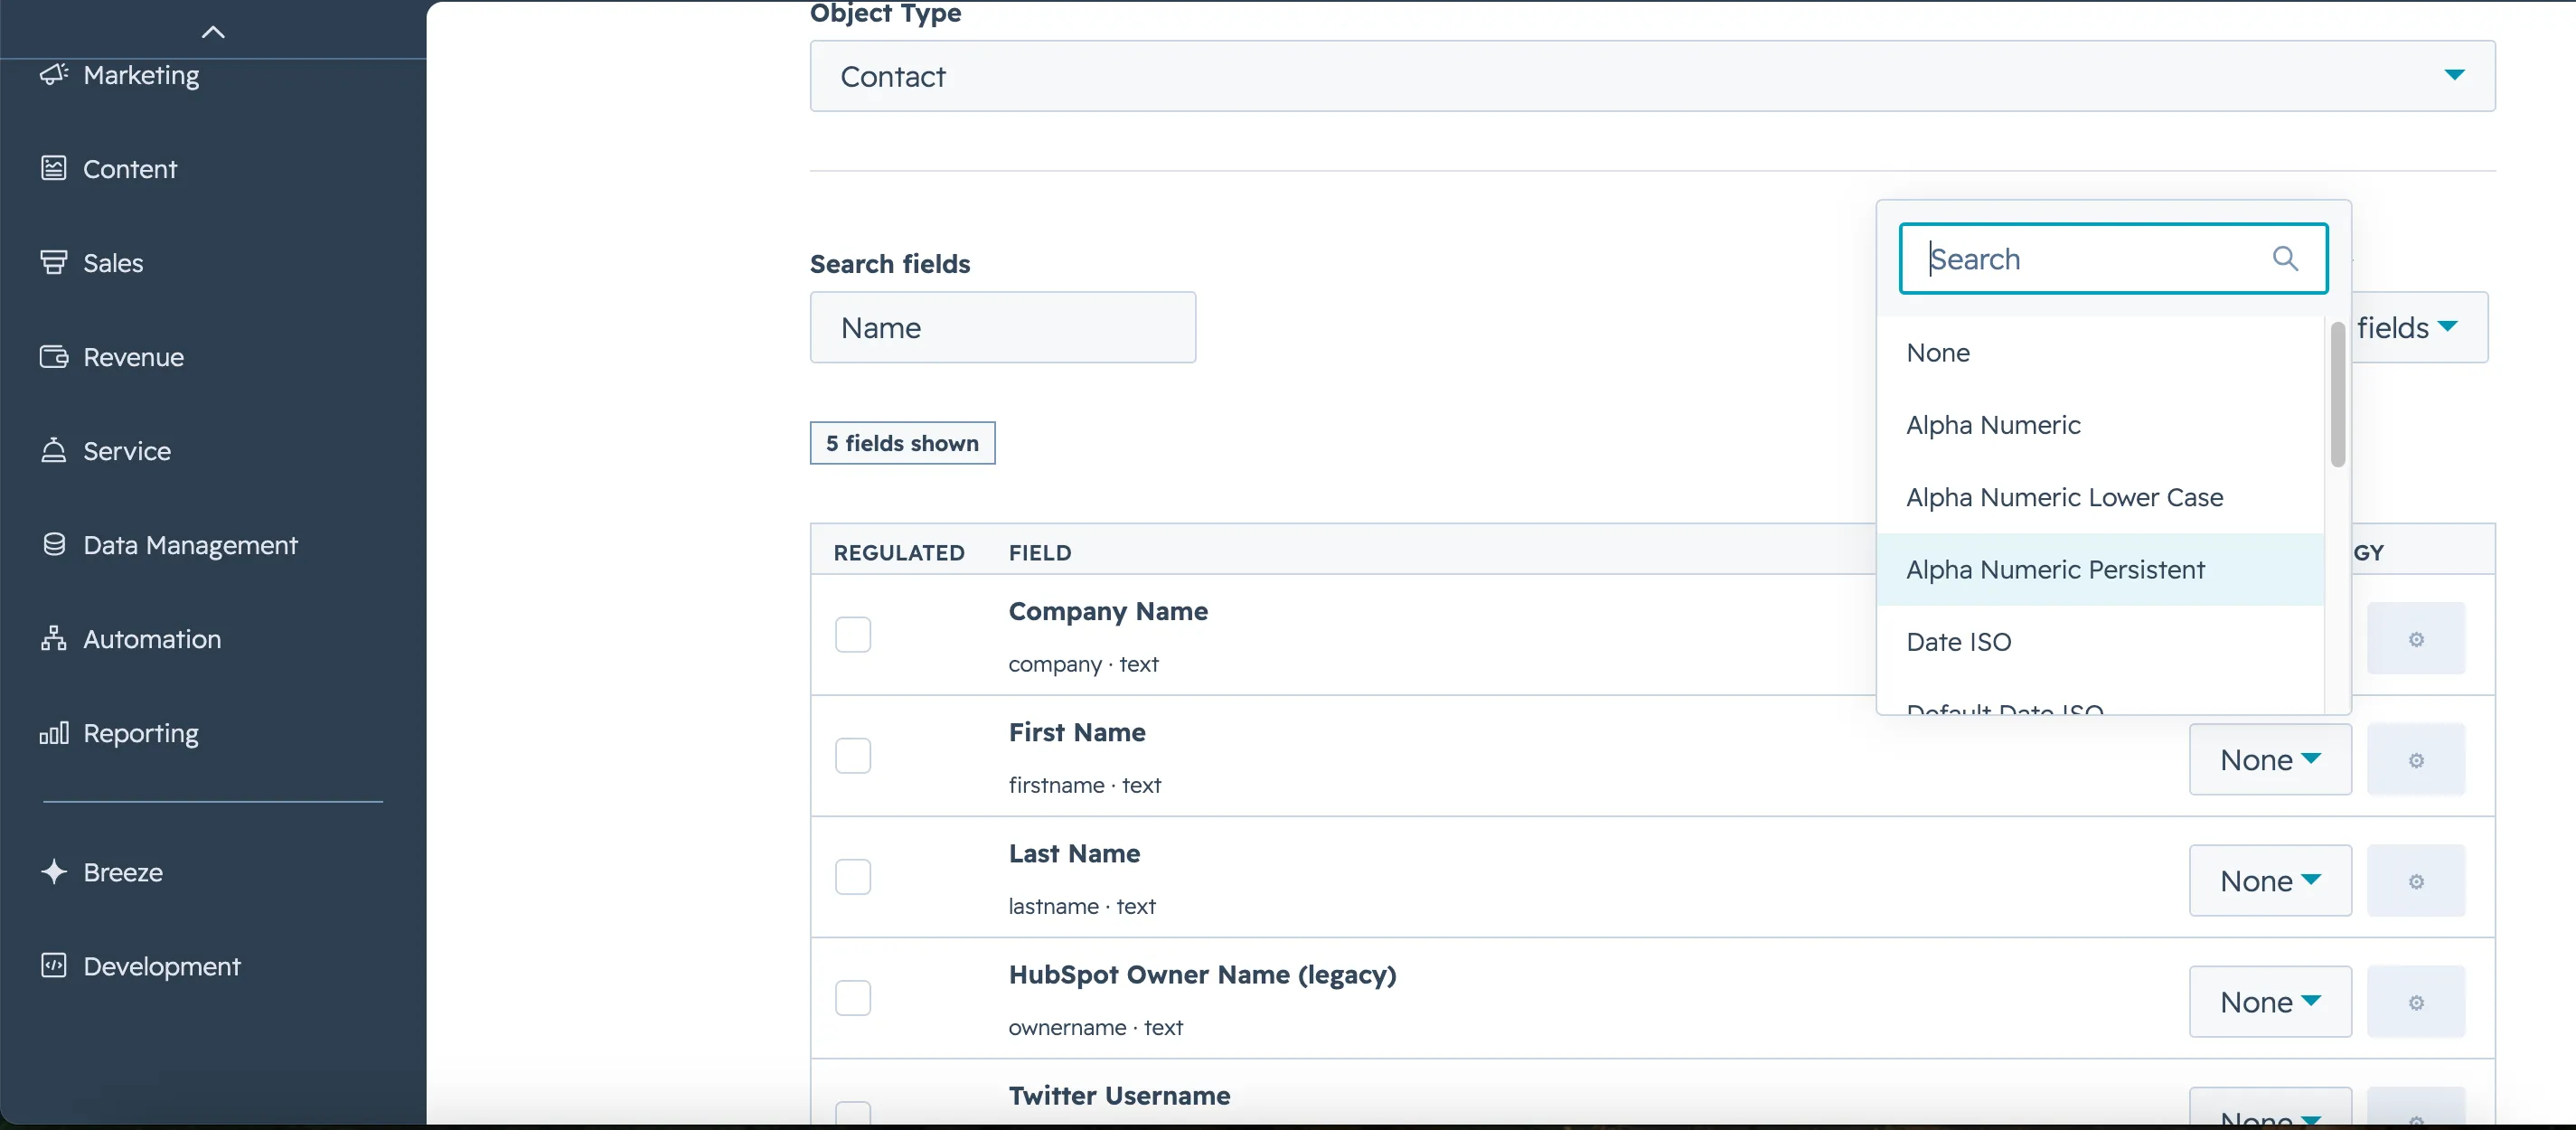
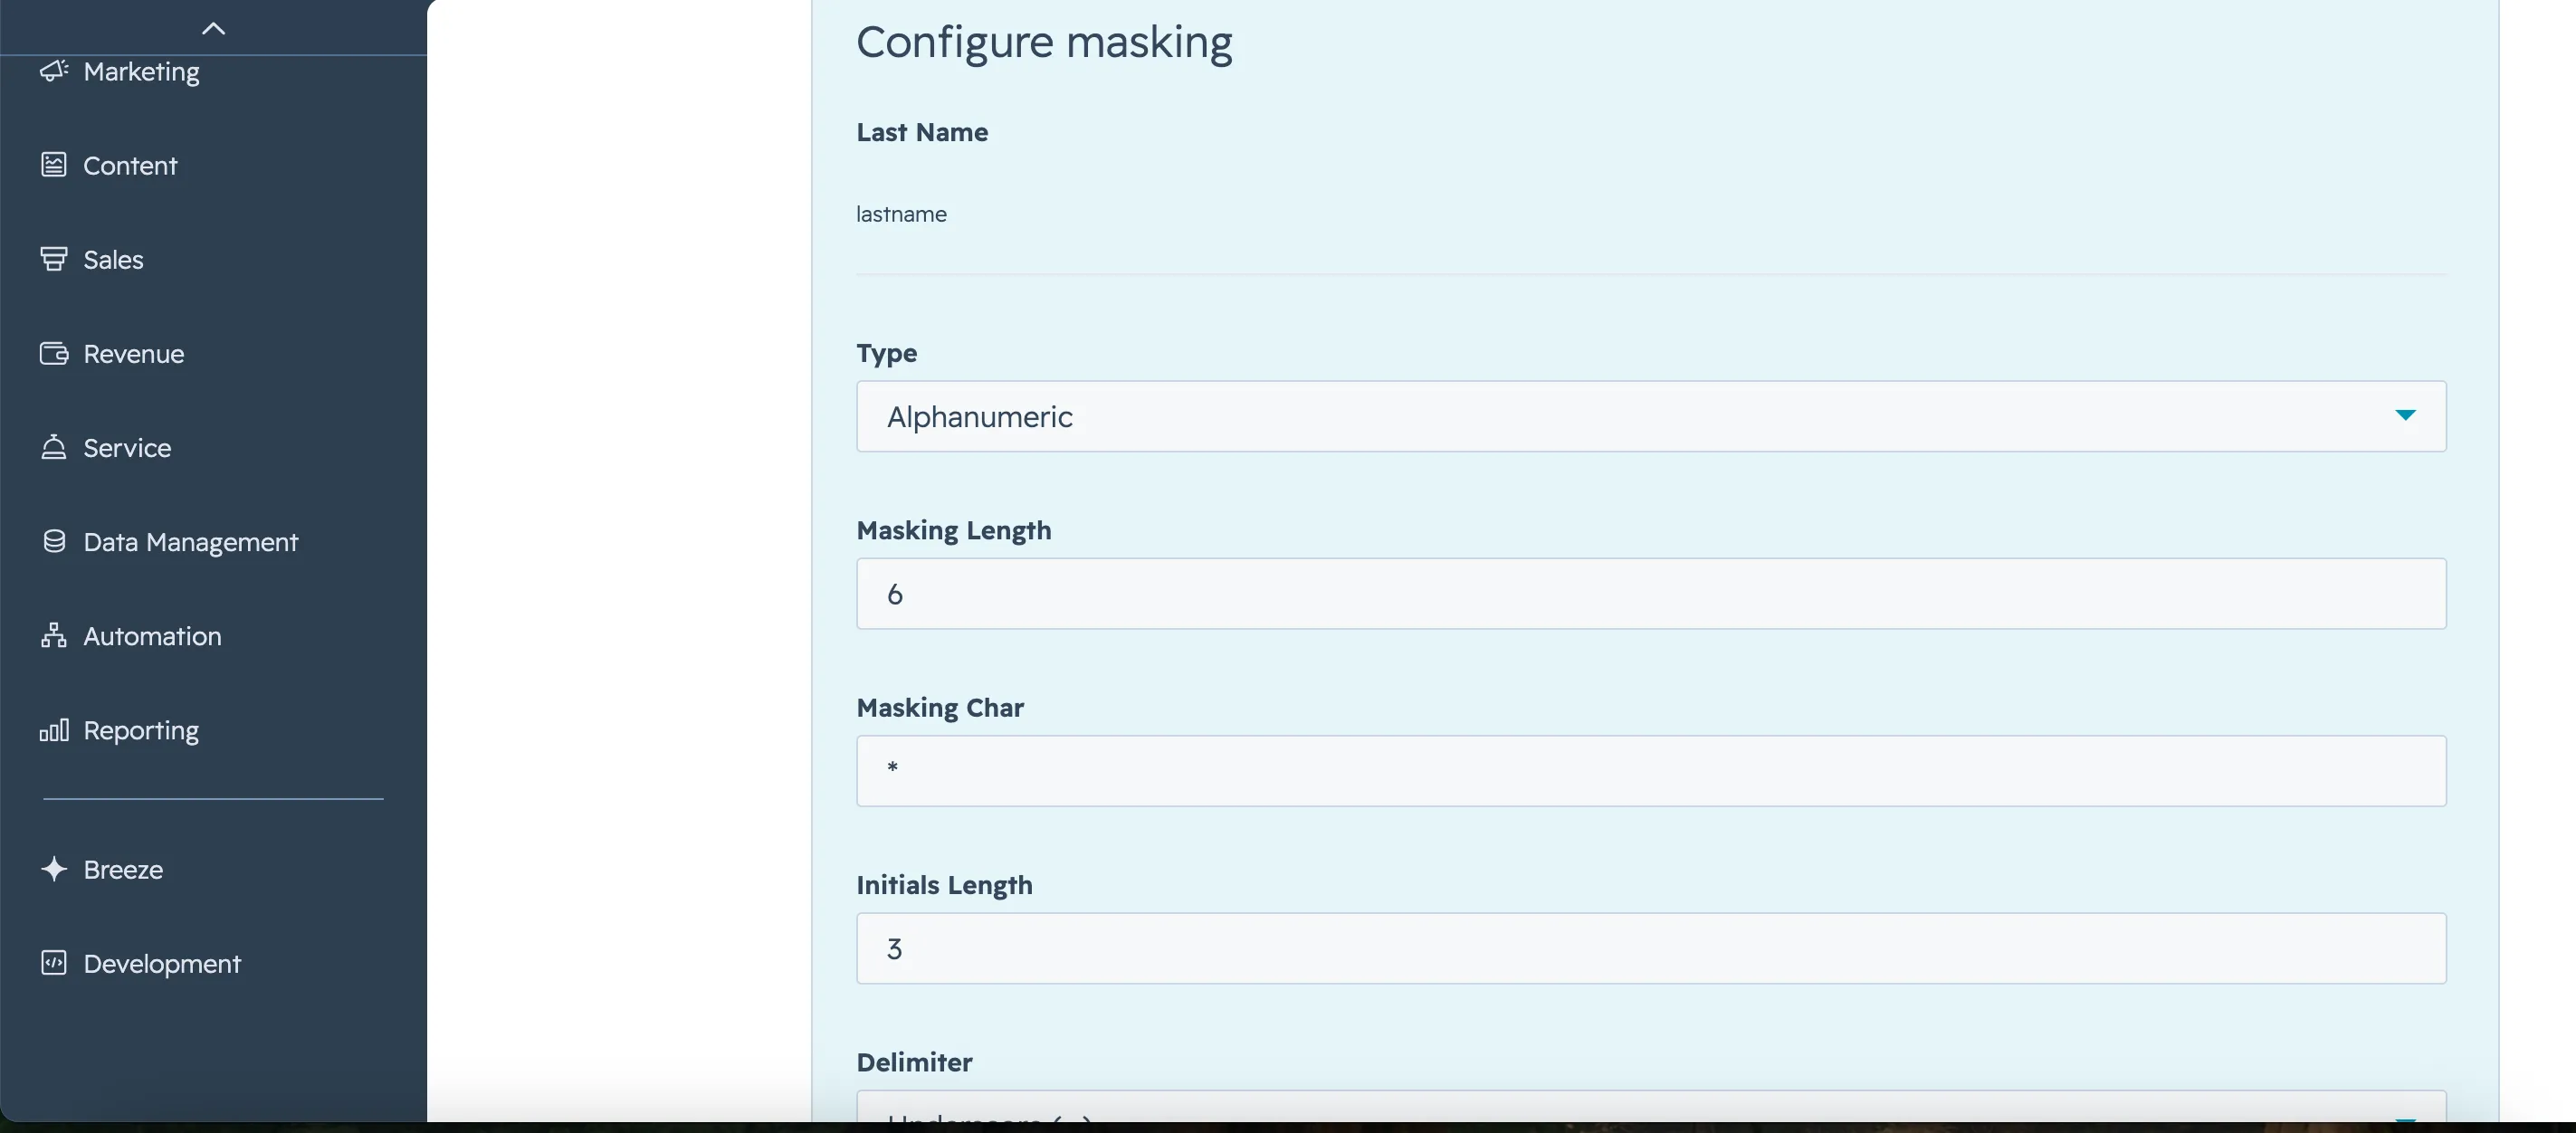
- Assign a specific strategy to each regulated field. For example, let's set up the first name, last name, and email address.
- First Name: Alpha Numeric Persistent
- Last Name: Masking
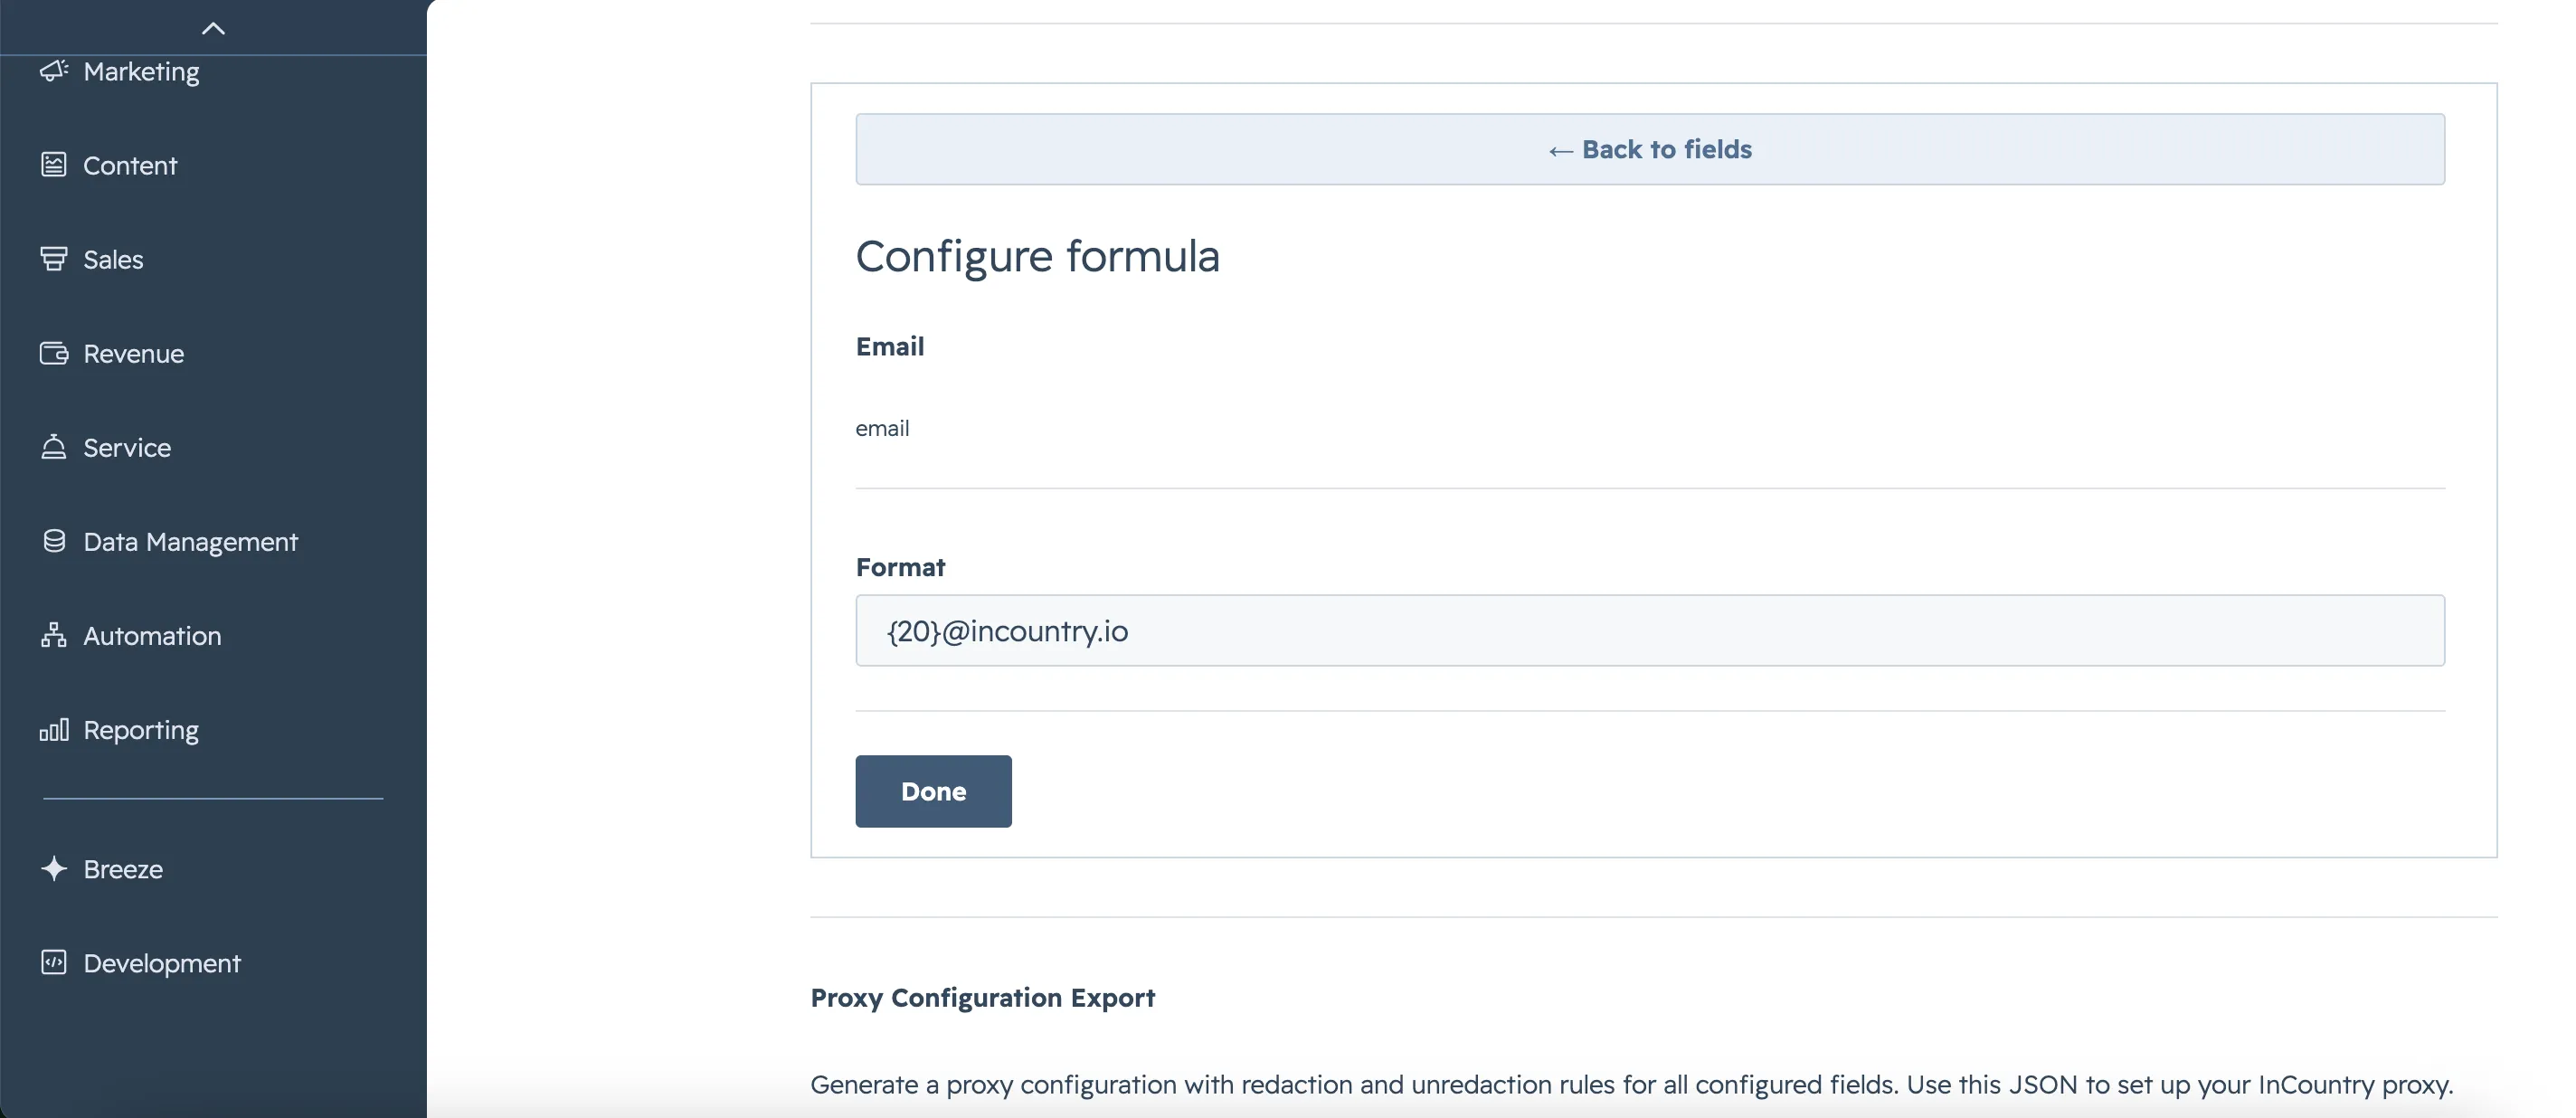
- Email: Formula
- First Name: Alpha Numeric Persistent
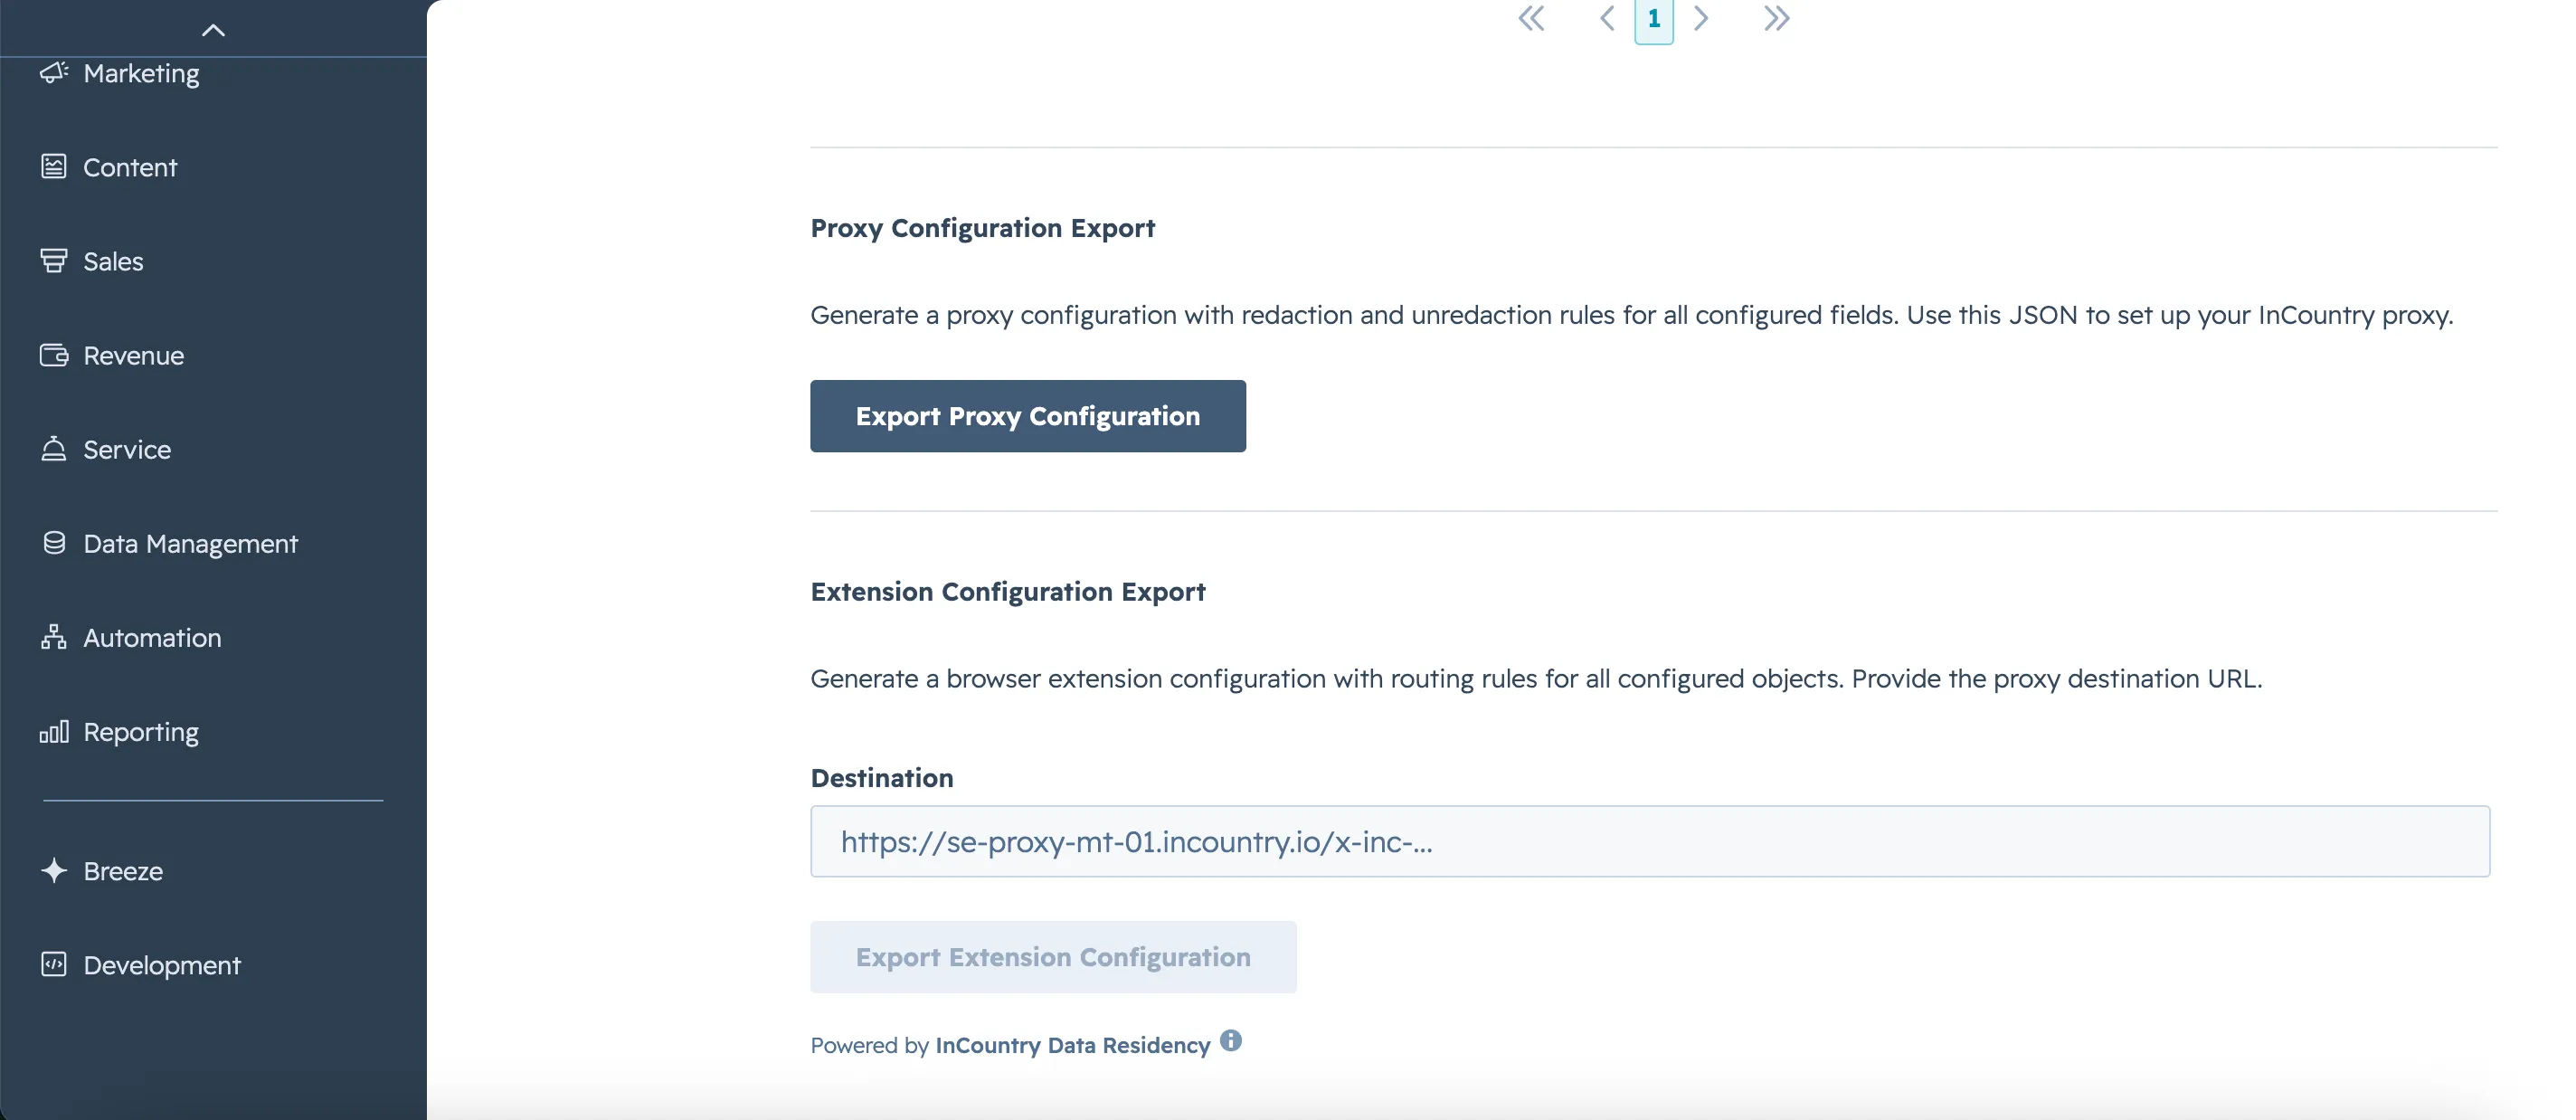
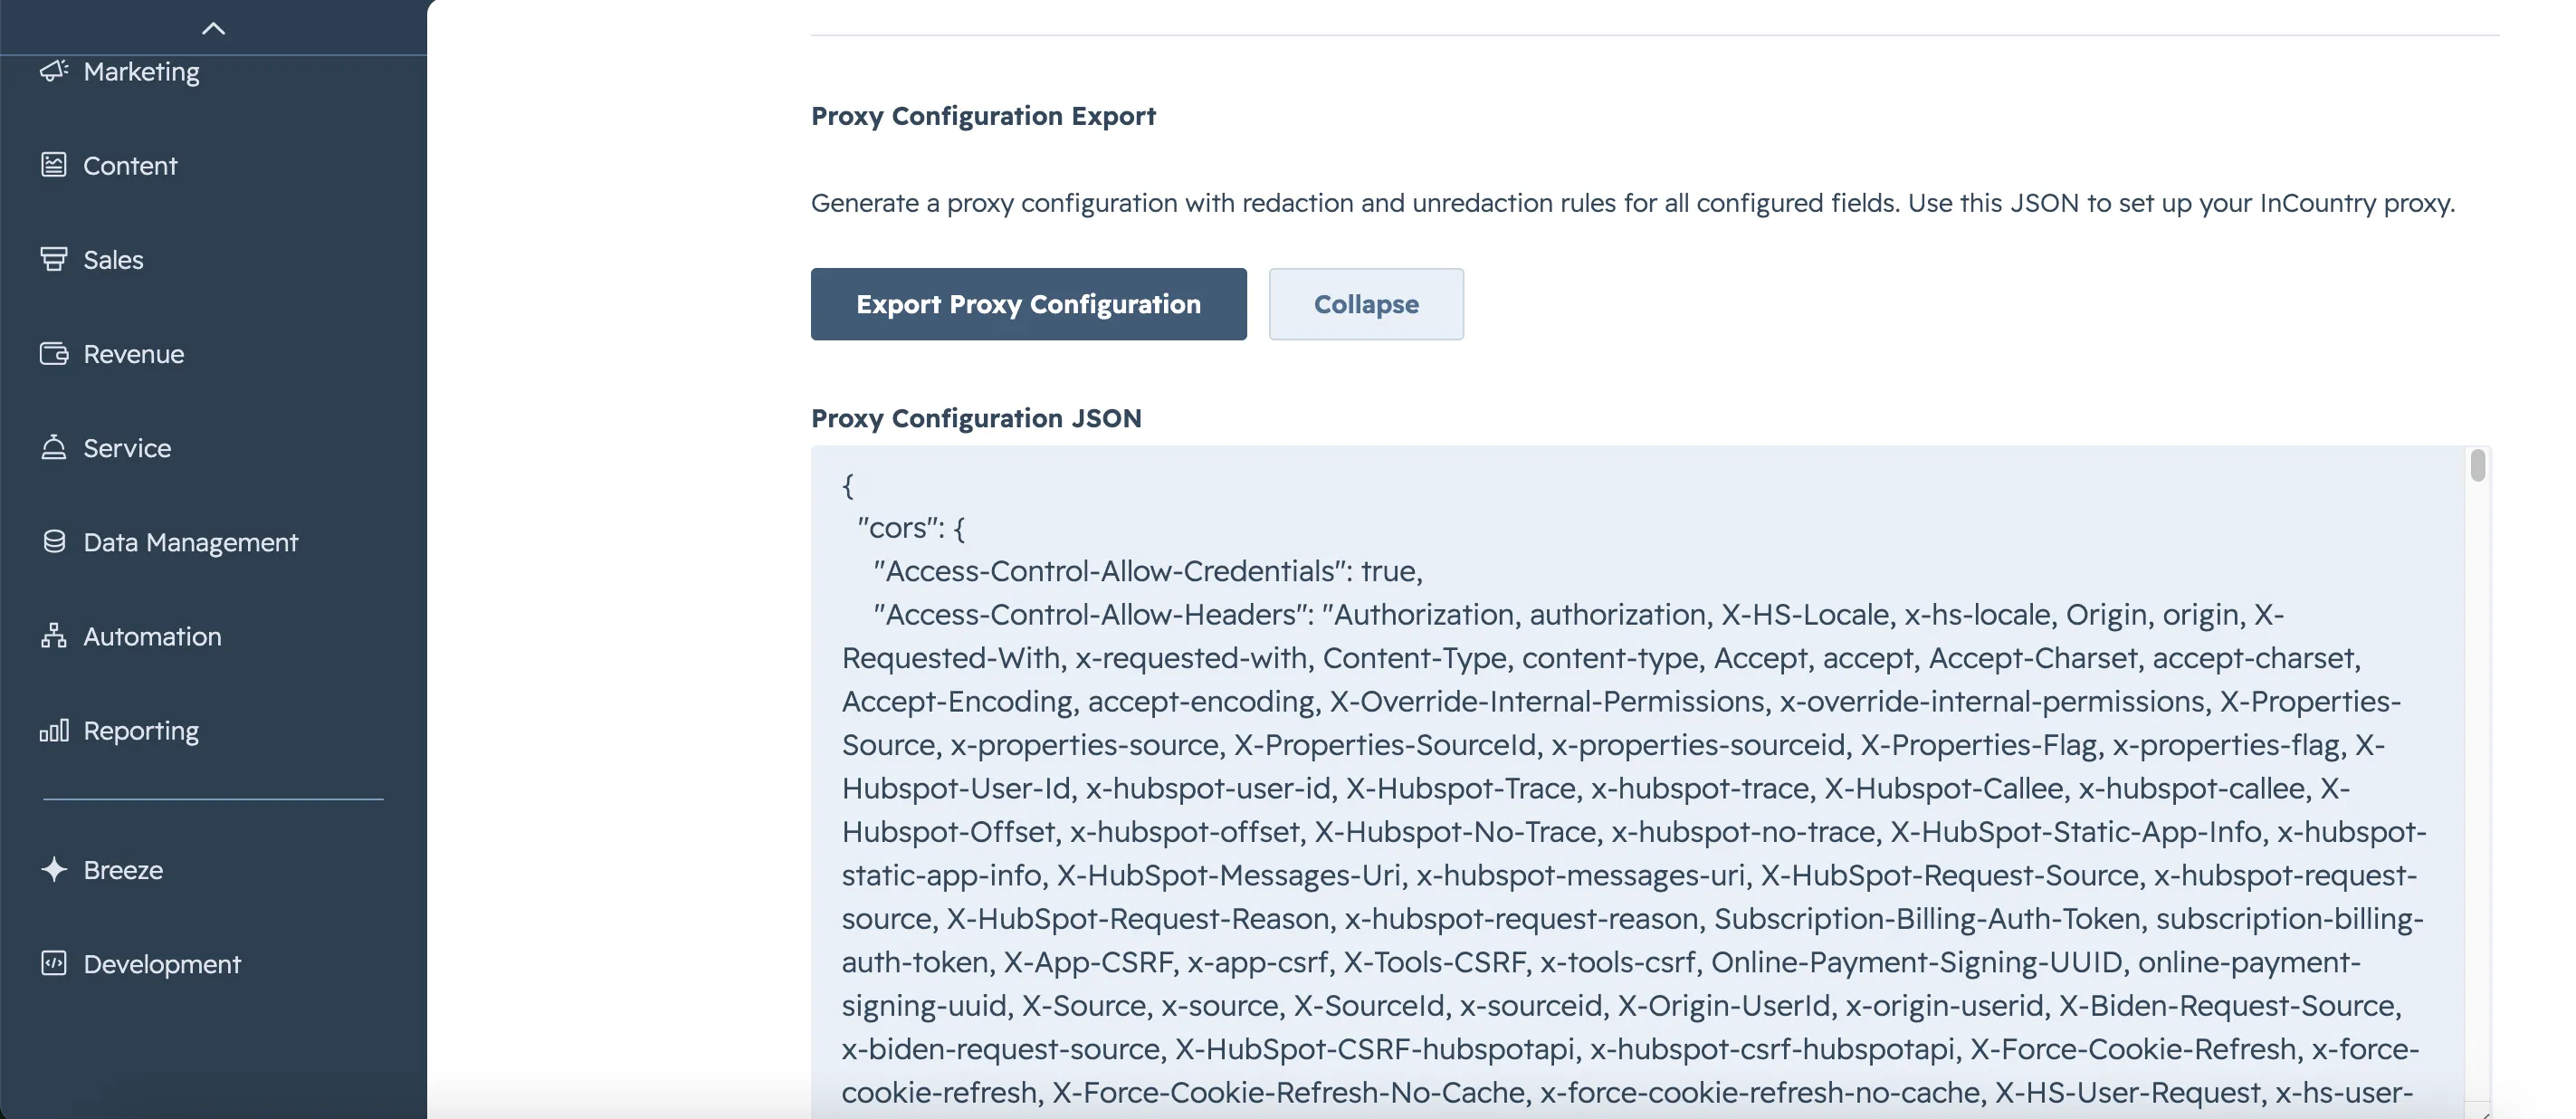
- When the configuration is ready, click Export Proxy Configuration.
- Copy the generated configuration JSON.
Step 4: Creating and Configuring the API Collection
- Navigate to the InCountry Portal.
- Click Manage endpoints collections.
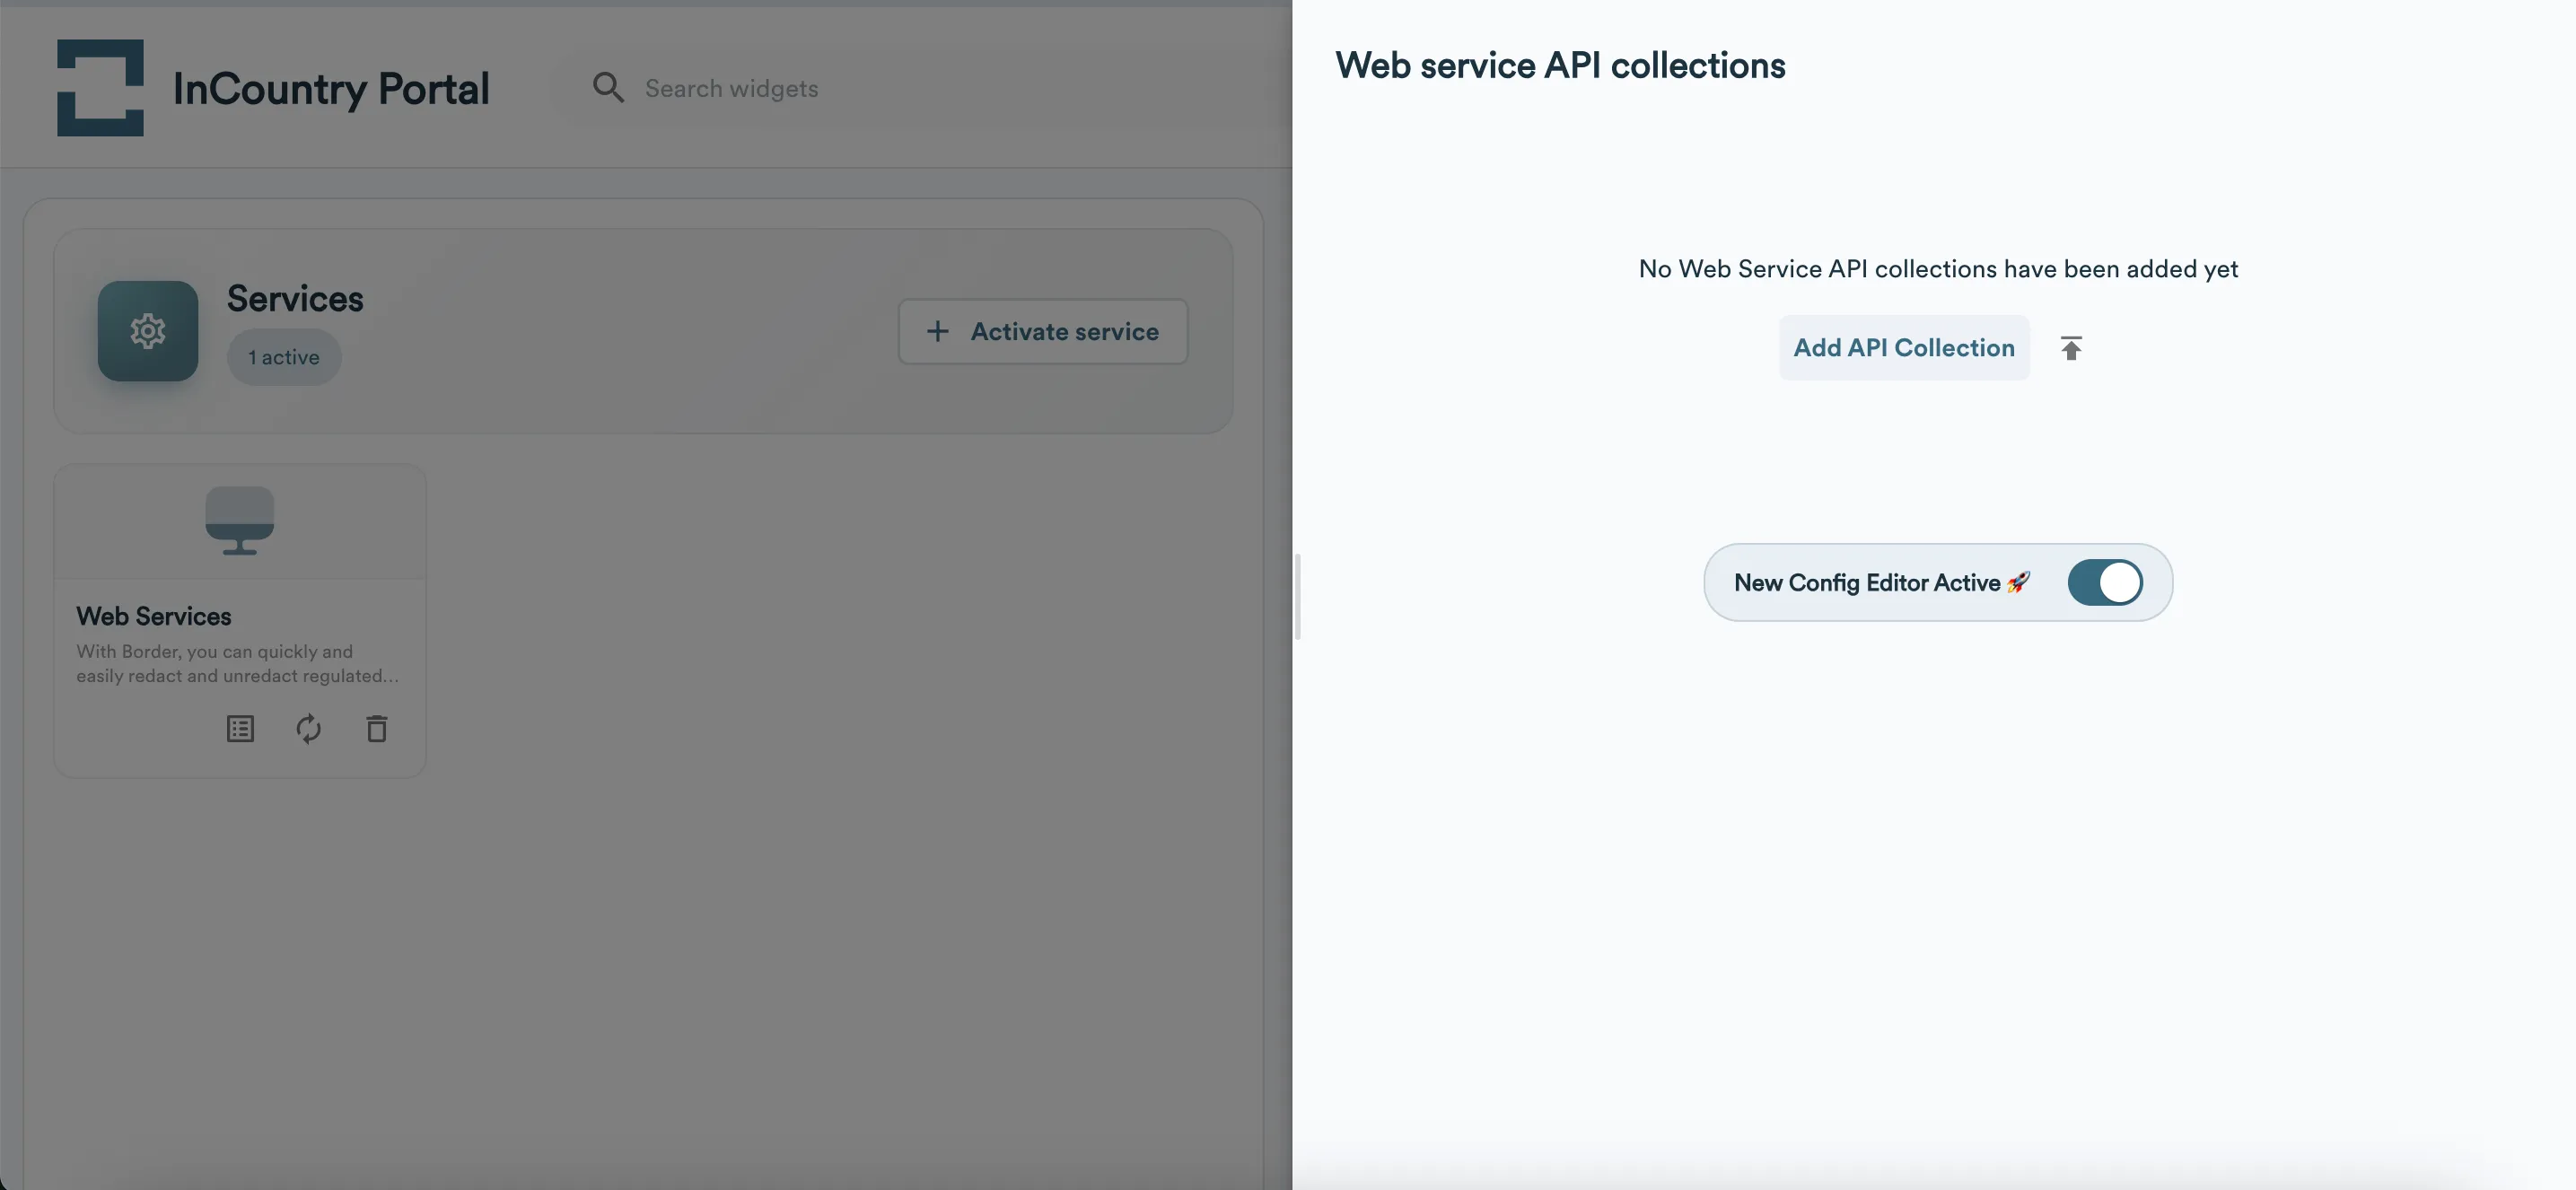
- Enable the New Config Editor Active toggle and click Add API Collection.
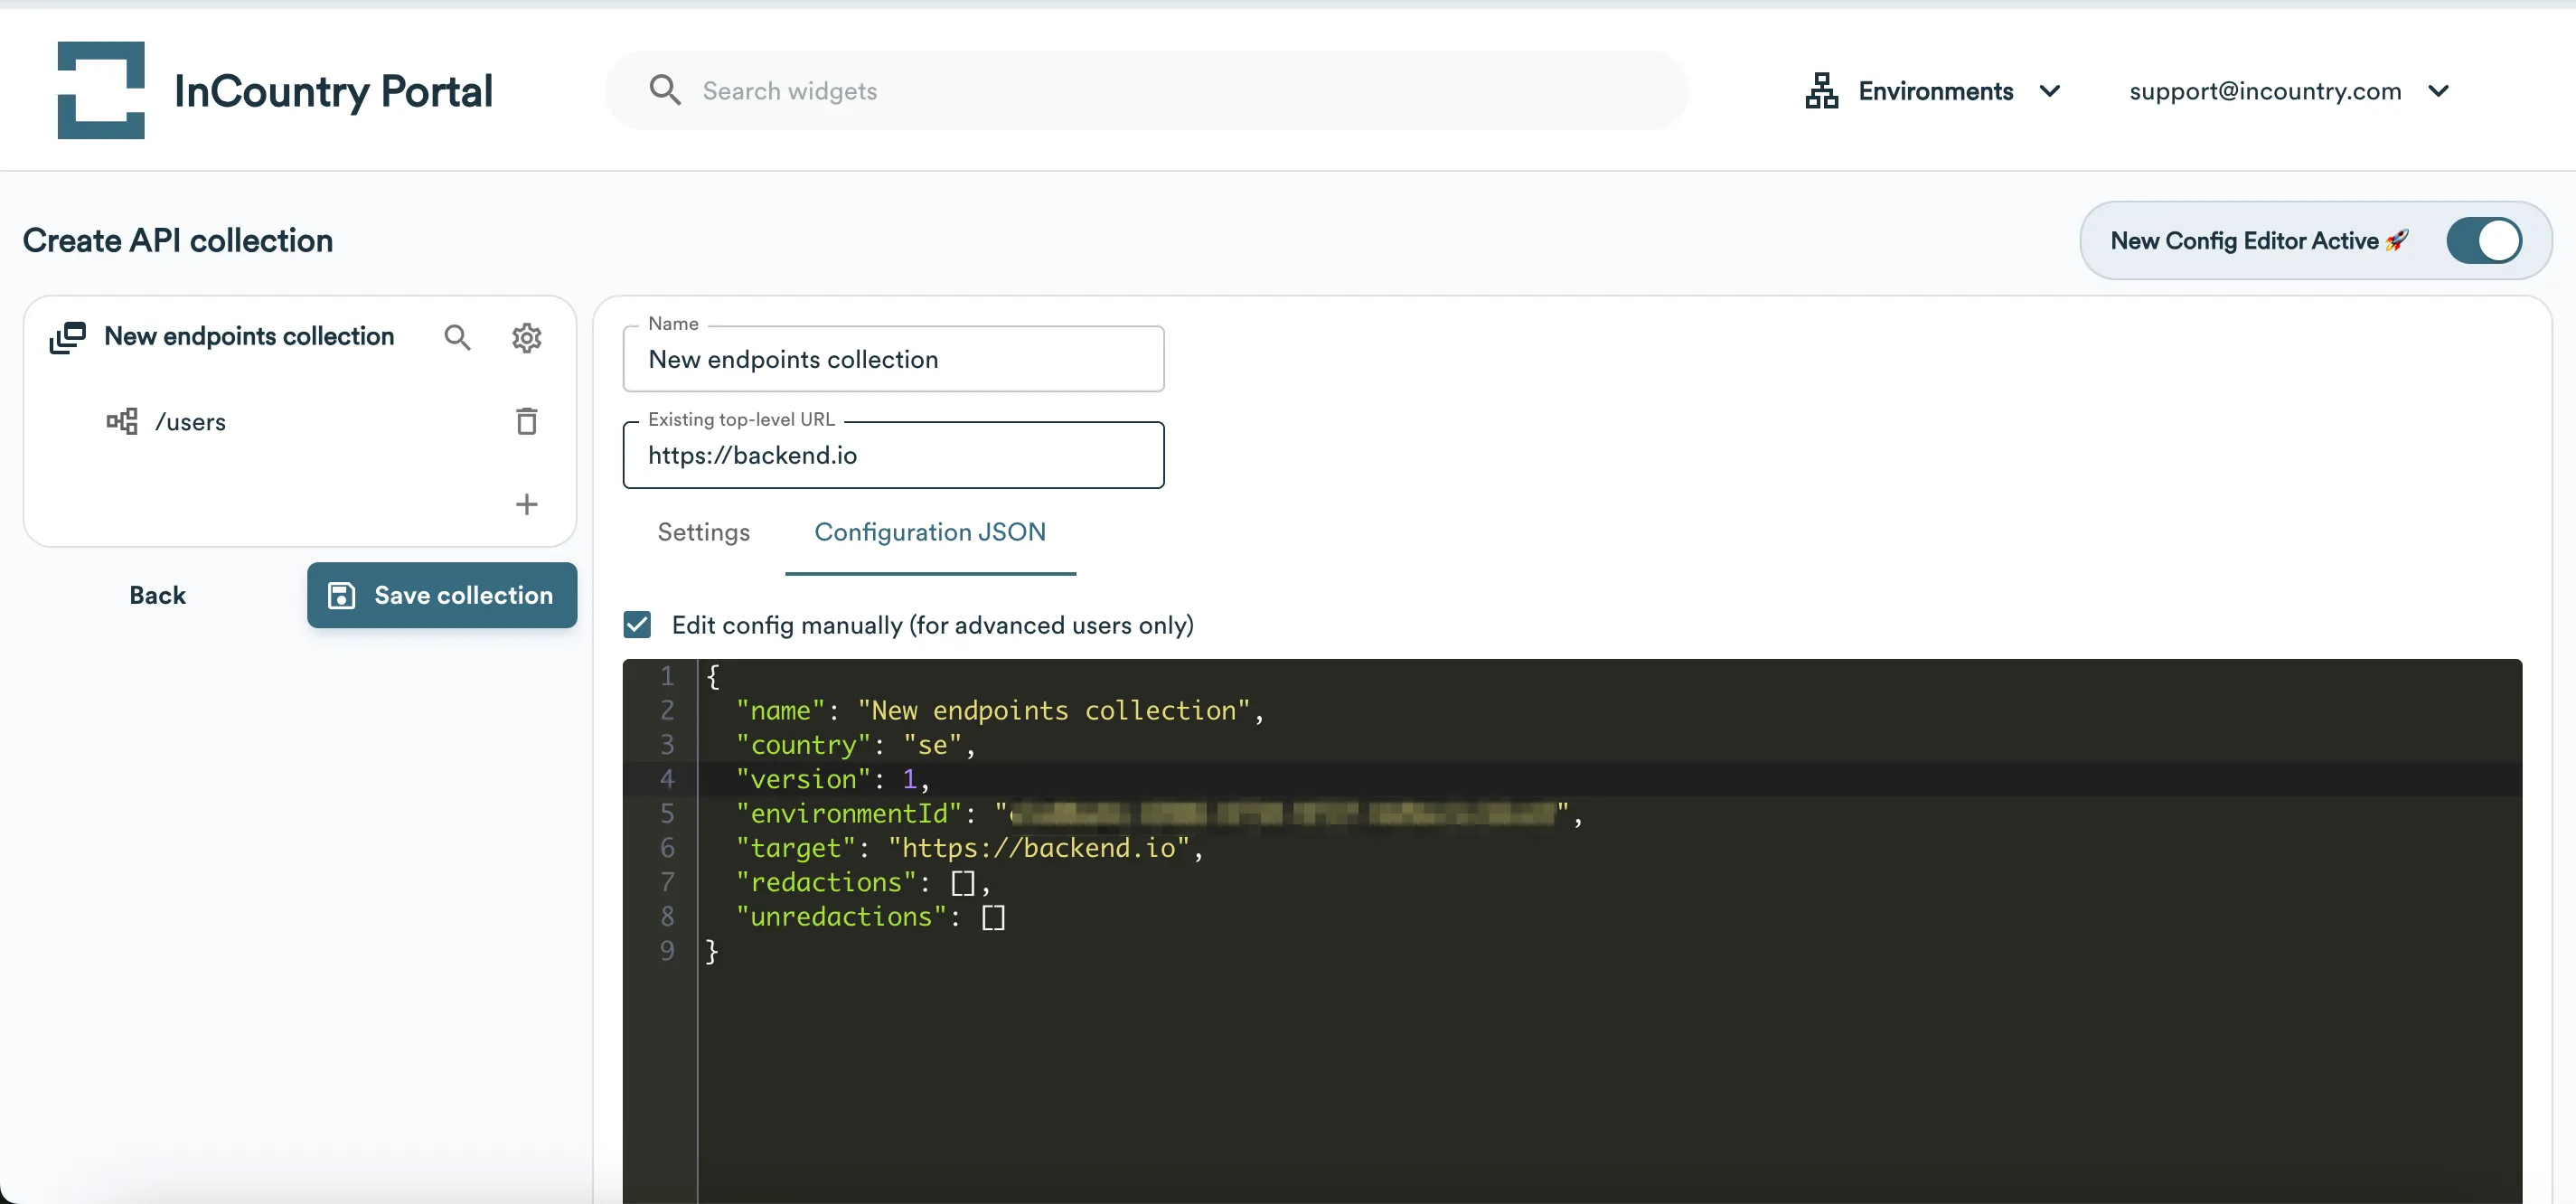
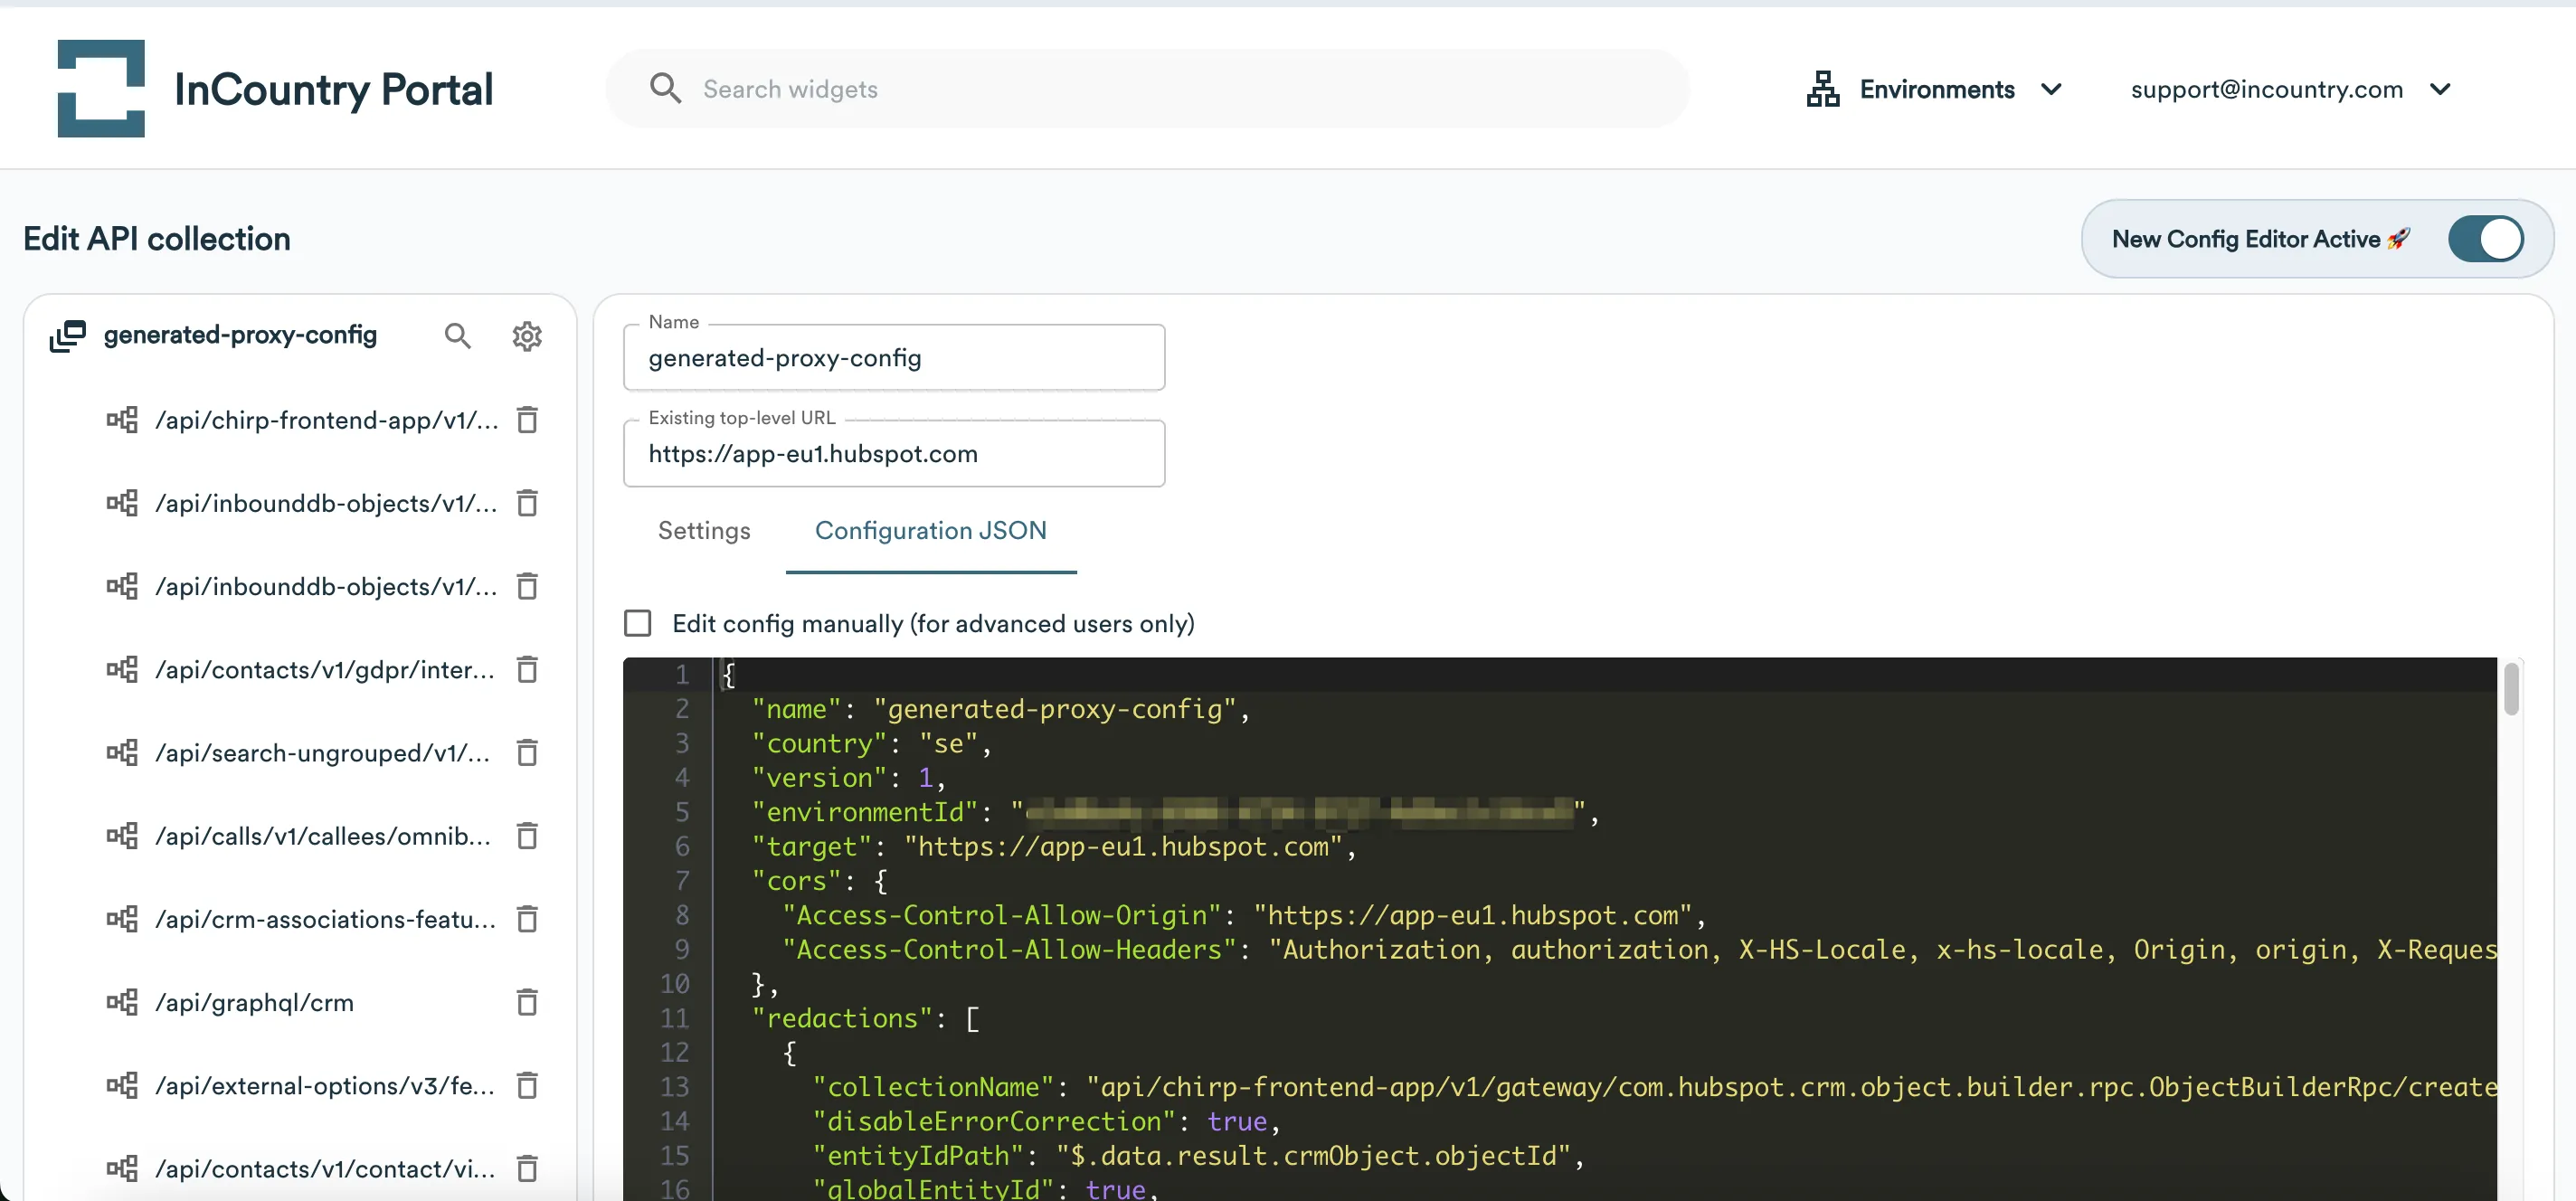
- Click on the first endpoint and check the Edit config manually (for advanced users only) box to access the Configuration JSON.
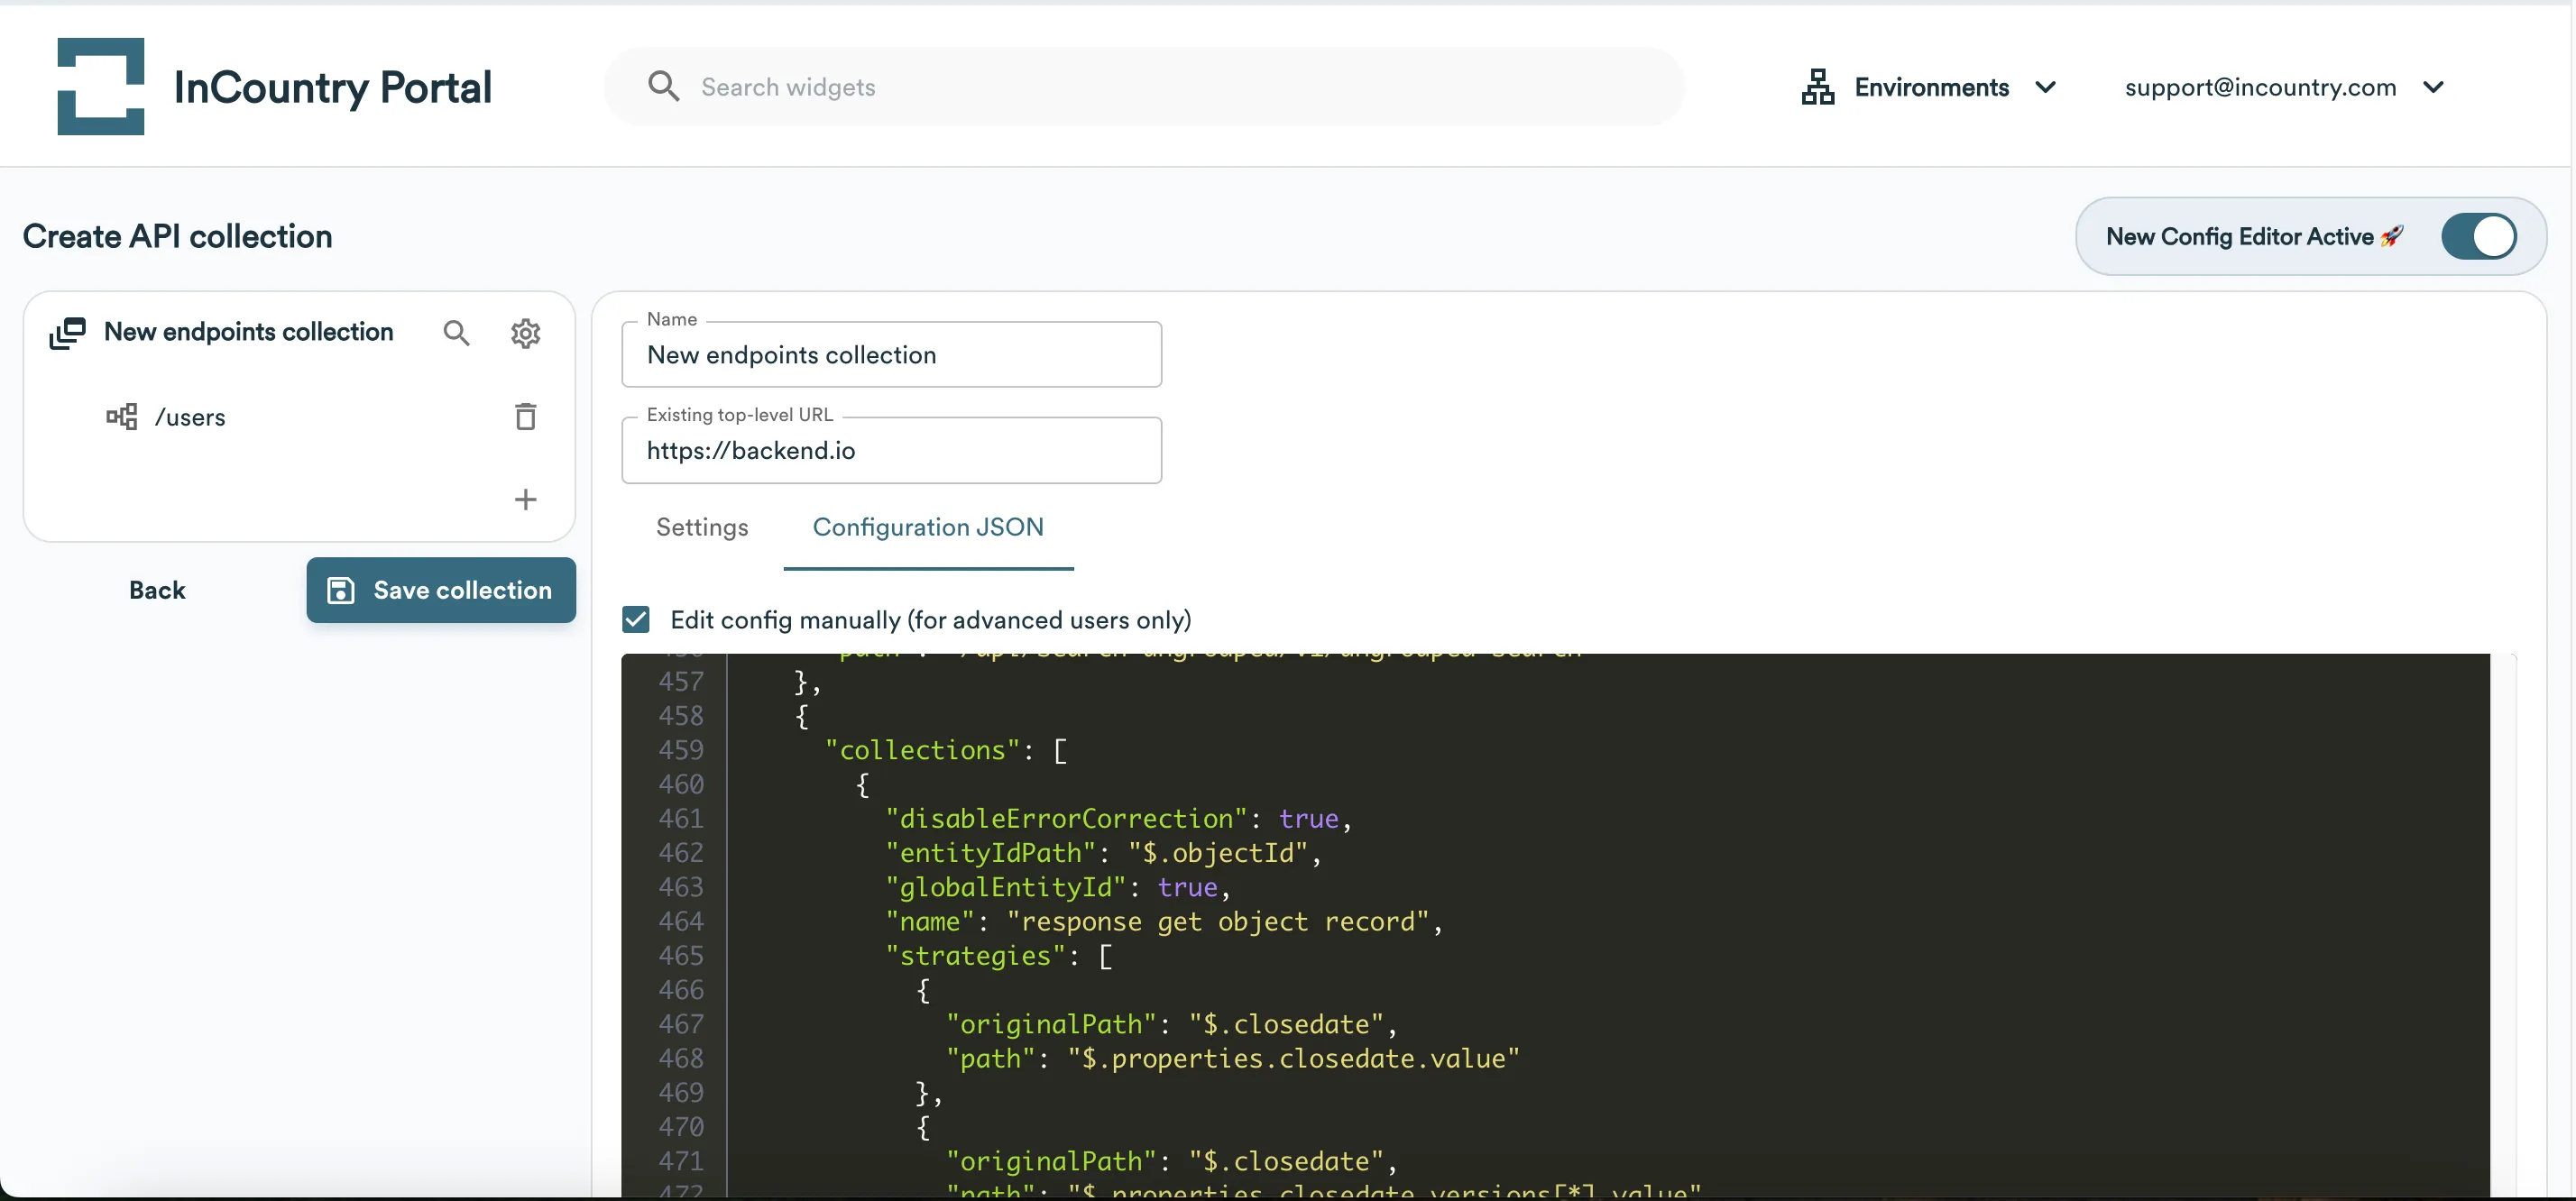
- Within the JSON editor, paste the configuration that you copied in the HubSpot application.
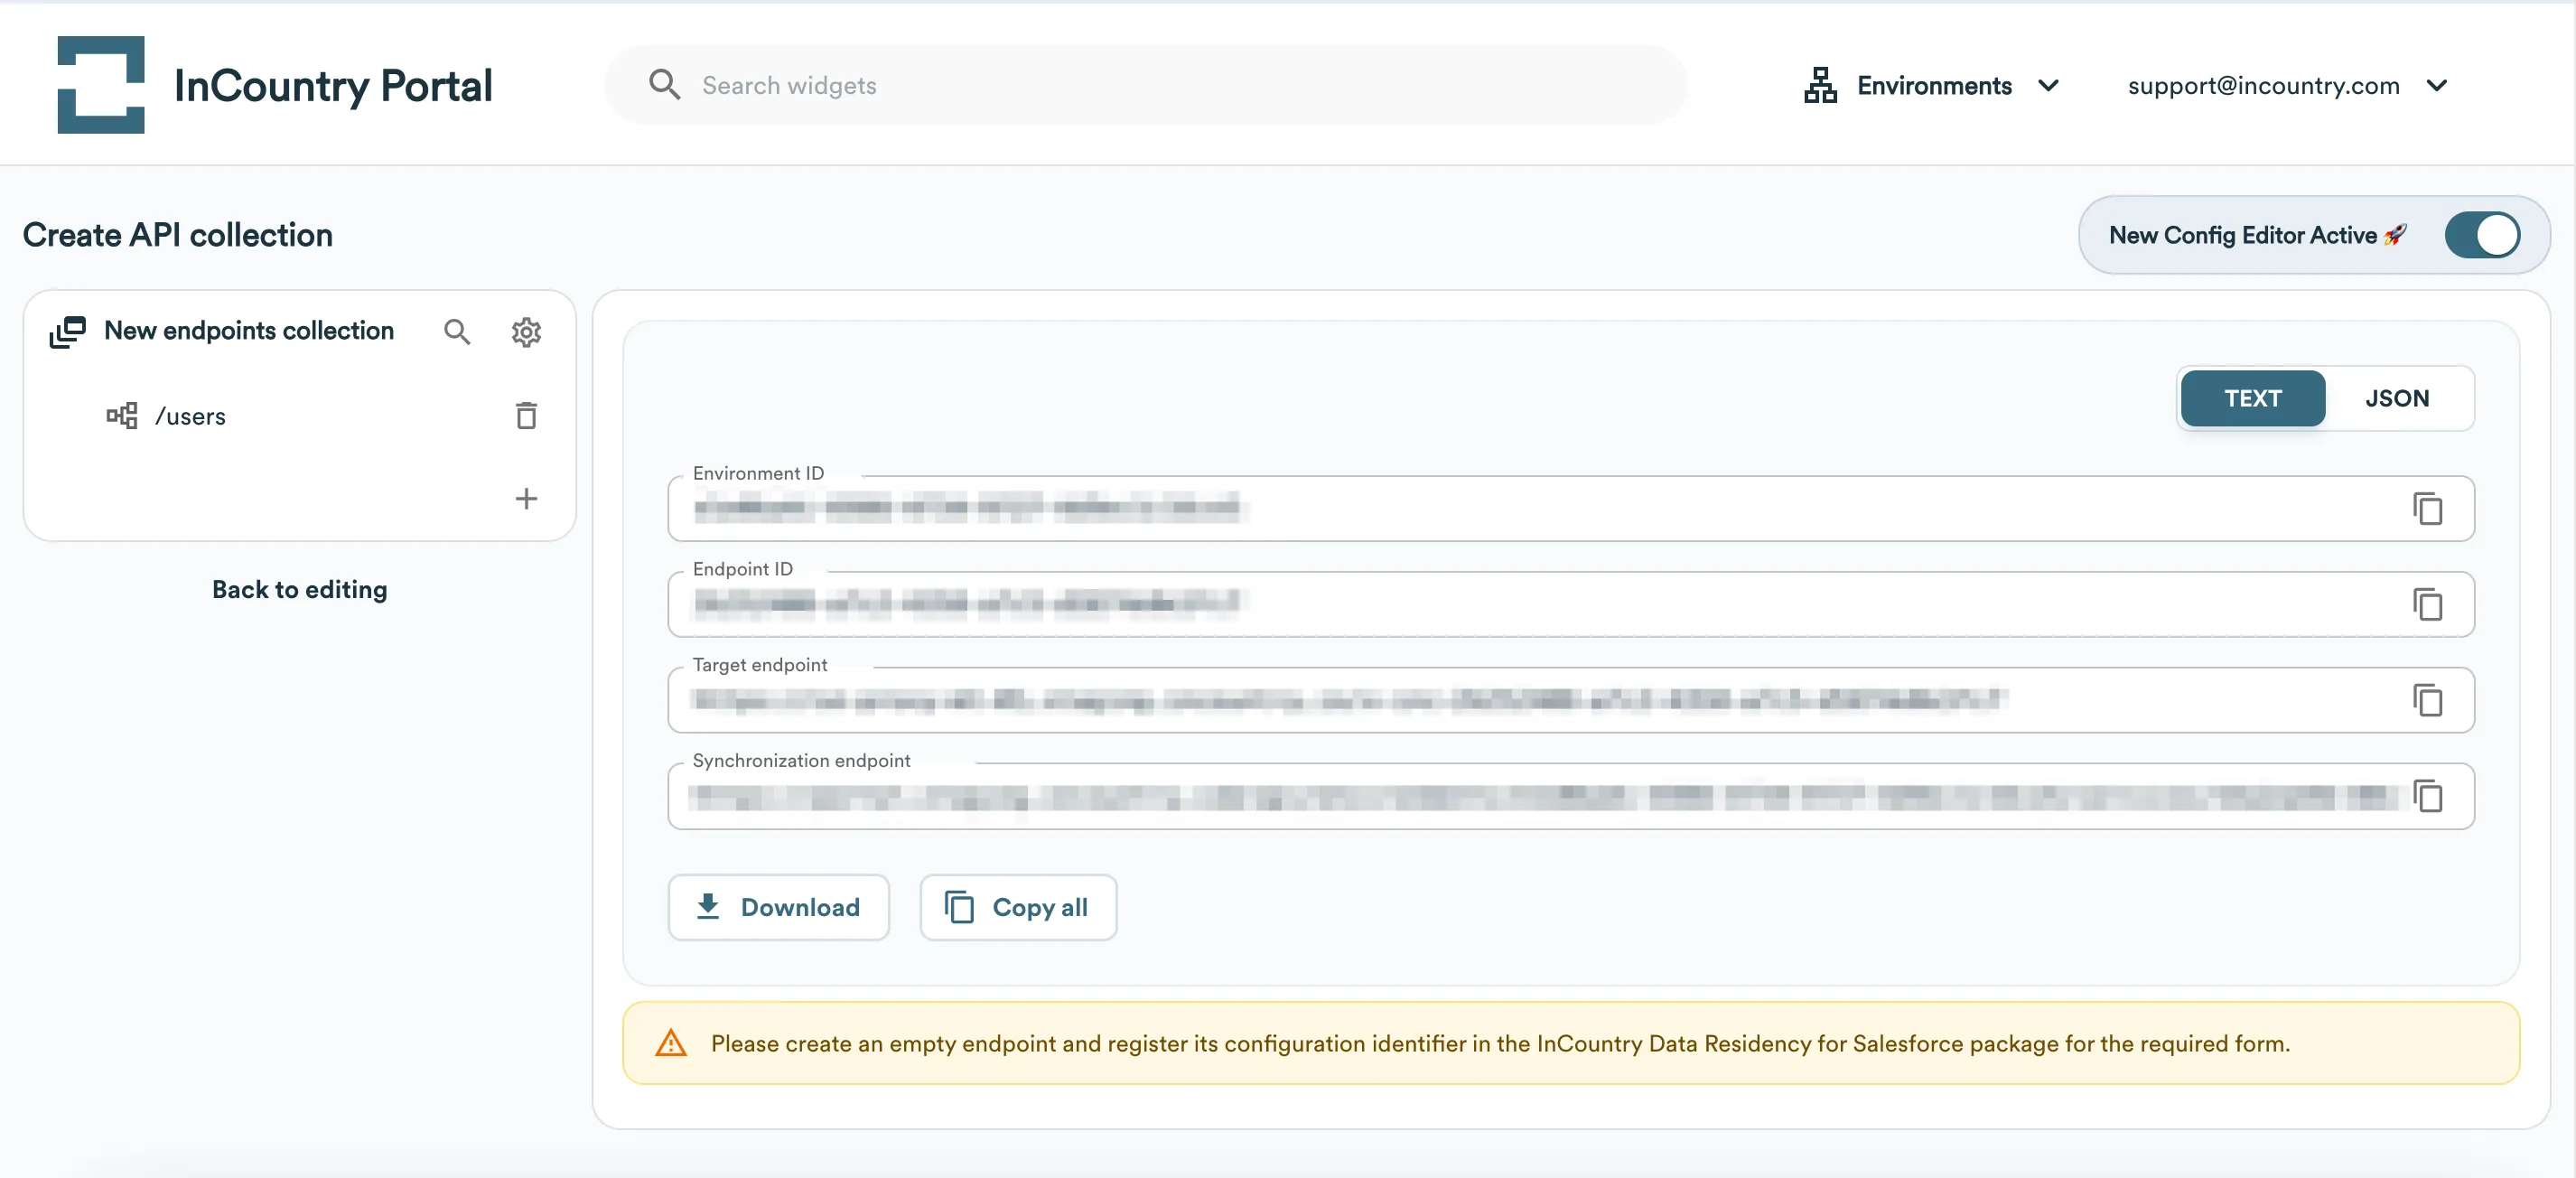
- Once saved, retrieve and securely store your newly generated environment endpoints: Environment ID, Endpoint ID, Target endpoint, and Synchronization endpoint.
- Review the created configuration.
Step 5: Exporting the Extension Configuration
- Go back to the settings page in the HubSpot application.
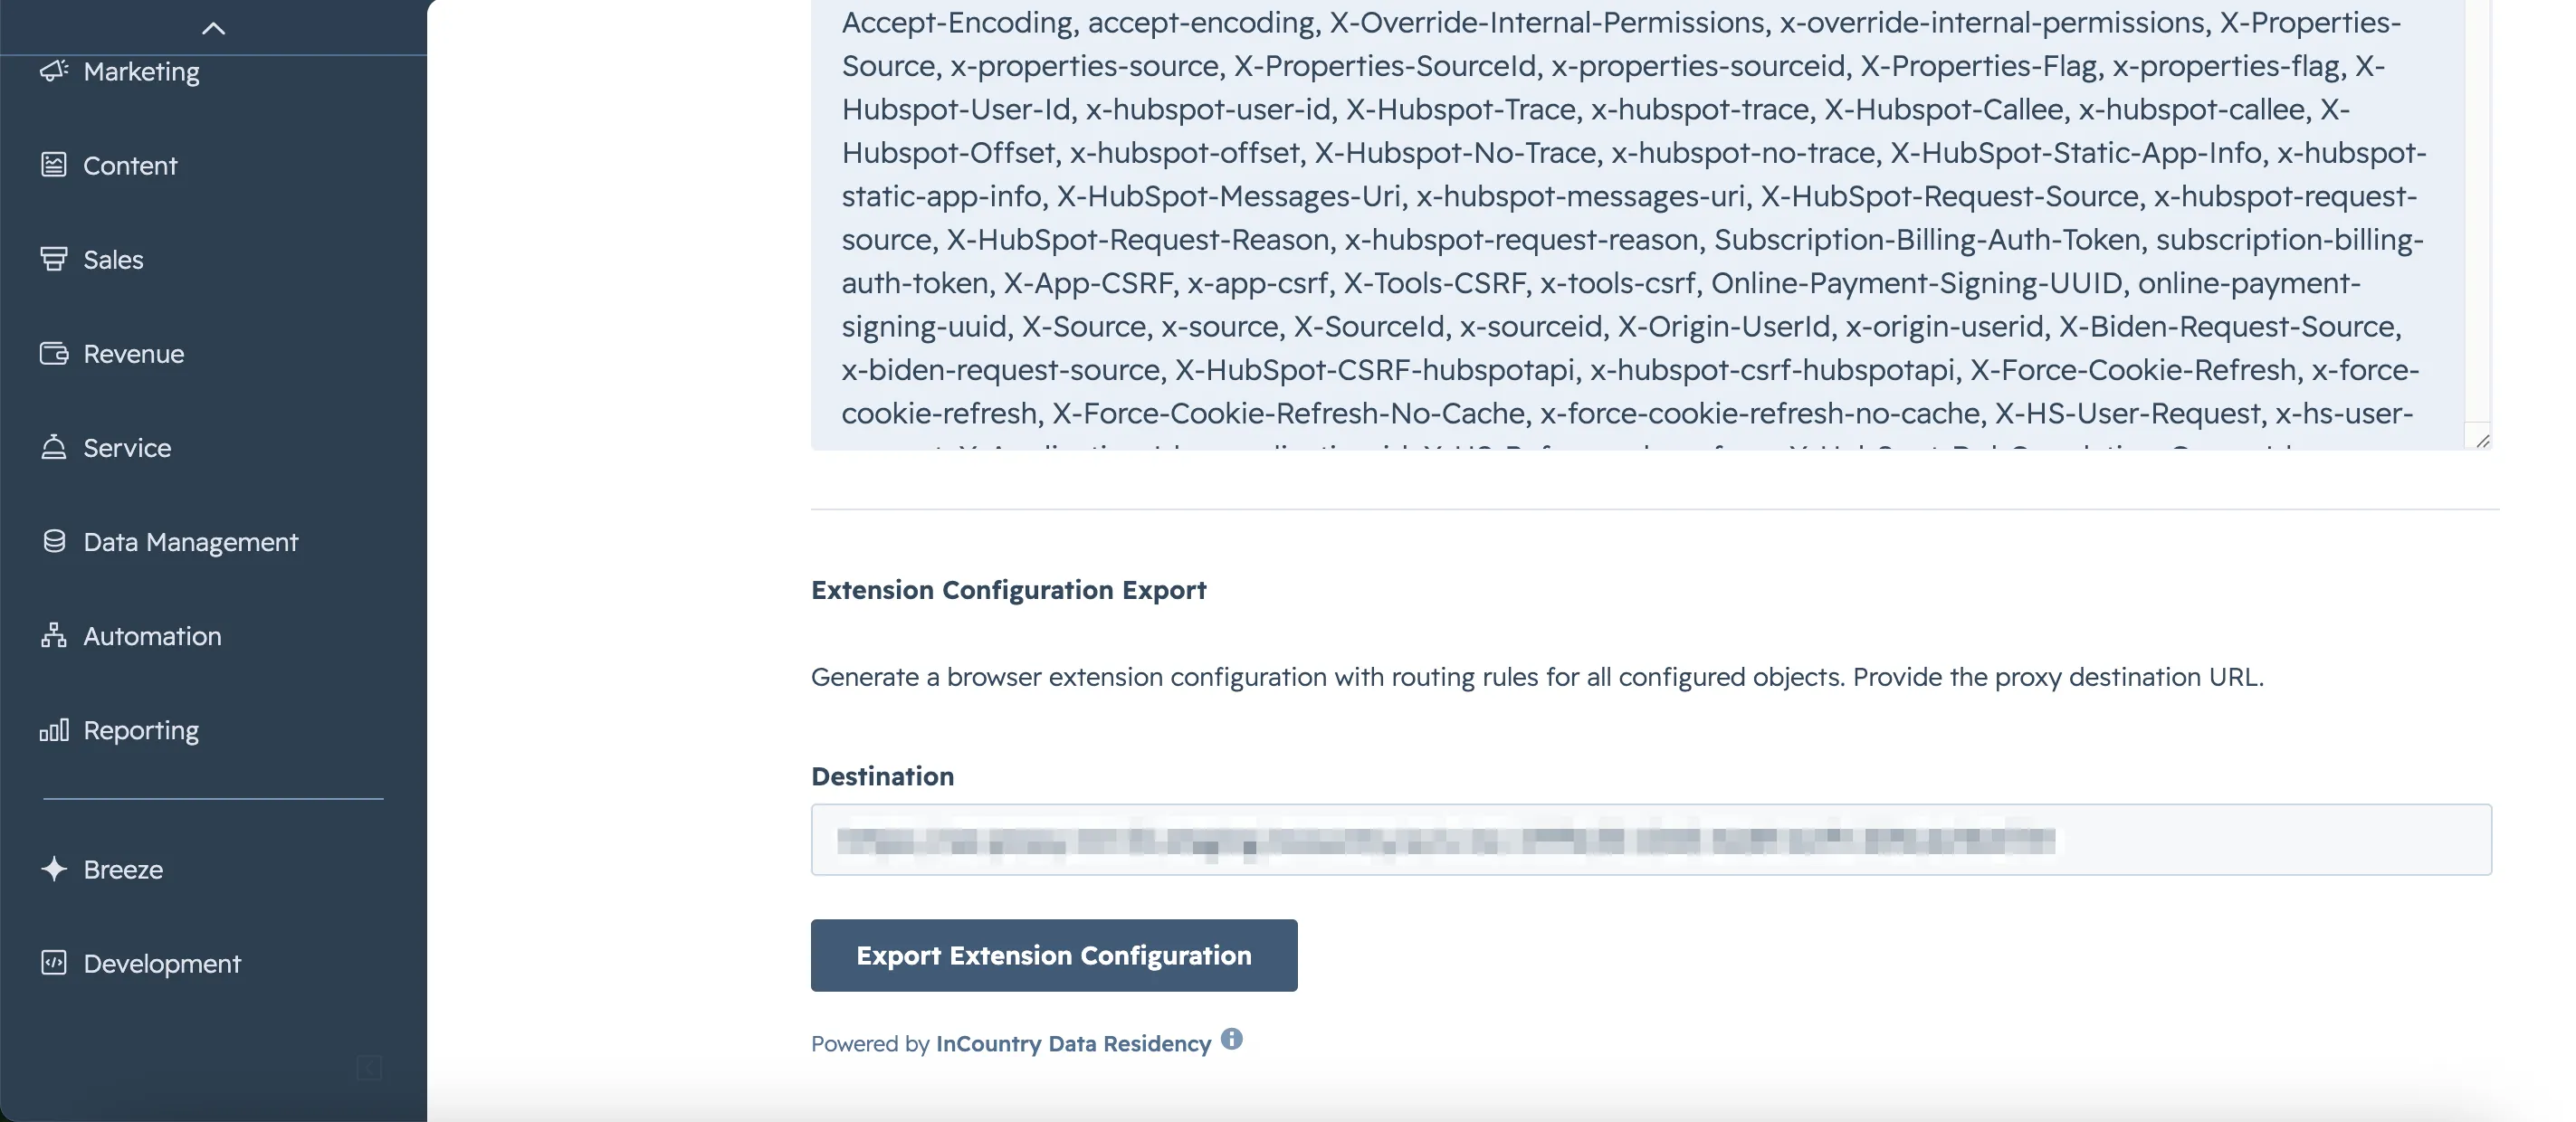
- Navigate to your environment's data management settings and locate the Extension Configuration Export section.
- In the Destination field, paste your specific proxy destination URL (e.g.,
https://se-proxy-mt-01.incountry.io/x-inc-...). - Click the Export Extension Configuration button.
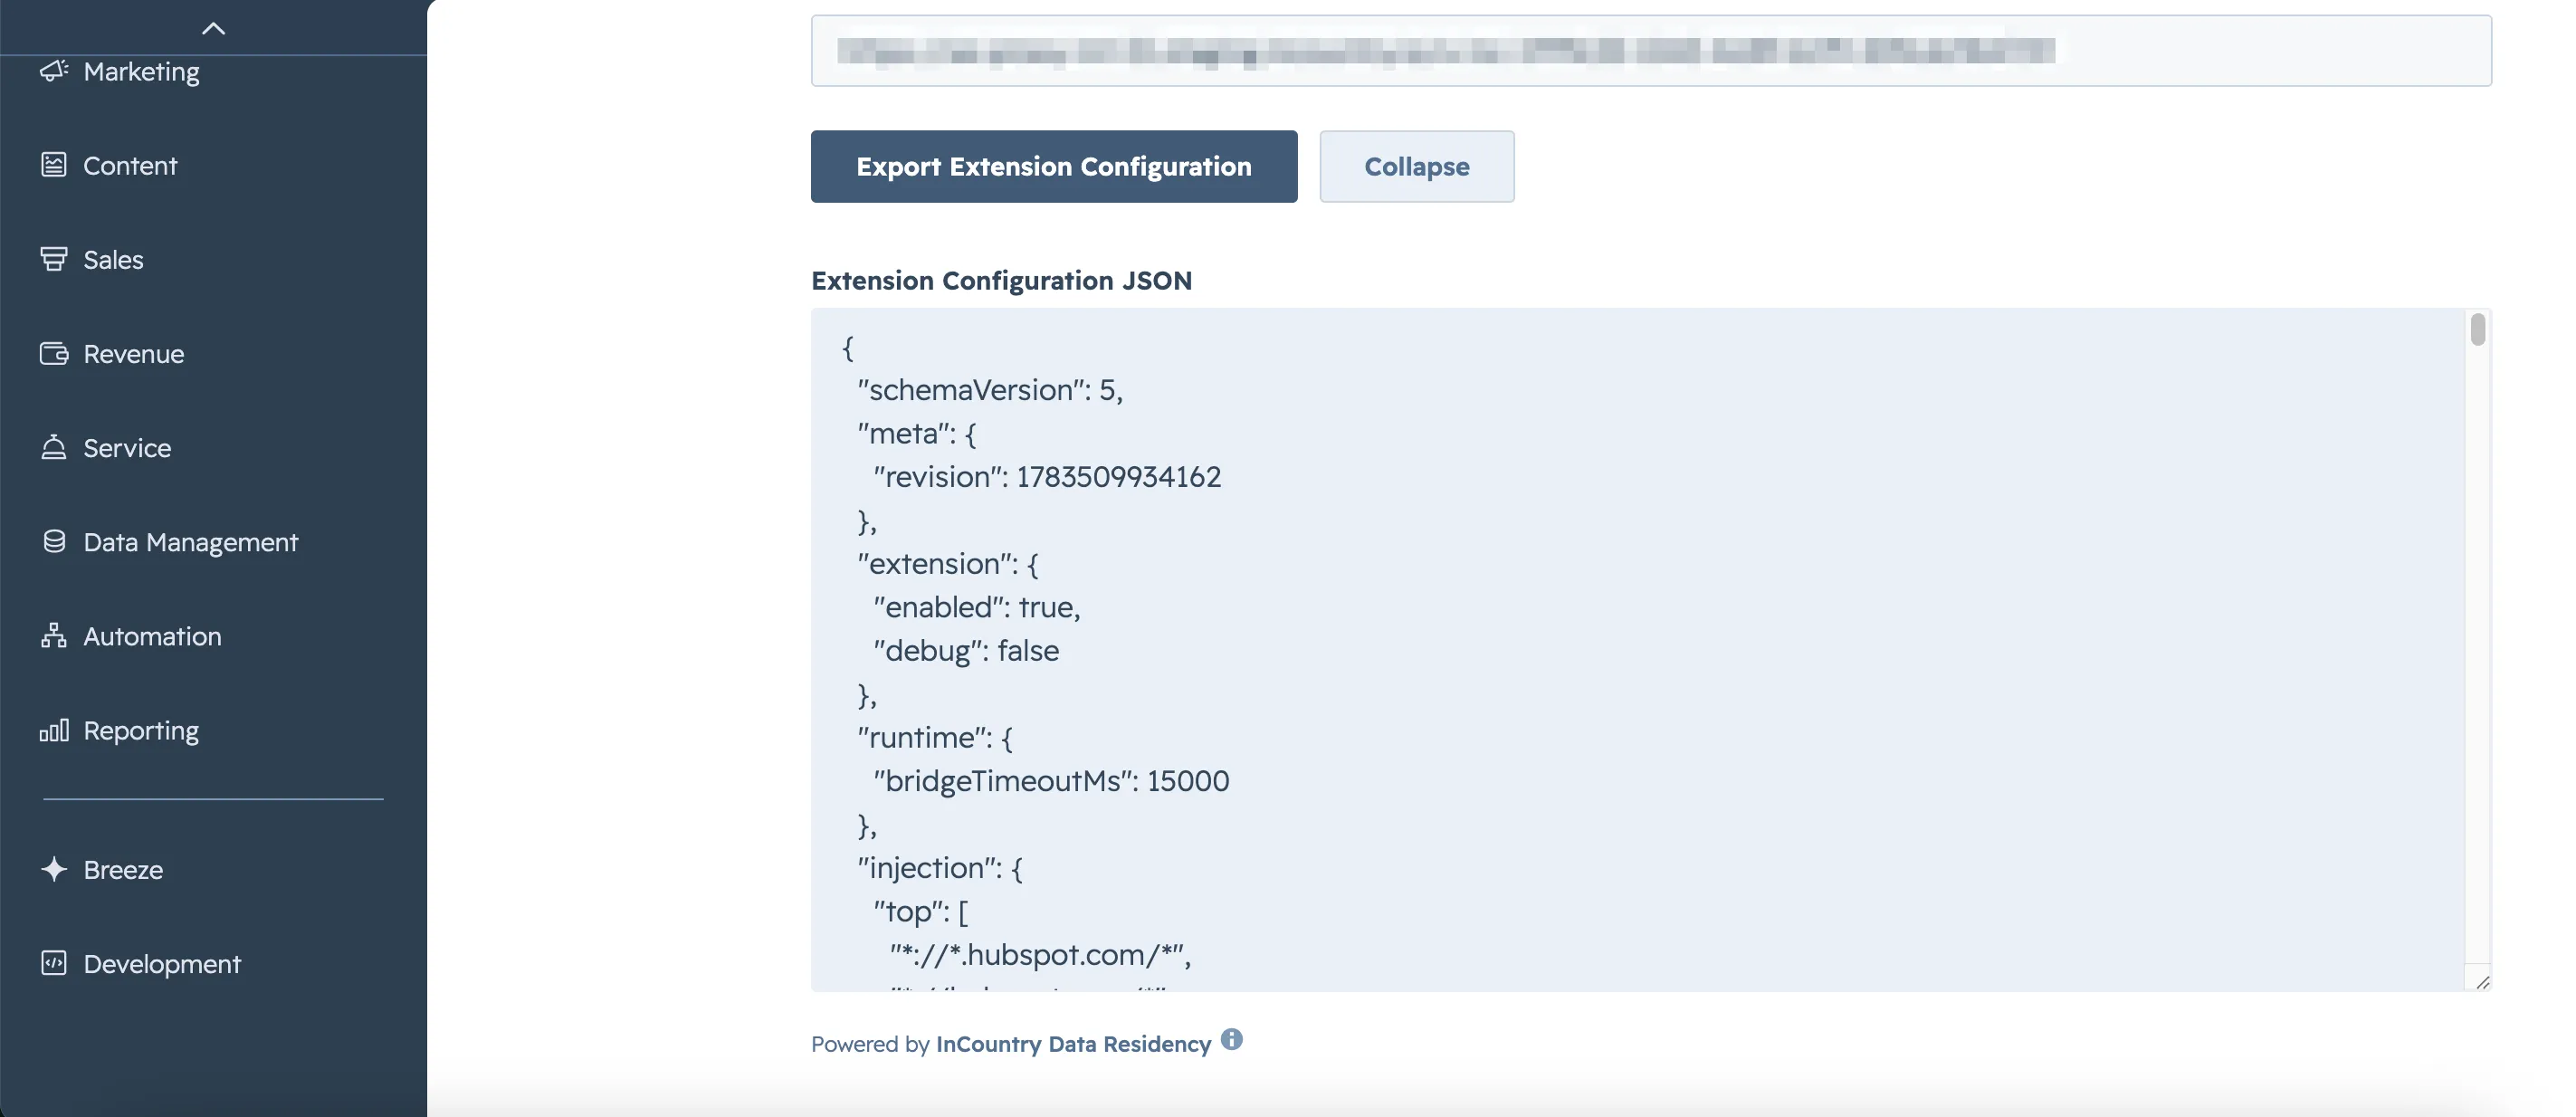
- Copy the resulting output from the Extension Configuration JSON field. You will need this data for the Request Interceptor extension in the next step.
Step 6: Enabling and Configuring the Request Interceptor
-
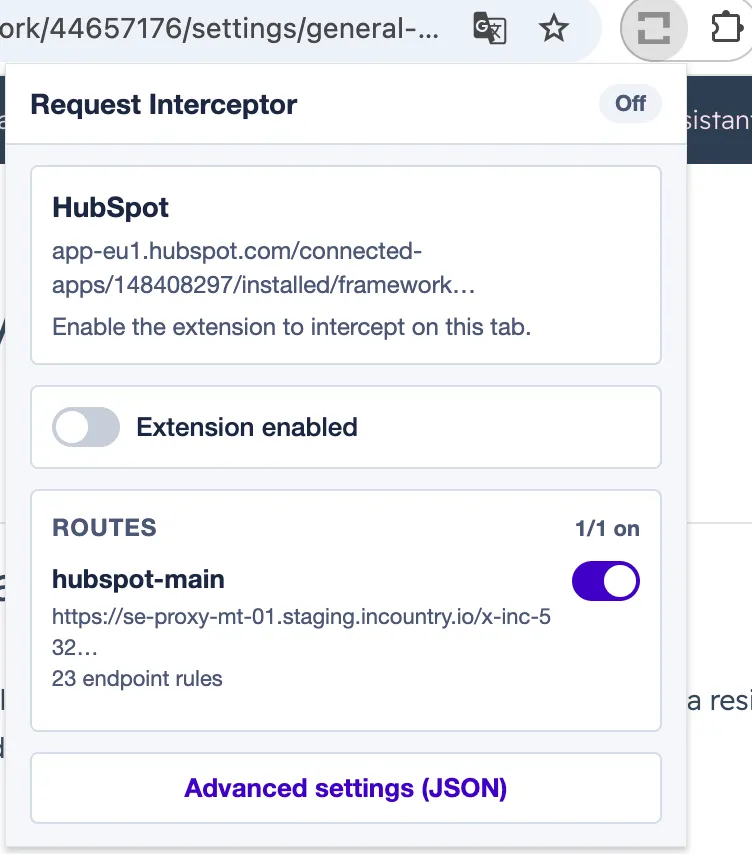
Click the Request Interceptor browser extension icon while on your HubSpot tab.
-
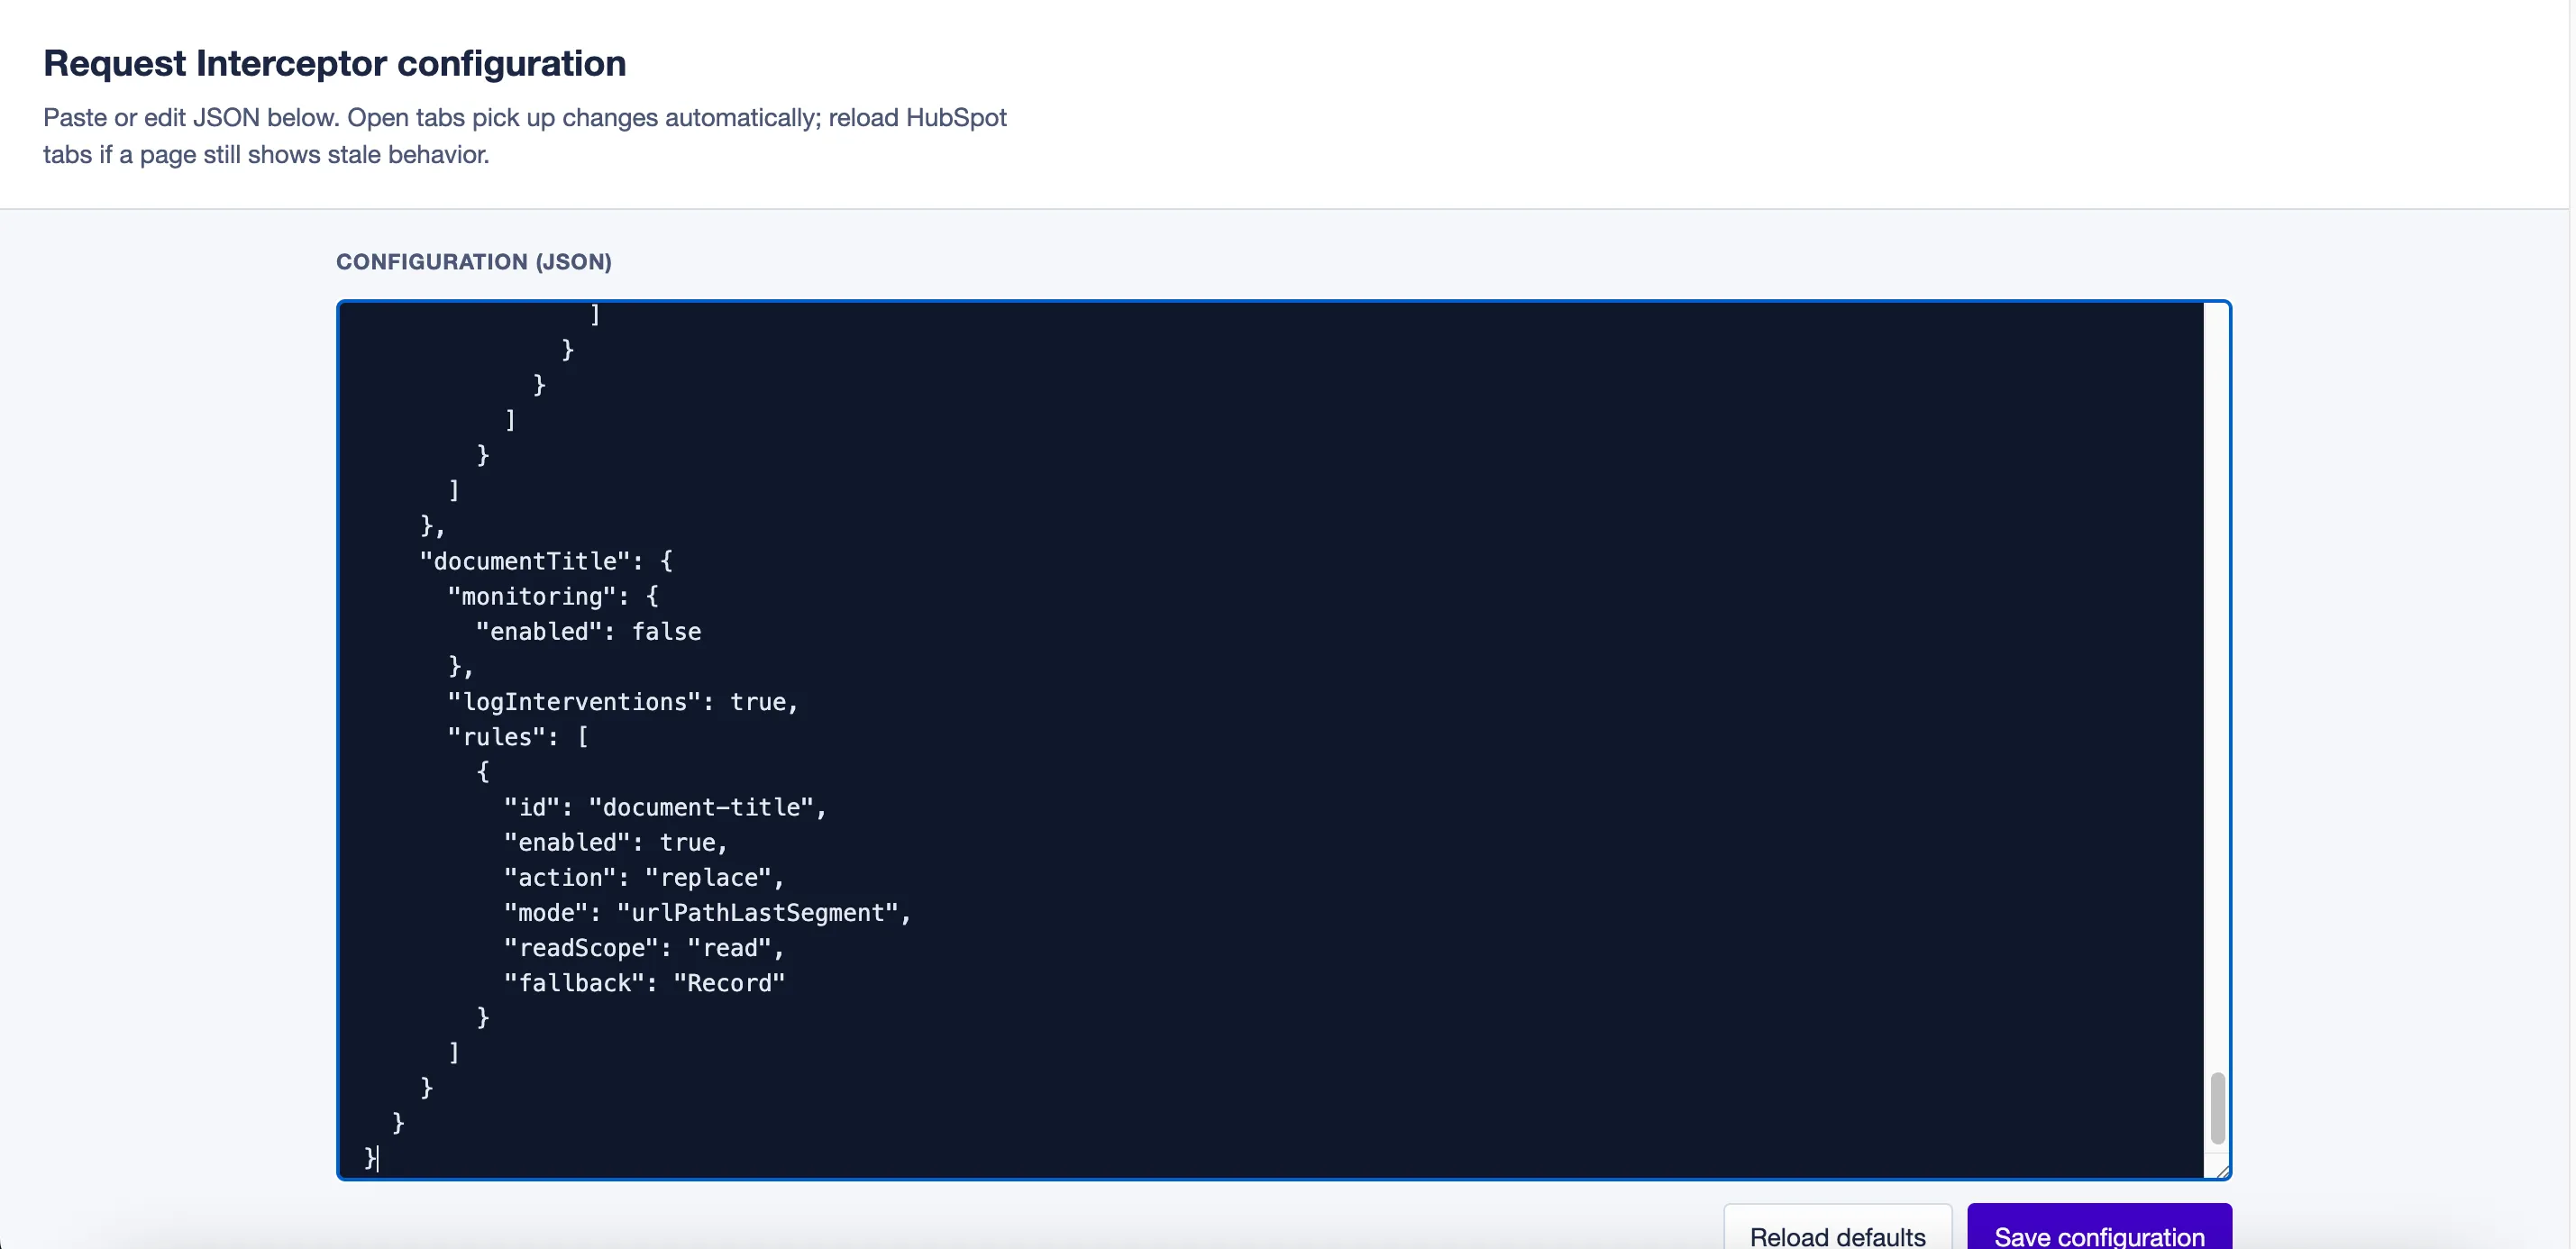
Click Advanced settings (JSON) to open the configuration editor.
-
Paste the JSON block generated in Step 5 into the editor and click Save configuration.
-
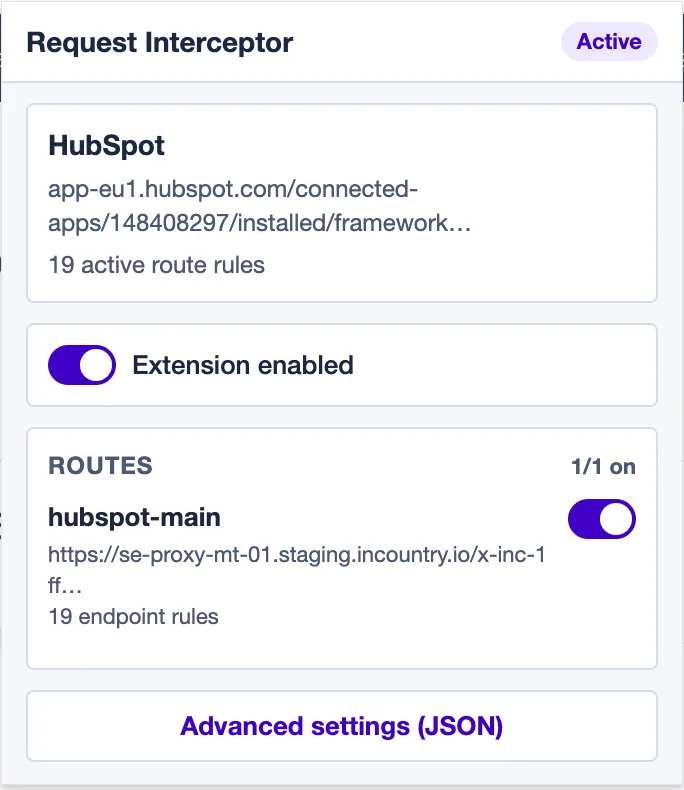
Return to the main extension menu and toggle Extension enabled to the "on" (purple) position.
-
Under the ROUTES section, ensure the specific
hubspot-maintoggle is also switched on.
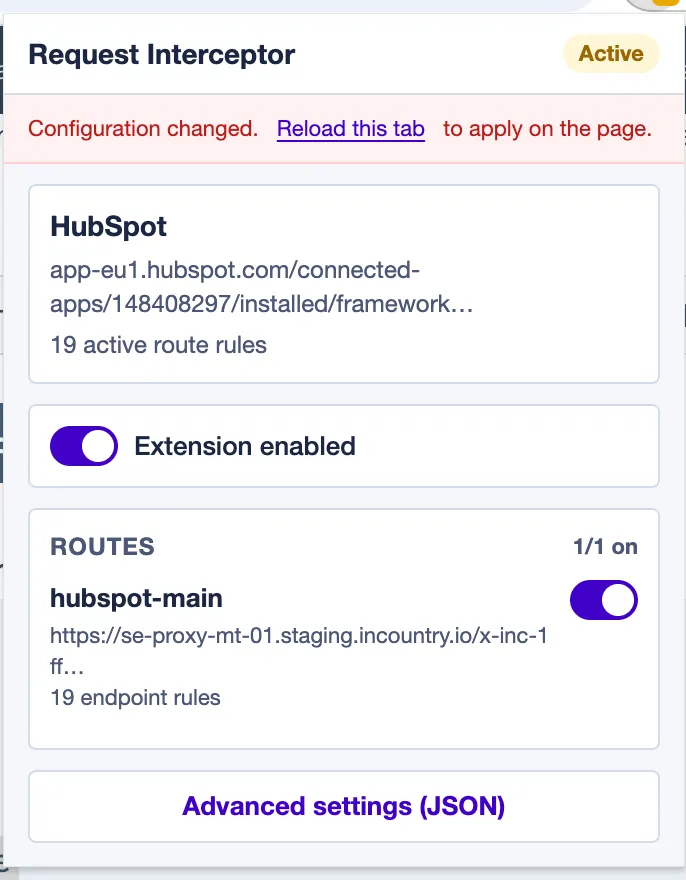
If you see a warning banner that says "Configuration changed," click the Reload this tab link to apply the new proxy behavior to the current page.