Managing Reports
The InCountry Data Residency for Salesforce package allows you to create reports with regulated data and describe in more detail how data selection works for building a report.
Accessing reports
-
Click the App Launcher icon.
-
Select the InCountry application.
-
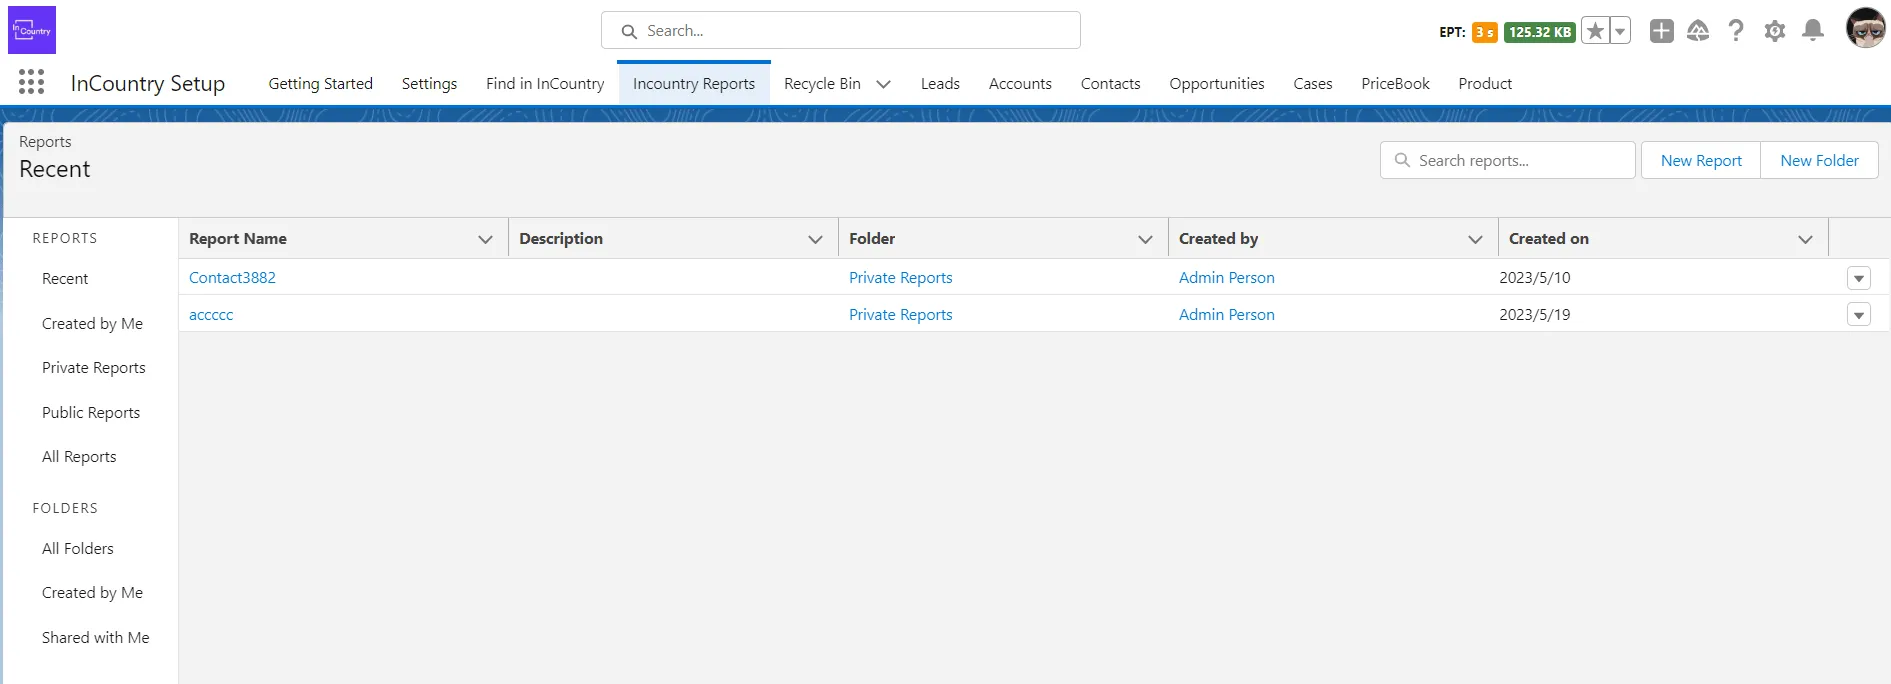
On the menu, select InCountry Reports.
By default, you can see the list with recently viewed reports that have API names in the Report Name column instead of their current labels. To display the label of the report, you need to create a new list view and add the Label column to the list layout.
Accessing reports from another application
-
From Setup, click App Manager.
-
In the Lightning Experience App Manager, locate the application which you will access reports from.
-
In the context menu, click Edit.
-
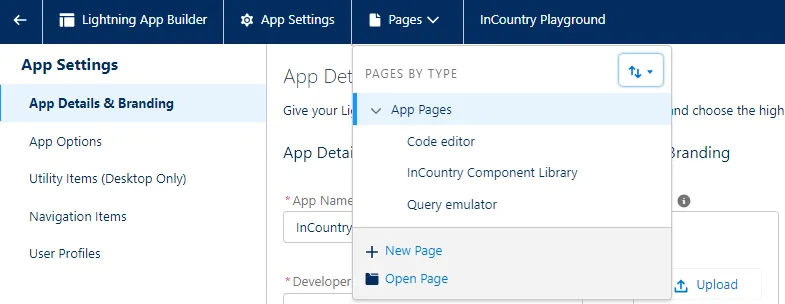
In the Lightning App Builder, open the Pages menu on the top toolbar.
-
Click New Page at the bottom of the Pages menu.

-
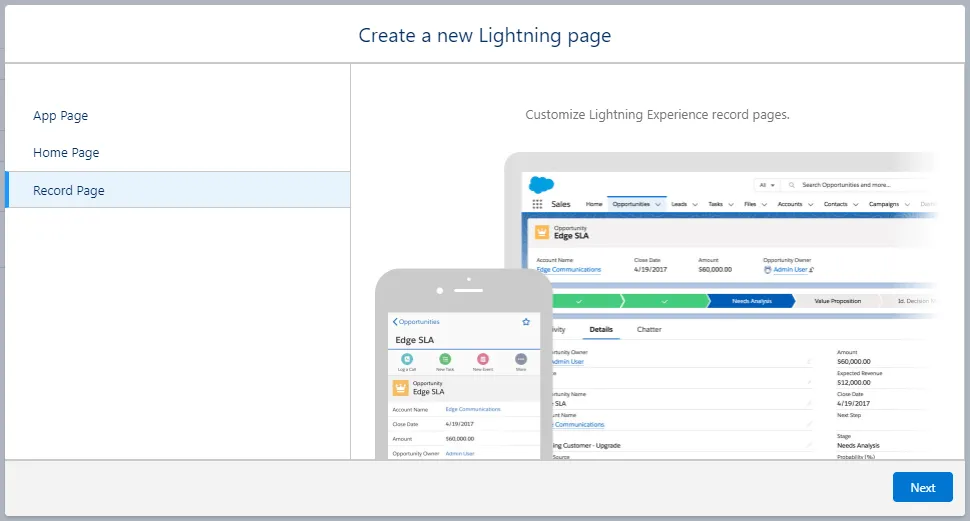
Select a Record Page.
-
Click Next.
-
Enter the page label and select Incountry Report as the object, and then click Next.
-
Select a page template, and then click Done.
-
In Lightning App Builder, drag the Incountry Report Page component to the layout.
-
Click Save.
-
Click Activate.
Creating reports
-
On the InCountry Reports tab, click New Report.
-
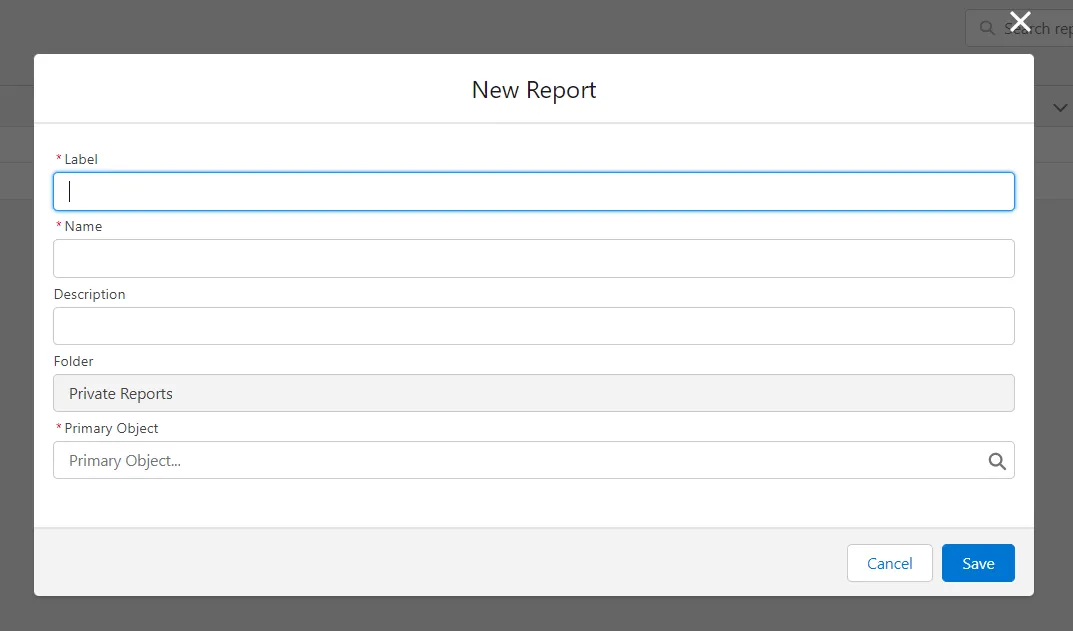
In the New Report form, specify the following information:
-
Label - enter the title of the report.
-
Name - the name will generated based on the label.
-
Description - enter the description of the report.
-
Primary object - select the regulated Salesforce object (an object with at least one configured data regulation policy) which you want to build a report for.
-
-
Click Save.
Creating folders
You can create folders and move reports to these folders.
-
On the InCountry Reports tab, click Create Folder.
-
In the Create folder form, specify the following information:
-
Folder Label - enter the title of the folder.
-
Folder Unique Name - enter the API name of the folder.
-
-
Click Save.
Sharing folders
You can share folders with reports with other Salesforce users. By default, all the newly created reports are private.
-
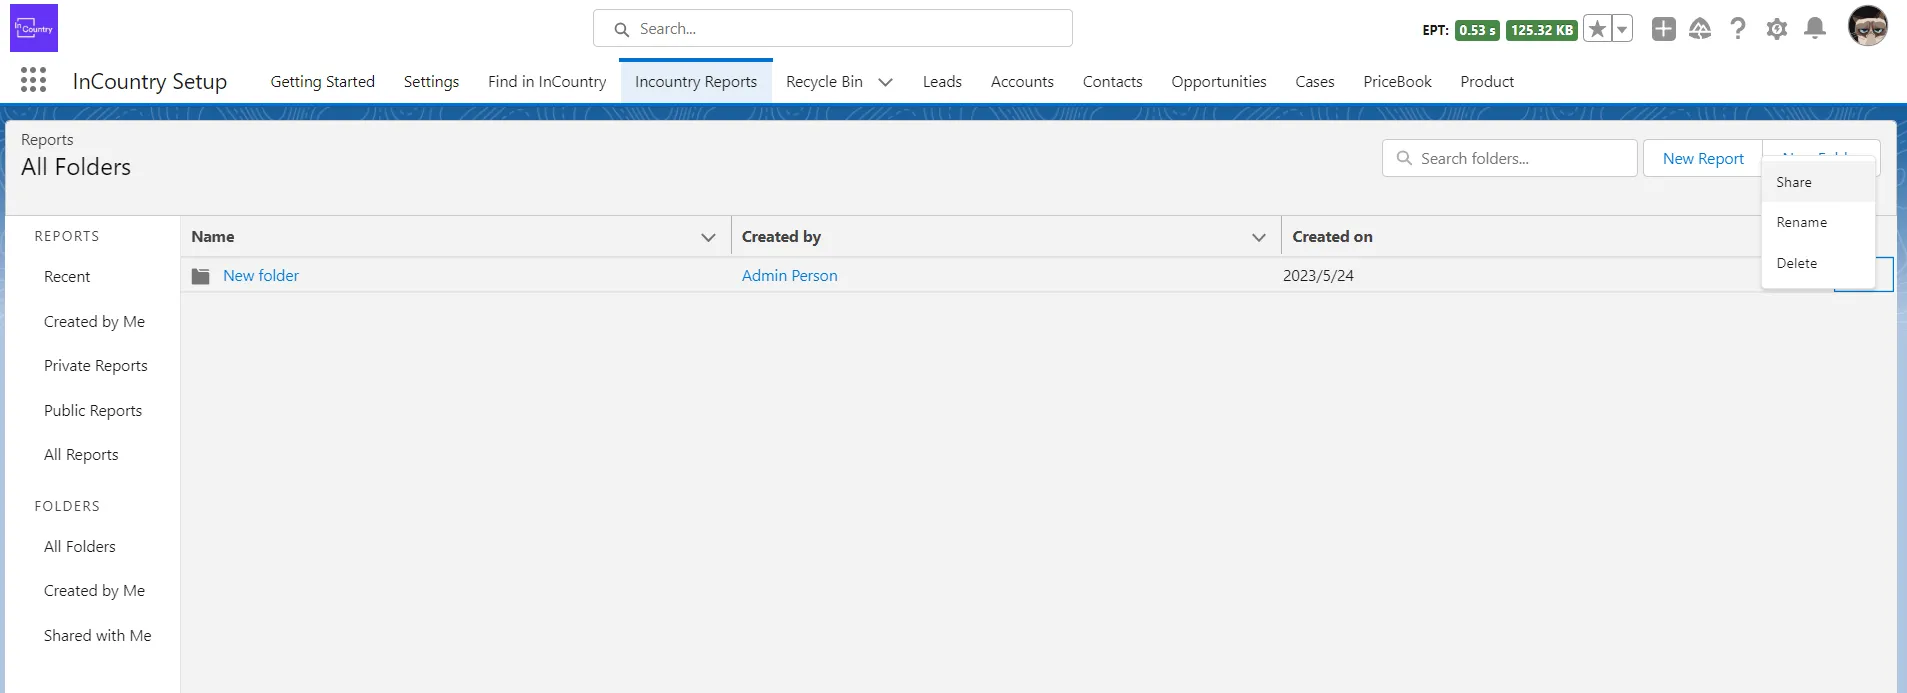
On the InCountry Reports tab, click All Folders.
-
On the list with folders locate the folder you want to share.
-
Open the folder.
-
In the top right part of the page, click the down arrow icon and select Share.
-
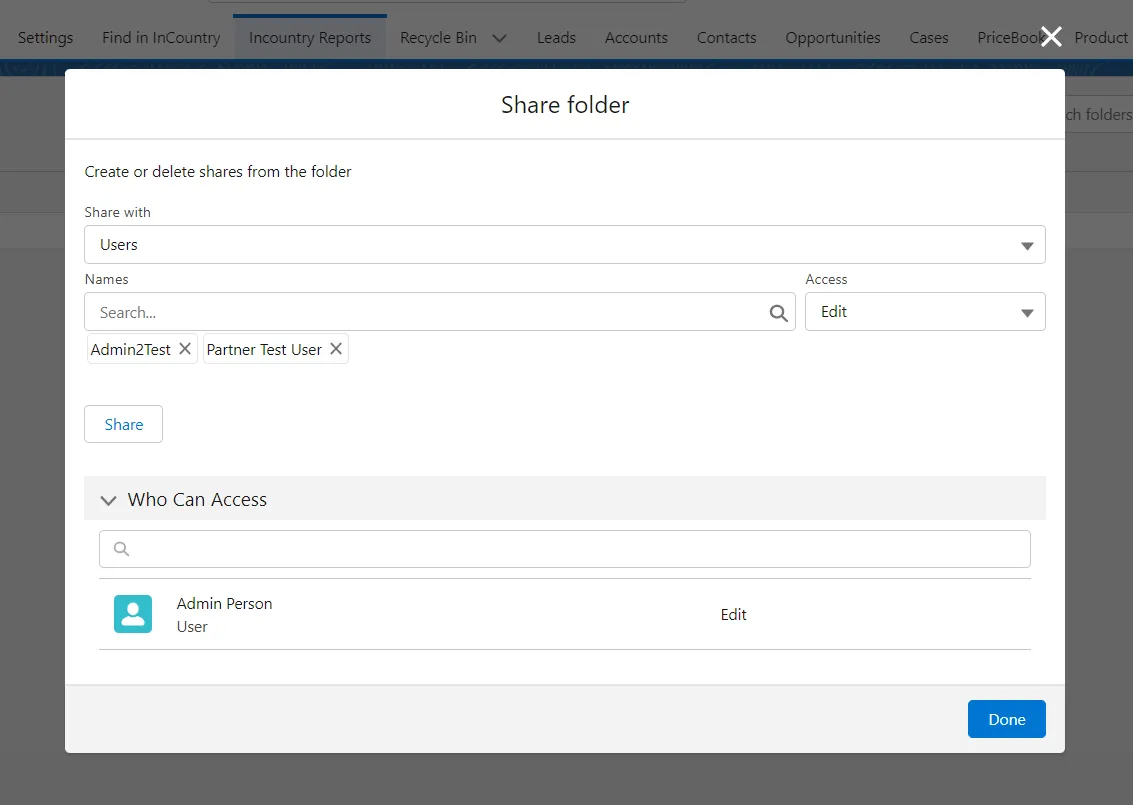
In the Share folder form, specify the following:
-
Share with - select
User,User group, orRole. -
Names - start entering the name of the user, user group or role (depending on the selected option) and select the appropriate value from prompted variants.
-
Access - select the appropriate access level that you want to grant.
-
-
In the Share folder form, select the sharing group, the user you want to share the report with and the report access level.
-
Click Share. The sharing setting is applied to the list.
-
When complete, click Done.
You can continue to add entries as needed. You can share with users, public groups, roles, territories, or a combination. If a user is identified in more than one entity, the greatest permission is granted. For example, a group is added with Read only, but a user in the group is also added with the Read/Write permission. In this case, the Read/Write permissions apply to that user.
You can search for the user who can access to the folder and view the report access level of this user in the Who Can Access section.
Editing reports
You can edit reports the way similar to standard Salesforce reports.
-
On the InCountry Reports tab, open the report you want to modify.
-
At the top right part of the page, click Edit.
-
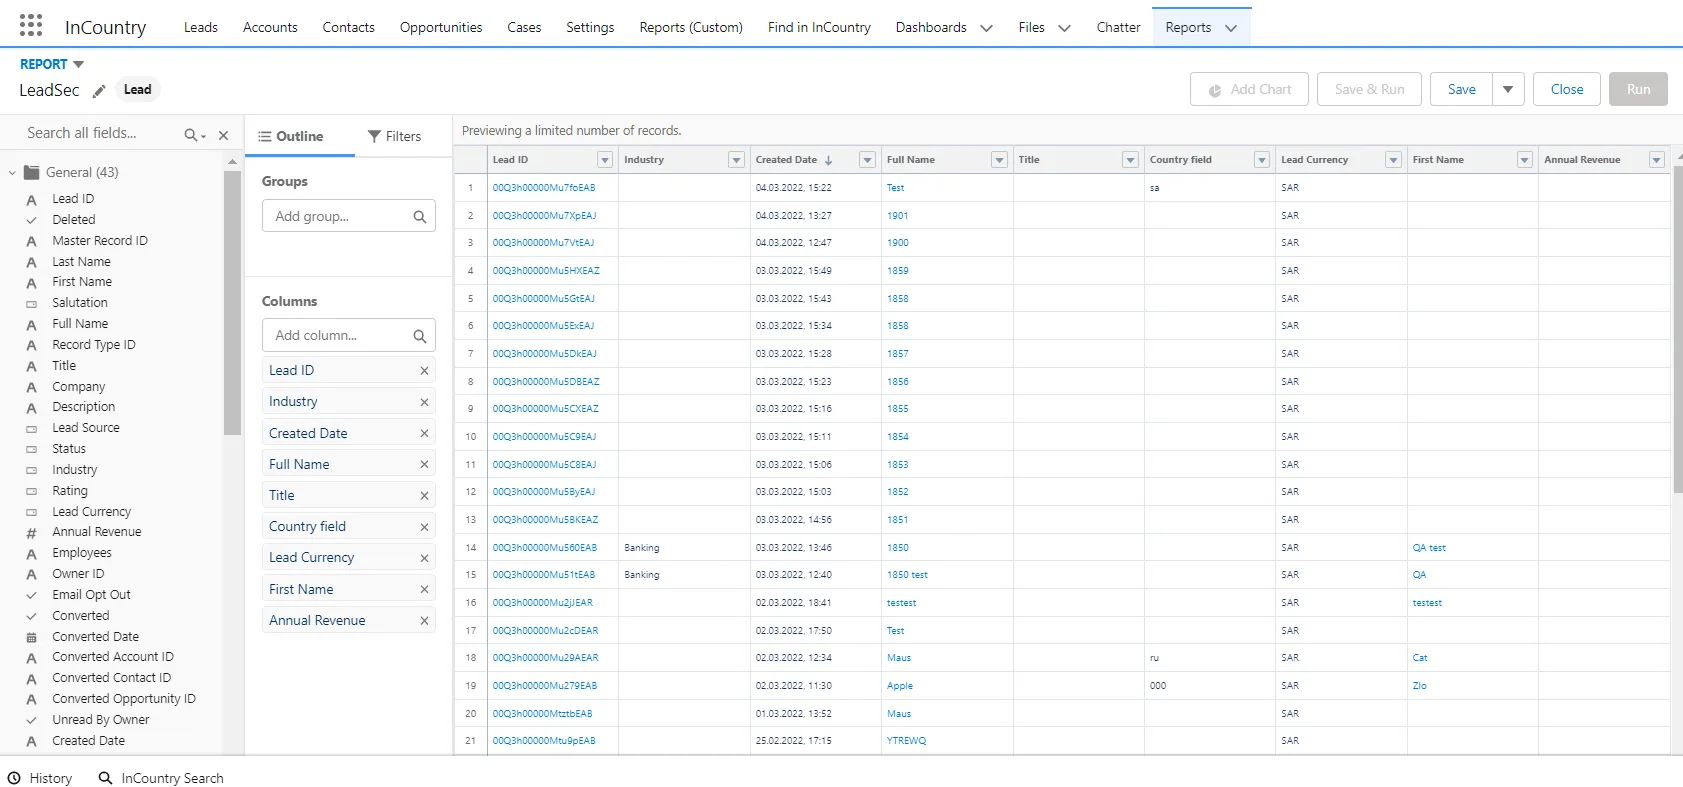
You will see a report builder.
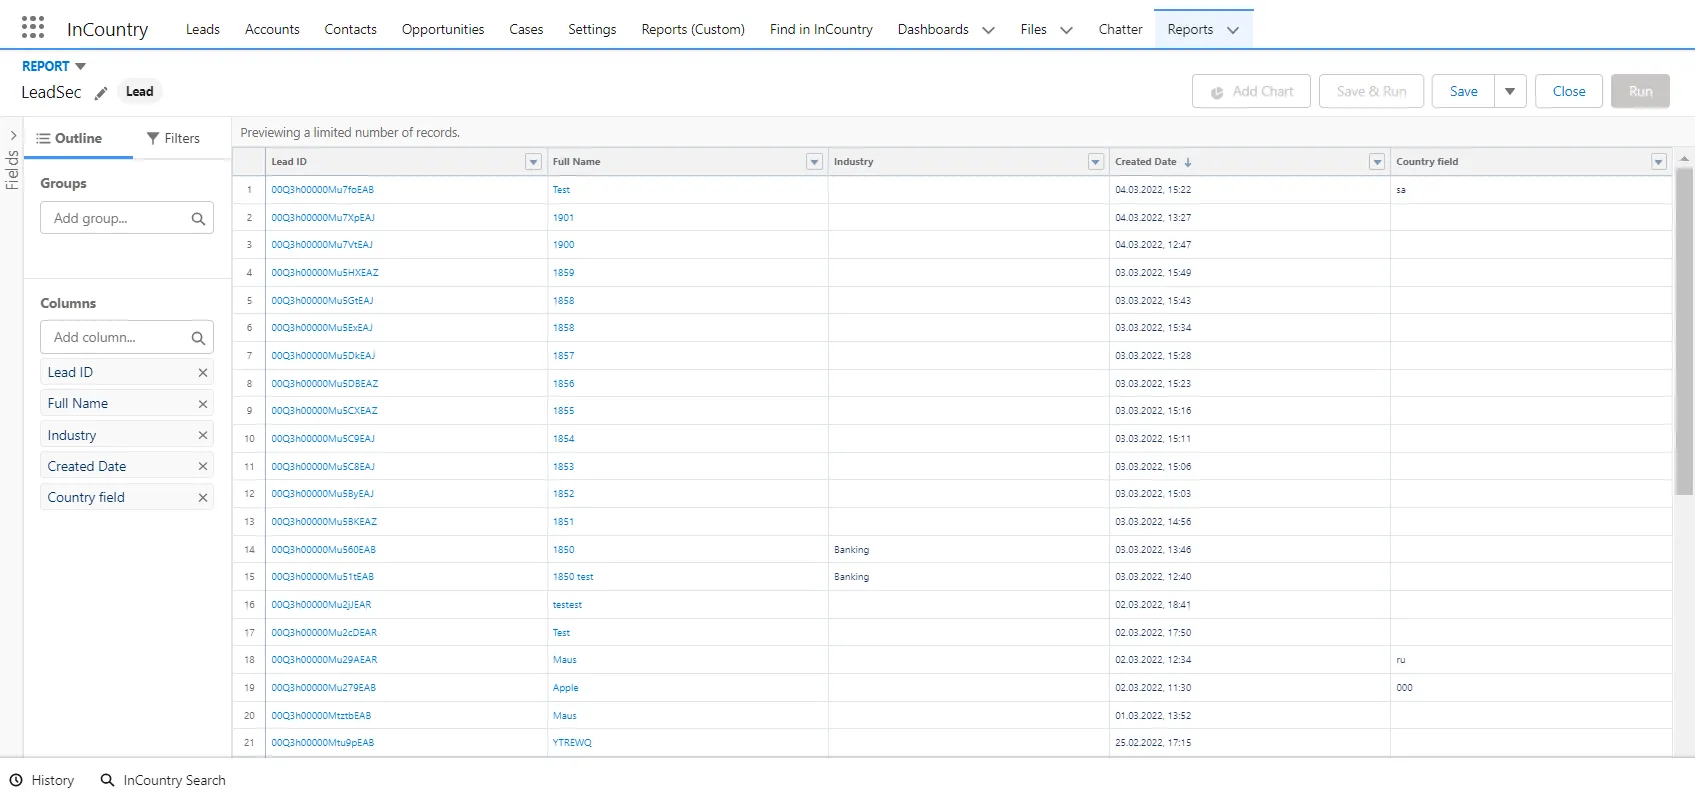
Report builder is a visual editor for reports. The report builder screen lets you work with report fields and filters, and shows you a preview of your report with just some of the data.
Managing columns in the report
You can manage columns in reports, as follows:
-
add new columns
-
reorder columns
-
remove the no longer needed columns
Adding columns
You can add new columns to the report layout in two ways.
Adding columns from the Outline tab
On the Outline tab, enter the field name in the Columns field and select it in the drop-down list.

Adding columns from the All fields pane
-
On the All fields pane, double-click the field name you want to add to the report.
-
Alternatively, you can drag the field from the All fields pane to the Outline tab.
To view data from the newly added columns, you need to save the report.
Removing columns
-
Click the down arrow icon on the column you want to remove.
-
Click Remove Column.

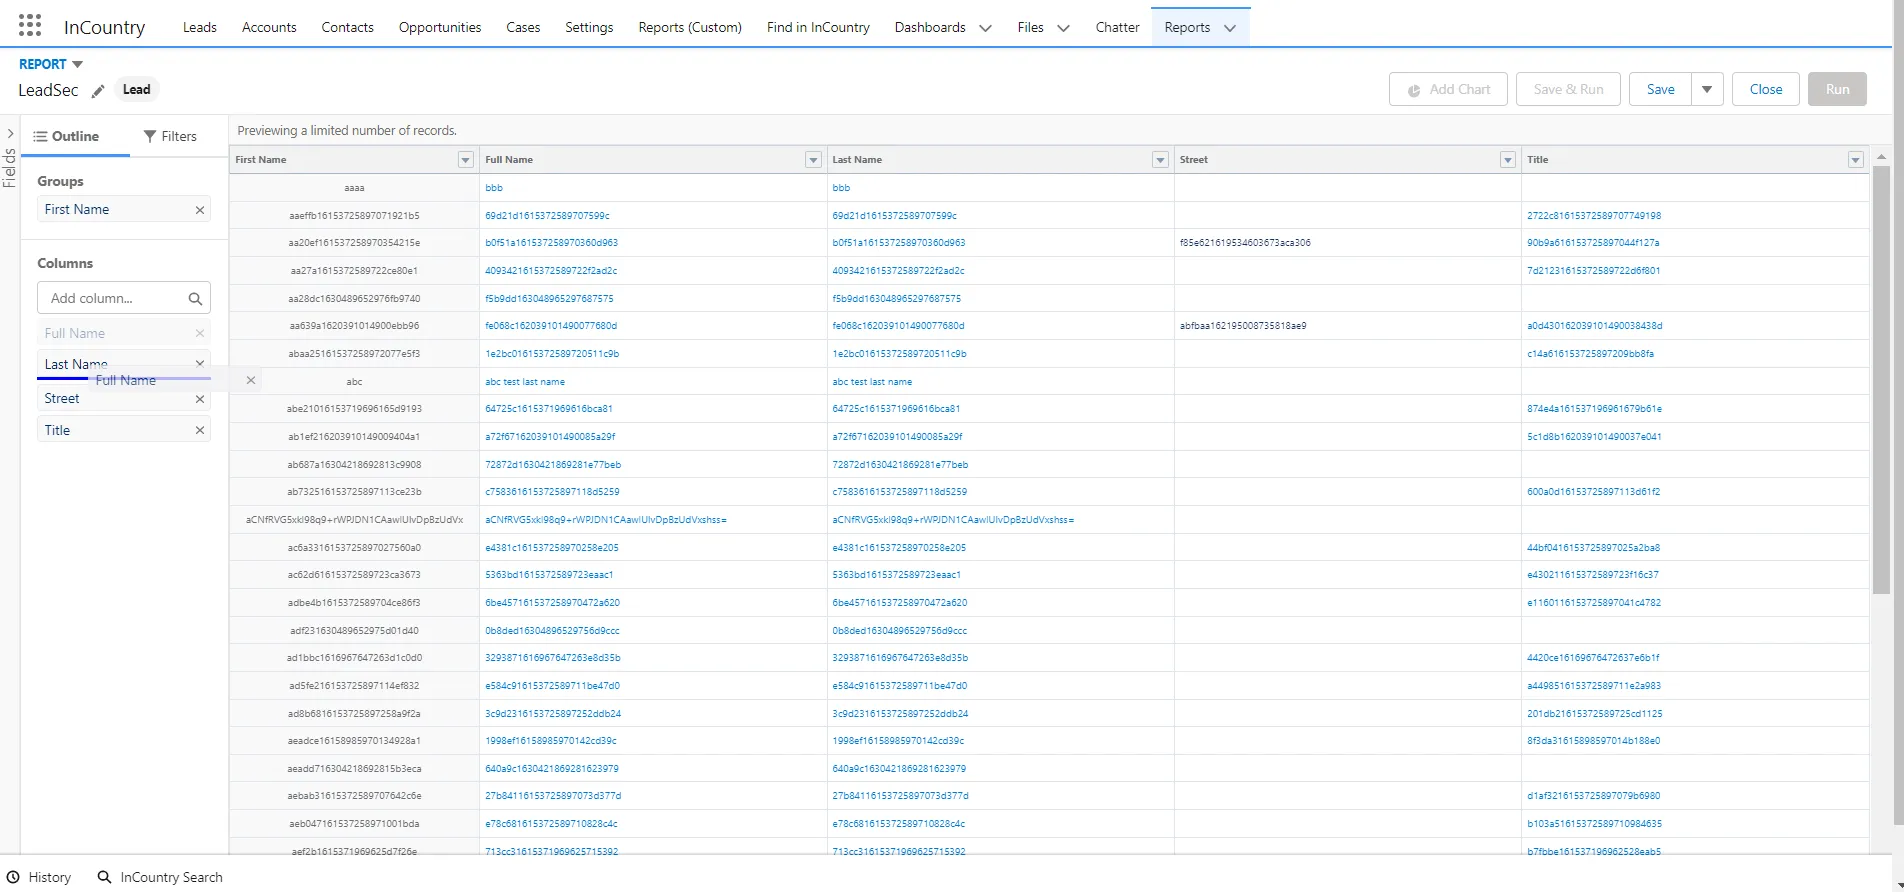
Rearranging columns on the report layout
-
On the Outline tab, hover over the column header.
-
Drag the column to the desired position on the report layout. While dragging the column, use the indicator to identify the current position where the column will be placed.
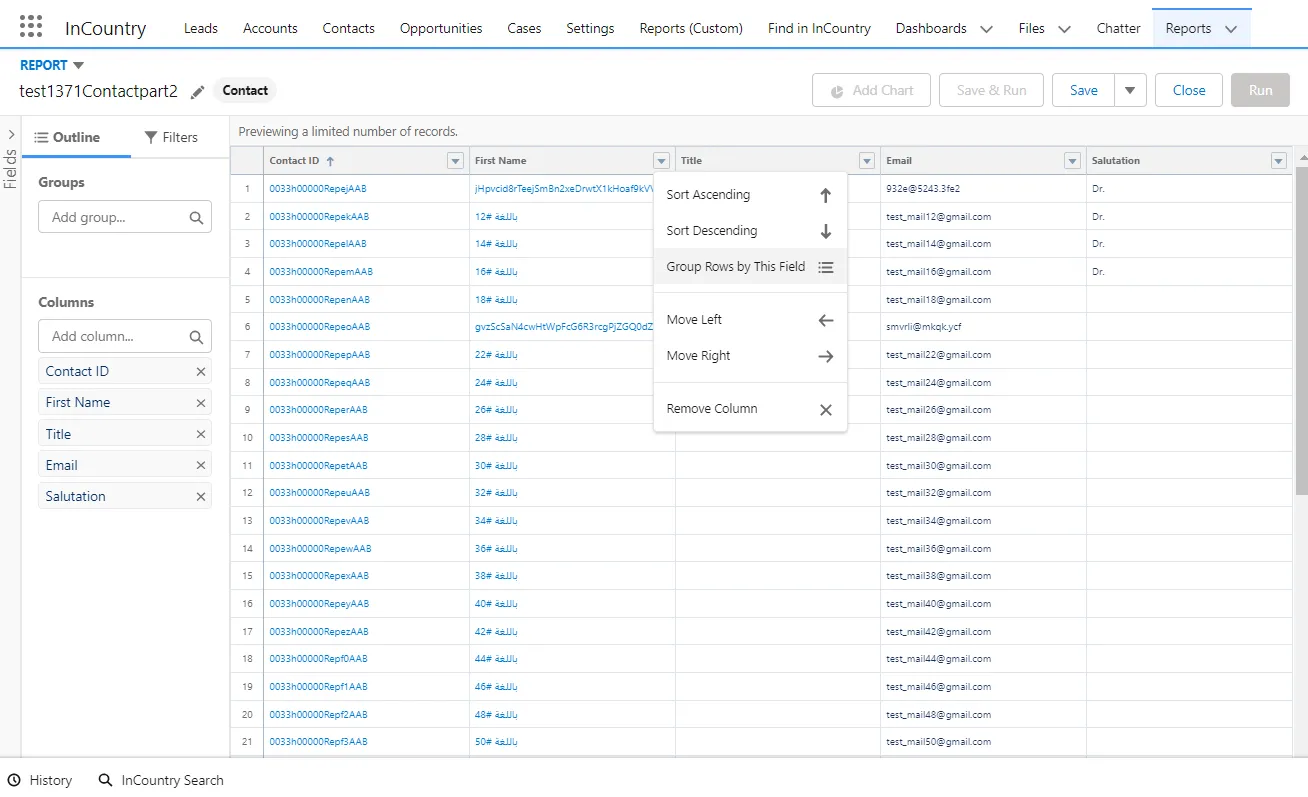
Managing data grouping
You can group data in your reports when you need to aggregate values against a specific criterion.
To group report rows by a particular field:
-
On the report layout, locate the column which you want to group data by.
-
Click the down arrow icon, to open the context menu.
-
In the context menu, select Group Rows by This Field.
Managing filters
You can limit data outputted in the report by adding filters.
To add or modify a filter:
-
Select the Filters tab.
-
In the Filters box, start entering a field name and select the field from the prompted list of matches.
-
Click the added field.
-
Select the operator and specify the value for filtration.
-
Click Apply.
-
Save the report.
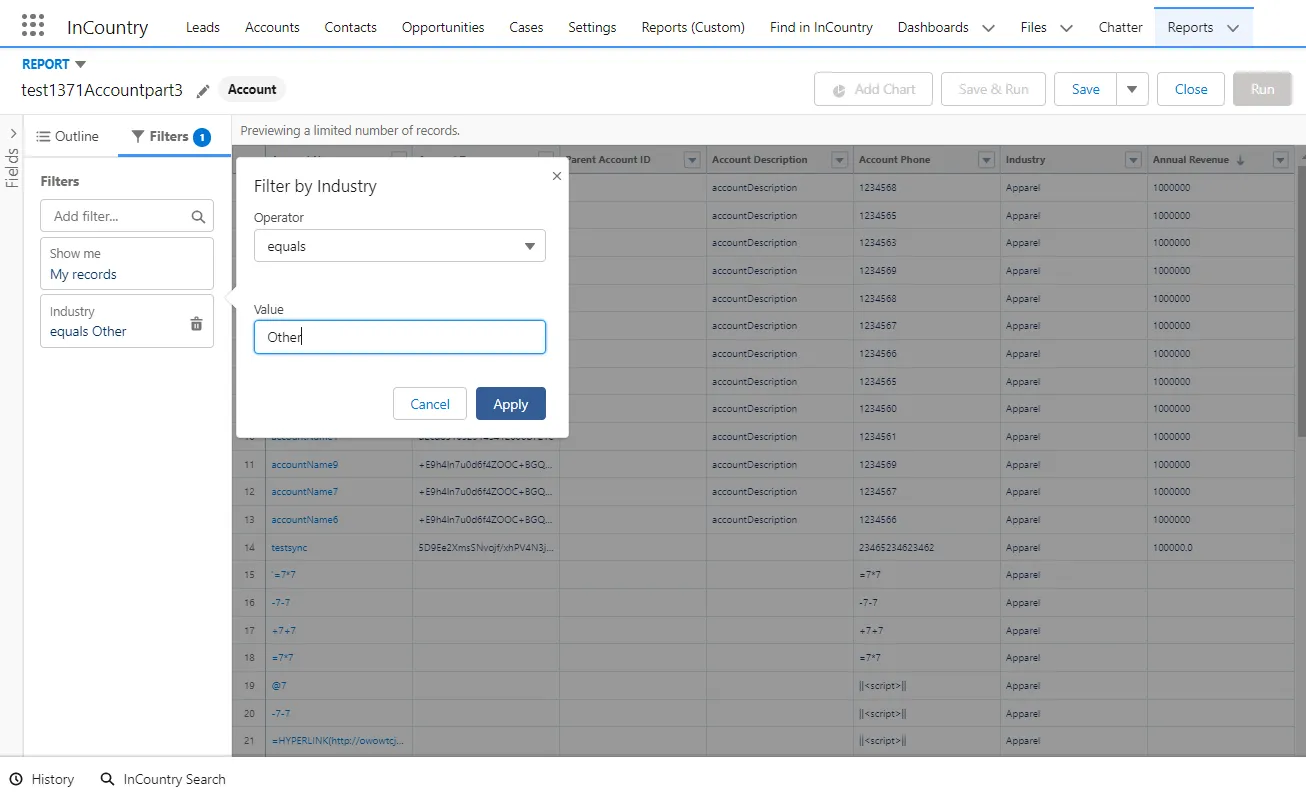
You can add filters by regulated and non-regulated fields.
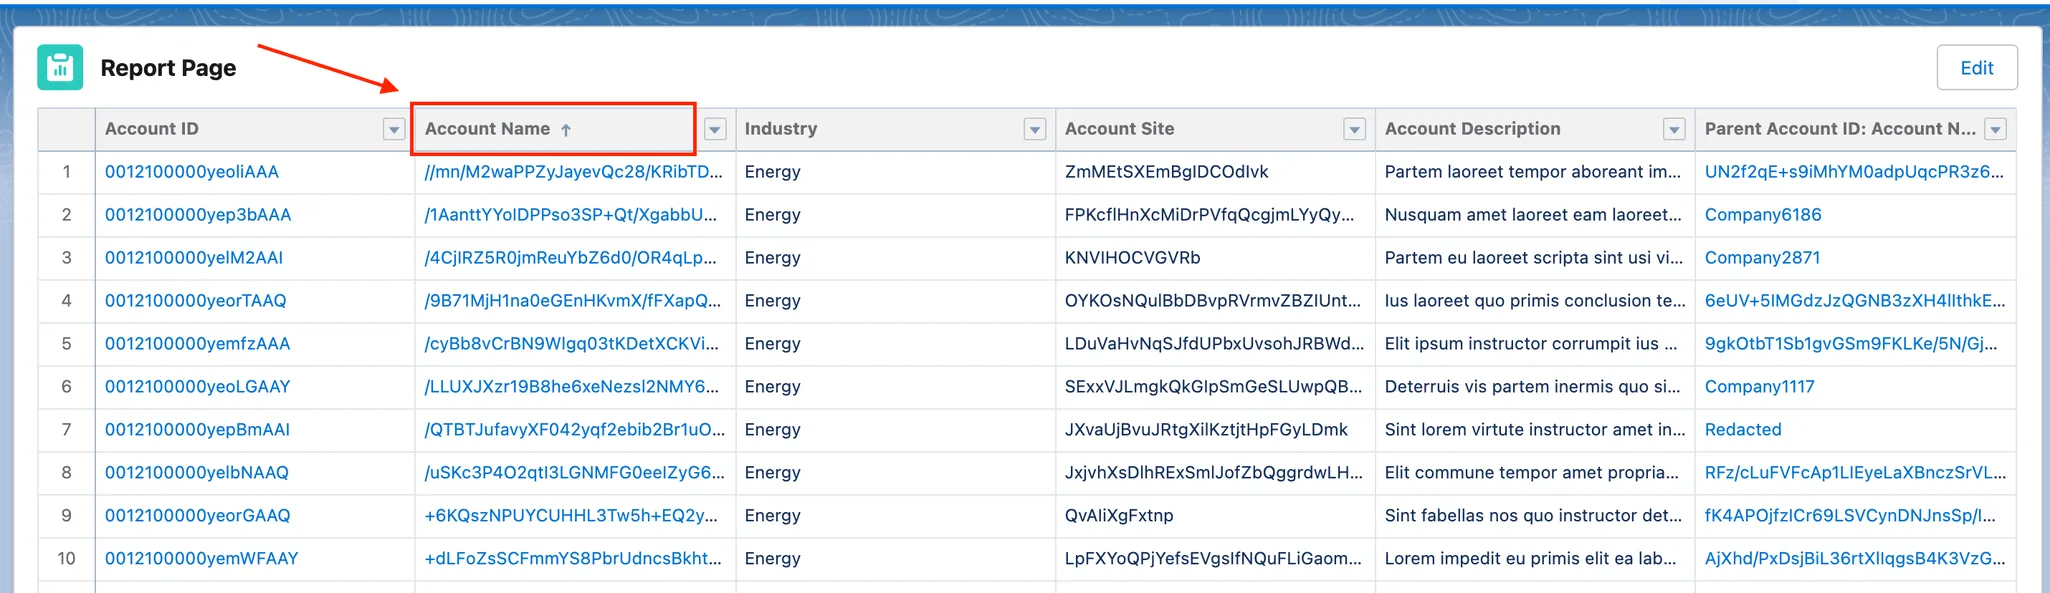
Sorting data
You can sort data in reports by a specific column in two ways, as follows:
-
By clicking the column header.
noteIf you click a column twice, the sorting order will be changed.
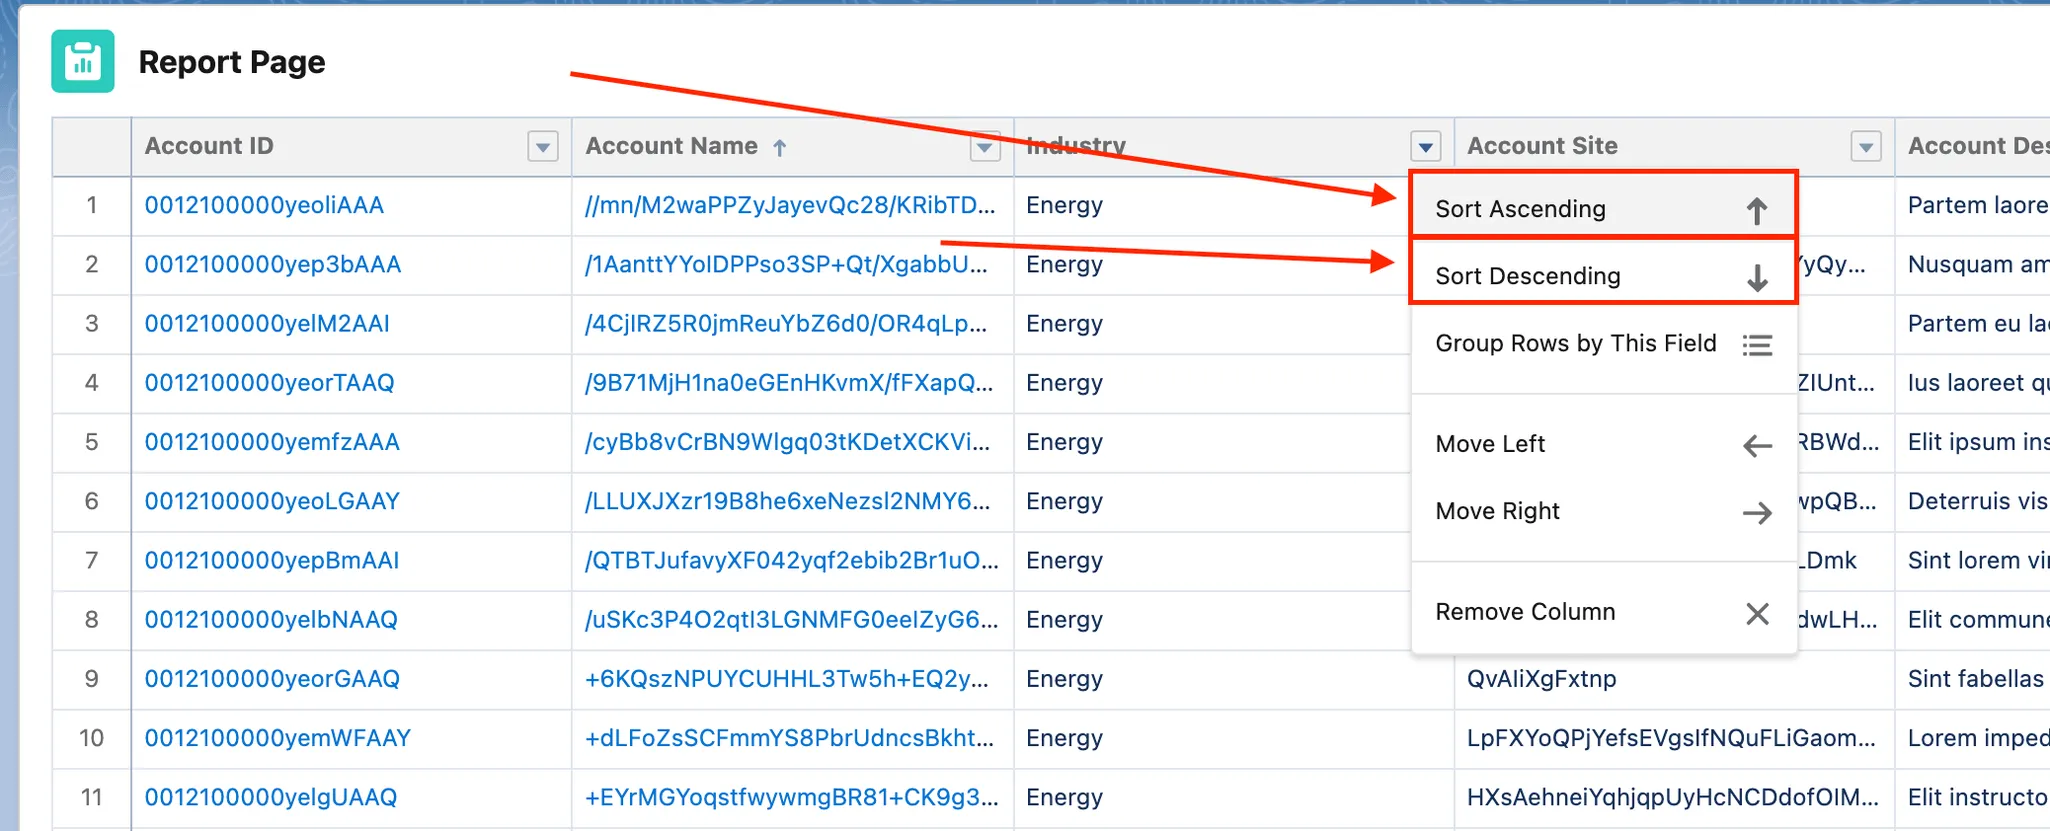
-
By opening the context menu in a particular column and selecting Sort Ascending/Descending.
When sorting data please consider that the report is generated on the basis of data fetched from two sources:
-
The InCountry platform stores regulated data of records.
-
Salesforce stores non-regulated data of records.
This causes limitations to the applied data sorting.
To sort data, you can use any of the following combinations:
-
Filter by a regulated field and sort by a regulated field.
-
Filter by a regulated field and use the browser-side sorting by a non-regulated field.
-
Group by a regulated field and sort by a regulated field.
-
Filter by a non-regulated field and sort by a non-regulated field.
-
Filter by a non-regulated field and use the browser-side sorting by a regulated field.
-
Group by a non-regulated field and sort by a non-regulated field.
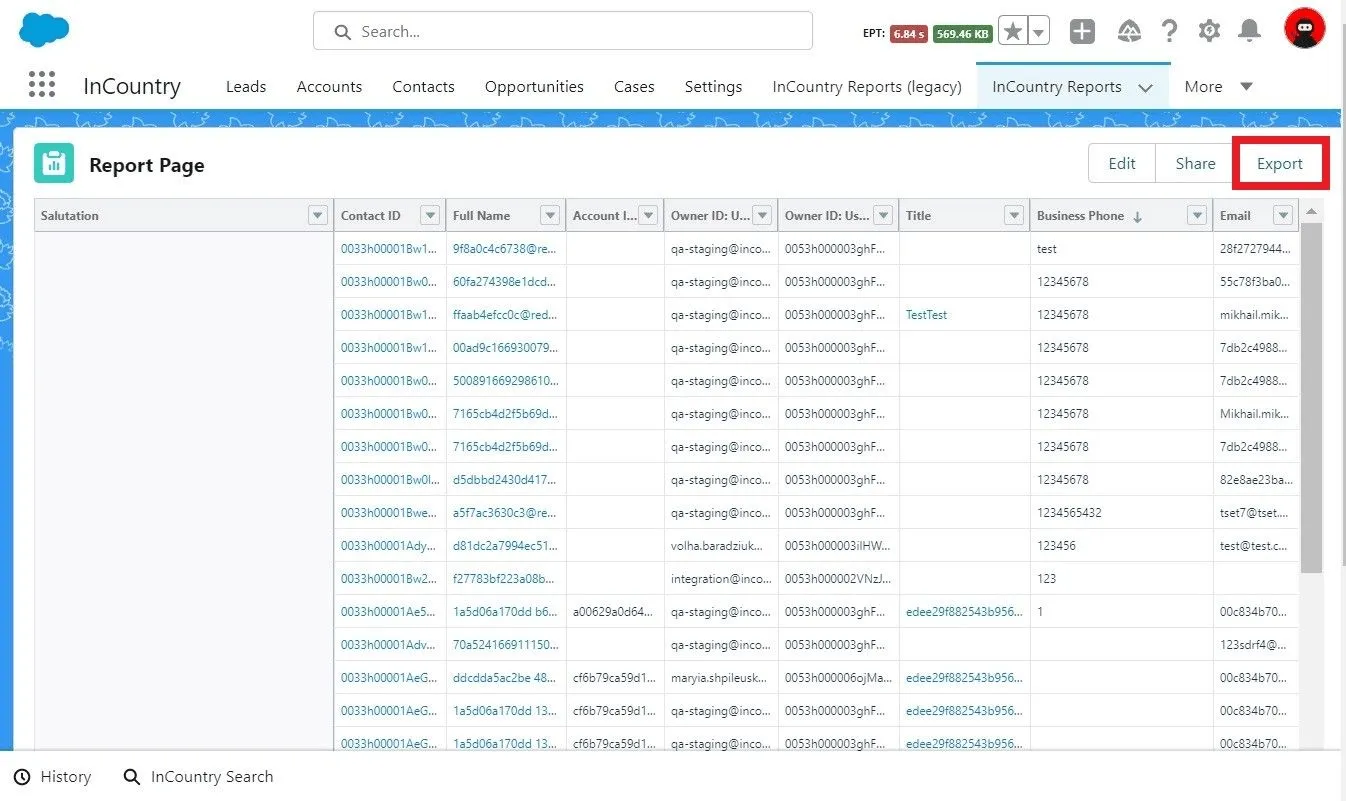
Exporting reports
You can export your reports to Excel or CSV files.
-
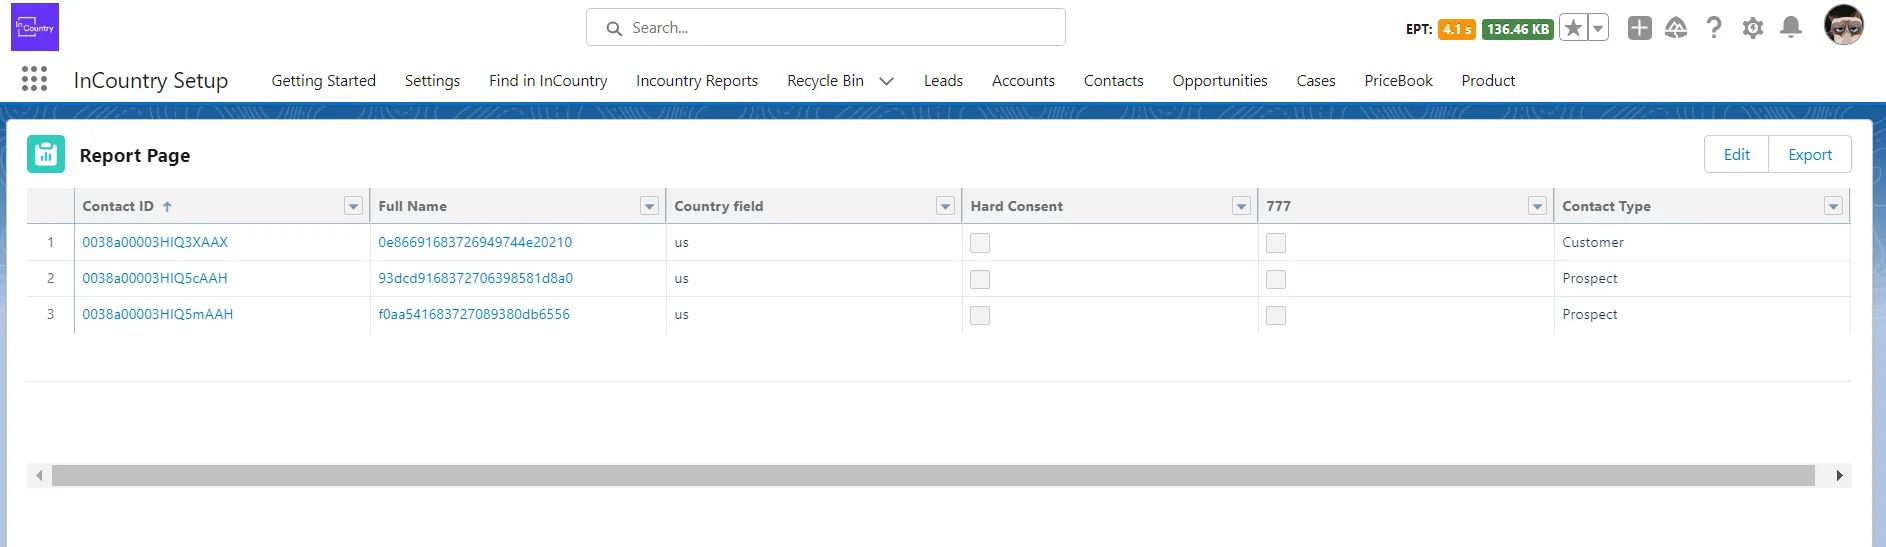
On the InCountry Reports tab, open the report you want to export.
-
At the top right part of the page, click Export.
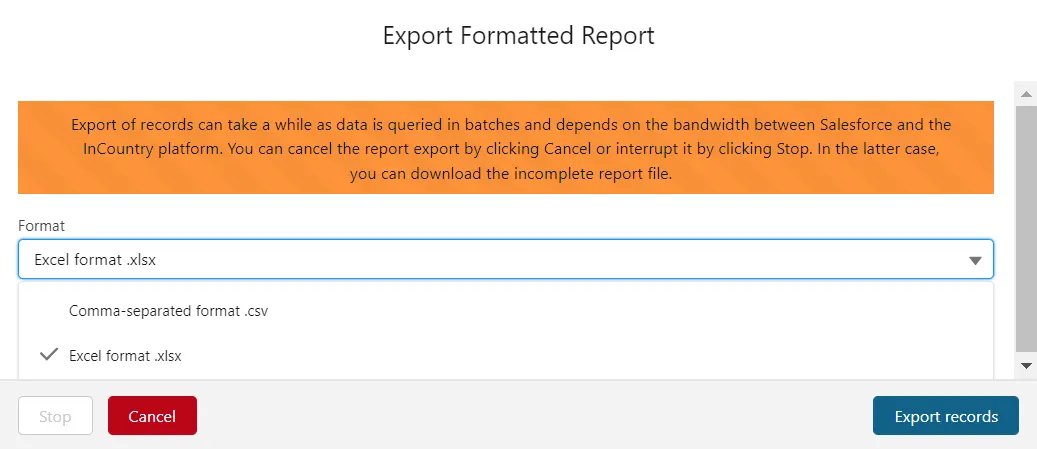
-
In the Export Formatted Report form, select the format to export the report.
-
Click Export records.
Managing Report Export
The report export batch size can be used to configure the number of records to be processed per request during report generation. The default value is set as 100 records.
To configure this setting, you need to perform the following steps:
-
Open Setup.
-
In the Quick Find box, enter
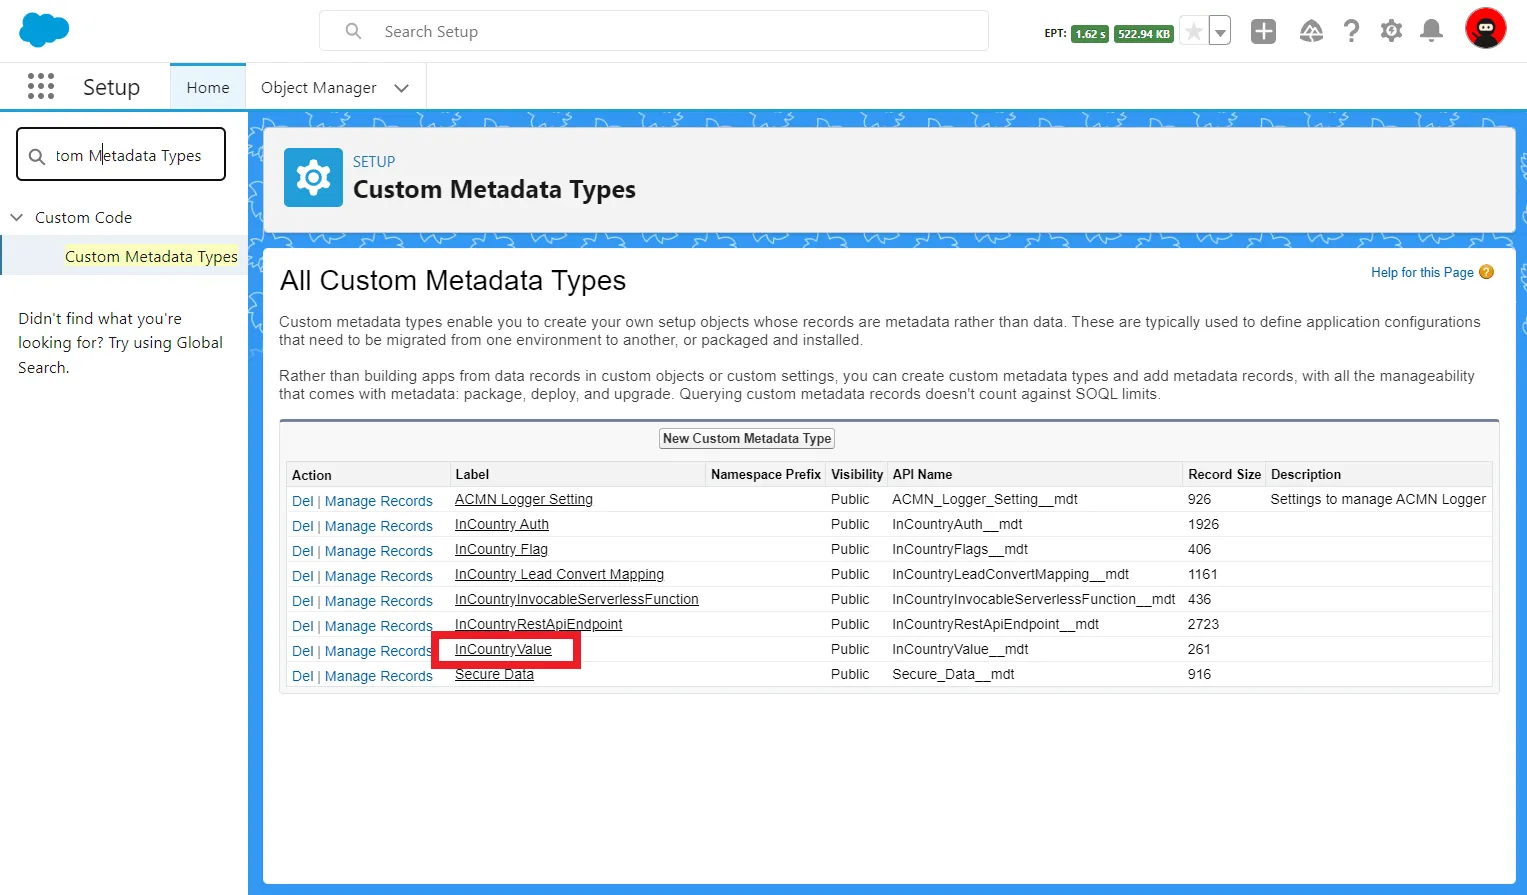
Custom Metadata Types. -
Select Custom Metadata Types.
-
On the list with custom metadata types, locate
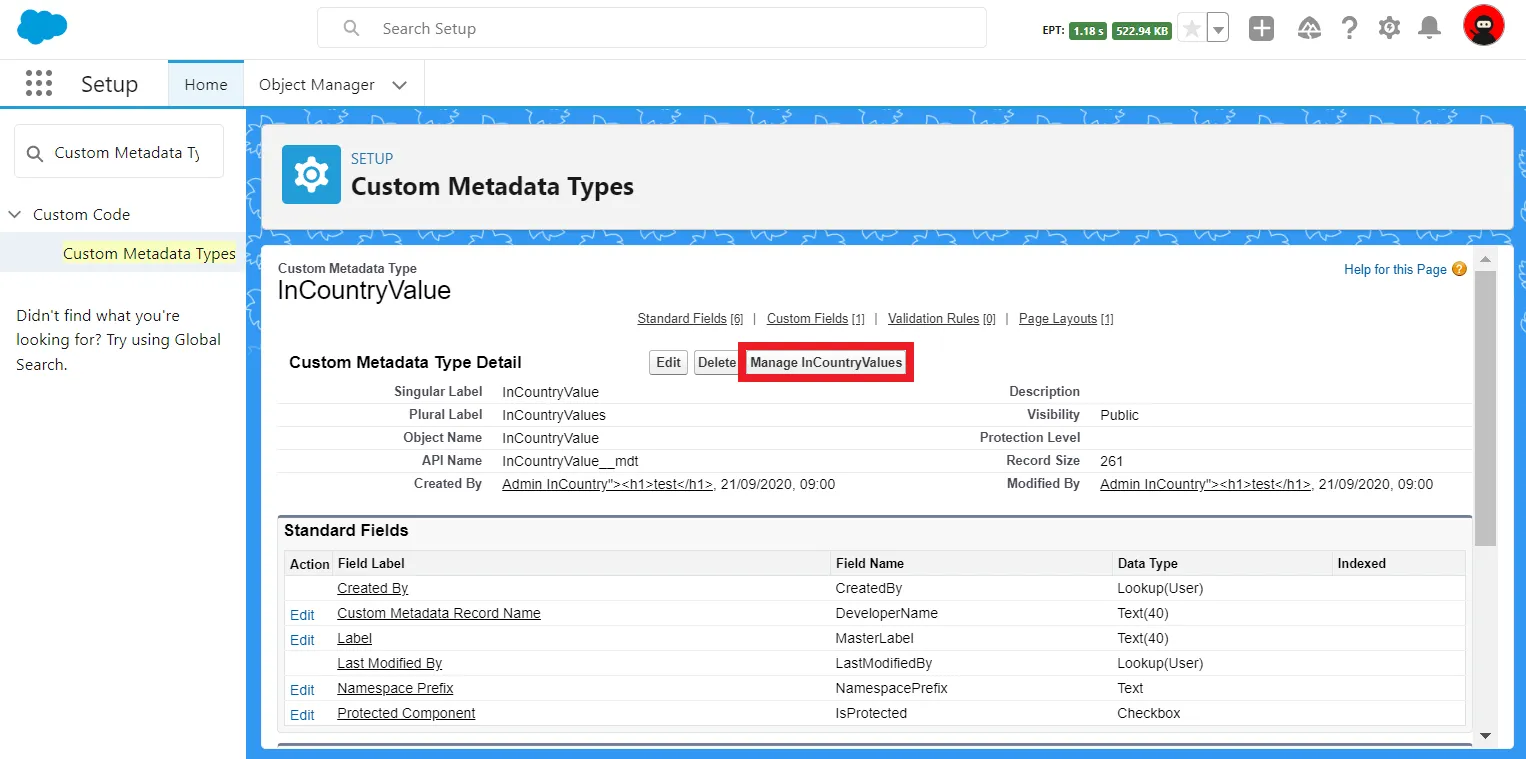
InCountryValueand click it. -
Click Manage InCountry Values.
-
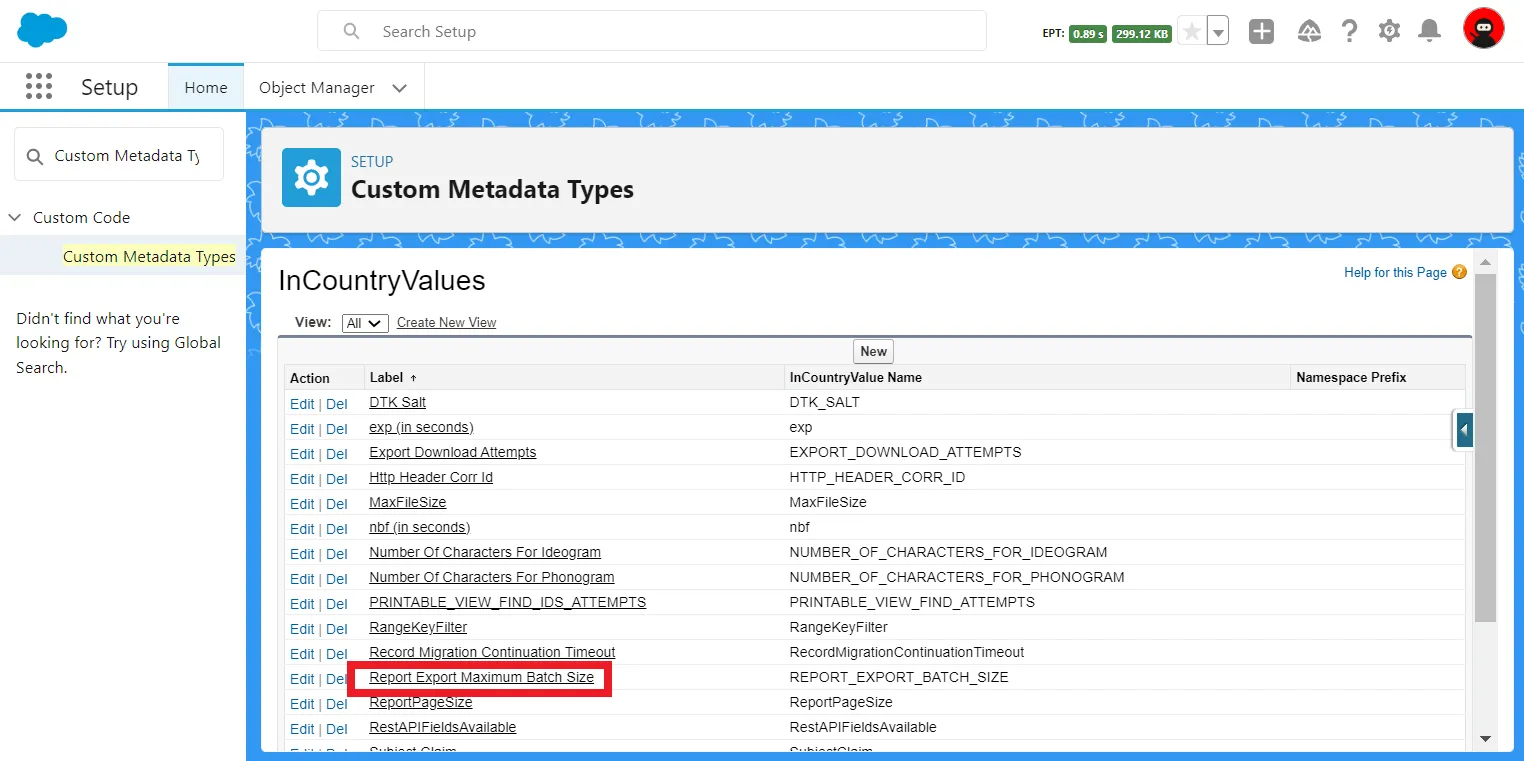
Locate the Report Export Maximum Batch Size record.
-
Click Edit.
-
Set the value for the report export batch size.
-
Click Save.
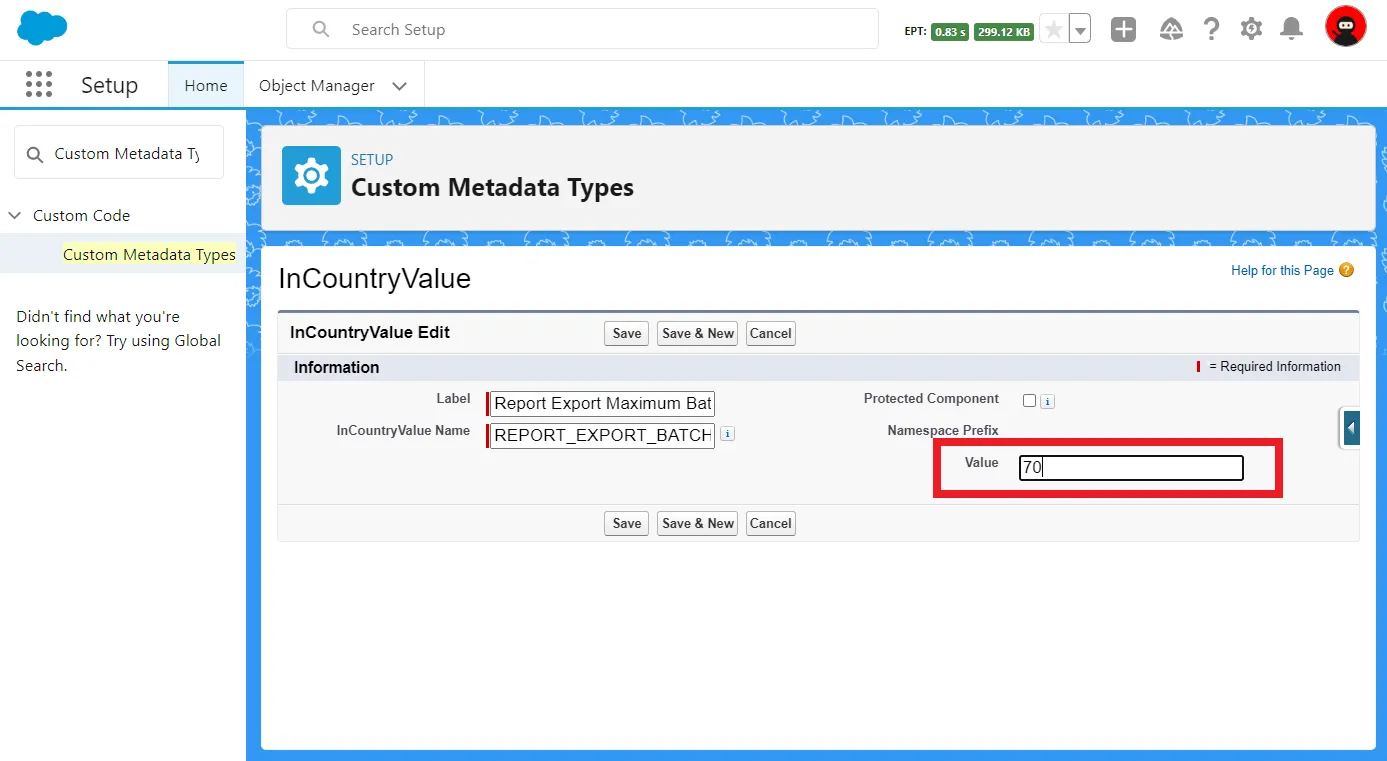
You can set the batch size within the range of 50-500 records per batch.