Getting Started with InCountry Portal
InCountry is the leading SaaS provider of data-residency services for national companies and corporations that deal with regulated customer data. The company provides an end-to-end platform in more than 90 countries that imply requirements for storage and management of regulated data of their citizens.
To get access to the data-residency services of InCountry, you need to sign up to the Portal. You will then receive the credentials to start using the services and manage regulated data using the InCountry Platform.
Signing up to InCountry Portal
To start using the data-residency services provided by the InCountry platform, you need to sign up to the Portal. Once you create your account, you can proceed with using the InCountry Platform for managing the regulated data in different countries.
-
Open the browser.
-
In the address line, enter the address of the InCountry Portal - https://portal.incountry.com/.
-
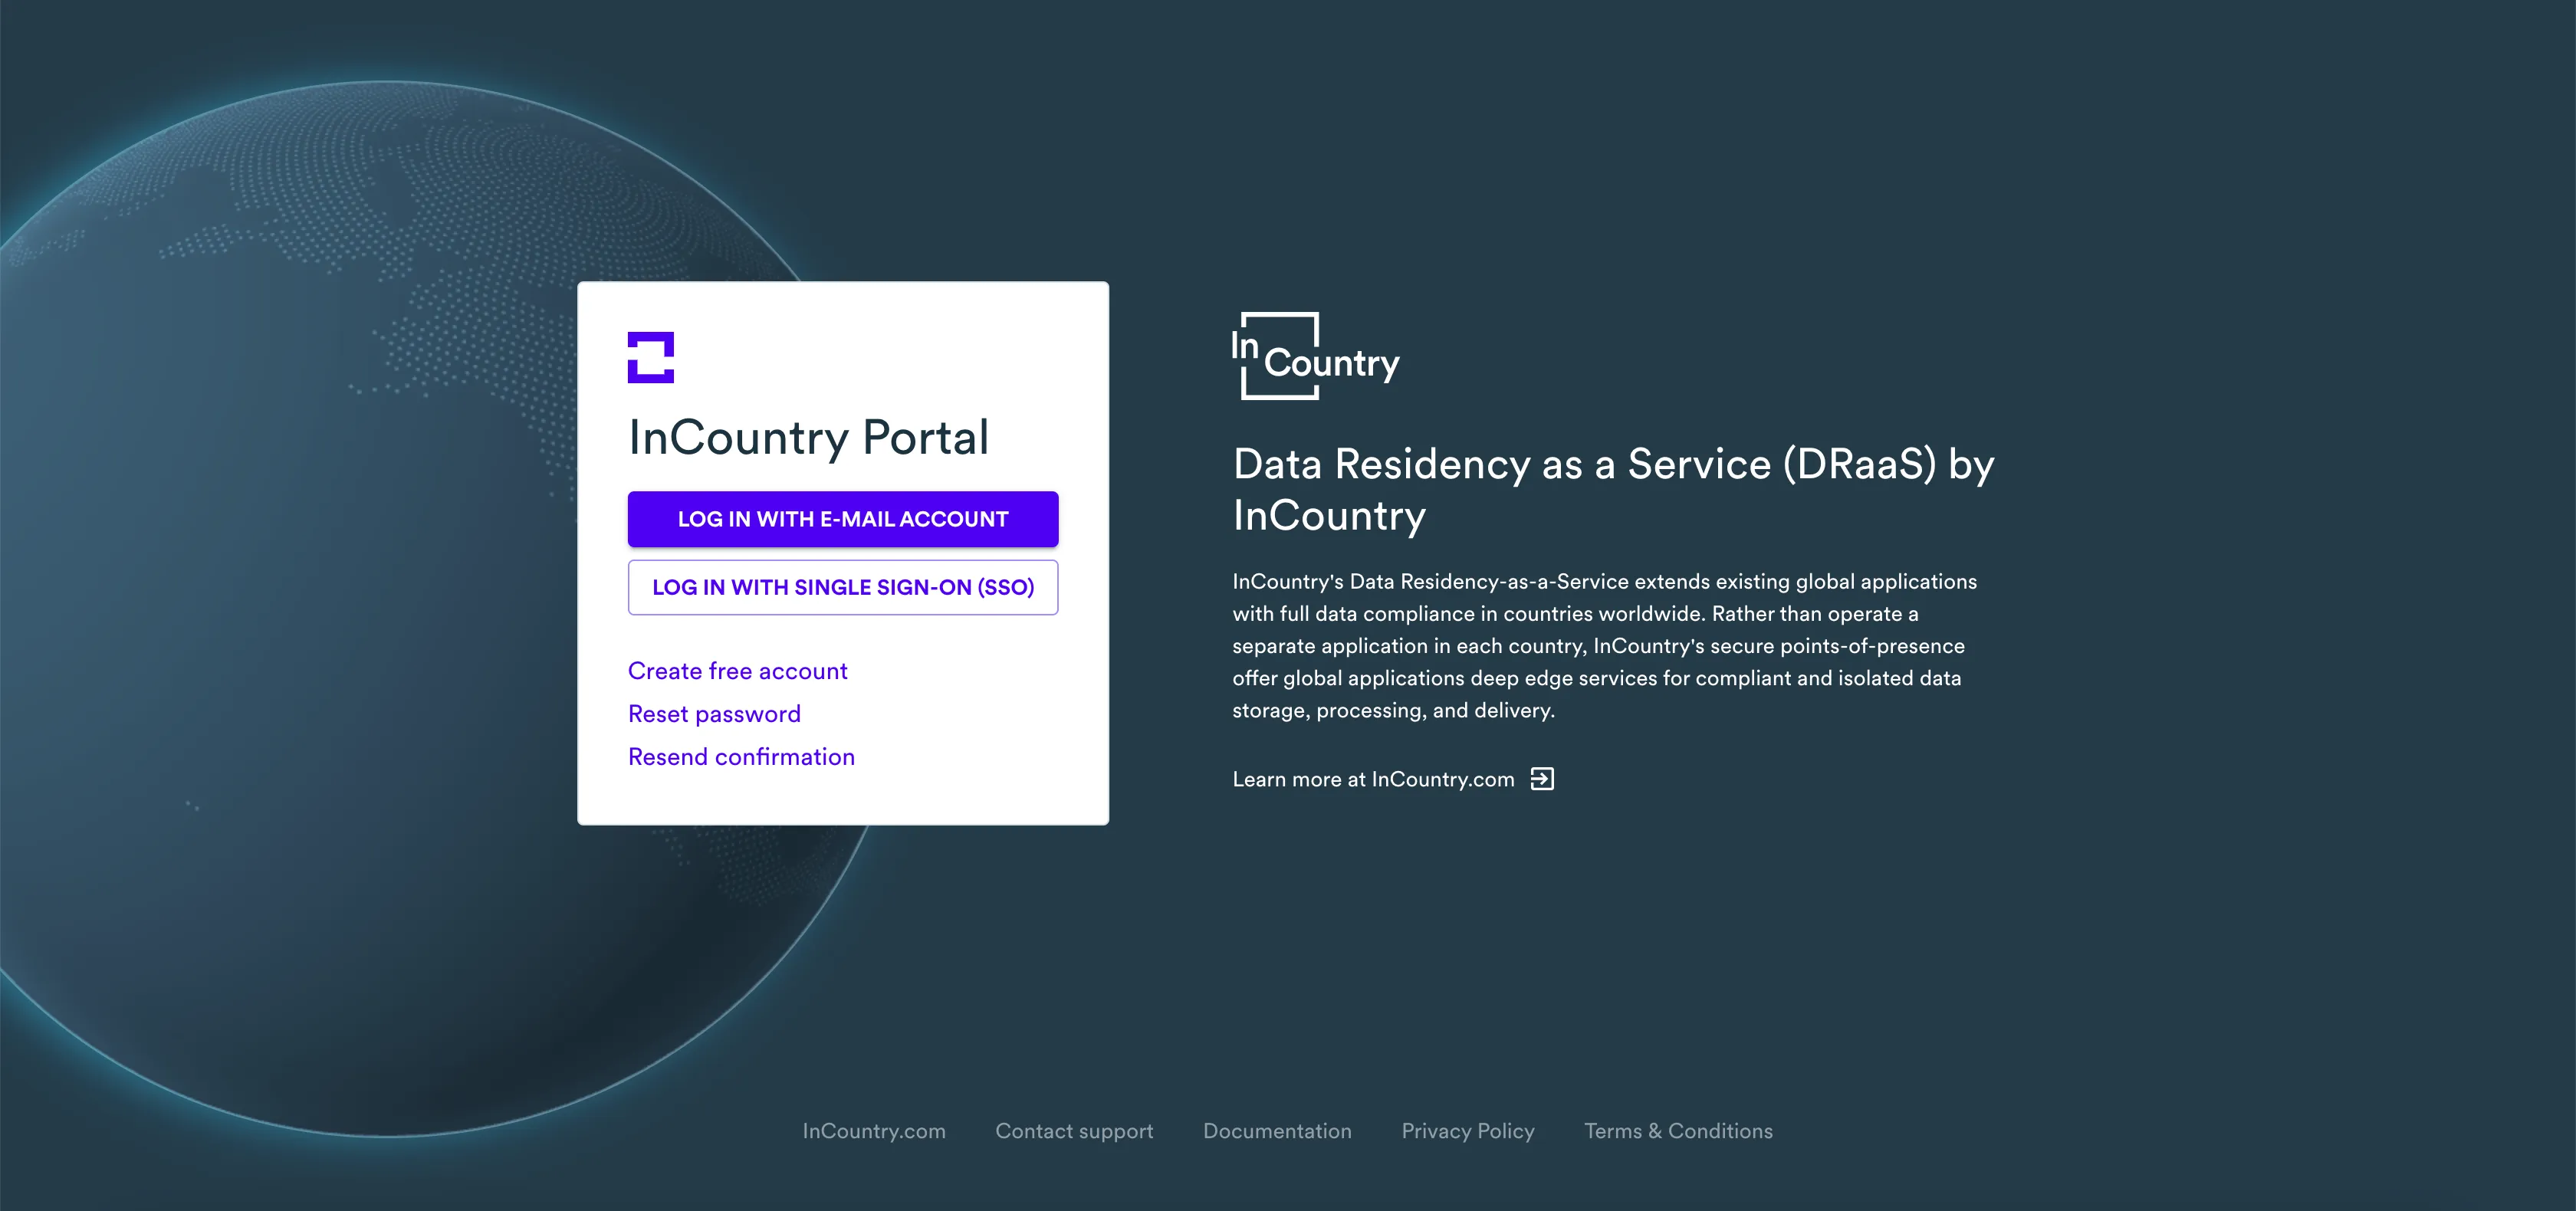
Press Enter to open this address. Once the InCountry Portal loads, you will see the home page similar to the following:

-
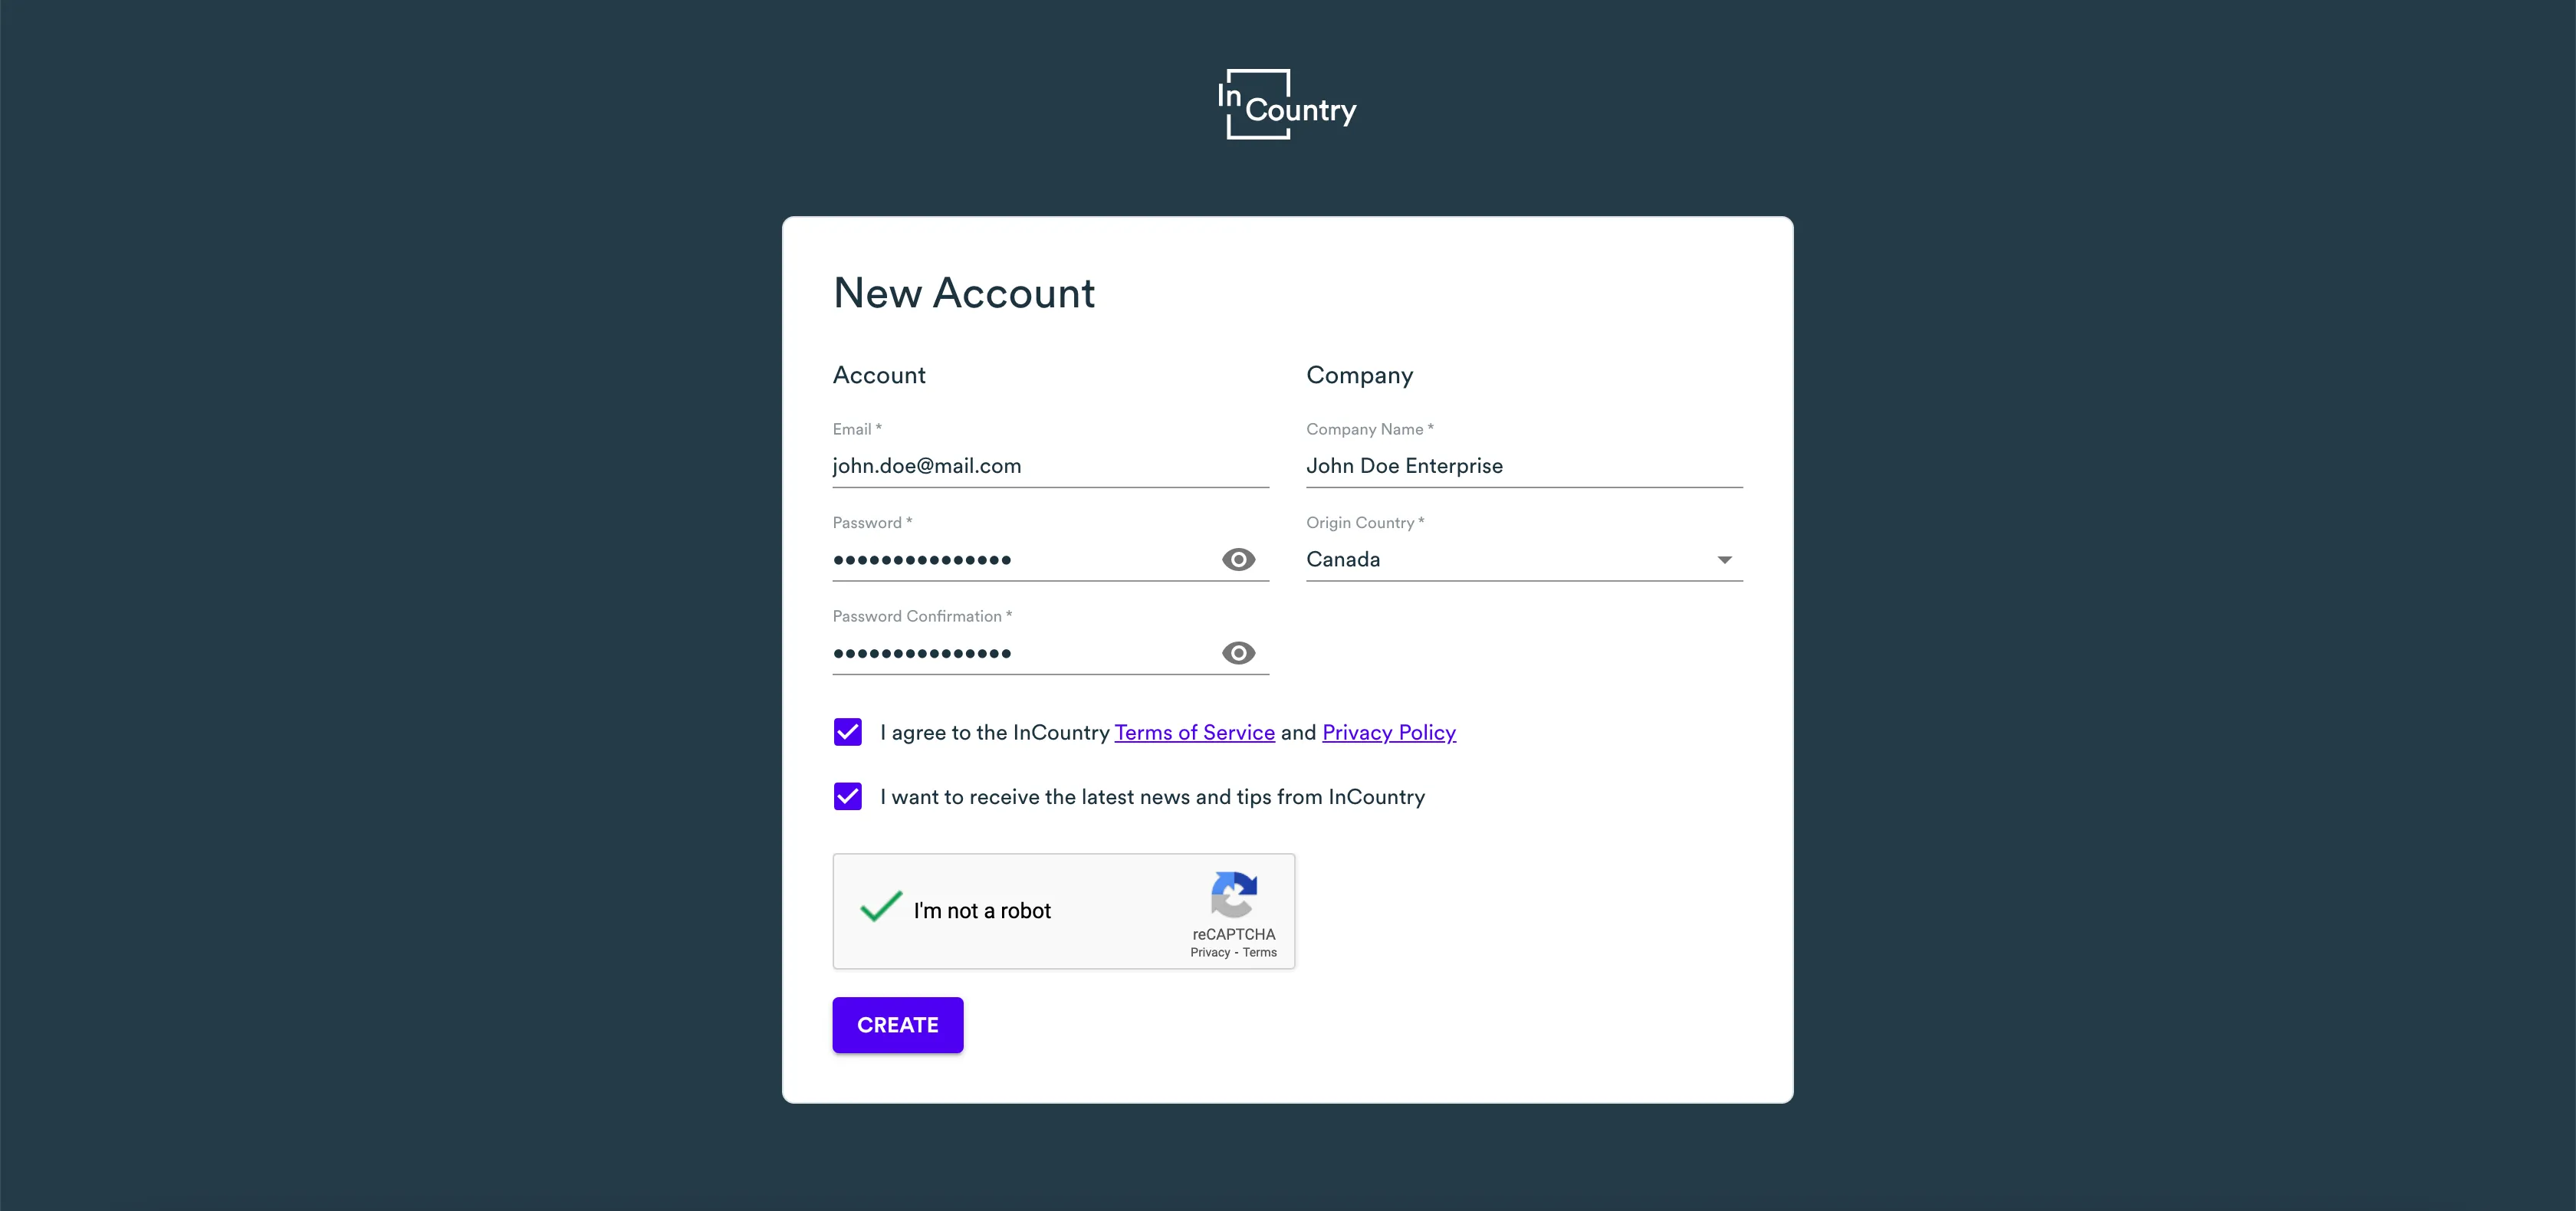
On the home page, click Create free account. The New Account form opens, as follows:
-
In the New Account form, specify the following information to create a new account:
-
Country - select the country where you are located.
-
Company name - enter the name of the company which you represent.
-
Email Address - enter your email address. This email address will be used as a login to authenticate on the InCountry Portal.
-
Password - enter the password following the password requirements and confirm your password in the next field.
-
-
Move the toggle right to indicate that you agree to the InCountry Terms of Service. Account creation is not possible without accepting the terms of service.
-
Move the toggle right if you want to receive emails with the latest news and tips from InCountry. You can skip this if you want.
-
Check the box to pass the anti-robot protection.
-
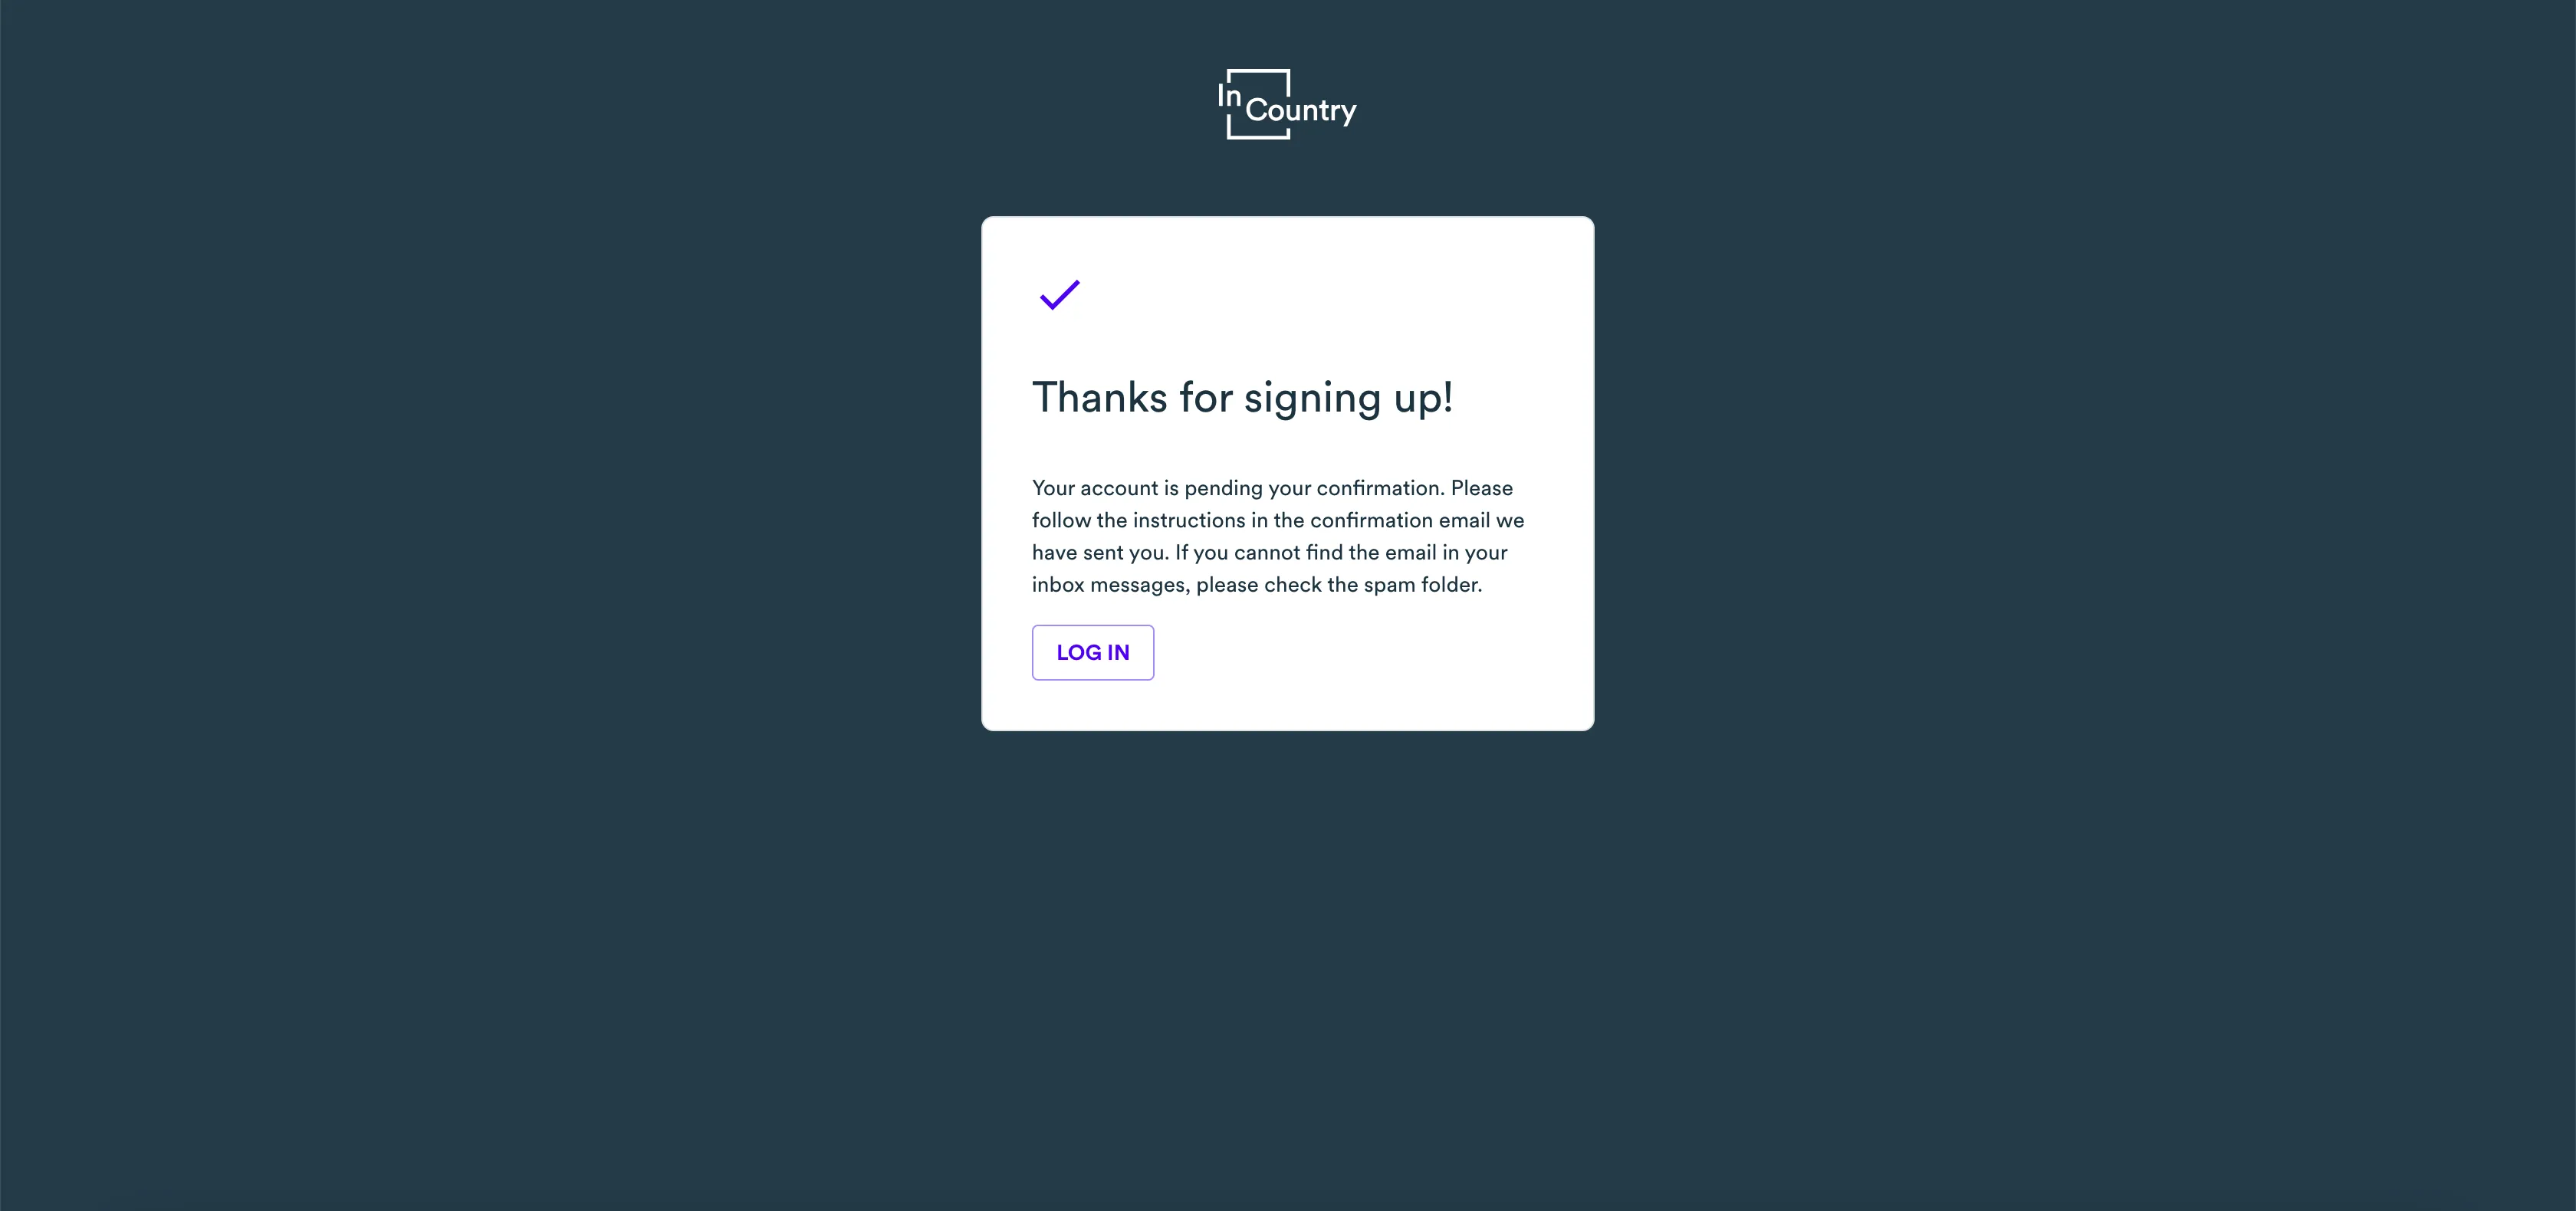
When complete, click Submit. Once you have submitted the request for account creation, you will see the confirmation screen.
-
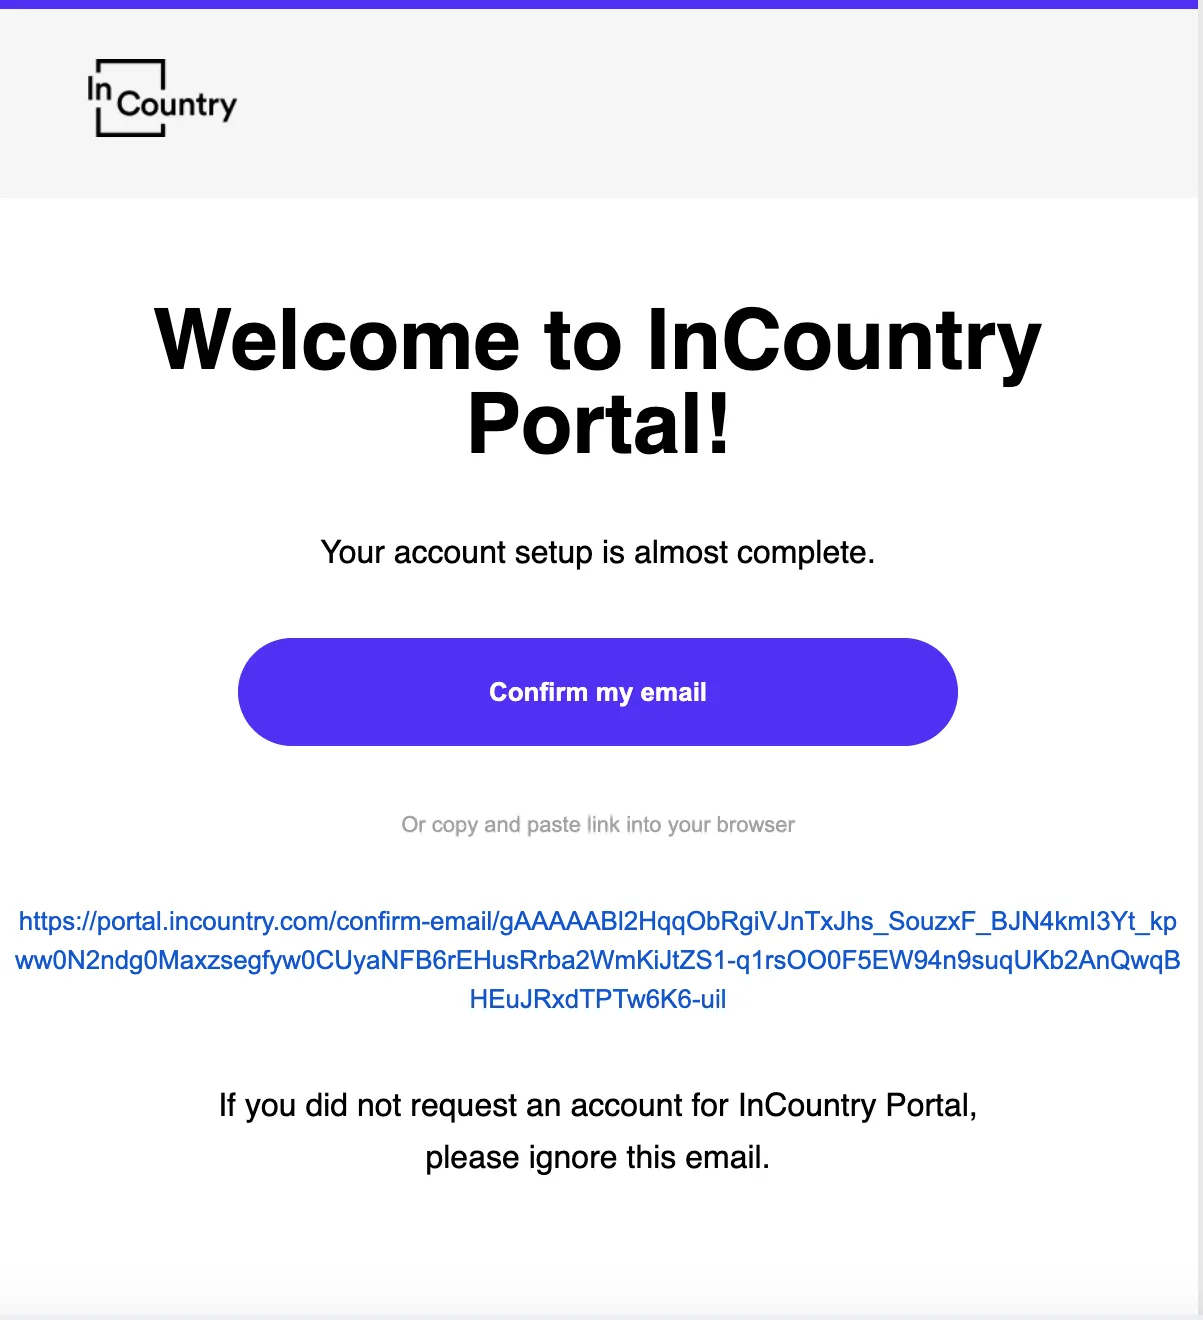
To continue with the account creation, proceed to your email account, which you specified during the signup. You should receive an email with the confirmation link. Open this email and click Confirm your email or the confirmation link below the button.
-
Once you have confirmed your email address, you can proceed with logging in to the InCountry Portal.
Congratulations! Now you can sign in to the InCountry Portal with the credentials (email address and password) you specified during the signup.
Signing in to InCountry Portal
Once you have signed up to the InCountry Portal and confirmed your email address, you can proceed with signing in to the Portal.
-
Open the browser.
-
In the address line, enter the address of the InCountry Portal - https://portal.incountry.com/login.
-
Press Enter to open the address. The home page of the InCountry Portal opens, as follows:
-
On the home page of the Portal, click Log in with Personal Account.
-
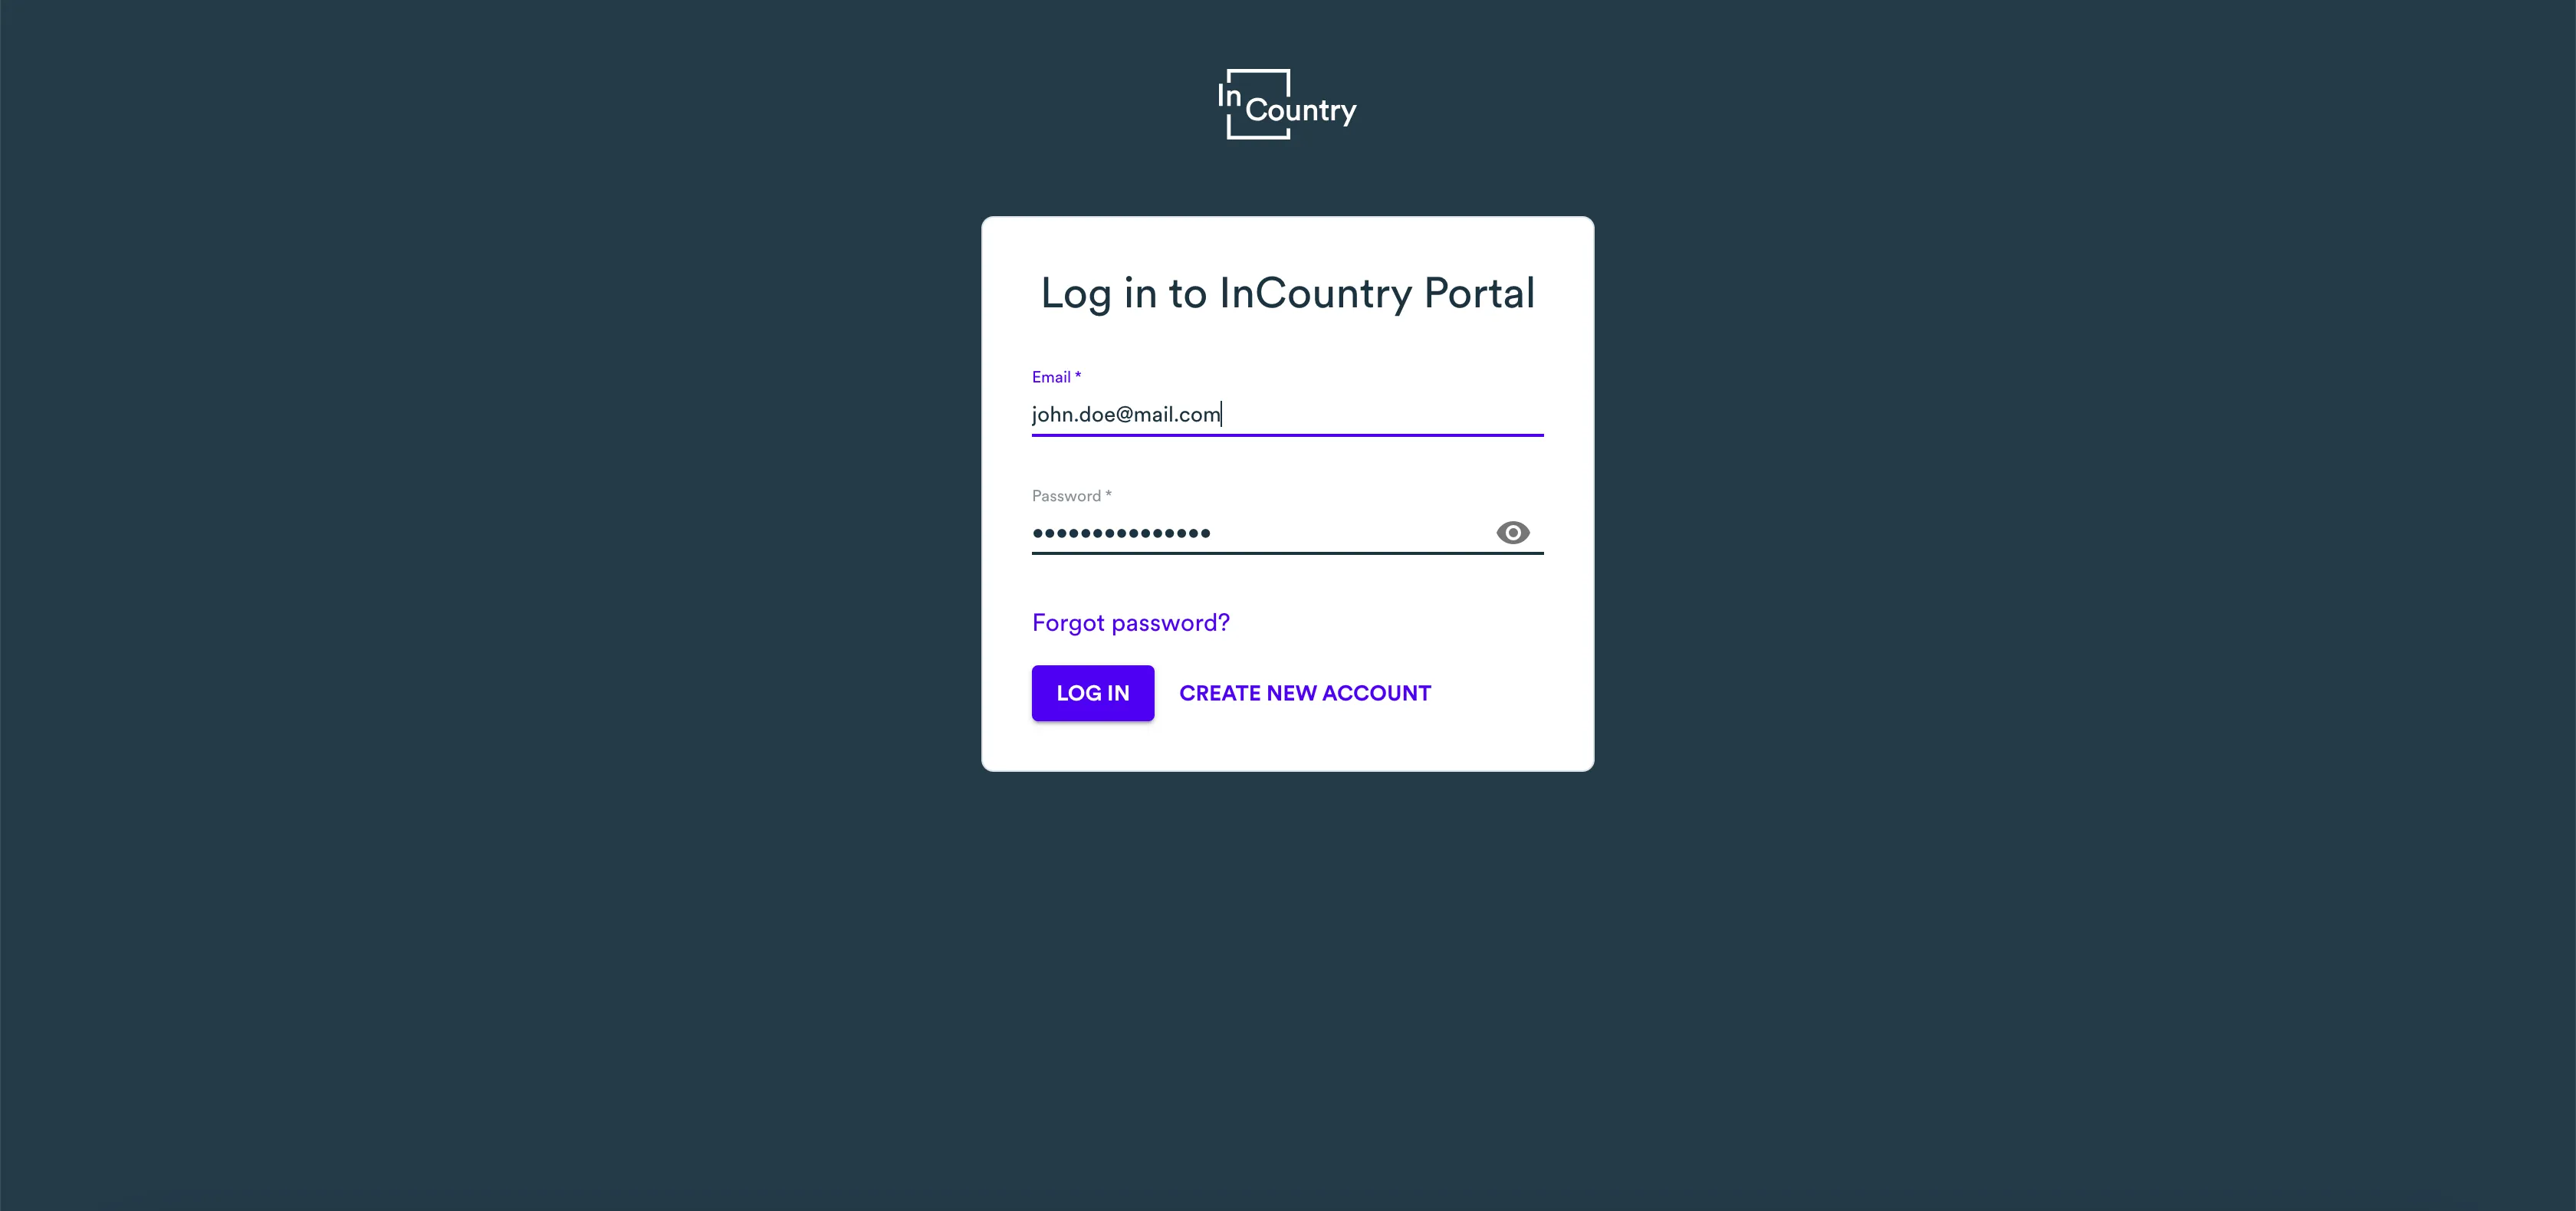
In the Log in to InCountry Portal form, enter the following:
-
Email - enter the email address which you used during the signup.
-
Password - enter the password which you specified during the signup.
-
-
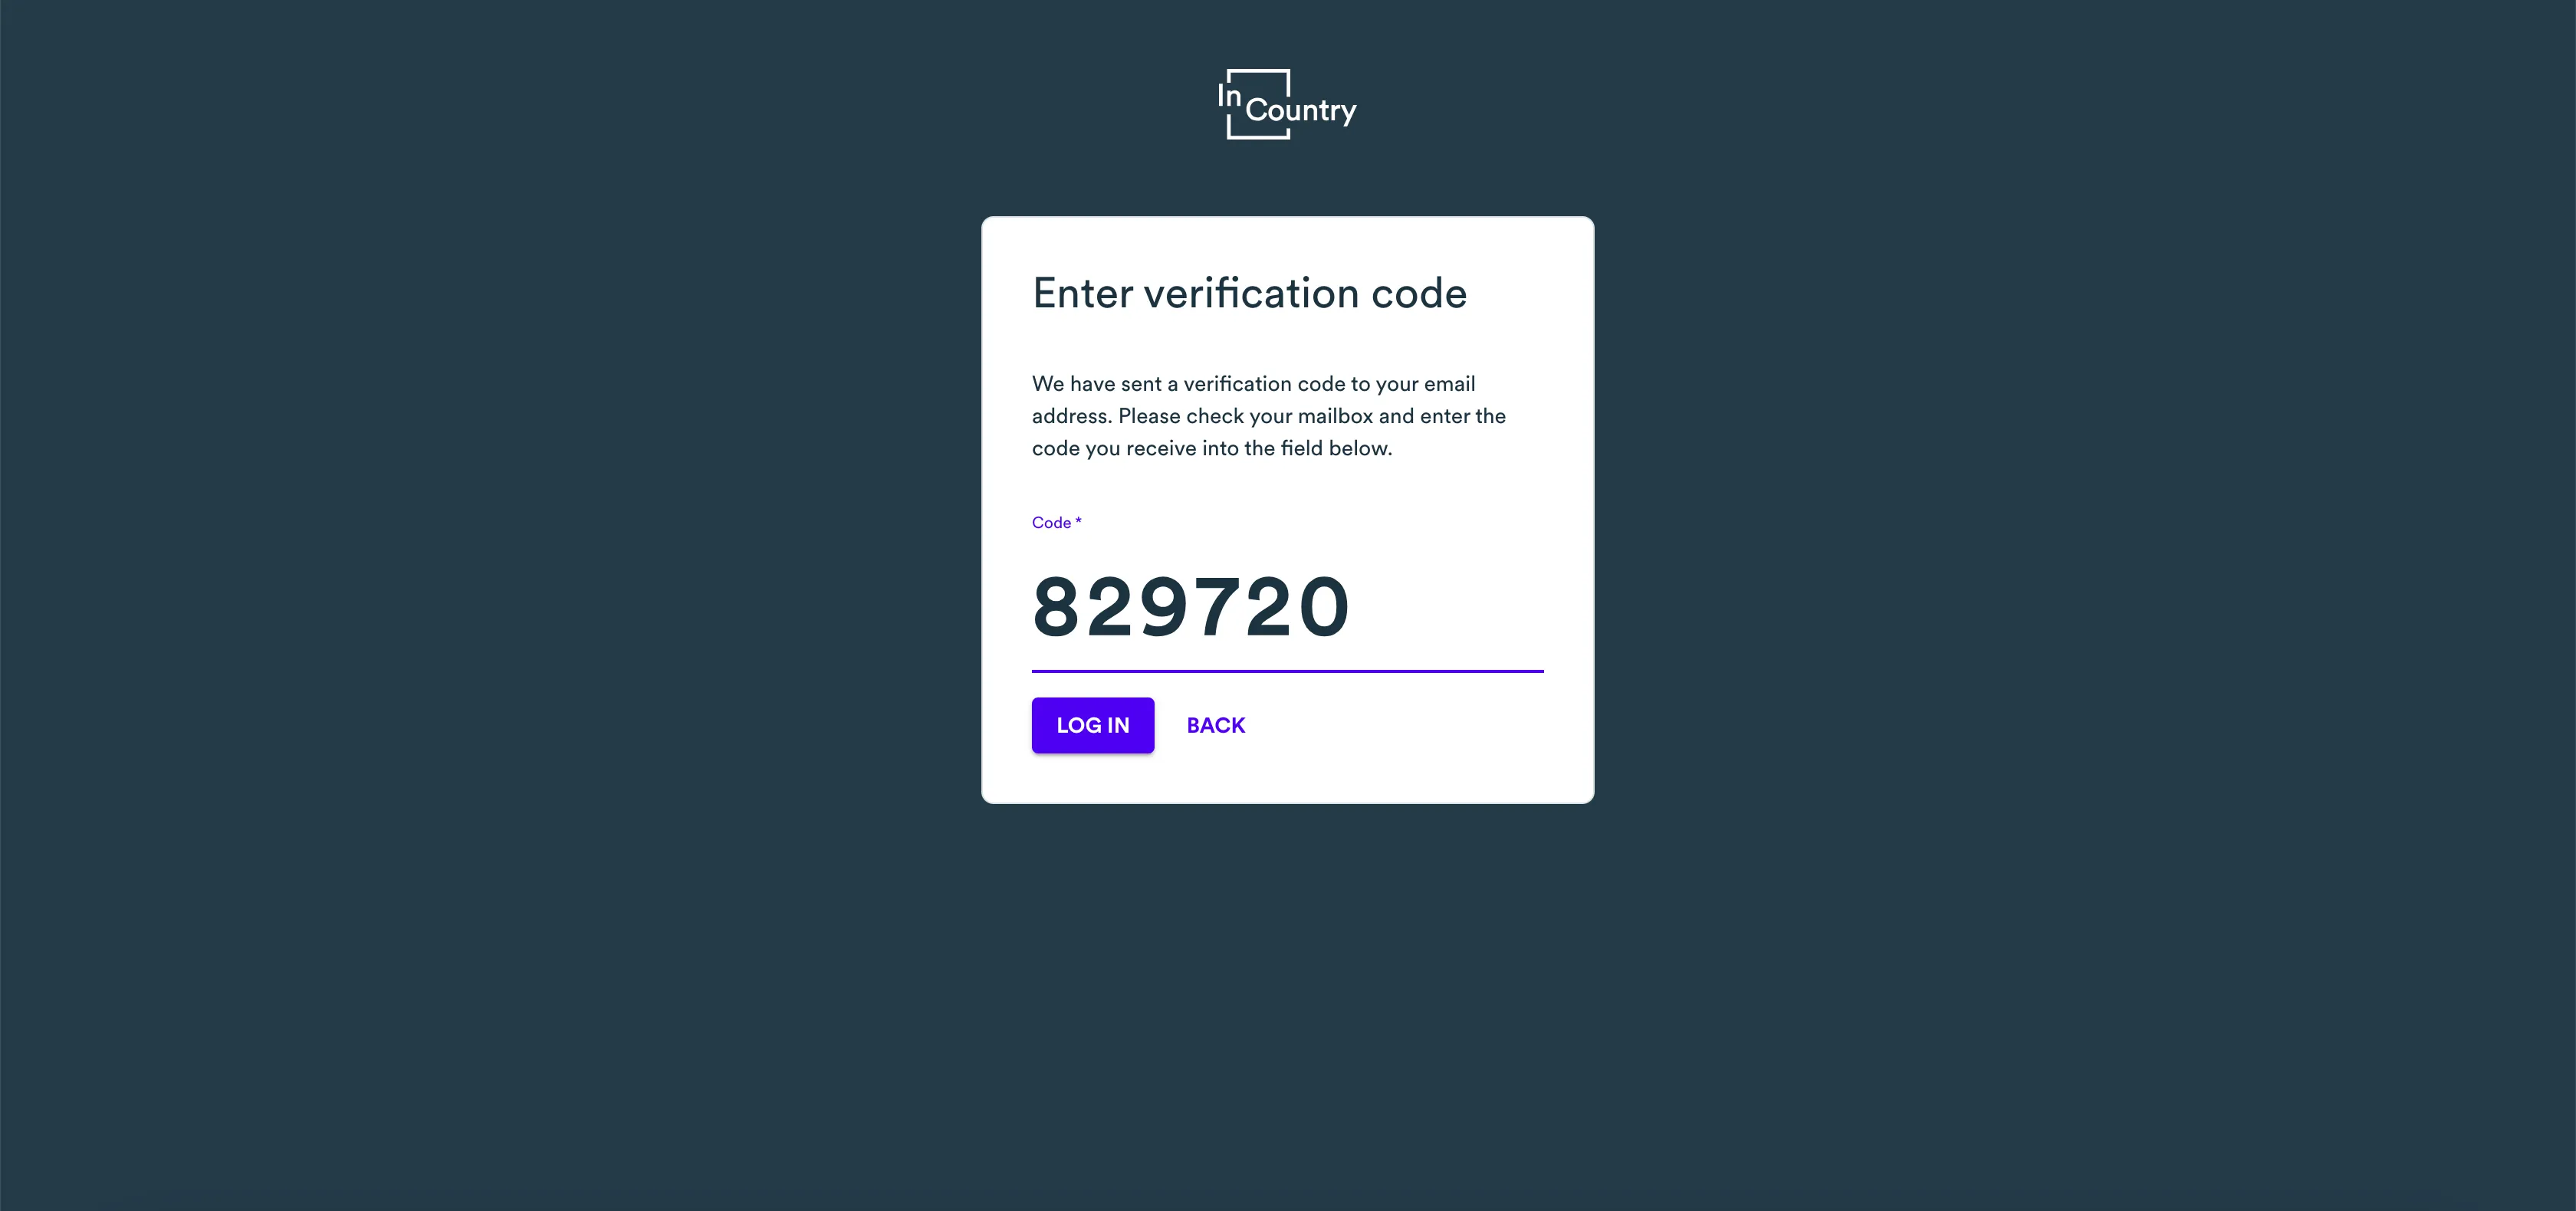
When complete, click Log in. The InCountry Portal will send the verification code to your email. Open the mailbox and copy the verification code. If you have already switched to the authenticator app, use the verification code from this app.
-
In the Enter verification code form, enter the verification code you have received.
-
When complete, click Log in.

The Environments page of the InCountry Portal opens, as follows:
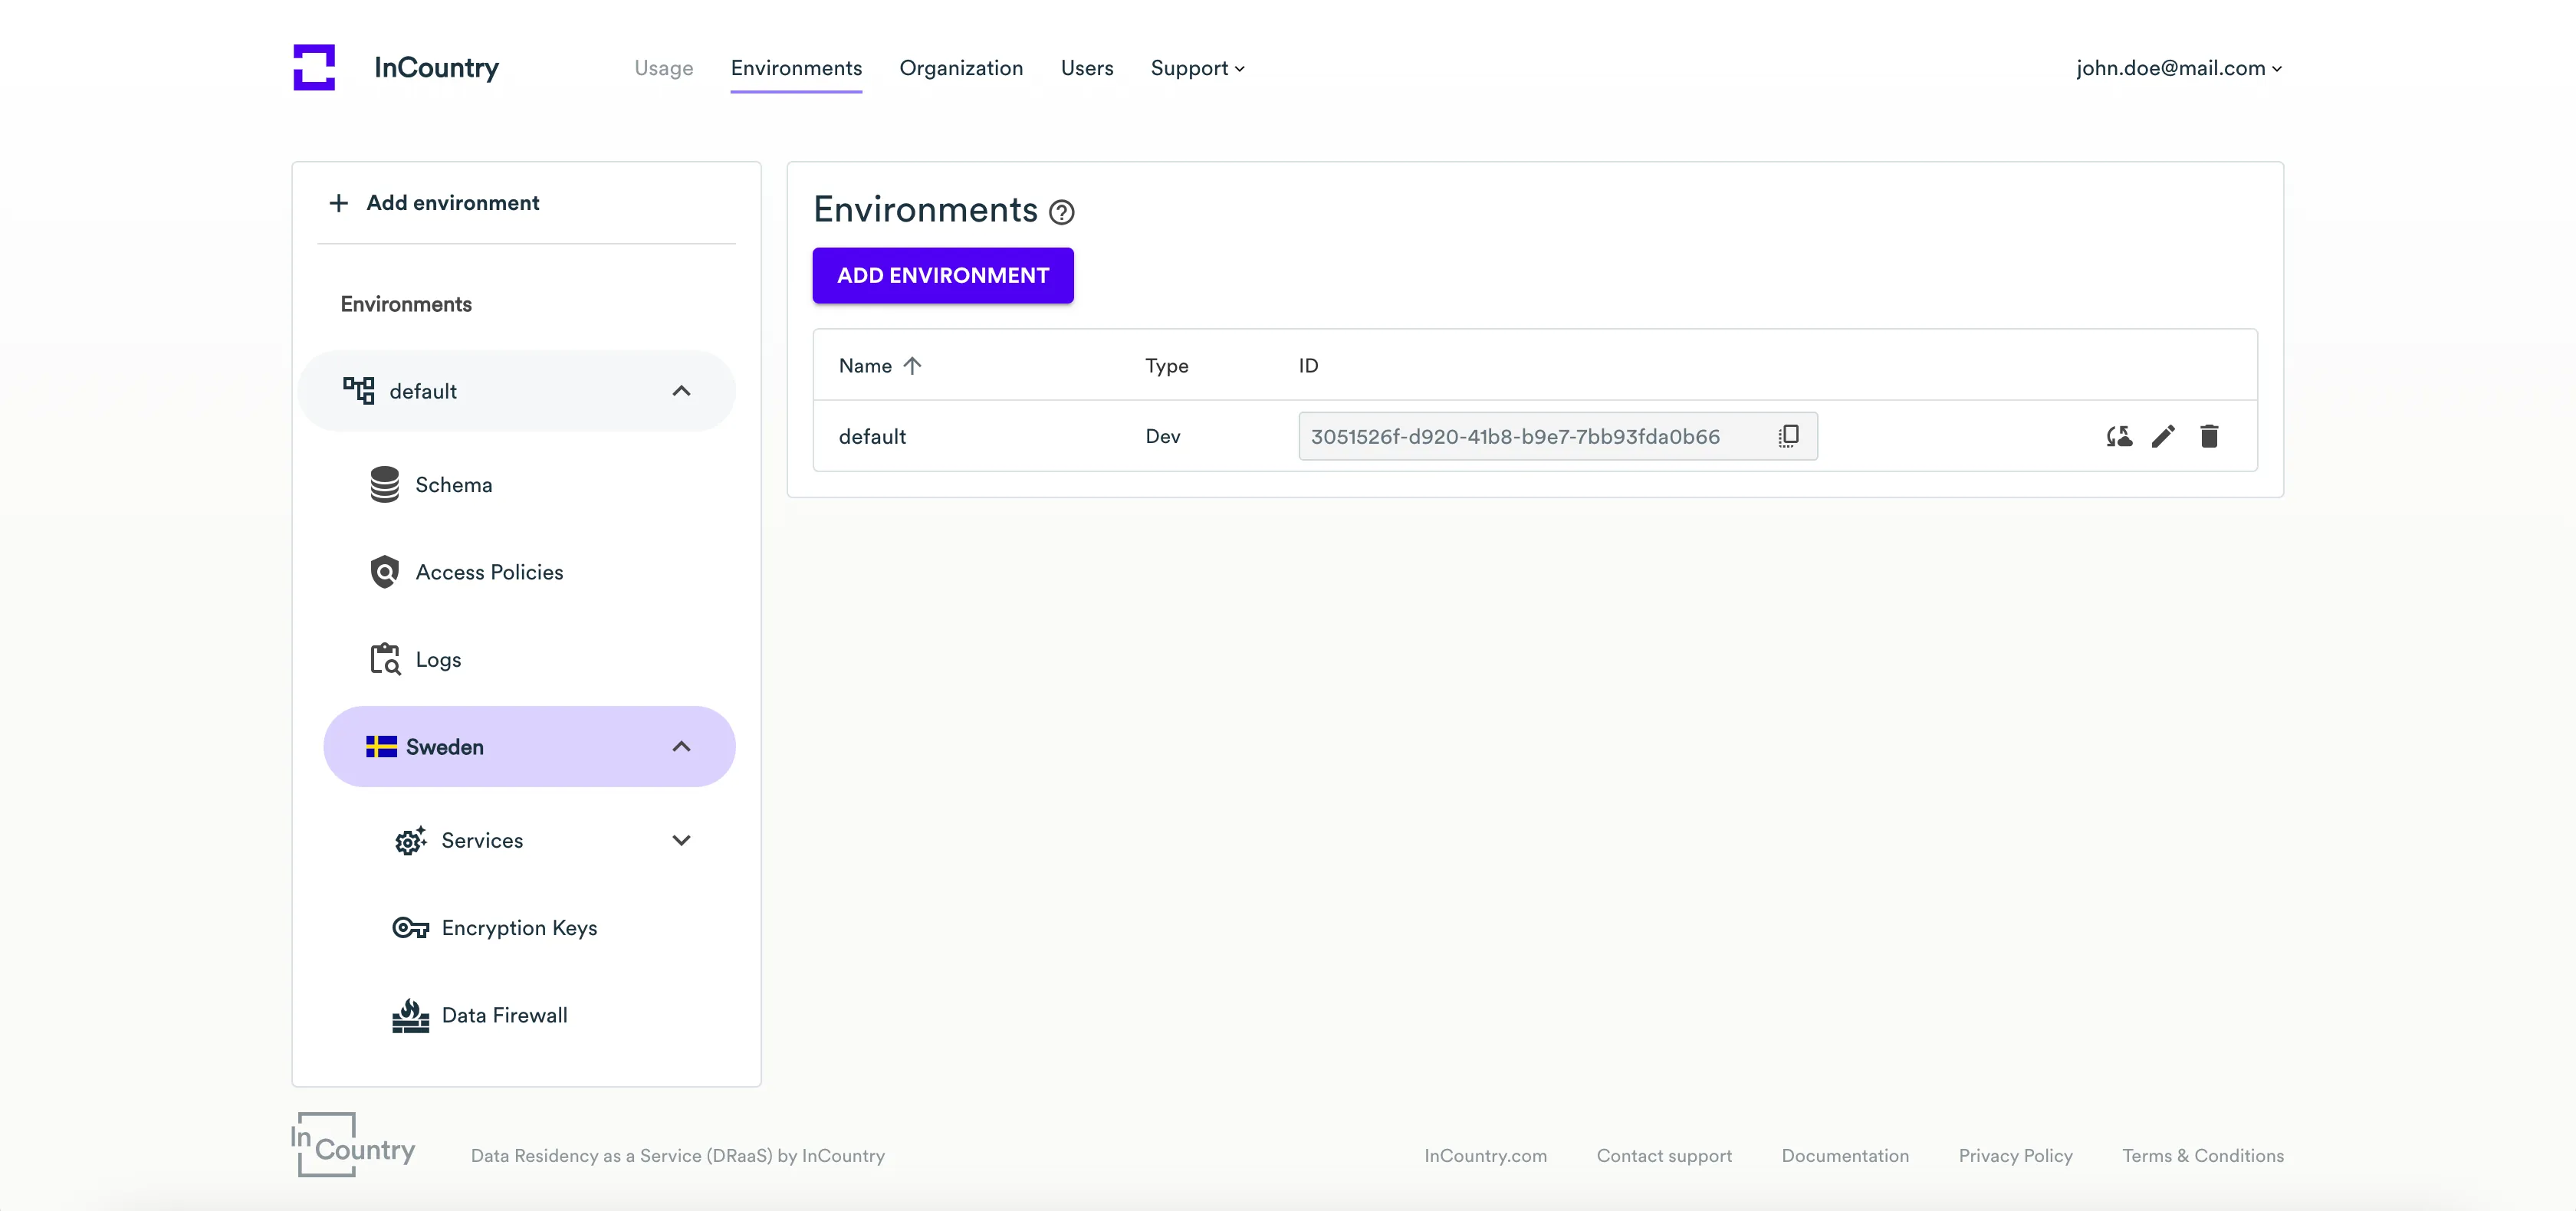
Here, you can view the initial steps to get started with the InCountry platform.
Resending the confirmation email
In some situations, you may need to request the resending of a confirmation email if it was not delivered to you during your signup due to some connectivity issues.
-
Open the browser.
-
In the address line, enter the address of the InCountry Portal - https://portal.incountry.com/.
-
Press Enter to proceed to this address.
-
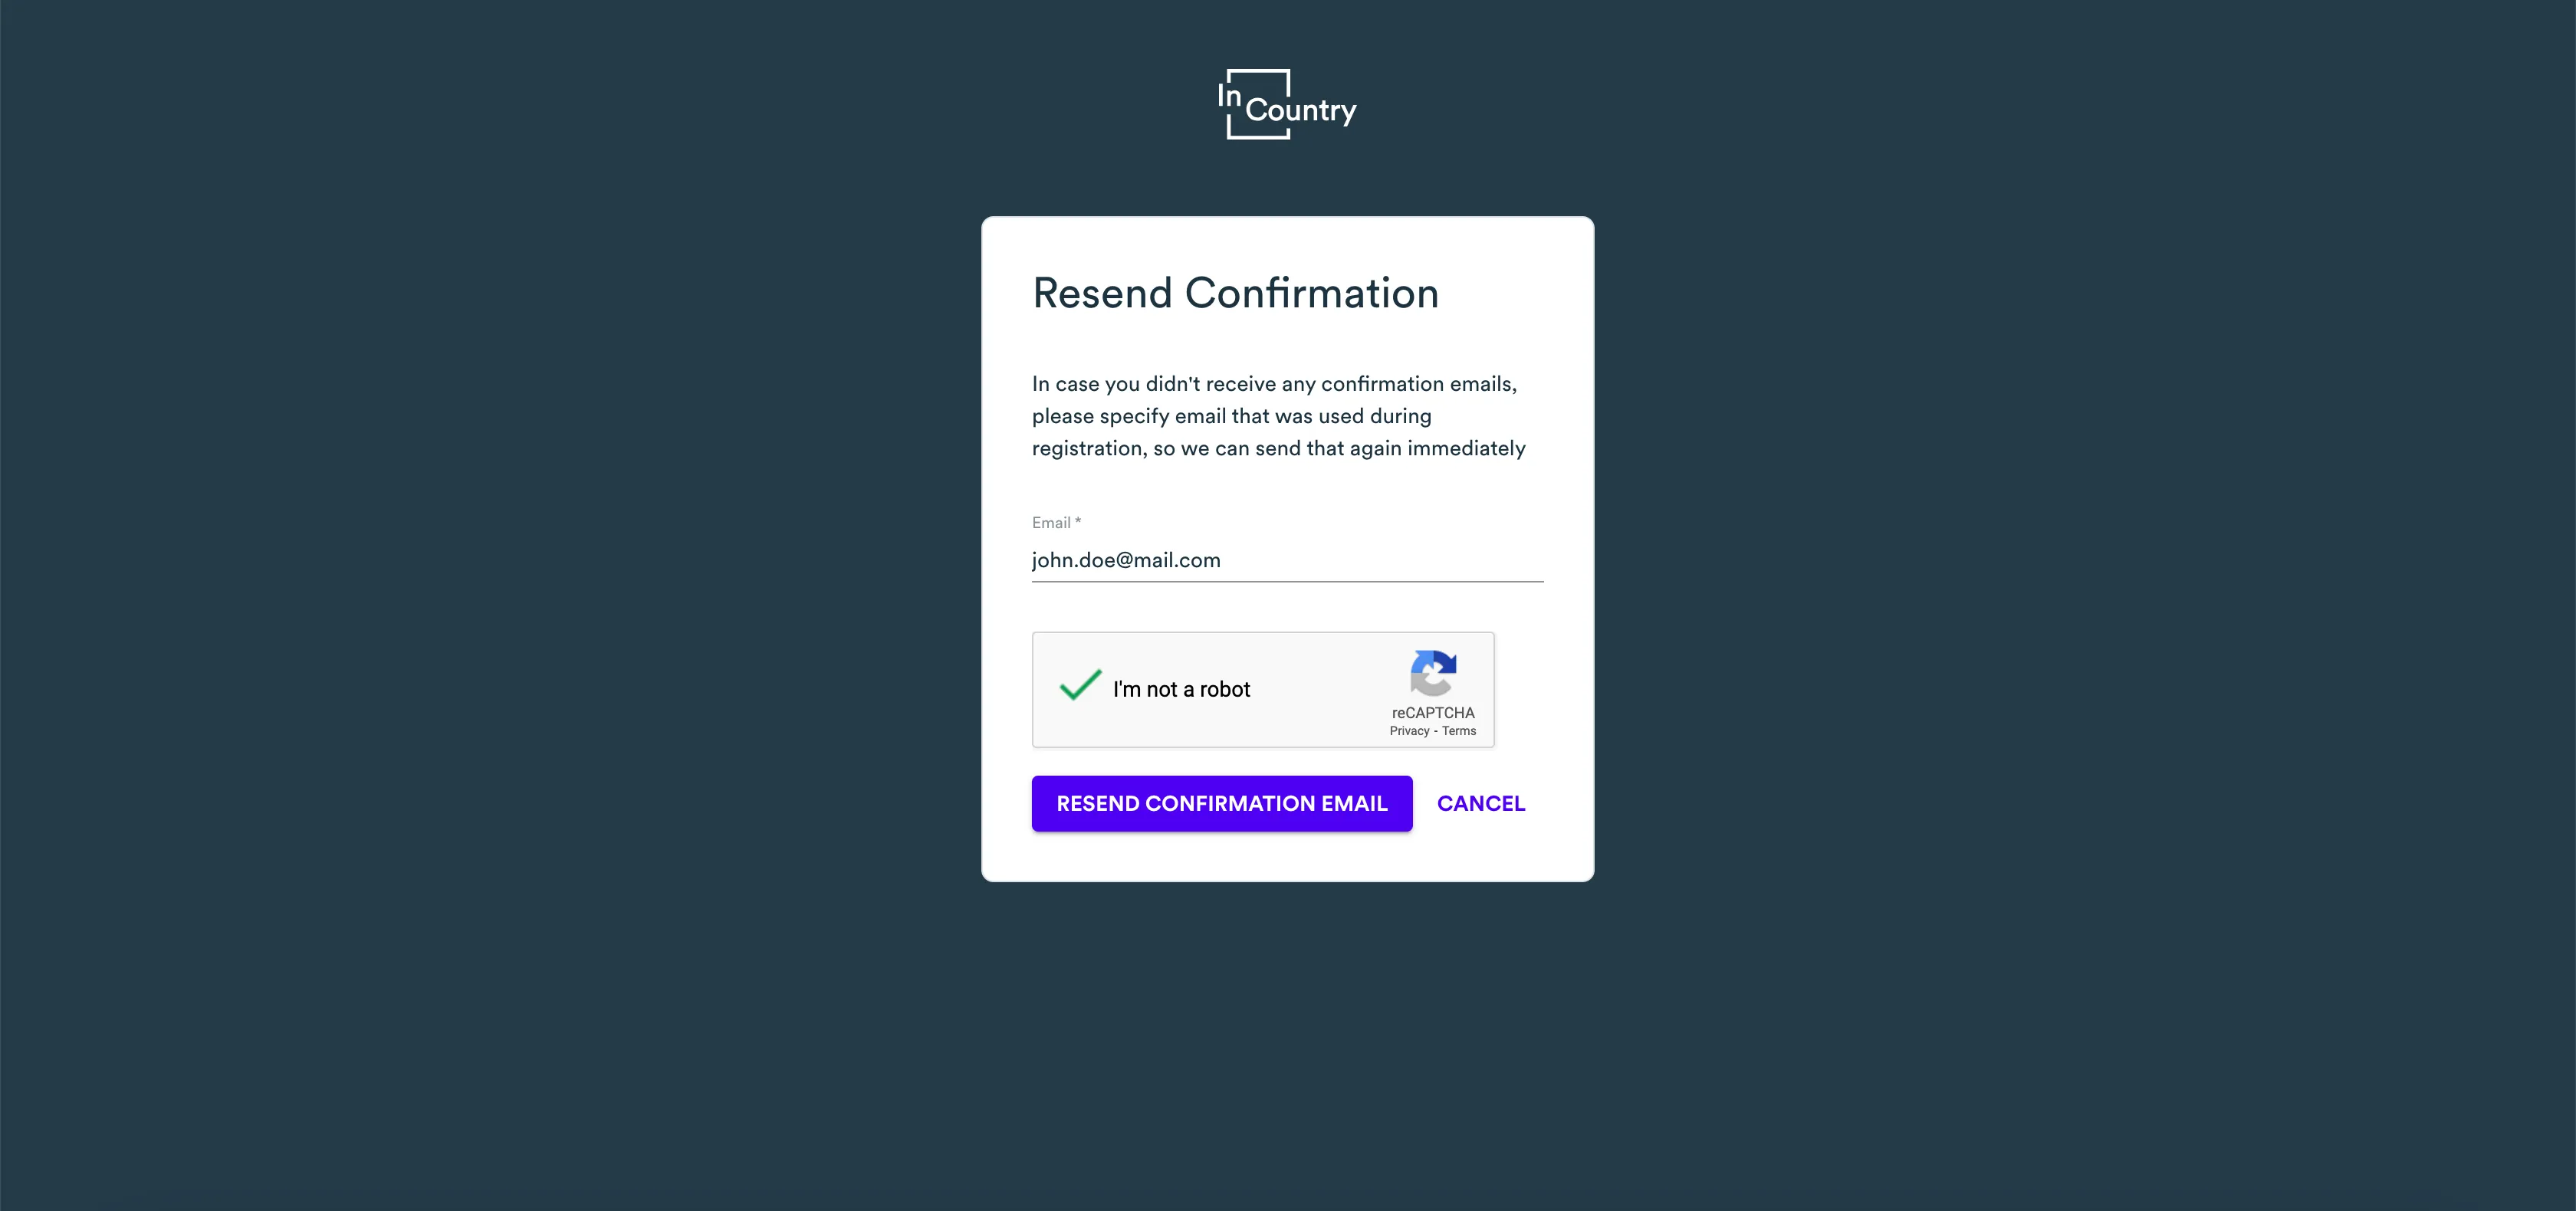
Click Resend confirmation.
-
In the Resend Confirmation form, enter the email address you used to sign up to the InCountry Portal.
-
Check the box that you are not a robot.
-
Click Resend Confirmation Email.
-
Open your mailbox and check it for the confirmation email.
-
Follow the instructions in the confirmation email to confirm your email address and further sign in to the InCountry Portal and start using the data residency services.

If you have already confirmed your email address, the confirmation email is not sent to your email.
Resetting the password
You may need to reset the password of your account on the InCountry Portal if you have accidentally forgotten it.
-
Open the browser.
-
In the address line, enter the address of the InCountry Portal - https://portal.incountry.com/login .
-
Press Enter to proceed to this address.
-
Click Reset my password.
-
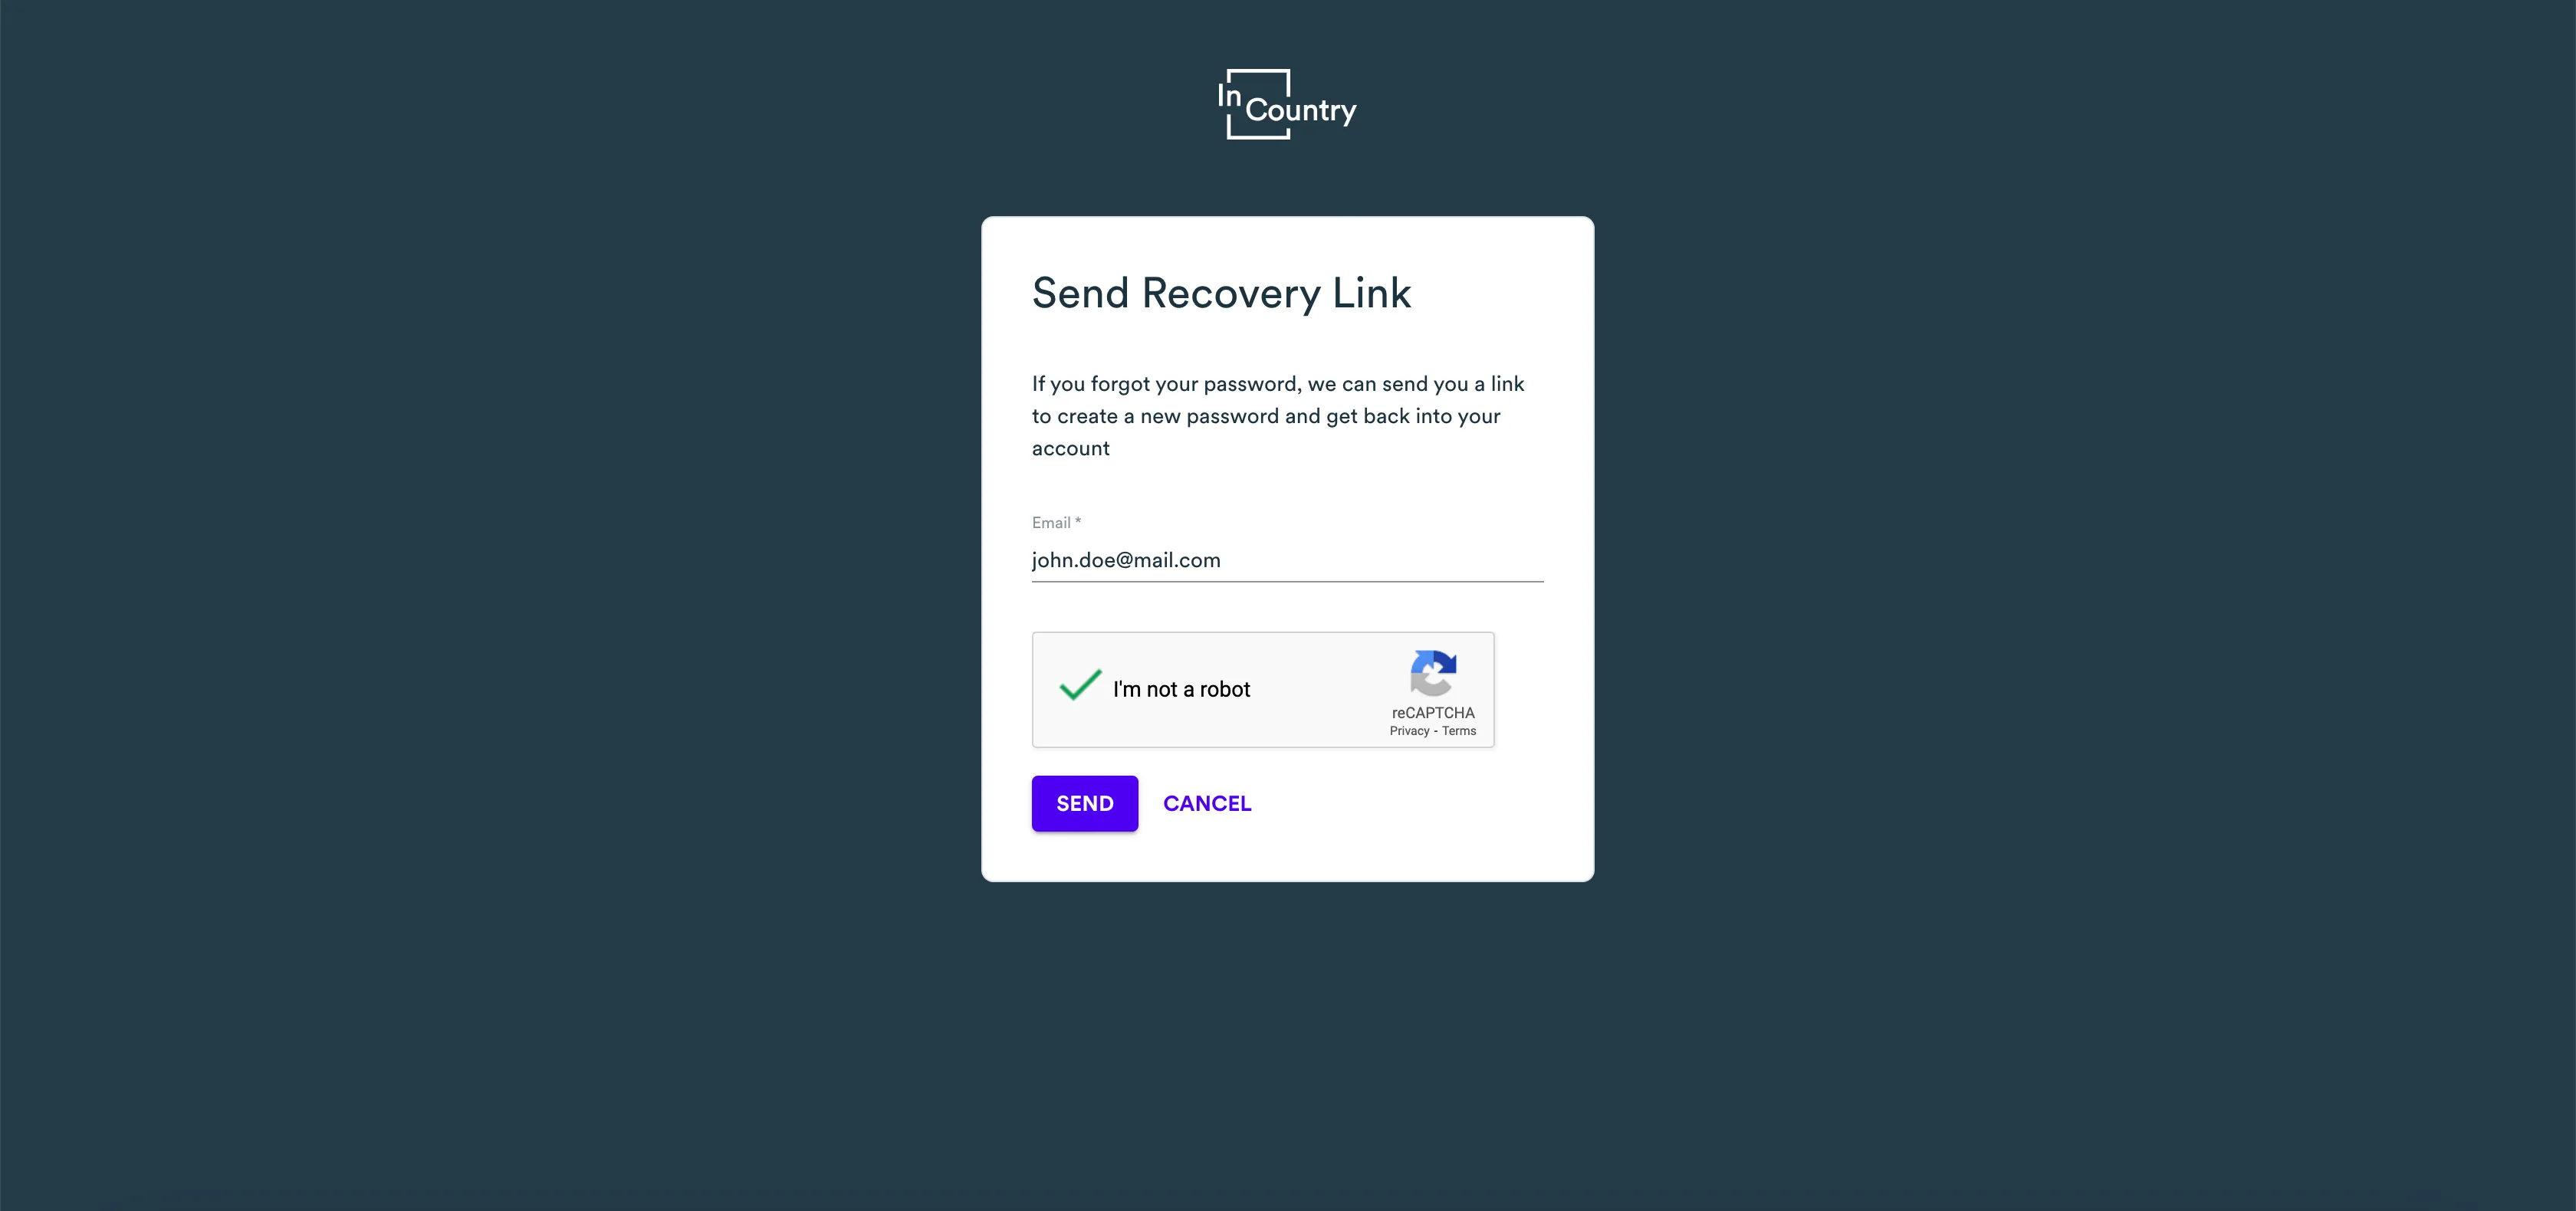
In the Send Recovery Link form, enter the email address you used to sign up to the InCountry Portal.
-
Check the box that you are not a robot.
-
Click Send.
-
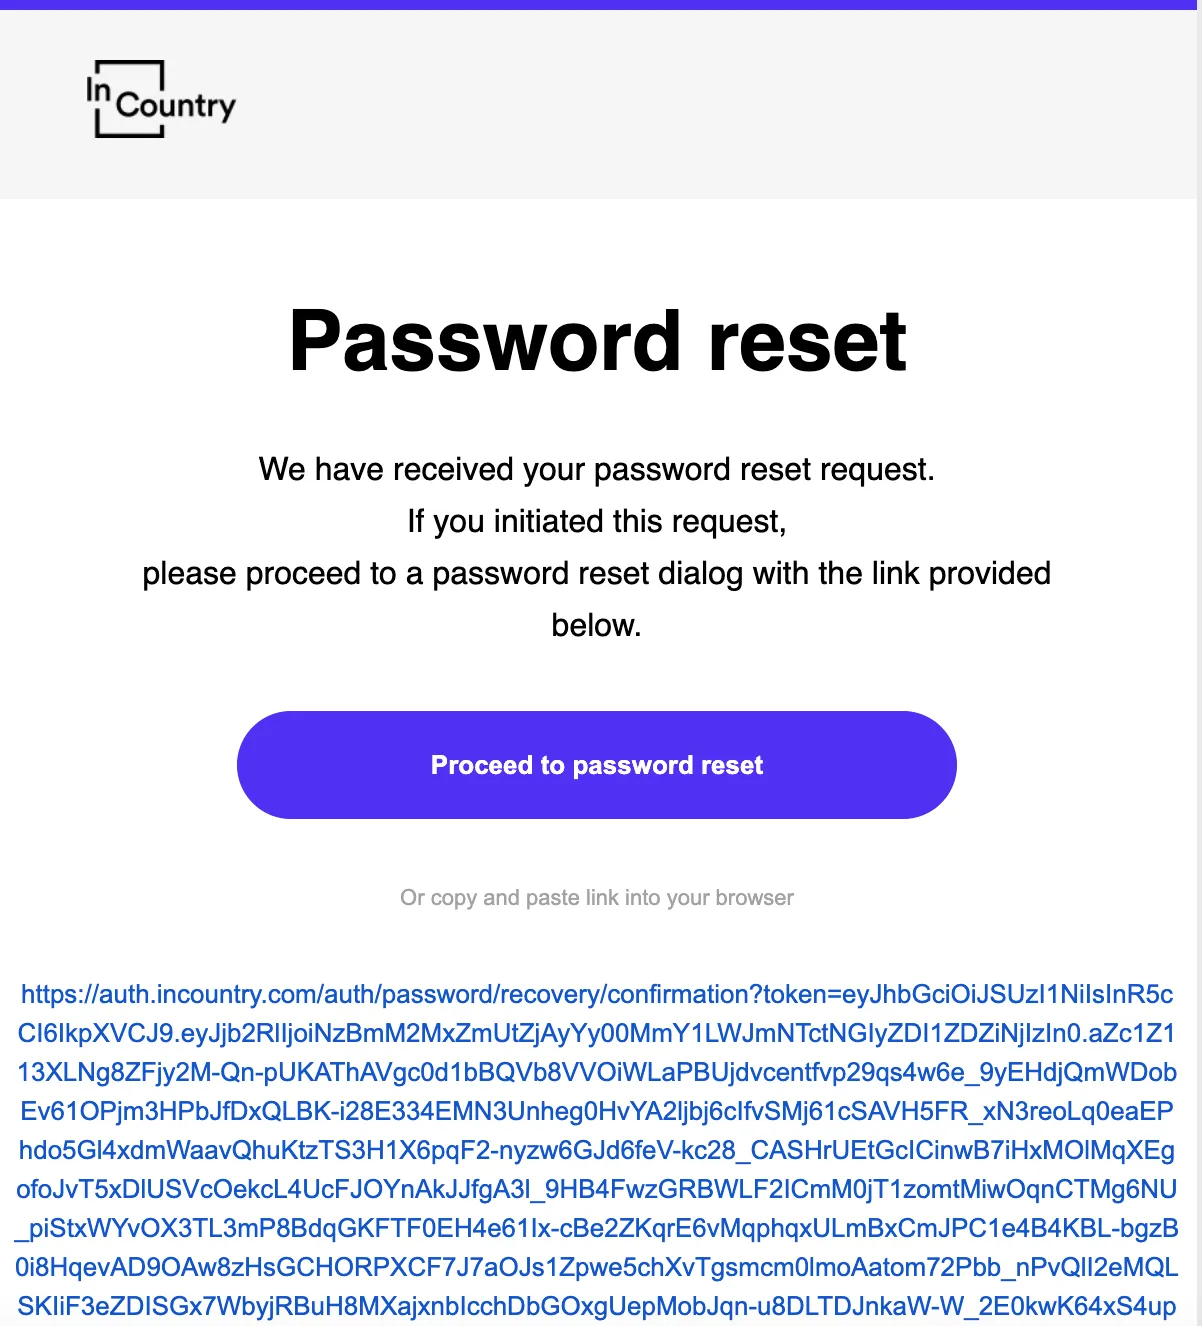
Open your mailbox and check it for the confirmation email with the subject InCountry - Password Reset.
-
Open the email and click Proceed to password reset. Alternatively, you can click the link below the button to proceed to the password reset.
-
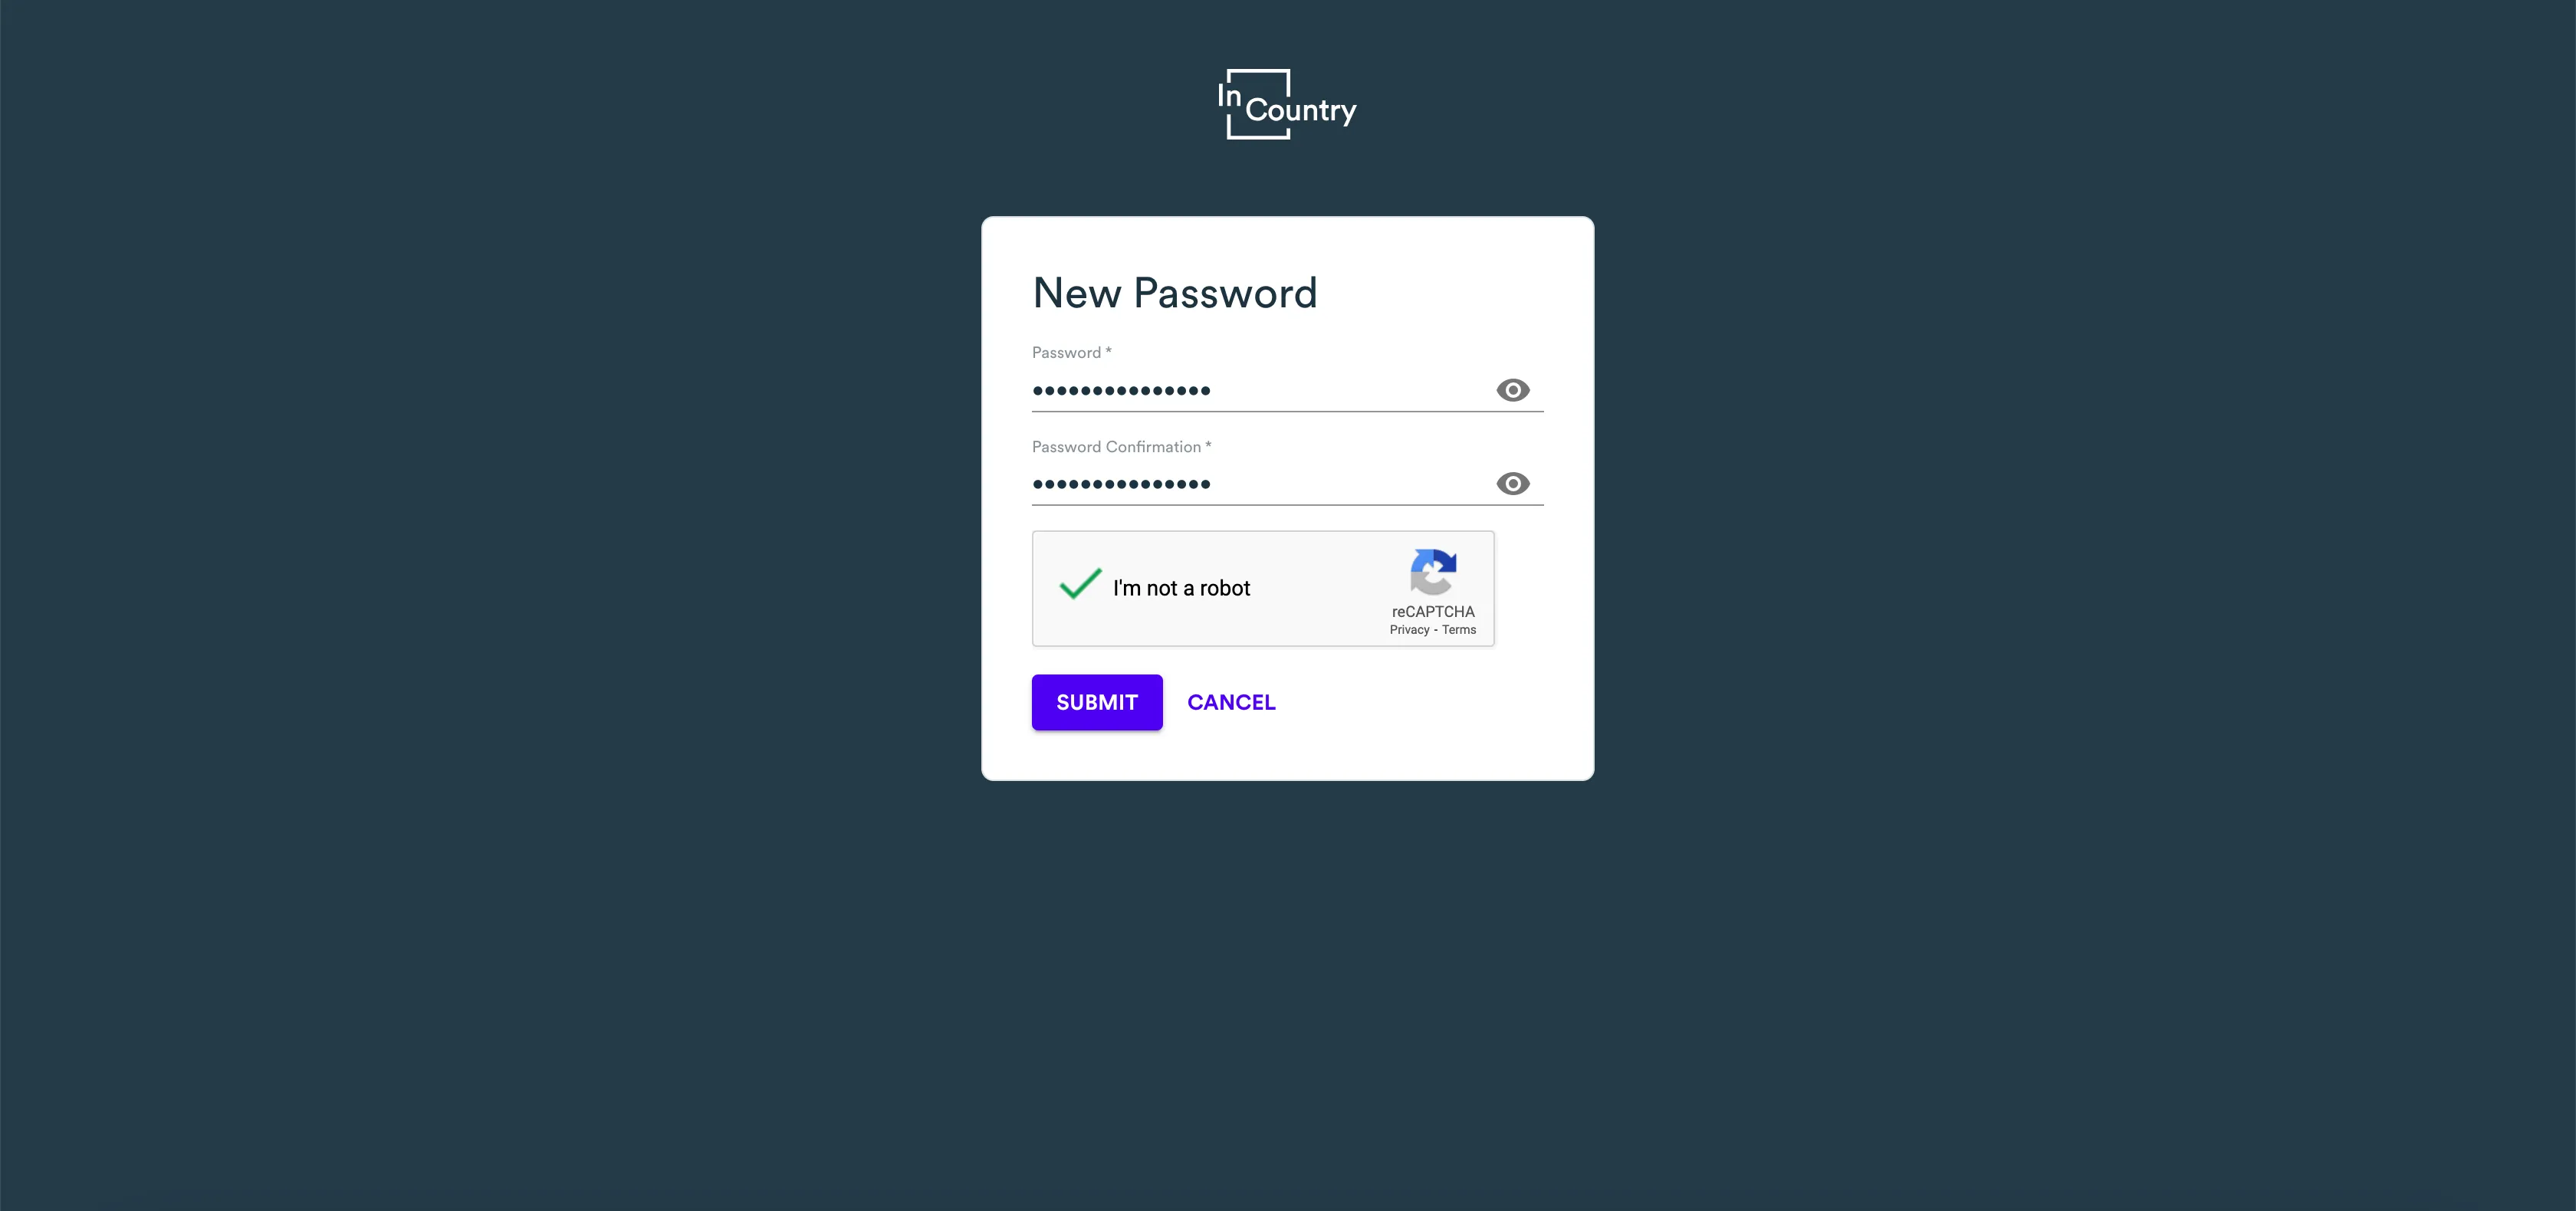
In the New Password form, enter a new password and confirm it.
-
Check the box that you are not a robot.
-
Click Submit.
-
Sign in to the InCountry Portal with the new password.

Logging out
By default, InCountry Portal logs you out within the 15-minute of inactivity. In situations when you no longer need to use InCountry Portal, you can log out of it forcibly.
-
In the top right part of the screen, locate your email address and click it.
-
In the appeared menu, click Logout.
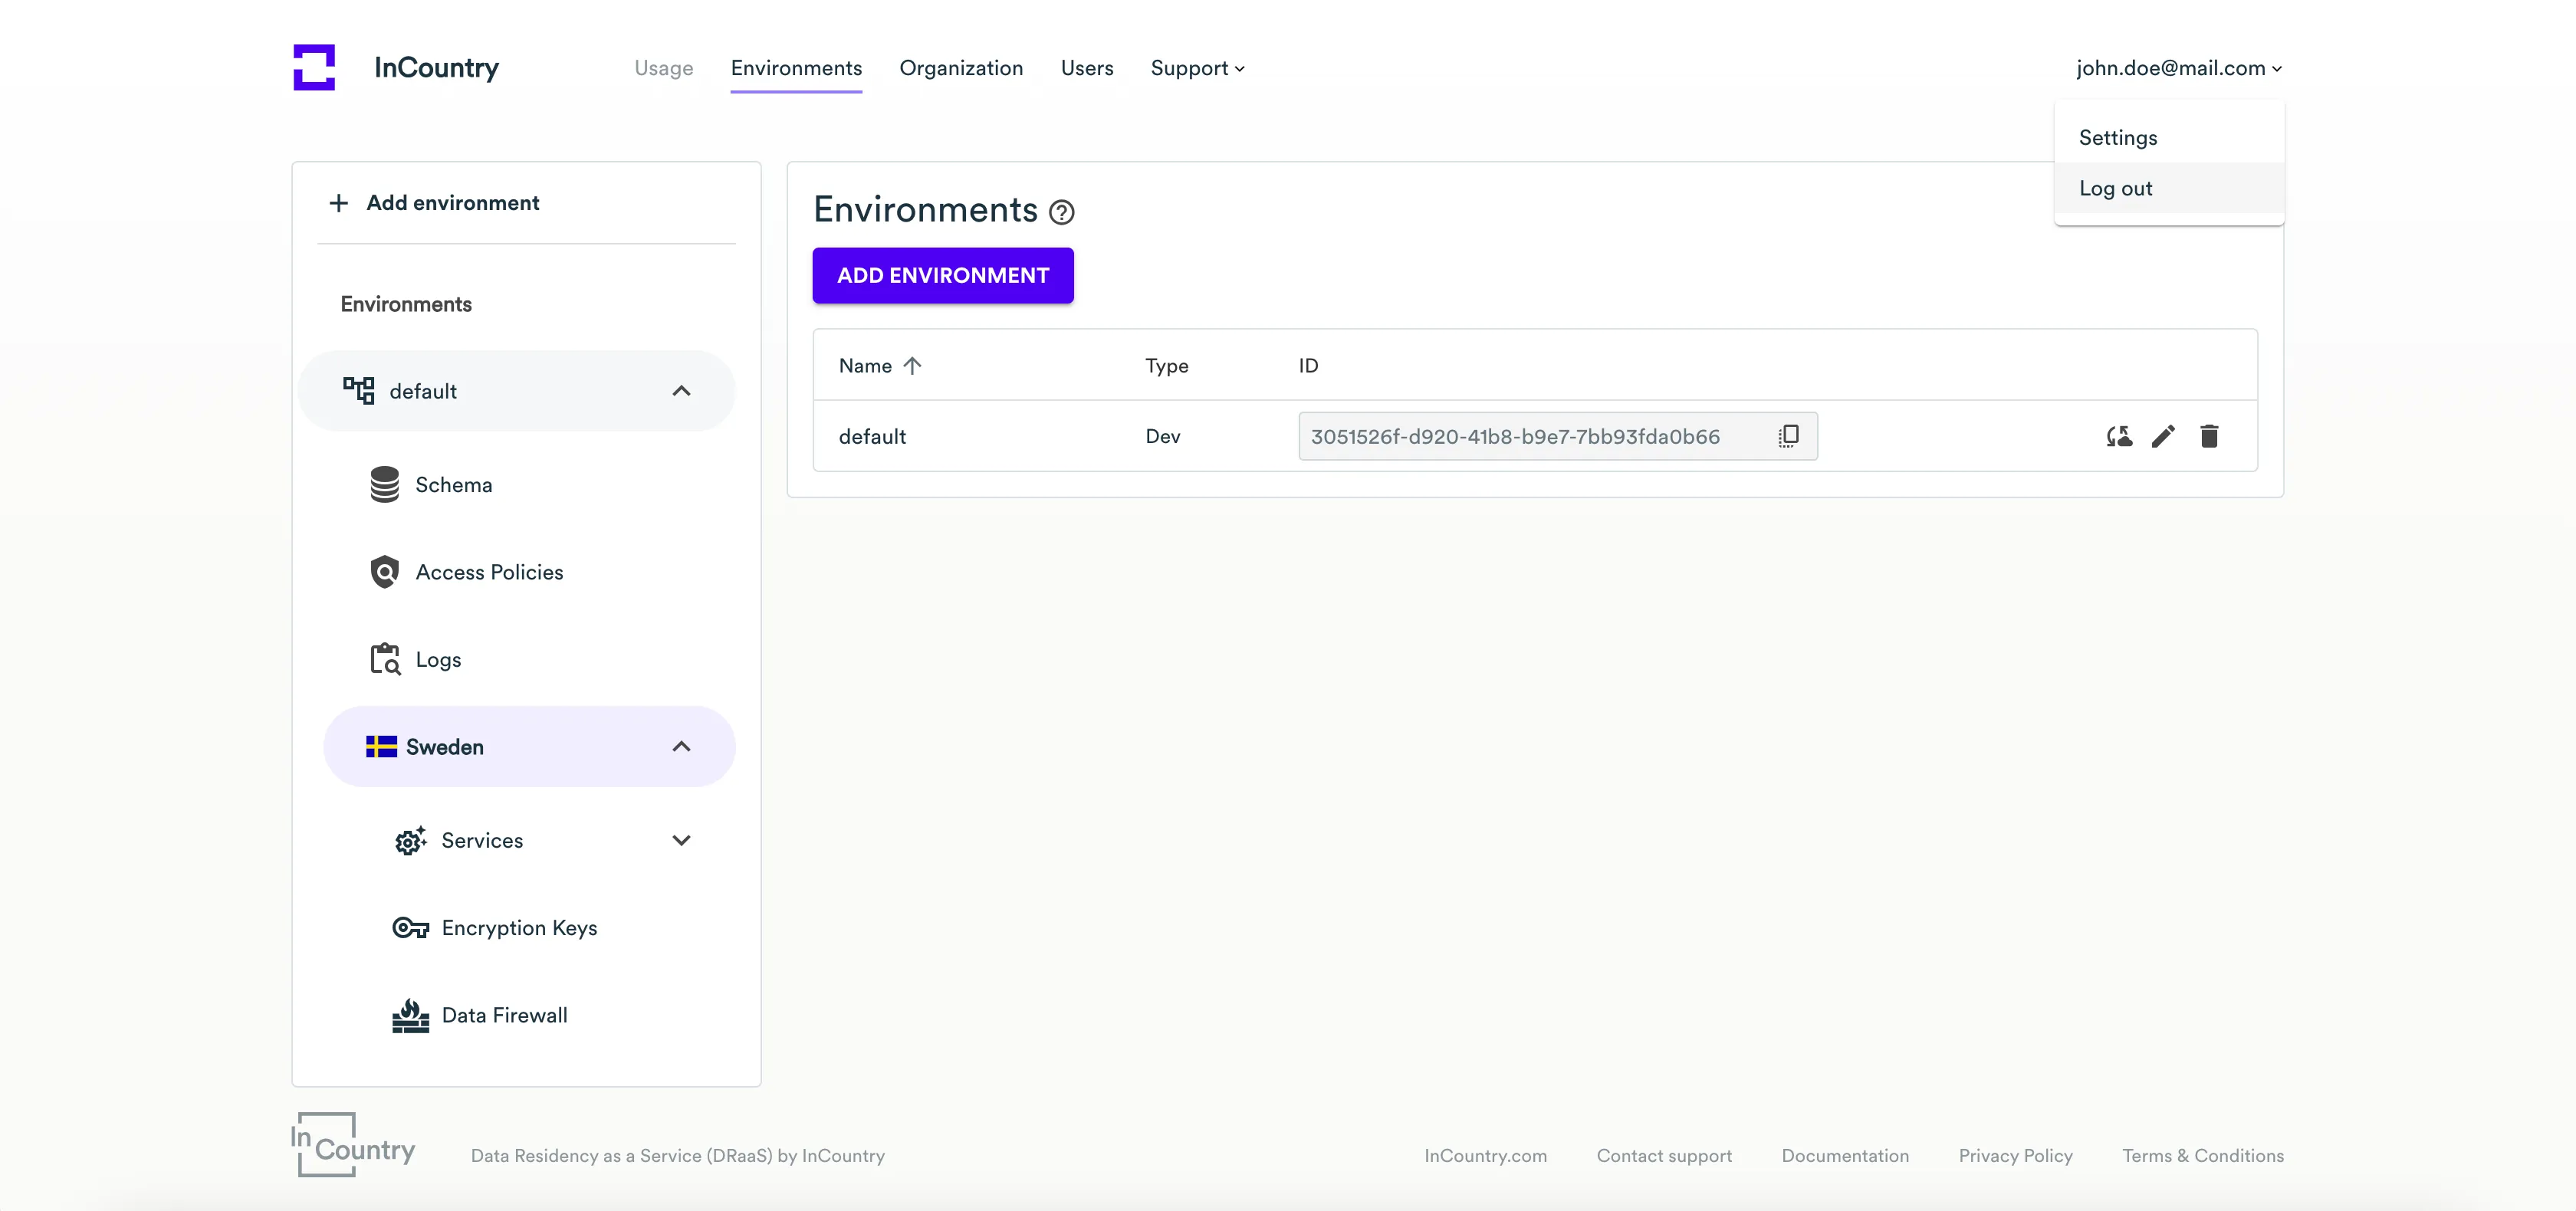
InCountry Portal logs you out of the system.
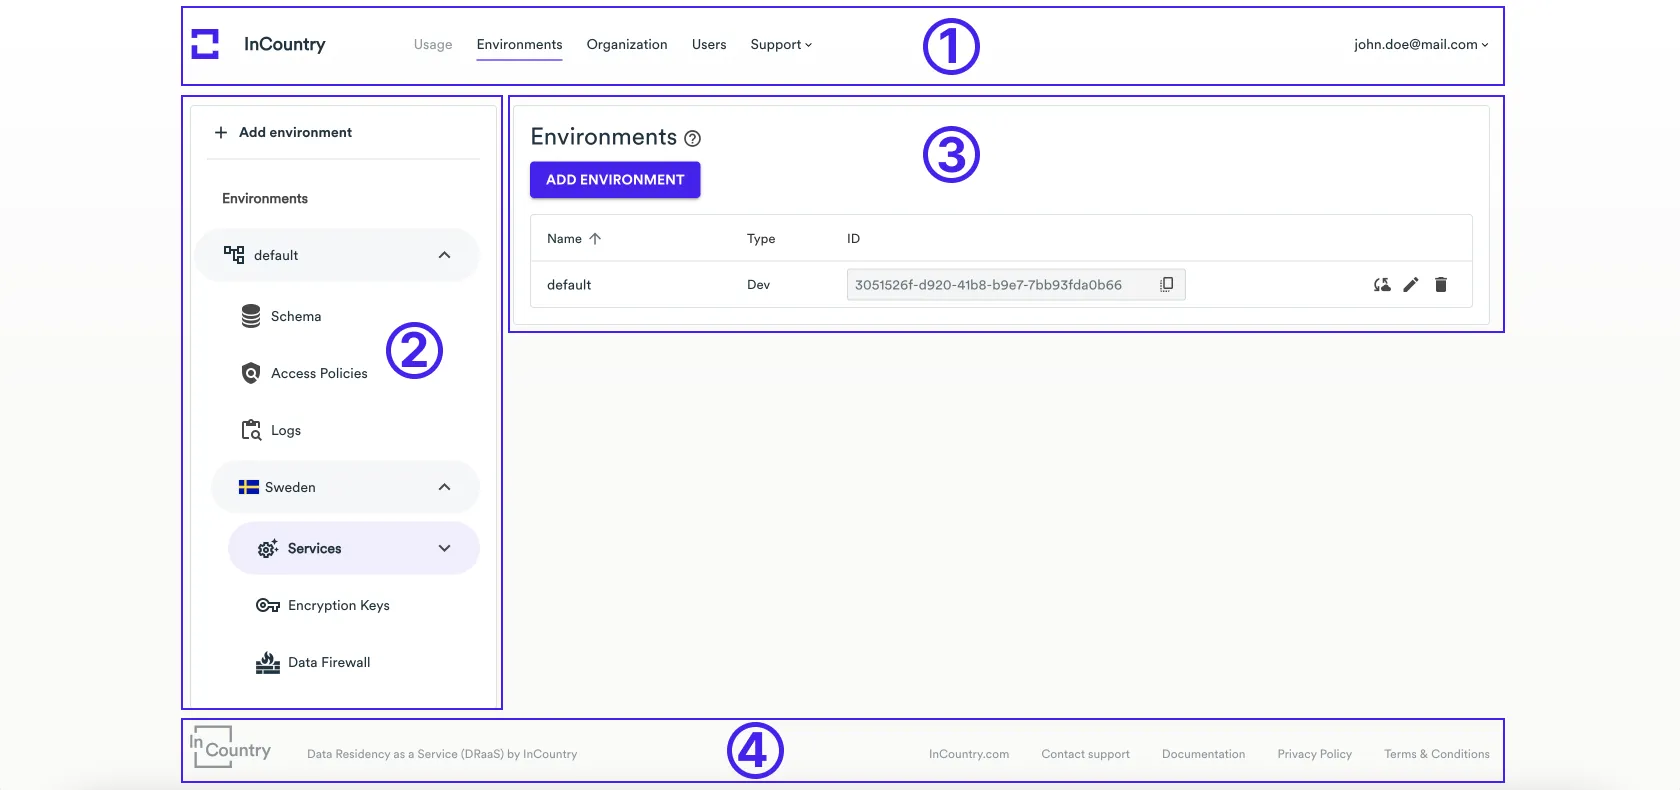
Interface of InCountry Portal
Interface of InCountry Portal consists of four areas.
| Area | Description |
|---|---|
| 1. Header | The top menu provides navigation to the main sections of the InCountry Portal. |
| 2. Sidebar | The sidebar provides detailed navigation within the selected section. |
| 3. Main area | Displays the entities and functionality parts of the currently opened section of the InCountry Portal. |
| 4. Footer | Displays the service information to get support and contact the InCountry team. |
Sections of InCountry Portal
The InCountry Portal is divided into sections that provide specific functionality for fulfilling particular objectives.
You can see the sections navigation menu in the Header area of the page.
| Section | Description |
|---|---|
| Usage | Provides the dashboard with analytics on record usage and data consumption per country or specific environment. |
| Environments | Provides the functionality to manage environments, Storage credentials, services, and encryption keys that you need to that are required for getting access to data residency services provided by InCountry. |
| Organization | Provides the functionality to manage the organization which you are associated with. |
| Users | Lets you manage users within your organization and invite new users. |
| Support | Provides quick access to the documentation of the InCountry Portal. |
Access to the sections of the InCountry Portal is regulated by the role-based policy, so the accessibility of a specific section depends on your role within the organization. For the details on roles, see Managing Users.