InCountry logo
mobile-nav
Search
  • Products
    • Platform
      • Overview
      • Compliance and security
      • How it works
      • For SaaS
      • For internal apps
    • Gateways
      • Email
      • HTML
      • Payments
      • Web Forms
  • Solutions
    • Energy
    • Financial services
    • Healthcare
    • Retail
    • Technology
  • Integrations
    • SaaS
      • Cegid
      • Intertrust
      • Mambu
      • PayPal
      • Salesforce
      • Segment
      • ServiceNow
      • Stripe
      • Twilio
      • Veeva Systems
    • IAAS
      • InCountry on Alibaba Cloud
      • InCountry on Yandex.Cloud
  • Resources
    • Country compliance
    • Documentation
    • Library
    • Partners
    • Pricing
  • About
    • Blog
    • Careers
    • Contact Us
    • FAQ
    • Leadership
  • Login
  • Schedule a Demo

›Documentation

Home
  • InCountry Platform
Portal
  • Getting started
  • Documentation
    • Dashboard
    • Managing environments
    • Managing clients and integrations
    • Managing Border configuration
    • Managing serverless scripts
    • Managing file imports
    • Managing profile and organization
    • Managing users
    • Managing secret keys
    • Managing recommendation modules
    • Managing subscription
  • Release notes
Border
  • Documentation
  • Release notes
REST API
  • Documentation
  • How to test CRUD requests through REST API
  • Release notes
Serverless
  • Documentation
Salesforce
  • About
  • Overview
  • Quick start guide for three-model package
  • Quick start guide for legacy package
  • Administrator's guide
    • Managing the package
    • Managing permissions
    • Managing OAuth2 authentication and authorization
    • Managing certificates
    • Registering CSP Trusted Sites
    • Managing InCountry Endpoints
    • Managing REST endpoints
    • Managing InCountry flags
    • Loading the application
    • Managing data regulation policies
    • Managing protected fields
    • Hashing the UserName field
    • Managing custom objects
    • Replacing standard elements
    • Configuring record search
    • Managing components
    • Setting up Salesforce Experience Cloud
    • Managing serverless functions
    • Managing InCountry cache
    • Managing Apex triggers
    • Managing record synchronization
    • Using Email-to-Case feature
    • Debugging
  • Developer’s guide
    • Apex SDK
    • JavaScript API
    • Retrieving record statistics
    • Tracking field history
  • User's guide
    • Working with protected fields
    • Sending compliant email messages
    • Importing data into Salesforce
    • Migrating records
    • Managing audit reports
    • Converting leads
    • Managing reports
    • FAQ
    • Release notes
Payment Vault
  • Documentation
BYOK
  • Documentation
FAQ
  • How to use the InCountry platform
  • Integration options
  • Data regulation models
  • Limits and quotas
  • Video tutorials
Service Status
  • Status

Managing clients and integrations

The client is a data communication entity that is used to get access to data-residency services of InCountry Platform within the allocated environment.

All clients are attributed to the specific environment within which you created them.

To view the clients for a specific environment, on the menu, select Environments and then select the environment.

Environment details page

On the environment details page, you can view the three blocks, as follows:

  • Clients - shows the number of clients created.

  • Integrations - shows the number of integrations created.

  • Encryption Keys - shows the number of encryption keys created.

Within each environment, you can have multiple clients that you can use to manage data records on the InCountry platform with the SDK. Additionally, you can create integrations for the operation of the InCountry Data Residency for Salesforce package, data communication through REST API, management of serverless functions, or operation of Border. Besides this, you can also manage encryption keys for a specific country where you store regulated data records.

Managing clients

A client is a set of credentials (Client ID and Client Secret) that you can use to connect to a secure data store provided by the InCountry platform in a specific country.

You can manage clients, as follows:

  1. create new clients

  2. edit names of existing clients

  3. delete the no longer needed clients

Creating new clients

By default, InCountry Portal does not create a default client together with the creation of a default environment. You can create a new client once needed.

To create a new client:

  1. Open a specific environment within which you want to create a new client.

    Generate client

  2. Click Generate client.

    New client

  3. On the New Client form, enter the name of the client.

  4. Click Next.

    Create

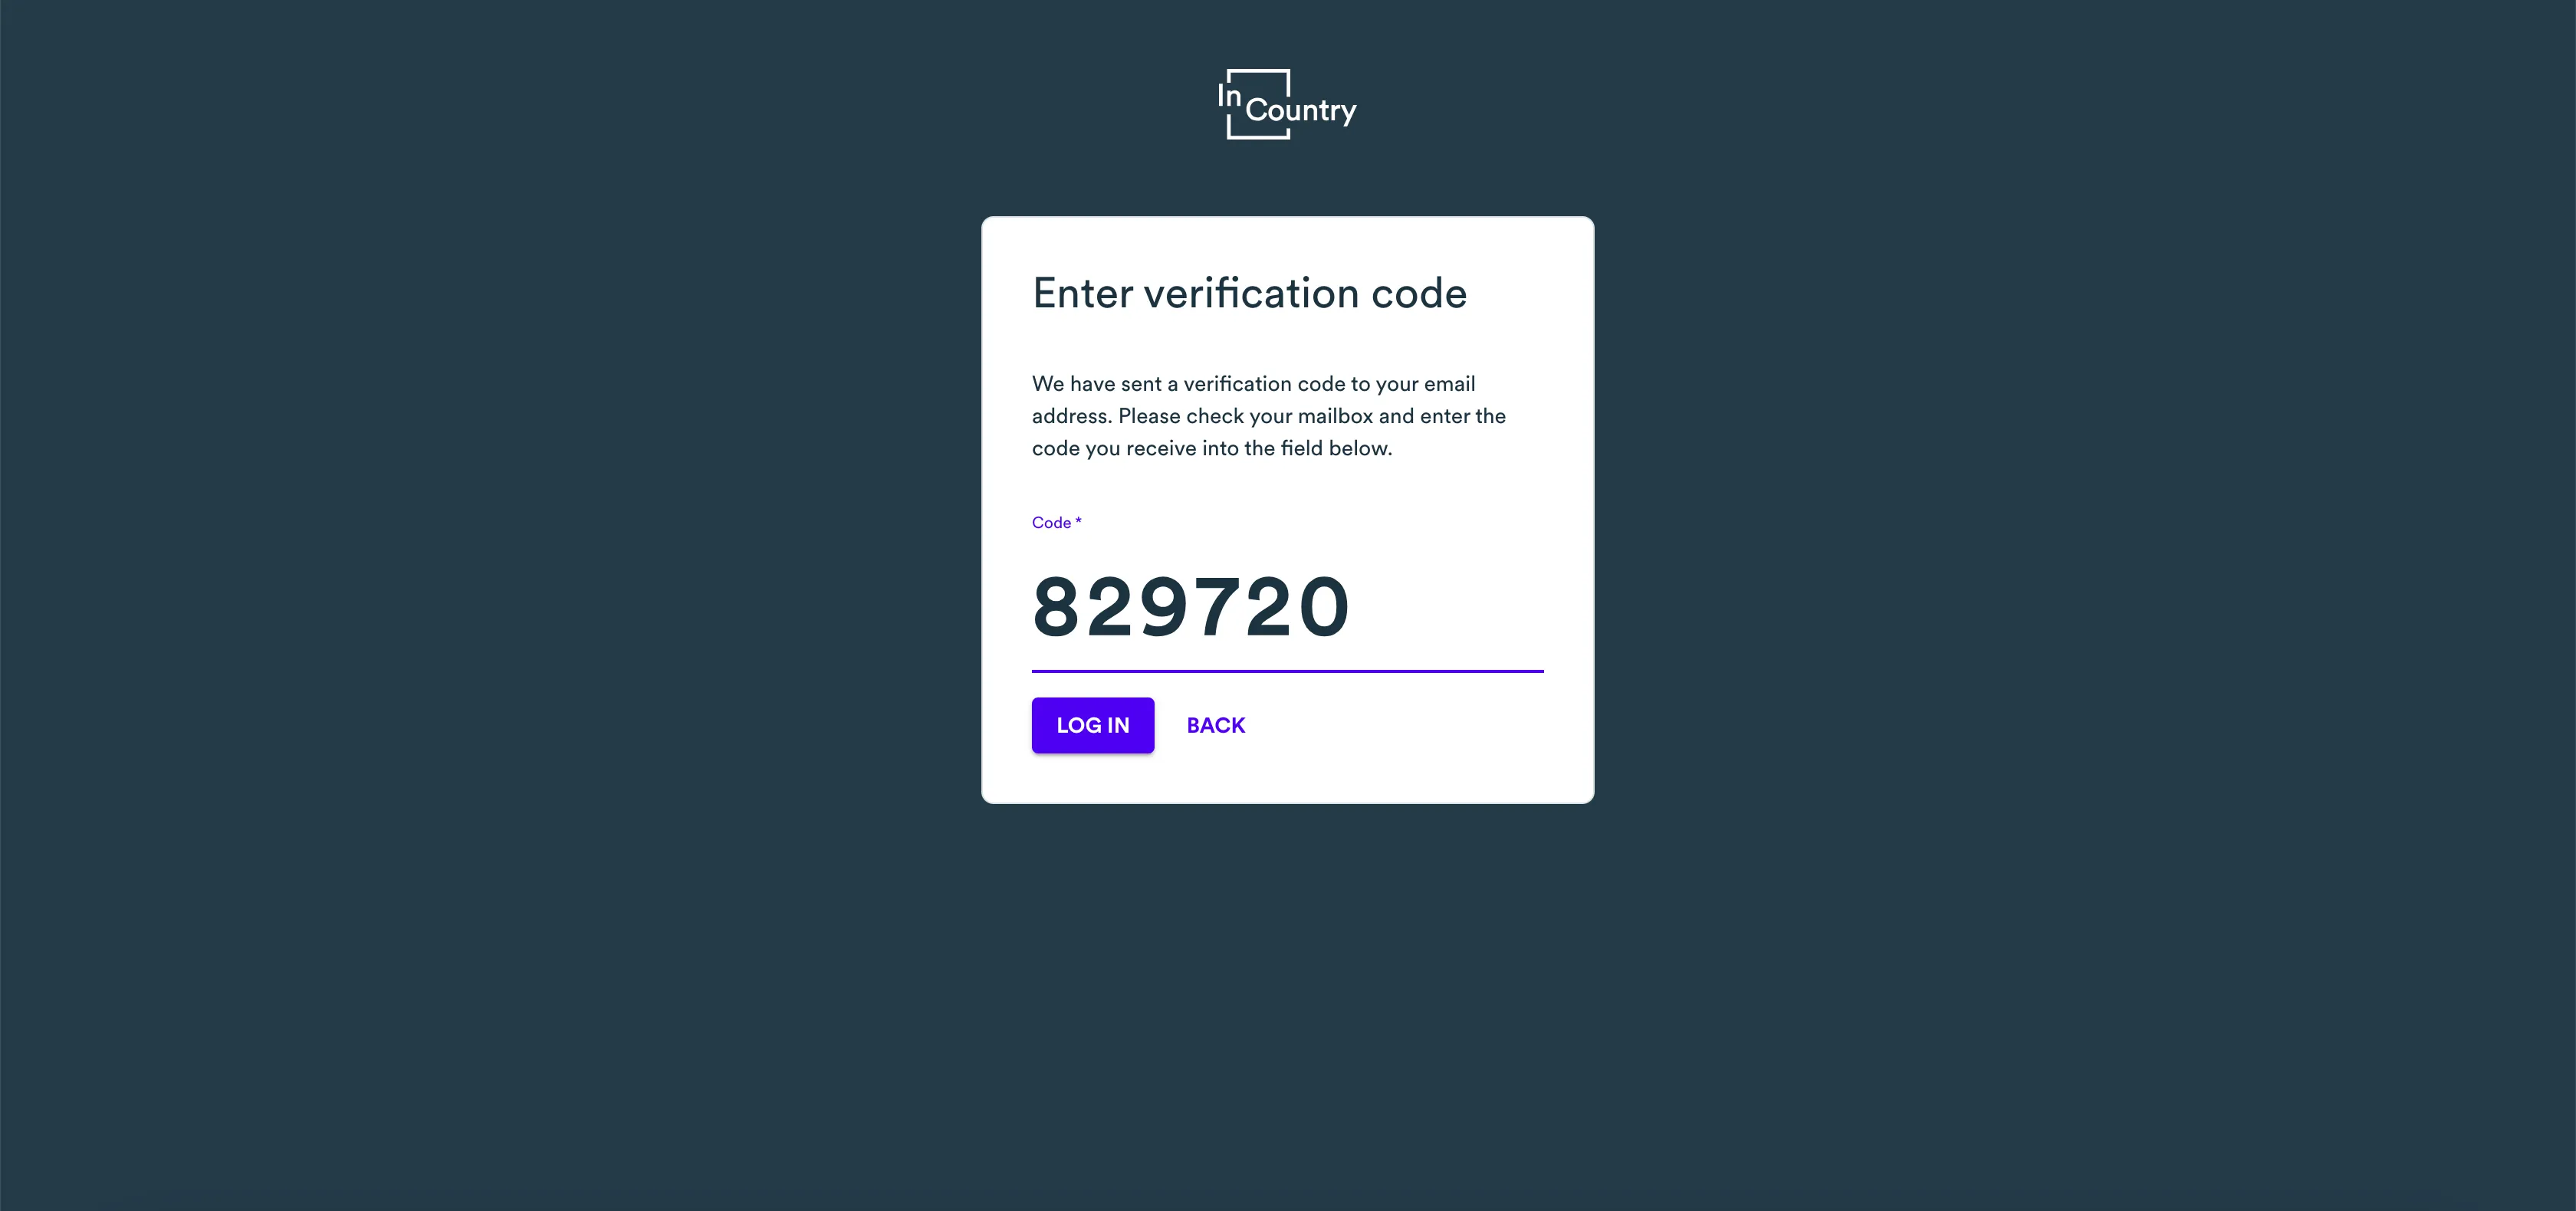
  5. Enter the verification code and click Create.

  6. InCountry Portal generates the credentials (Client ID and Client secret) that you can you further use to manage data on the InCountry platform.

    Download text

  7. On the newly opened page, copy the Environment ID, Client ID, and Client Secret. Save them in a secure place as you will not be able to recover them. To download a text file with all these credentials, click Download text. To copy these credentials to the clipboard, click Copy to clipboard.

  8. When complete, click Close.

A new client will appear within the environment.

note

You can create up to 10 clients in one production environment.

Updating the client name

You may need to rename the client in some cases if the current name does not reflect the actual purpose of the client.

  1. Open the environment.

  2. Click the Environments block.

  3. On the list with clients, locate the client you want to rename.

    Change client name

  4. Click the Change Client Name icon.

    Click Next

  5. On the Client Parameters page, update the name for the client.

  6. Click Next.

  7. Enter the verification code and click Update.

Deleting the client

If you no longer need some client, you can delete it. After the removal, the client credentials will be no longer valid, so you cannot use them for further data management on the InCountry Platform. To get access to data stored within the environment, you will need to create a new client.

  1. Open the environment.

  2. Click the Environments block.

  3. On the list with clients, locate the client you want to delete.

    Delete client

  4. Click the Delete Client icon.

  5. Enter the verification code and click Delete.

note

If you delete the automatically generated client for a specific integration, this integration will no longer work.

Managing integrations

Integration is an entity representing a connection point that can be used to integrate your system with other components of the InCountry Platform.

You can manage integrations, as follows:

  1. create new integrations

  2. renew existing integrations

  3. delete the no longer needed integrations

note

Please consider that you can create only integration of each type per one country. You cannot create multiple Salesforce, serverless, or REST API integrations for the same country within the same environment.

Creating new integrations

InCountry Portal does not create a default integration together with the creation of a default environment. You can create an integration of the four types, as follows:

  1. Salesforce is used for the operation of the InCountry Data Residency for Salesforce package.

  2. Serverless is used for the management of serverless functions on the target Point-of-Presence (PoP).

  3. restapi-sse is used for data communication with REST API.

  4. Border is used for data communication through Border.

Creating a new Salesforce integration

  1. Open the environment in which you want to create a new integration.

    Create integration

  2. Click Create integration.

    Click Next

  3. On the New Integration page, define the configuration of the integration, as follows:

    • Type - select the Salesforce integration type from the list.

    • Name- enter the name of the integration.

    • Country - select the country for integration setup.

  4. Click Next.

  5. Enter the verification code.

  6. Click Create.

    Click Close

  7. On the page with the created Salesforce integration, save the environment ID, Client ID, Client Secret, and REST API address. To download a text file with all these credentials, click Download text. To copy these credentials to the clipboard, click Copy to clipboard.

  8. When complete, click Close.

Uploading the public certificate

Once you have created the Salesforce integration and registered a self-signed certificate in Salesforce, you need upload the public certificate in the CRT format to the InCountry Portal.

  1. Open the environment where the Salesforce integration was created.

  2. Click the Integrations block.

  3. On the list with integrations, locate the integration of the Salesforce type.

    locate integration

  4. Click the Upload Certificate icon.

    Upload certificate

  5. Click Select Certificate and select the public certificate you downloaded from Salesforce.

  6. Click Next.

  7. Enter the verification code and click Upload.

note

Salesforce generates a certificate for one year, after this period you need to re-generate the certificate and upload its new version on the DRaaS. Click the Replace Certificate icon and upload a new version of the certificate. The procedure is quite similar to certificate upload.

Creating a new Serverless integration

  1. Open the environment in which you want to create a new integration.

  2. Click Create integration.

    Create serverless integration

  3. In the Create Integration form, specify the following information:

    • Type - select the Serverless integration type from the list.

    • Name - enter the name of the integration.

    • Country - select the country for integration setup.

  4. Click Next.

  5. Enter the verification code.

  6. Click Create.

    New serverless integration

  7. On the page with the created serverless integration, save the environment ID, Client ID, Client Secret, and REST API address. To download a text file with all these credentials, click Download text. To copy these credentials to the clipboard, click Copy to clipboard.

  8. When complete, click Close.

A new serverless integration will appear on the list with other integrations within the current environment. Having created a serverless integration, you can proceed with the publication of serverless scripts.

Creating a new REST API integration

  1. Open the environment in which you want to create a new integration.

  2. Click Create integration.

    Create REST API integration

  3. In the Create Integration form, specify the following information:

    • Type - select the REST API (SSE) integration type from the list.

    • Name - enter the name of the integration.

    • Country - select the country for integration setup.

  4. Click Next.

  5. Enter the verification code.

  6. Click Create.

    New REST API integration

  7. On the page with the created REST API integration, save the environment ID, Client ID, Client Secret, and REST API address. To download a text file with all these credentials, click Download text. To copy these credentials to the clipboard, click Copy to clipboard.

  8. When complete, click Close.

A new REST API integration will appear on the list with other integrations within the current environment.

Creating a new Border integration

  1. Open the environment in which you want to create a new integration.

  2. Click Create integration.

    Create Border integration

  3. In the Create Integration form, specify the following information:

    • Type - select the Border integration type from the list.

    • Name - enter the name of the integration.

    • Country - select the country for integration setup.

  4. Click Next.

  5. Enter the verification code.

  6. Click Create.

    New Border integration

  7. On the page with the created REST API integration, save the environment ID and Border address. To download a text file with all these credentials, click Download text. To copy these credentials to the clipboard, click Copy to clipboard.

  8. When complete, click Close.

A new REST API integration will appear on the list with other integrations within the current environment. You can proceed with defining the Border configuration.

Renewing the integration

You can renew Client ID and Client Secret that are used within a particular integration. This may be required for key rotation or when you lost the client secret but do not want to create a new integration.

  1. Open the environment.

    Integrations

  2. Click the Integrations block.

  3. On the list with integrations, locate the integration you want to renew.

    Renew integration

  4. Click the Renew Integration icon.

  5. Confirm the operation by clicking Renew.

  6. Enter the verification code.

  7. On the page with the renewed integration, save the environment ID, Client ID, Client Secret, and REST API address. To download a text file with all these credentials, click Download text. To copy these credentials to the clipboard, click Copy to clipboard.

  8. When complete, click Close.

Deleting the integration

If you no longer need some integration, you can delete it. After the removal, the issued certificates for the integration will be no longer valid, so you cannot use them for further data management on the InCountry platform.

  1. Open the environment.

    Open the environment

  2. Click the Integrations block.

  3. On the list with integrations, locate the integration you want to delete.

    Delete integration

  4. Click the Delete Integration icon.

  5. On the Delete Integration page, enter the verification code.

  6. Once entered, click Delete.

← Managing environmentsManaging Border configuration →
  • Managing clients
    • Creating new clients
    • Updating the client name
    • Deleting the client
  • Managing integrations
    • Creating new integrations
    • Renewing the integration
    • Deleting the integration
InCountry logo blue
© InCountry 2022.
All rights reserved. InCountry, Inc
  • PRIVACY POLICY
  • TERMS OF SERVICE
  • Social share
    • YouTube logo
    • Facebook logo
    • Twitter logo
    • LinkedIn
  • Column 1
    • Products
      • Platform
        • Overview
        • Compliance and security
        • How it works
        • For SaaS
        • For internal apps
      • Gateways & Vaults
        • Email
        • HTML
        • Payments
        • Web Forms
    • Solutions
      • Energy
      • Financial services
      • Healthcare
      • Retail
      • Technology
  • Column 2
    • Integrations
      • SaaS
        • Cegid
        • Intertrust
        • Mambu
        • PayPal
        • Salesforce
        • Segment
        • ServiceNow
        • Stripe
        • Twilio
        • Veeva Systems
      • IAAS
        • InCountry on Alibaba Cloud
        • InCountry on Yandex.Cloud
  • Column 3
    • Resources
      • Country compliance
      • Documentation
      • Library
      • Partners
      • Pricing
    • About
      • Blog
      • Careers
      • Contact Us
      • FAQ
      • Leadership