Data Firewall
InCountry Data Residency-as-a-Service is equipped with the data firewall that can automatically block access to regulated records stored in the InCountry Vault in a specific country for users accessing these regulated records outside the country of origin. By default, the data firewall identifies the IP address of the requestor (user) and checks whether this IP address is attributed to the country where the record is stored. If the requestor resides in the country different from the record’s country of origin, the data firewall blocks such request and does not return the content of the regulated record.
Enabling the data firewall
Data firewall can be enabled for an activated country within a specific environment. You can individually adjust the operation of the data firewall per each country when the environment has several activated countries.
- Select the environment and country where you want to enable the data firewall.
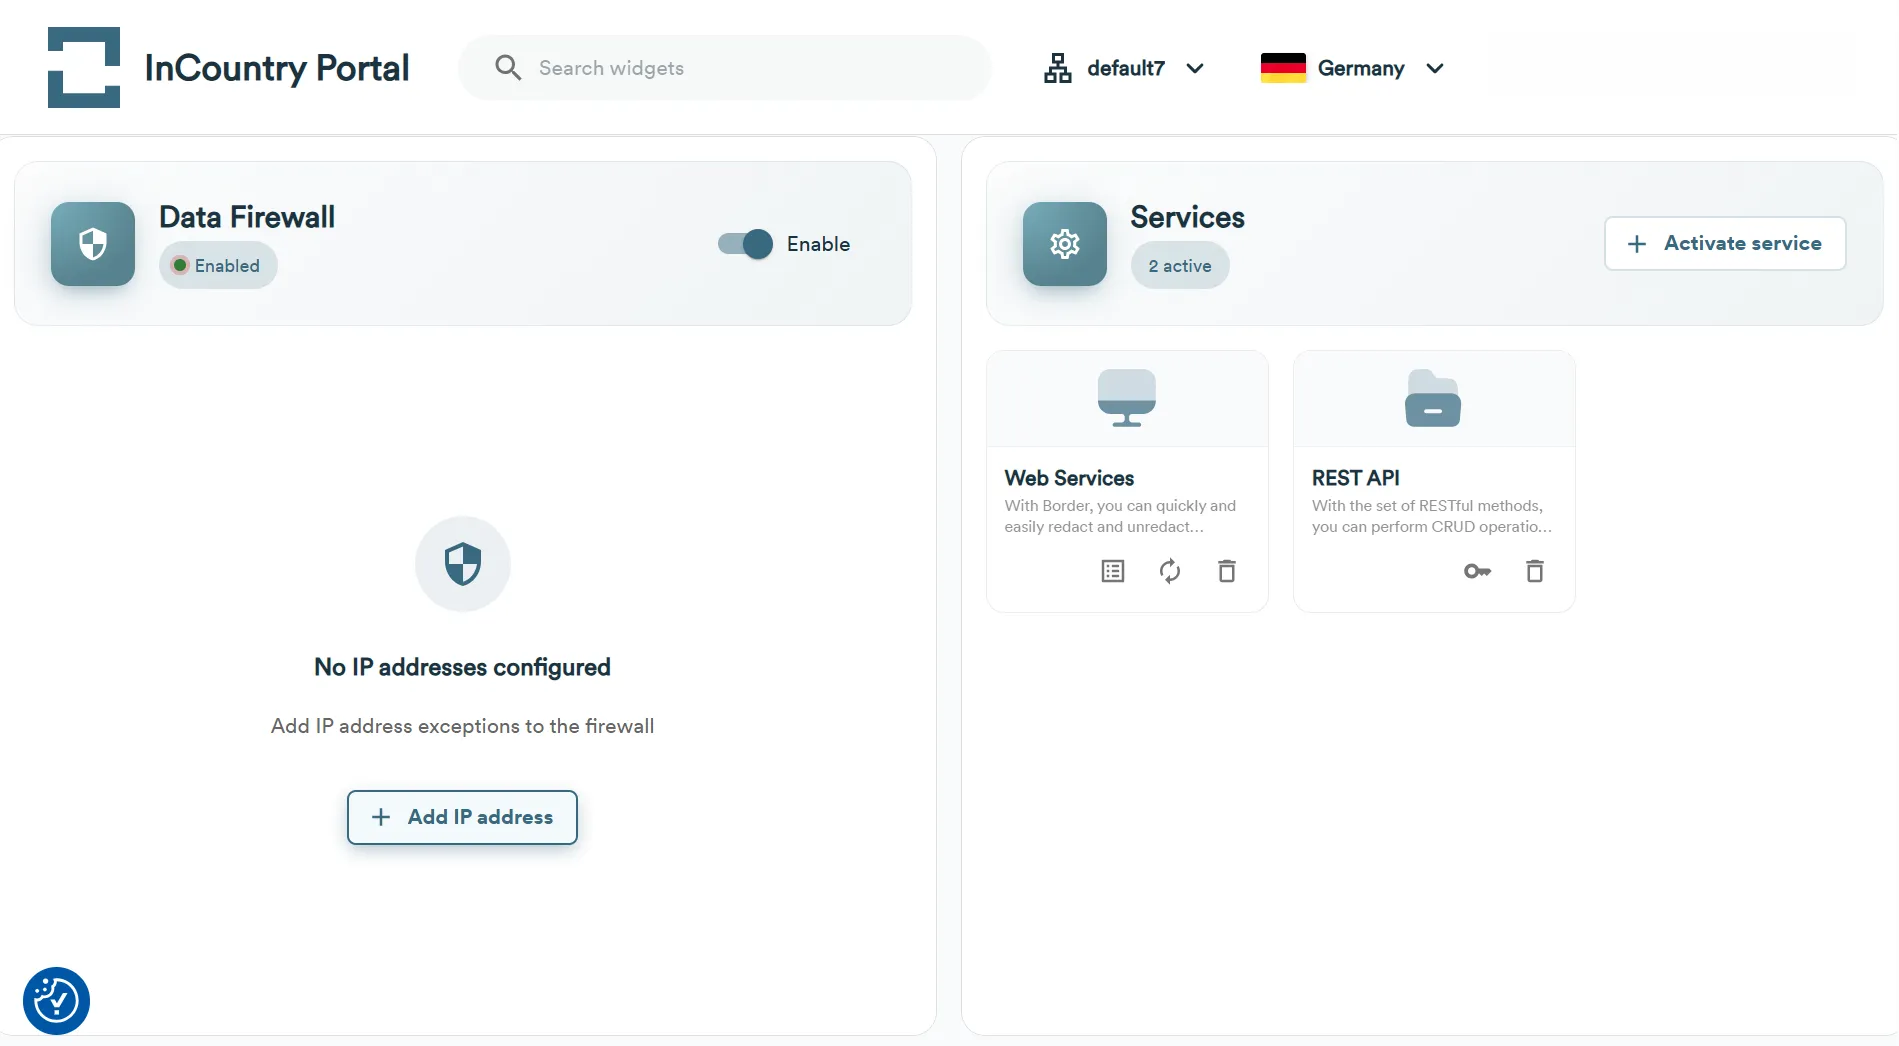
- Go to the Data Firewall widget.

- Move the Enable toggle right. The data firewall for the country is enabled.
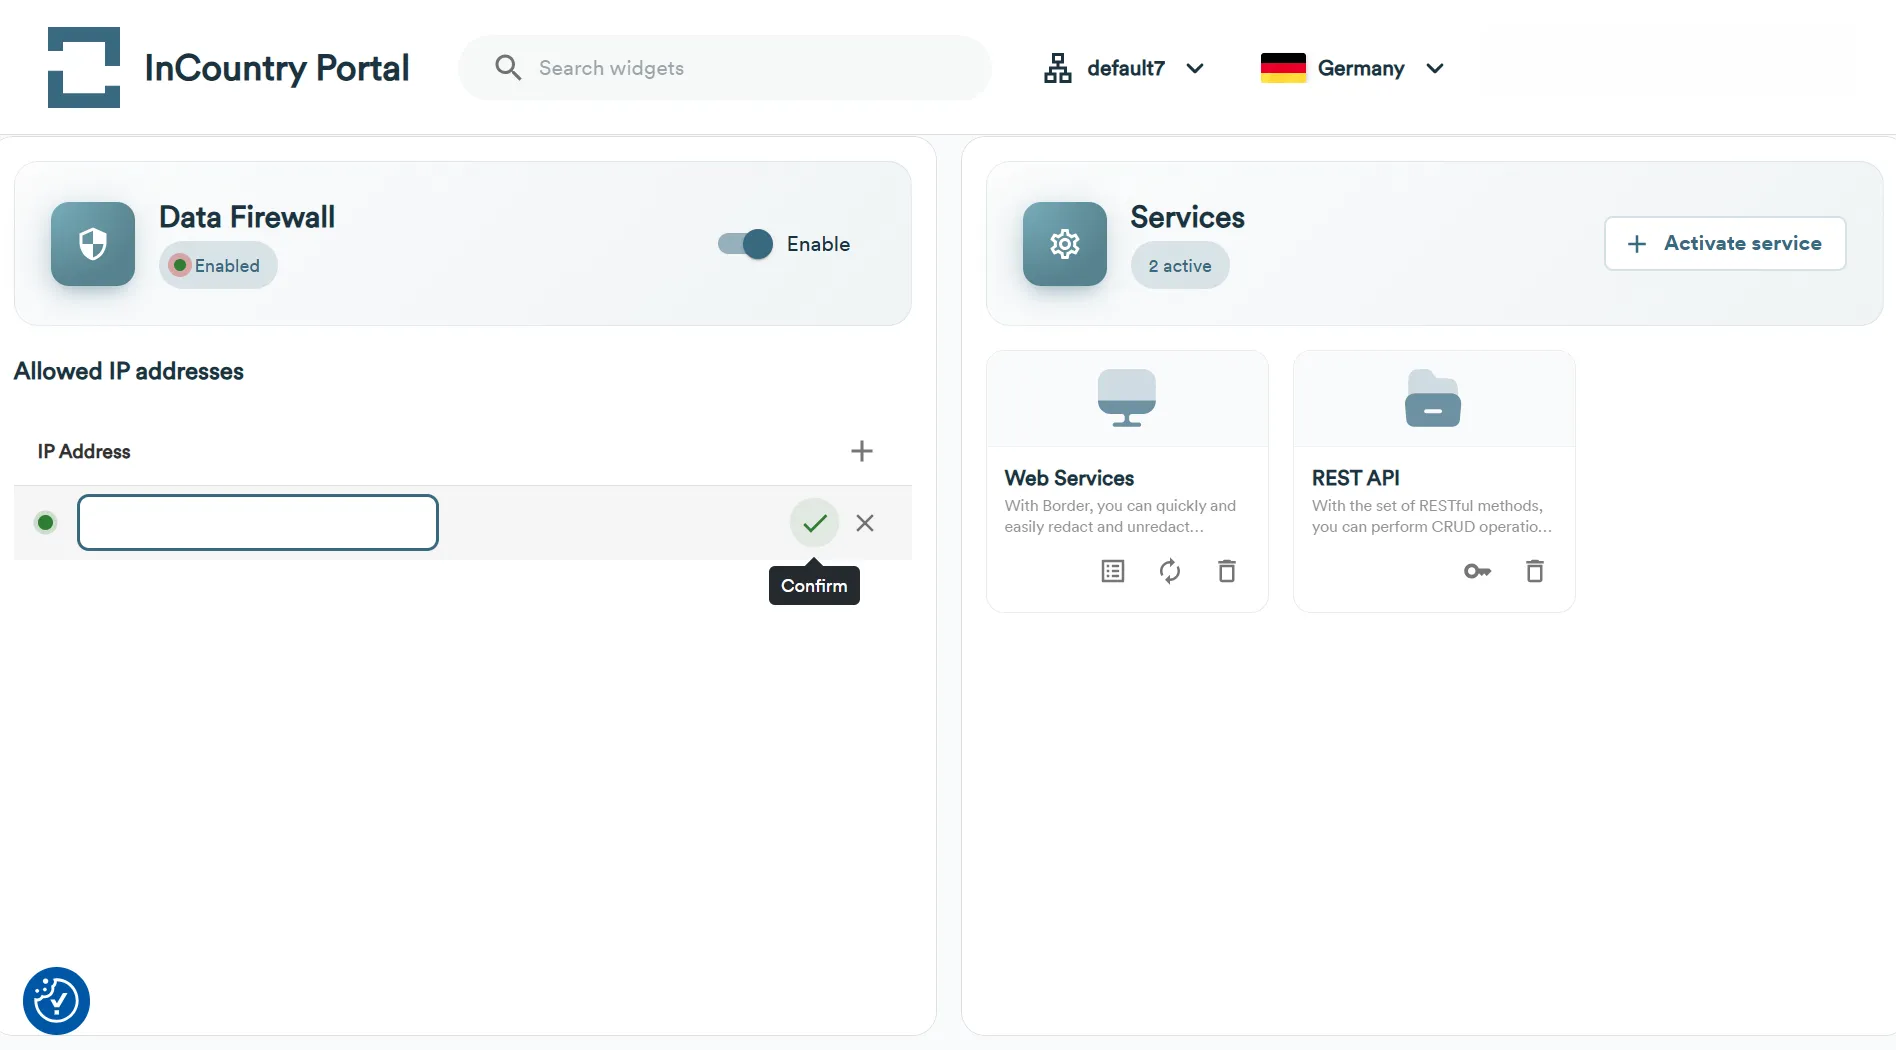
- Click the Add IP Address button to start adding IP addresses that will be added to the allowlist. If you do not add IP addresses, the data firewall will use the built-in database of IP addresses for countries.
- Enter the IP address which you want to add to the allowlist and save it. In this case, the data firewall will check the requestor’s IP address and will allow access to regulated records if the IP address matches the one in the allowlist.
- When complete, click Confirm.

Updating the data firewall settings
- Open the environment and the country where you want to enable the data firewall.
- Go to the Data Firewall widget.
- Make the appropriate modifications to data firewall settings (add/delete IP addresses or disable the data firewall).
- When complete, click Confirm.