Coarse Grained Access - Access Policies
Overview
An access policy is an entity representing a set of rules used for restricting access to records with regulated data stored on the InCountry platform.
You can manage access policies, as follows:
- Create new access policies
- Edit existing access policies
- Delete the no longer needed access policies
- Assign access policies to the SDK and REST API service
Creating Policy
-
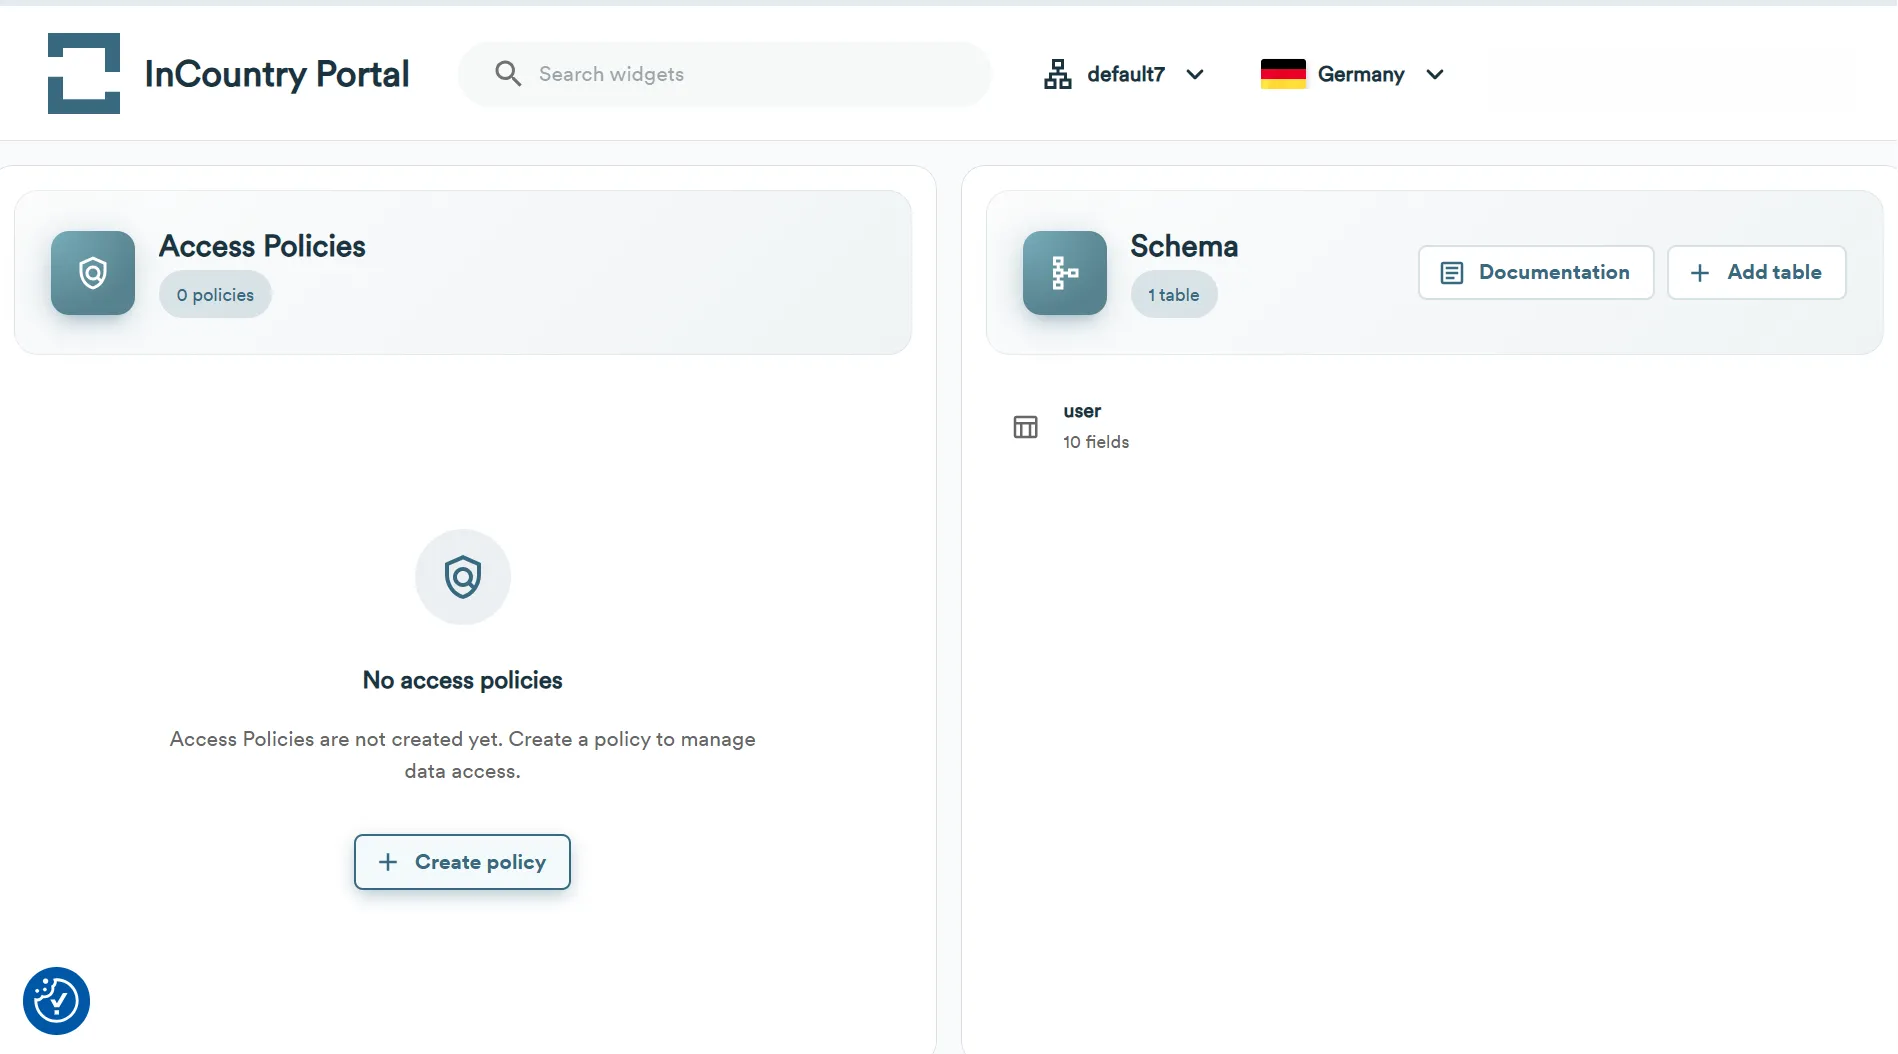
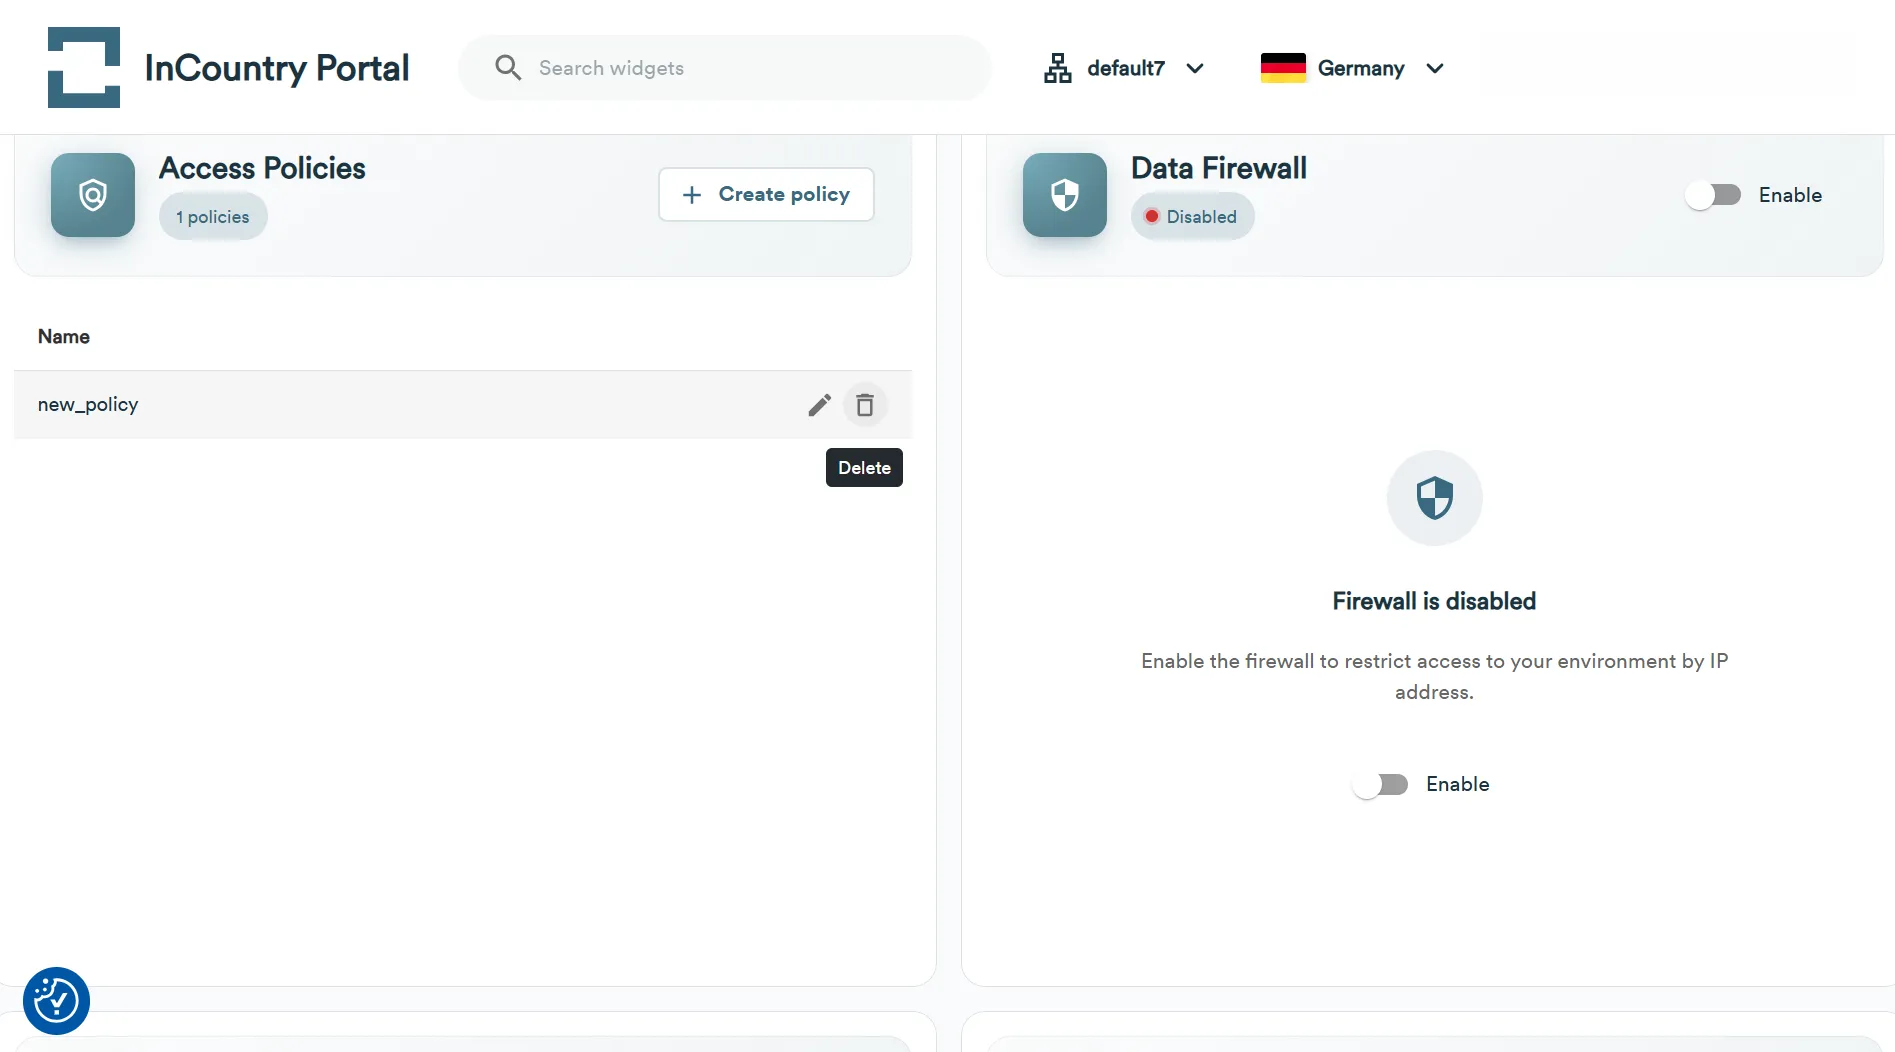
From the top menu, select the environment and country for which you want to to create a new access policy, then go to the Access Policies widget.
-
In the Access Policies widget, click Create policy.

-
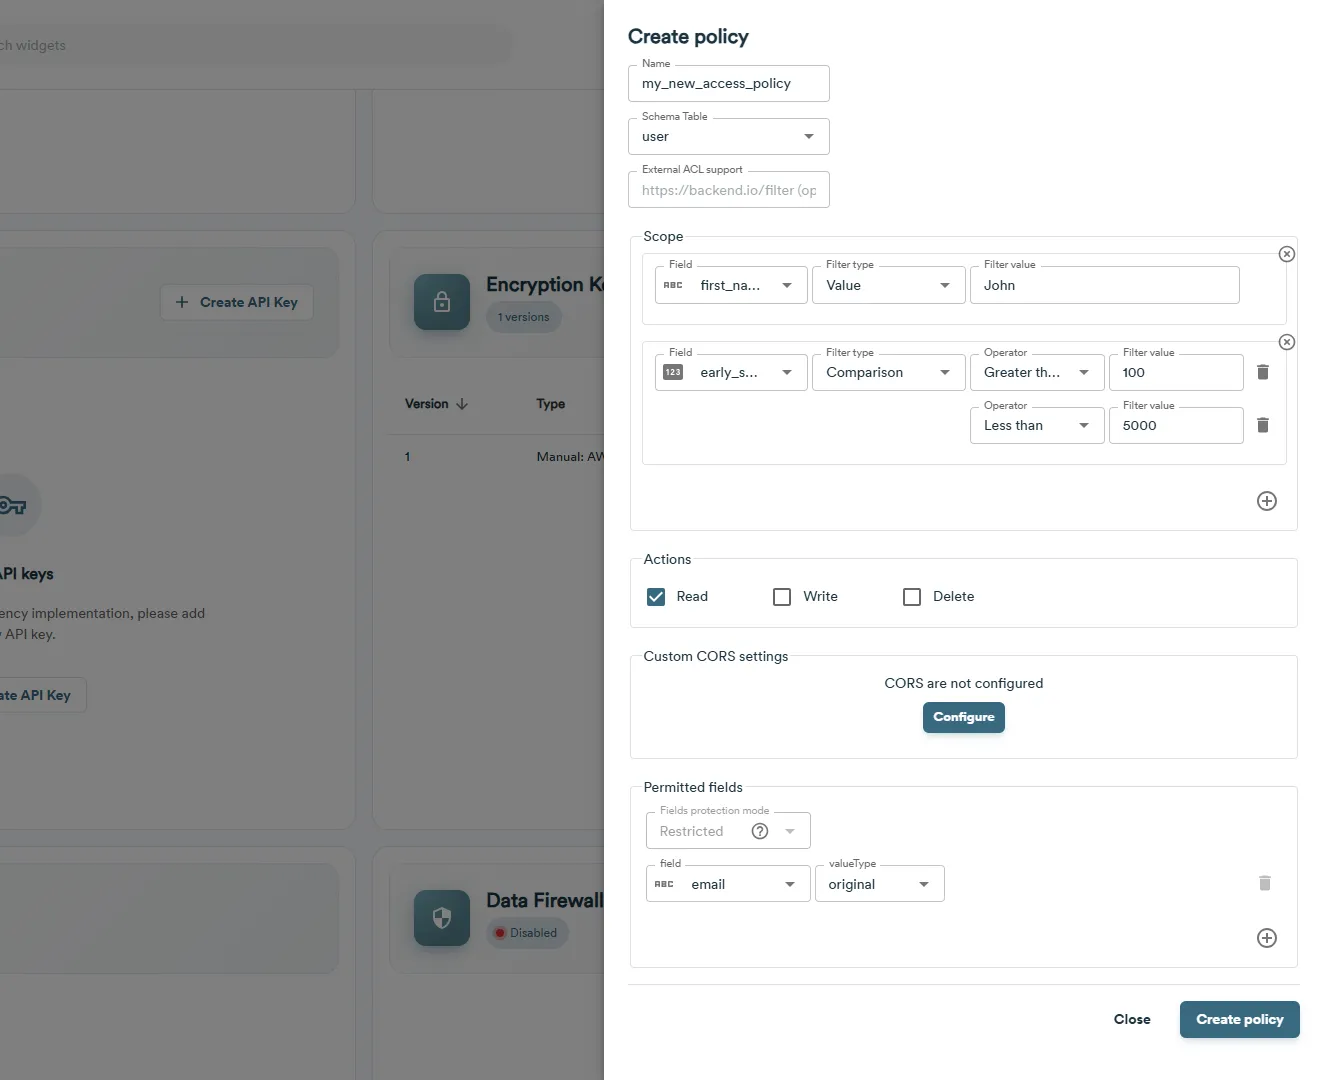
On the Create policy page, define the parameters of a new access policy:
- Name - enter the name of an access policy. Policy names must contain only letters and numbers without spaces.
- Schema Table - select a schema table. Schema Table is a required field. If the schema table has not been created, then you need to go to the schema editor and create a new schema table.
-
For the added policy, fill out the following information:
-
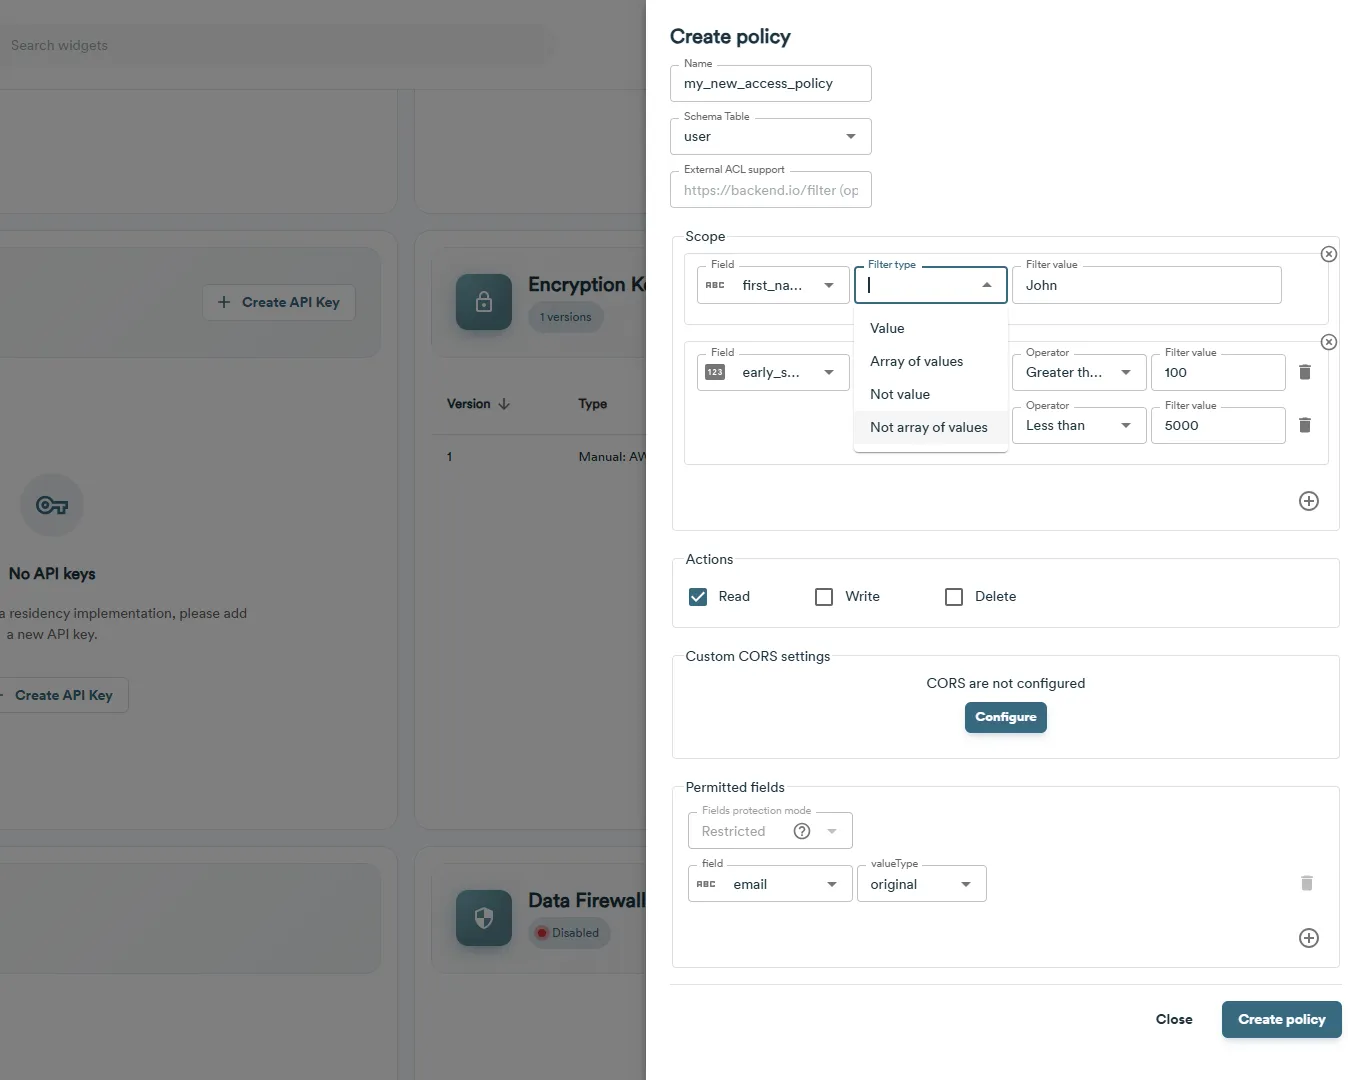
Scope - enter policy rules to restrict access to the records that don't meet the specified criteria:
notePlease note a field called External ACL support. It is additional layer of protection called fine-grained access control
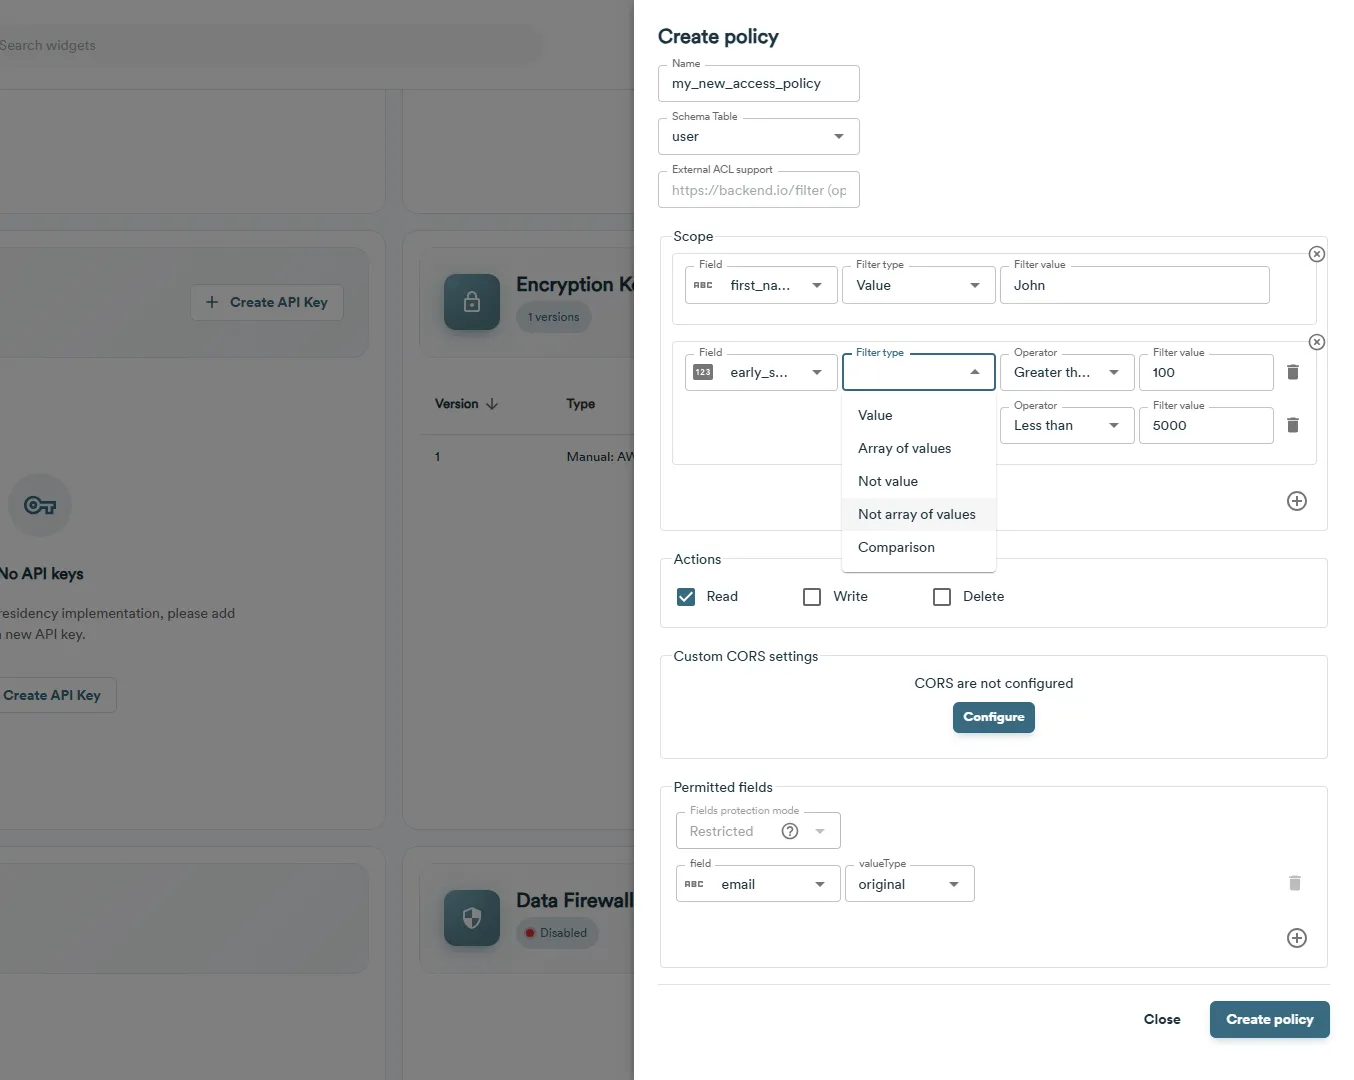
The different field types (string, integer, decimal) have different sets of criteria. Here is an example of criteria for the string field type:
For the integer fields, you can add the Comparison field type.
-
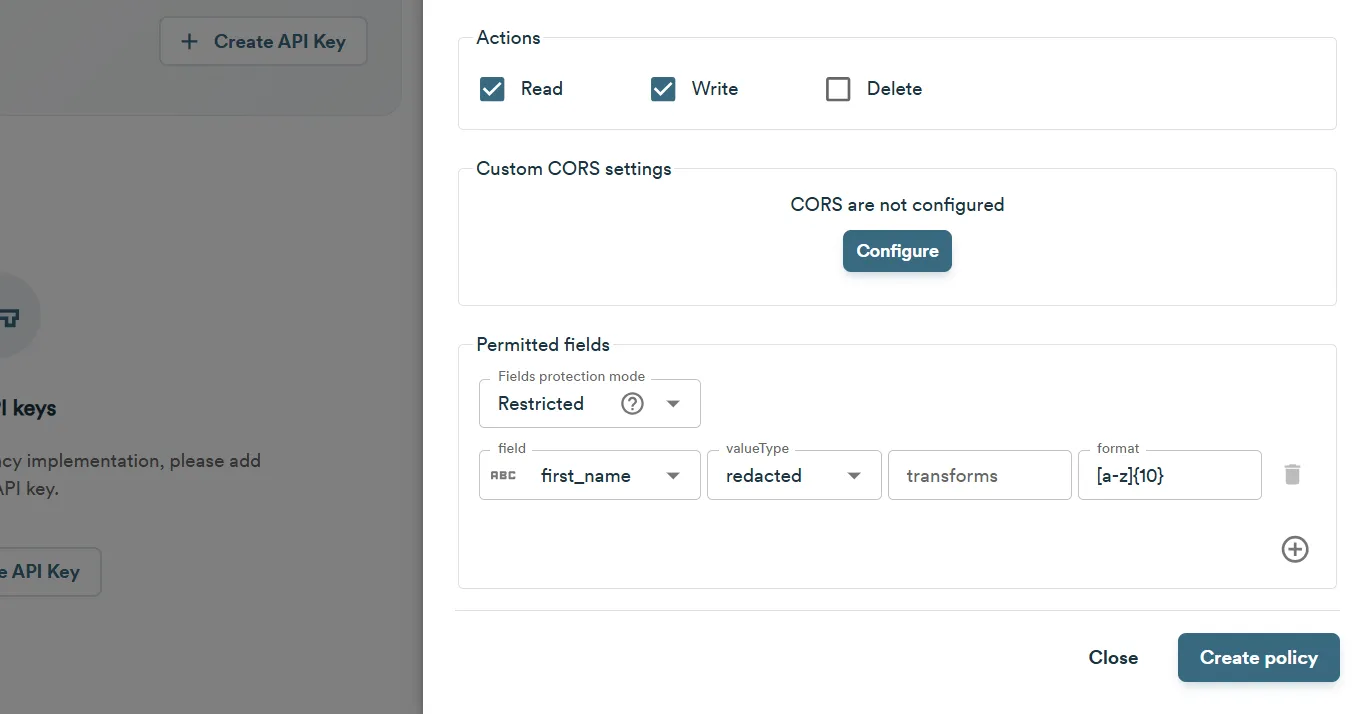
Actions - select actions, allowed to perform under your policy (Read, Write, Delete).
-
Permitted fields - select fields to be available (both for the Read and Write actions) for the credentials using the policy. You may optionally apply masking to these fields (email or alphanumeric masking for string fields, numeric for integer fields).
noteMasking options depend on the field type. Some fields do not support masking, for example, the date fields:
created_at,updated_at,expires_at.Currently, supported data masking strategies in RestAPI are:
alphanumeric,email, andnumeric. Strategies supported for string type:-
alphanumericturns a string of delimiter separated values into masked values. For this algorithm, you can specify additional settings:- After N characters - specify the number of characters that will be preserved as is at the value beginning. All the characters then will be masked with the masking character.
- Character - enter the character that will mask values from the original clear-text value, for example,
*(asterisk),@(ampersand) orX. - Length - specify the number of masking characters applied to the value.
- Value delimiter - delimiter to separate values with.
For example, "John Doe" turning into "Jo* Do*" using the following params:
After N characters=2,Character=*,Length=1,Value delimiter=" ". -
emailworks similar toalphanumeric, but doesn’t use the delimiter option and keeps the original domain name, e.g. turning "johndoe@gmail.com" into "jo**@gmail.com" using the following params:After N characters=2,Character=*,Length=2.
Strategies supported for numeric type:
numeric- replaces the input number with a completely random number of the same order of magnitude, e.g. 12345 will be replaced with ABCDE, where A, B, C, D, E - any number between 0 and 9 (except A is between 1 and 9), e.g. 52612. (or e.g. 1.23 replaced with 7.25 for decimals).
You can apply redaction to both Read and Write actions by setting the value type to
redactedand defining a template in the format field. This template determines how the redacted value is displayed. The redacted value is persistent and will remain unchanged unless the original value is modified.The template uses the format:
<constant_text>[alphabet]{totalChars}<constant_text>. The[alphabet]{totalChars}portion defines a randomly generated string of the specified length using characters from the given set. For example:-
[a-z]{10}generates a 10-character lowercase string (e.g.,xkqwejzvmt) -
[a-z]{10}@gmail.comgenerates a 10-character lowercase string followed by @gmail.com (e.g.,xkqwejzvmt@gmail.com)
-
-
When complete, click Create policy. A new access policy appears on the list.
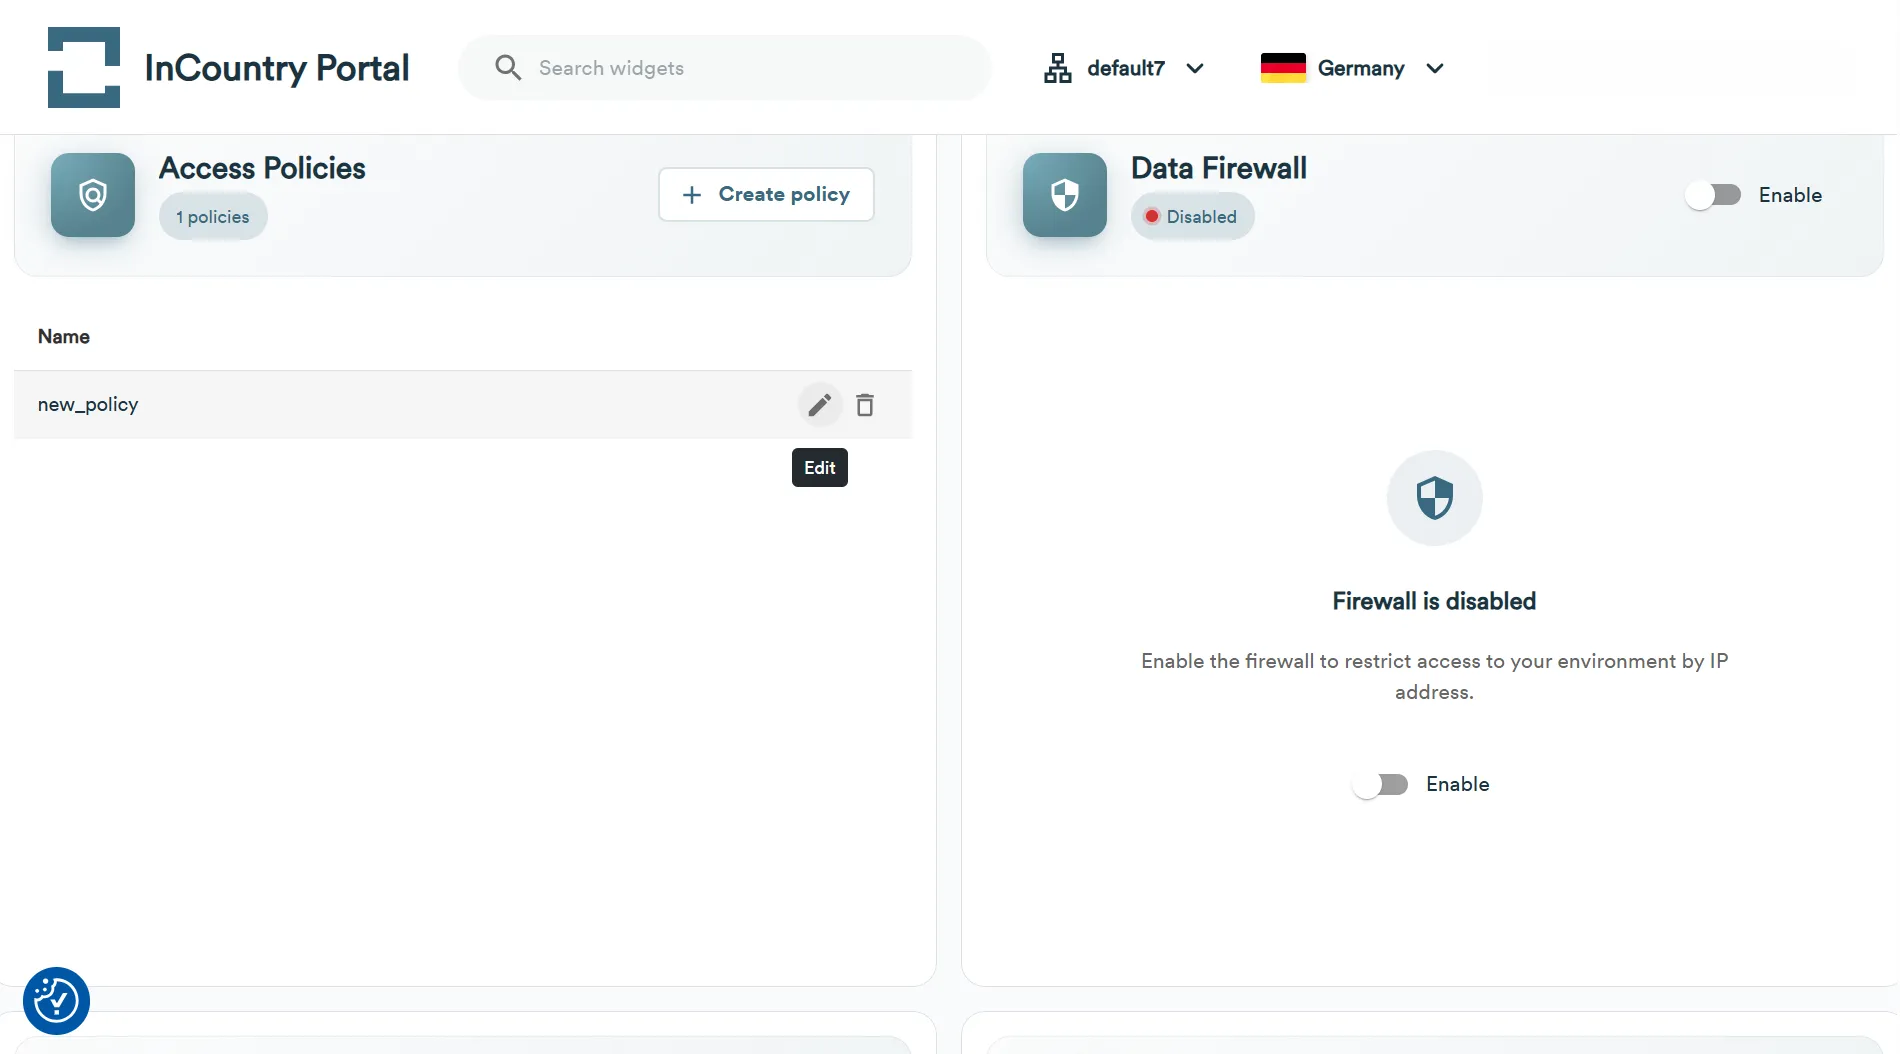
Editing or Deleting Policy
Once a policy has been created, you can edit or delete it in the Access Policies widget.
-
Select the environment and country where you want to edit or delete an access policy.
-
Go to the Access Policies widget.
-
In the Access Policies widget, locate the policy you want to edit or delete, click Edit/Delete.
noteYou can delete a policy only if it is not assigned to the SDK or REST API service.
Assigning Policies
Assigning Policy to REST API service
- Select the environment and country where you want to assign an access policy to REST API service.
- Go to the Services widget.
- In the Services widget, locate the REST API service, click Manage credentials.
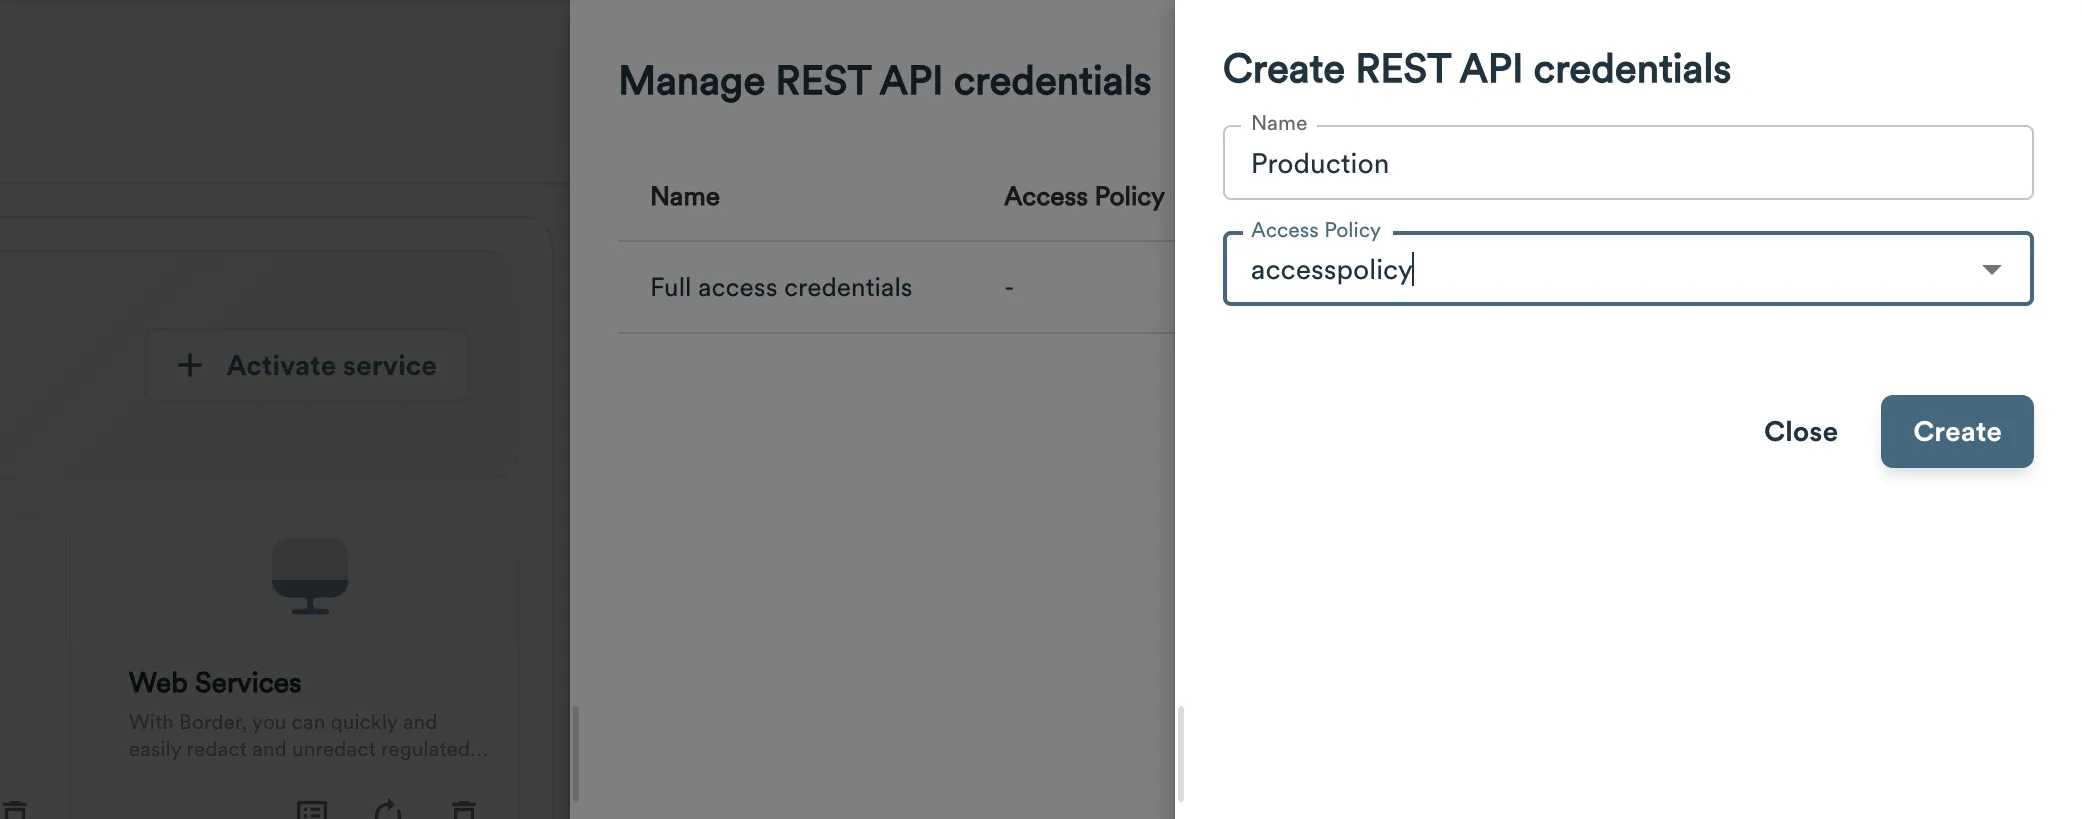
- On the Manage REST API credentials page, click Create new credentials.
- On the Create REST API credentials page, select the access policy you want to assign to REST API service.
- Click Create.
Assigning Policy to SDK
- Select the environment and country where you want to assign an access policy to the SDK.
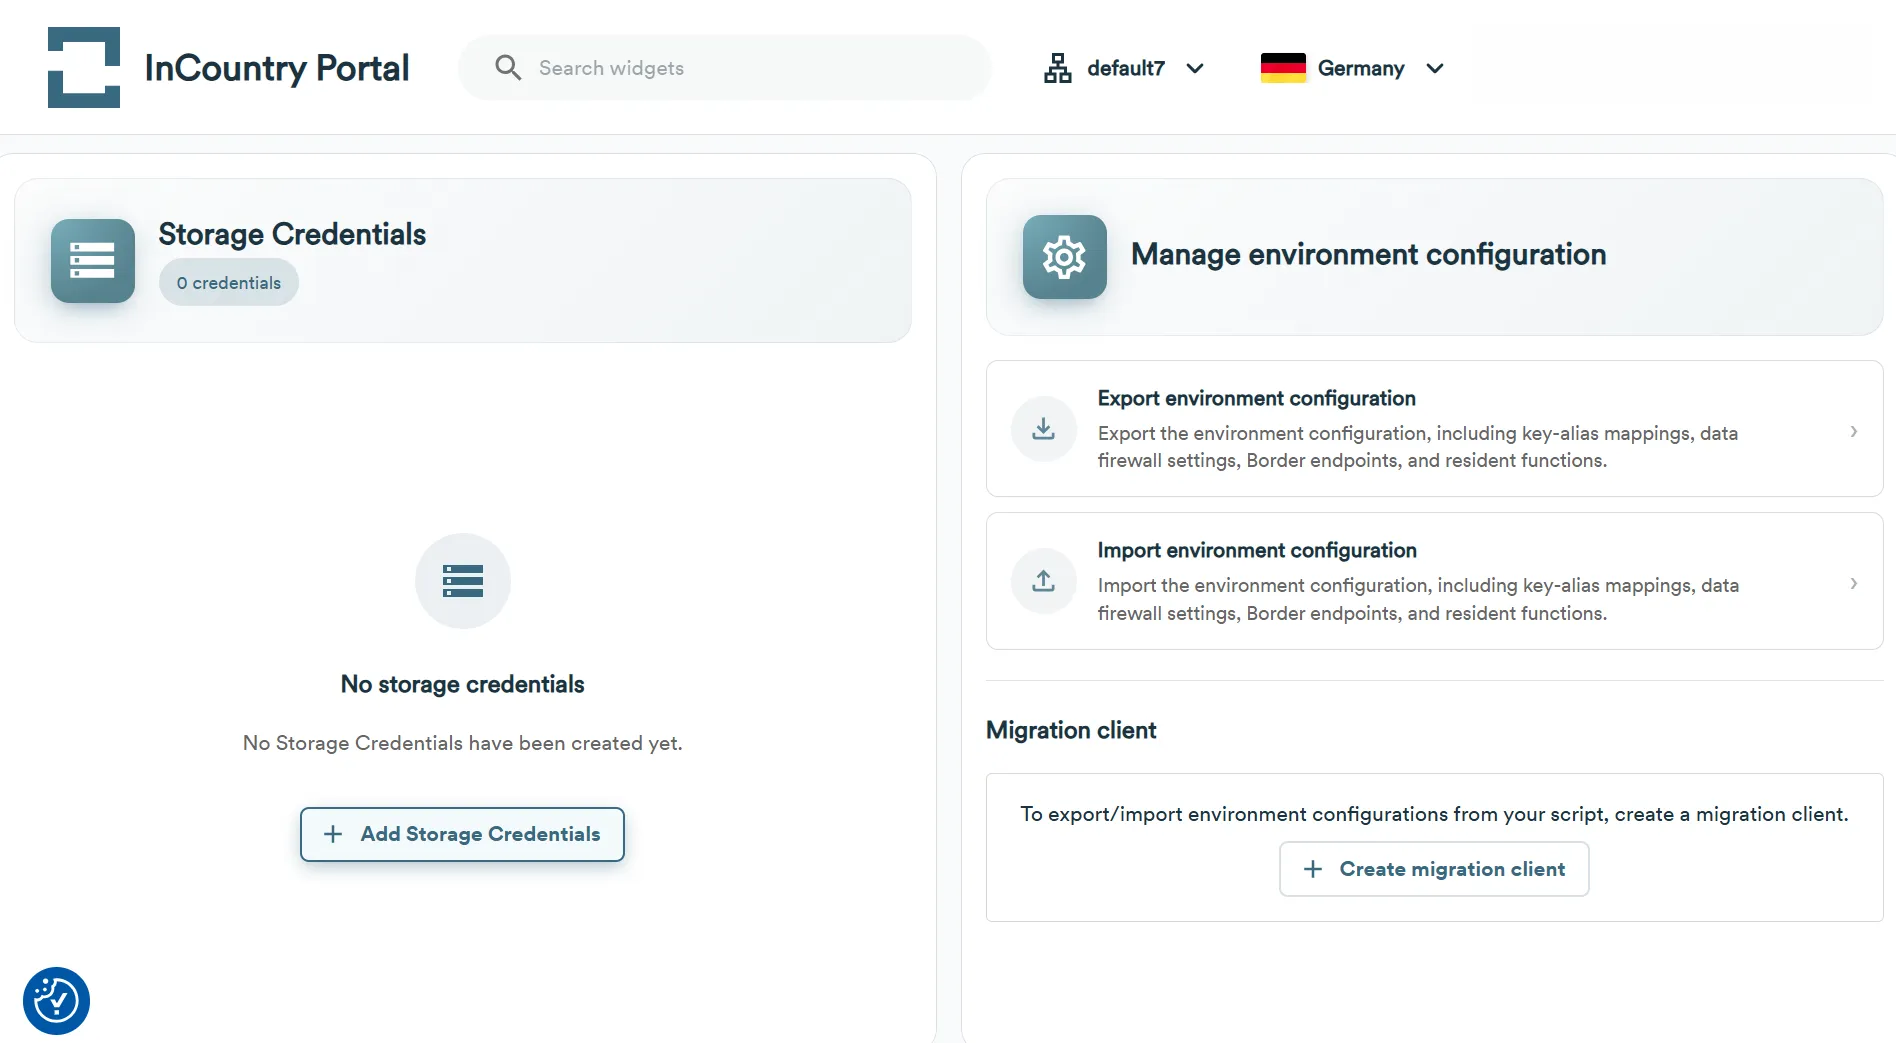
- Go to the Storage Credentials widget.
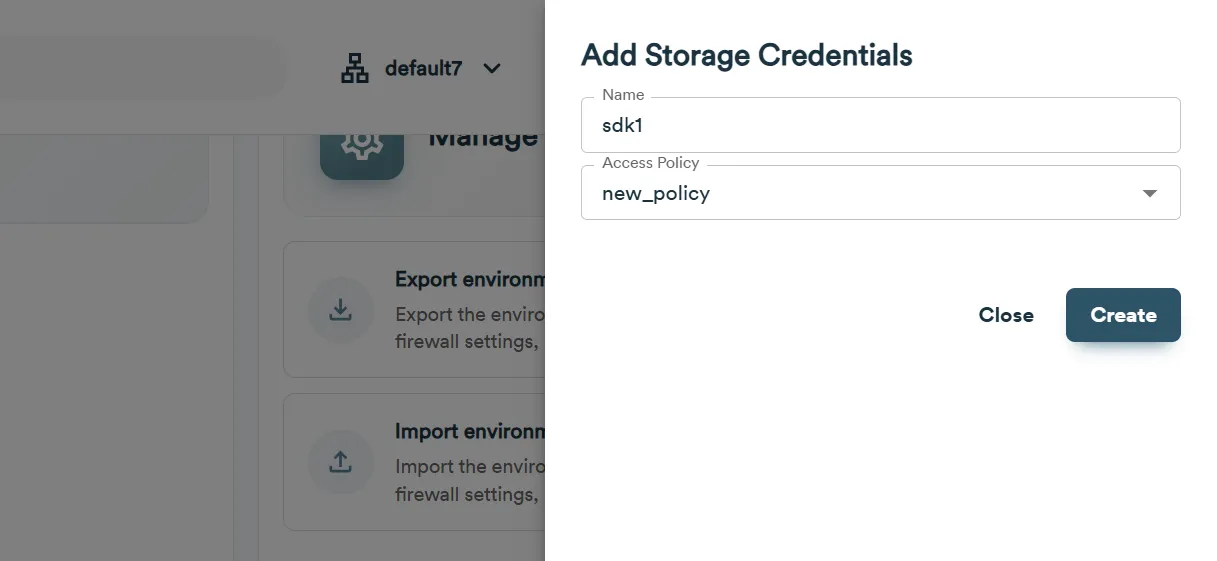
- In the Storage Credentials widget, click Add Storage Credentials.
- On the Add Storage Credentials page, enter the SDK name.
- From the Access Policy drop-down list, select the access policy you want to assign to the SDK.
- Click Create.