Storage Credentials
The InCountry Portal allows you to manage Storage Credentials and services for communicating regulated data between the InCountry DRaaS and your systems and applications.
Within each environment, you can have multiple pairs of Storage Credentials that you can use to manage data records on InCountry DRaaS with the SDK.
Managing Storage Credentials
Storage Credentials are a pair of Client ID and Client Secret that you can use to connect to the InCountry Vault in a specific country through the SDK.
All Storage Credentials are attributed to the specific environment within which you have created them.
You can manage Storage Credentials, as follows:
Creating new Storage Credentials
By default, the InCountry Portal does not create a default pair of the Storage Credentials together with the creation of a default environment. You can create new Storage Credentials once needed.
To create new Storage Credentials:
Open the environment where you want to create new Storage Credentials.
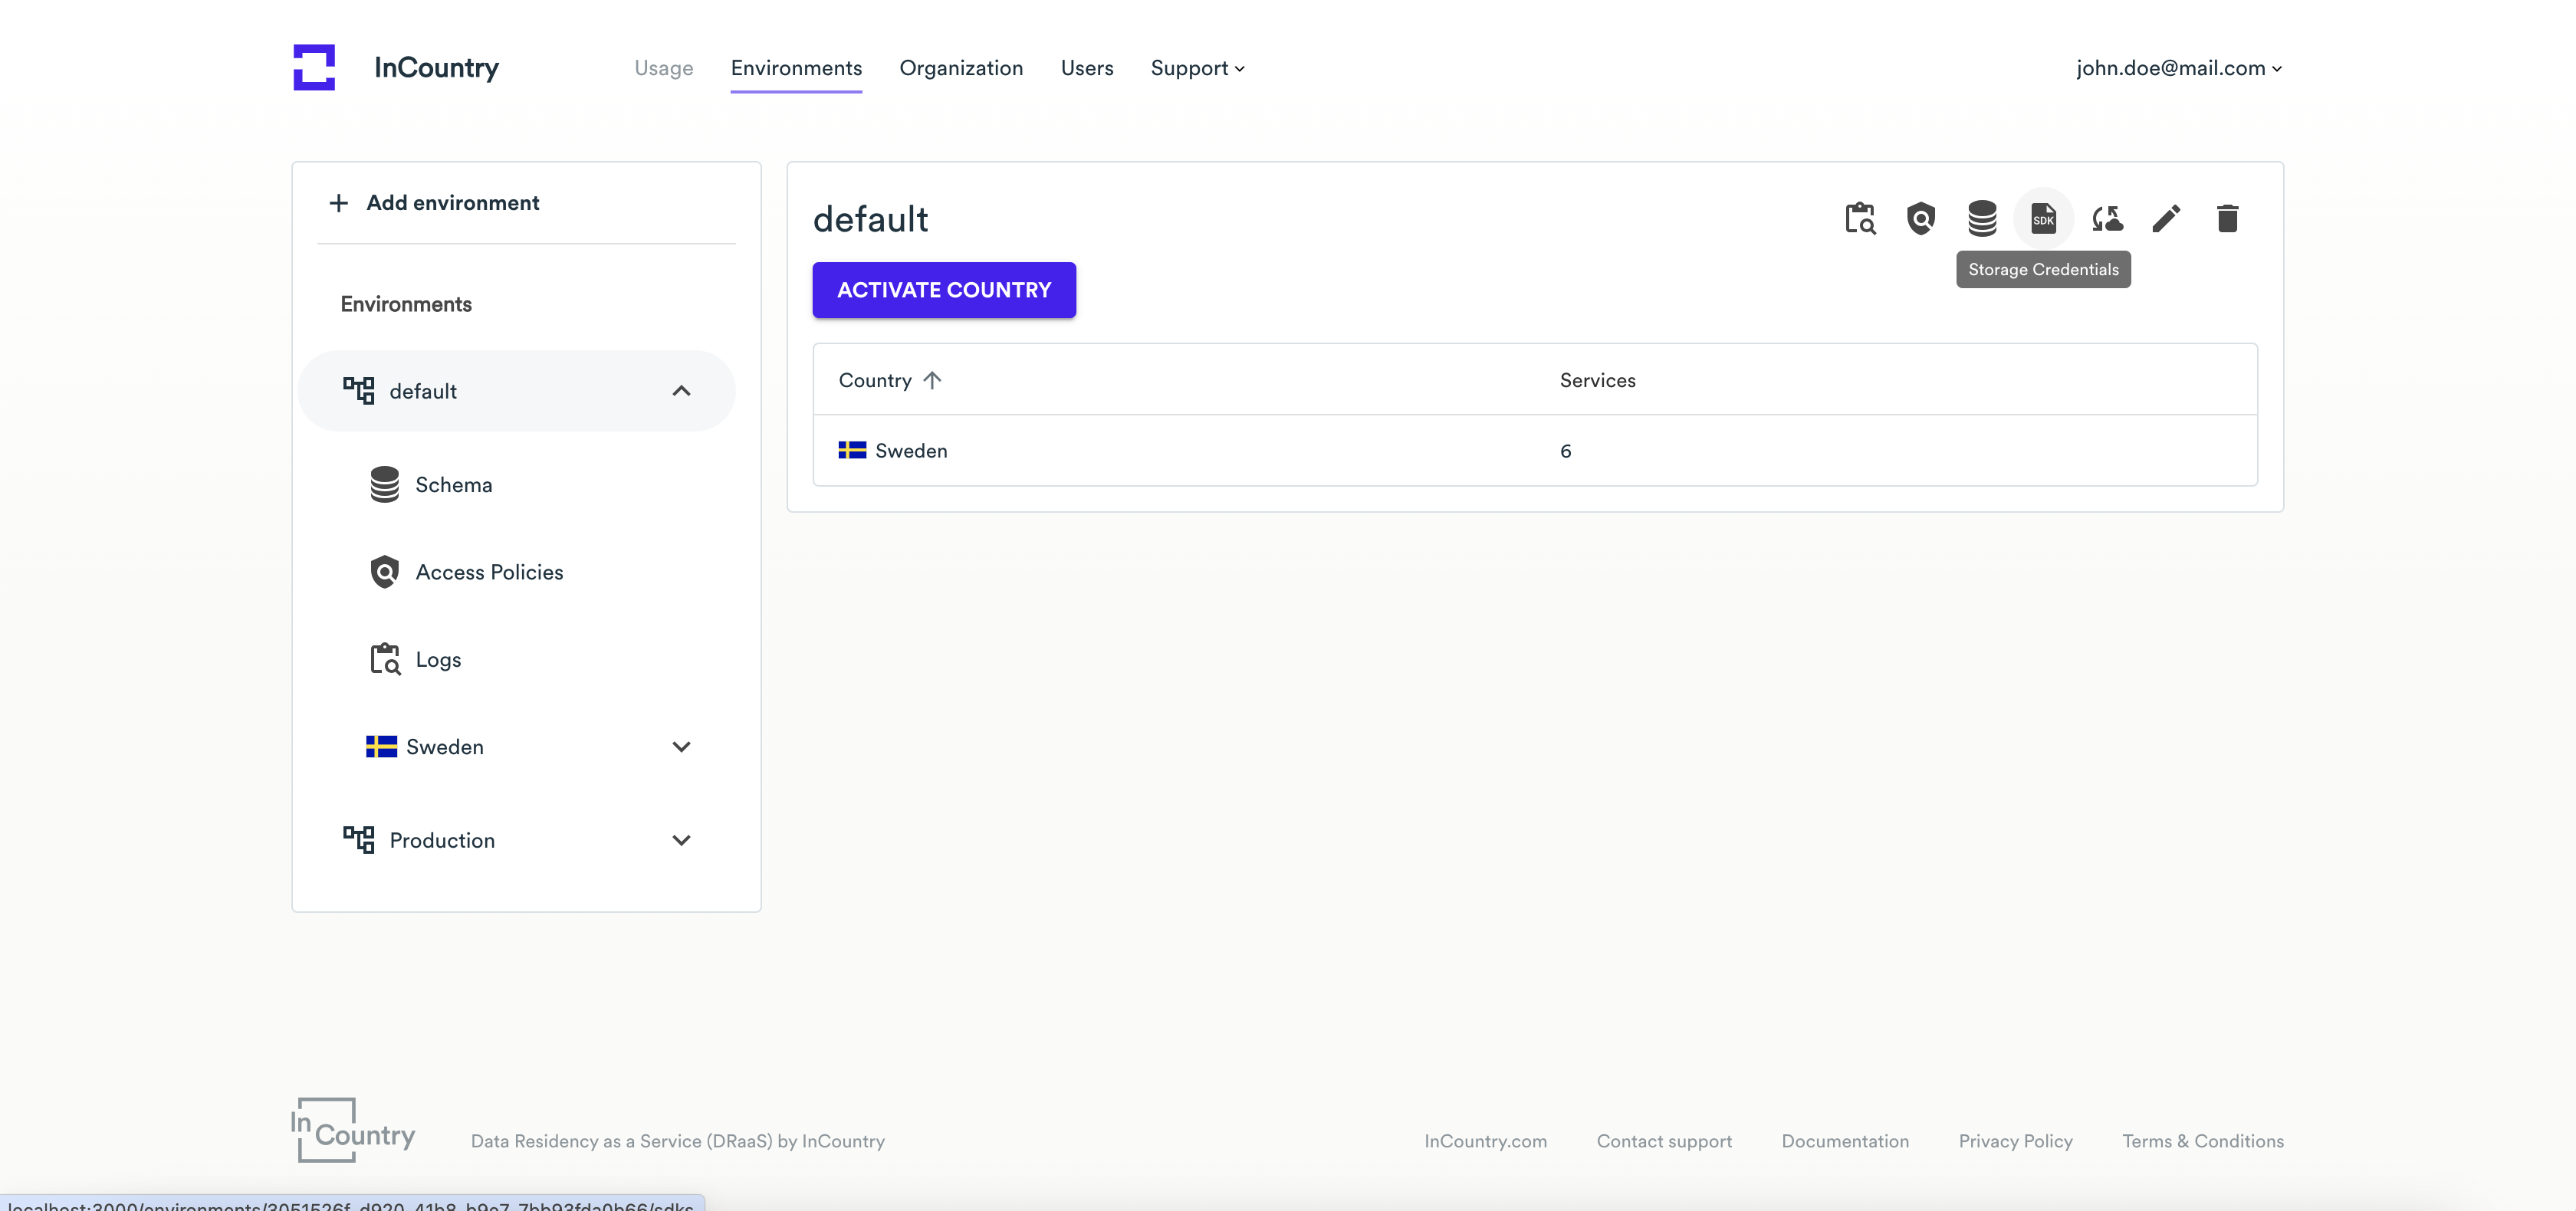
Click the Storage Credentials icon.
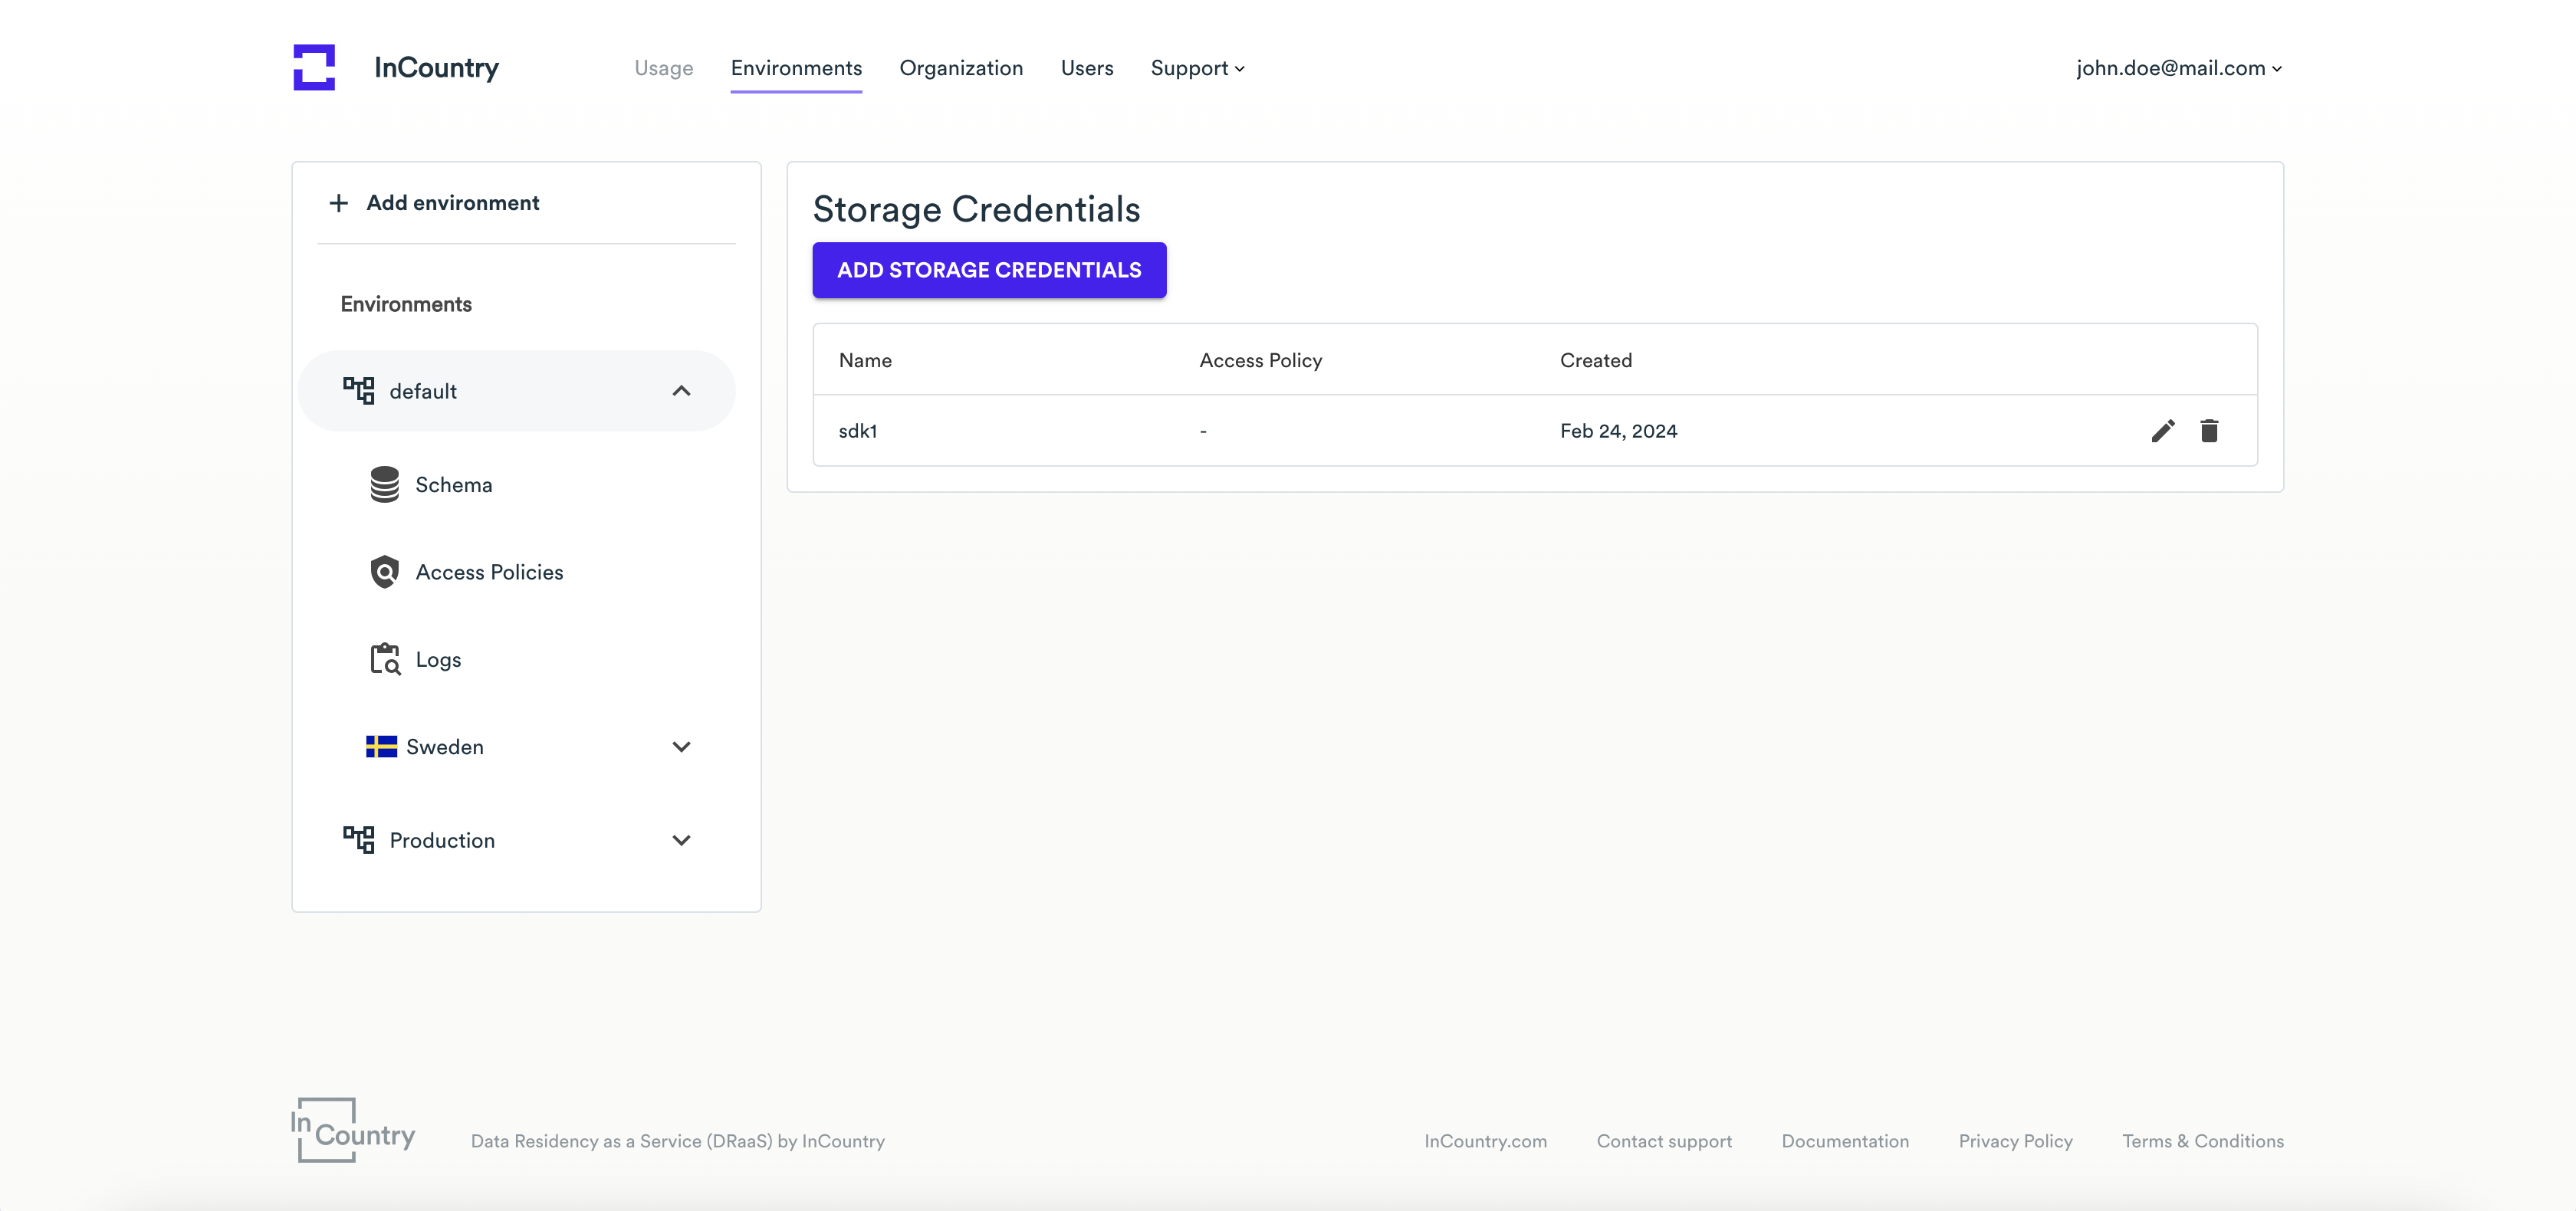
On the Storage Credentials page, click Add Storage Credentials.
On the Add Storage Credentials page, enter the name for Storage Credentials. Optionally, select Access Policy.
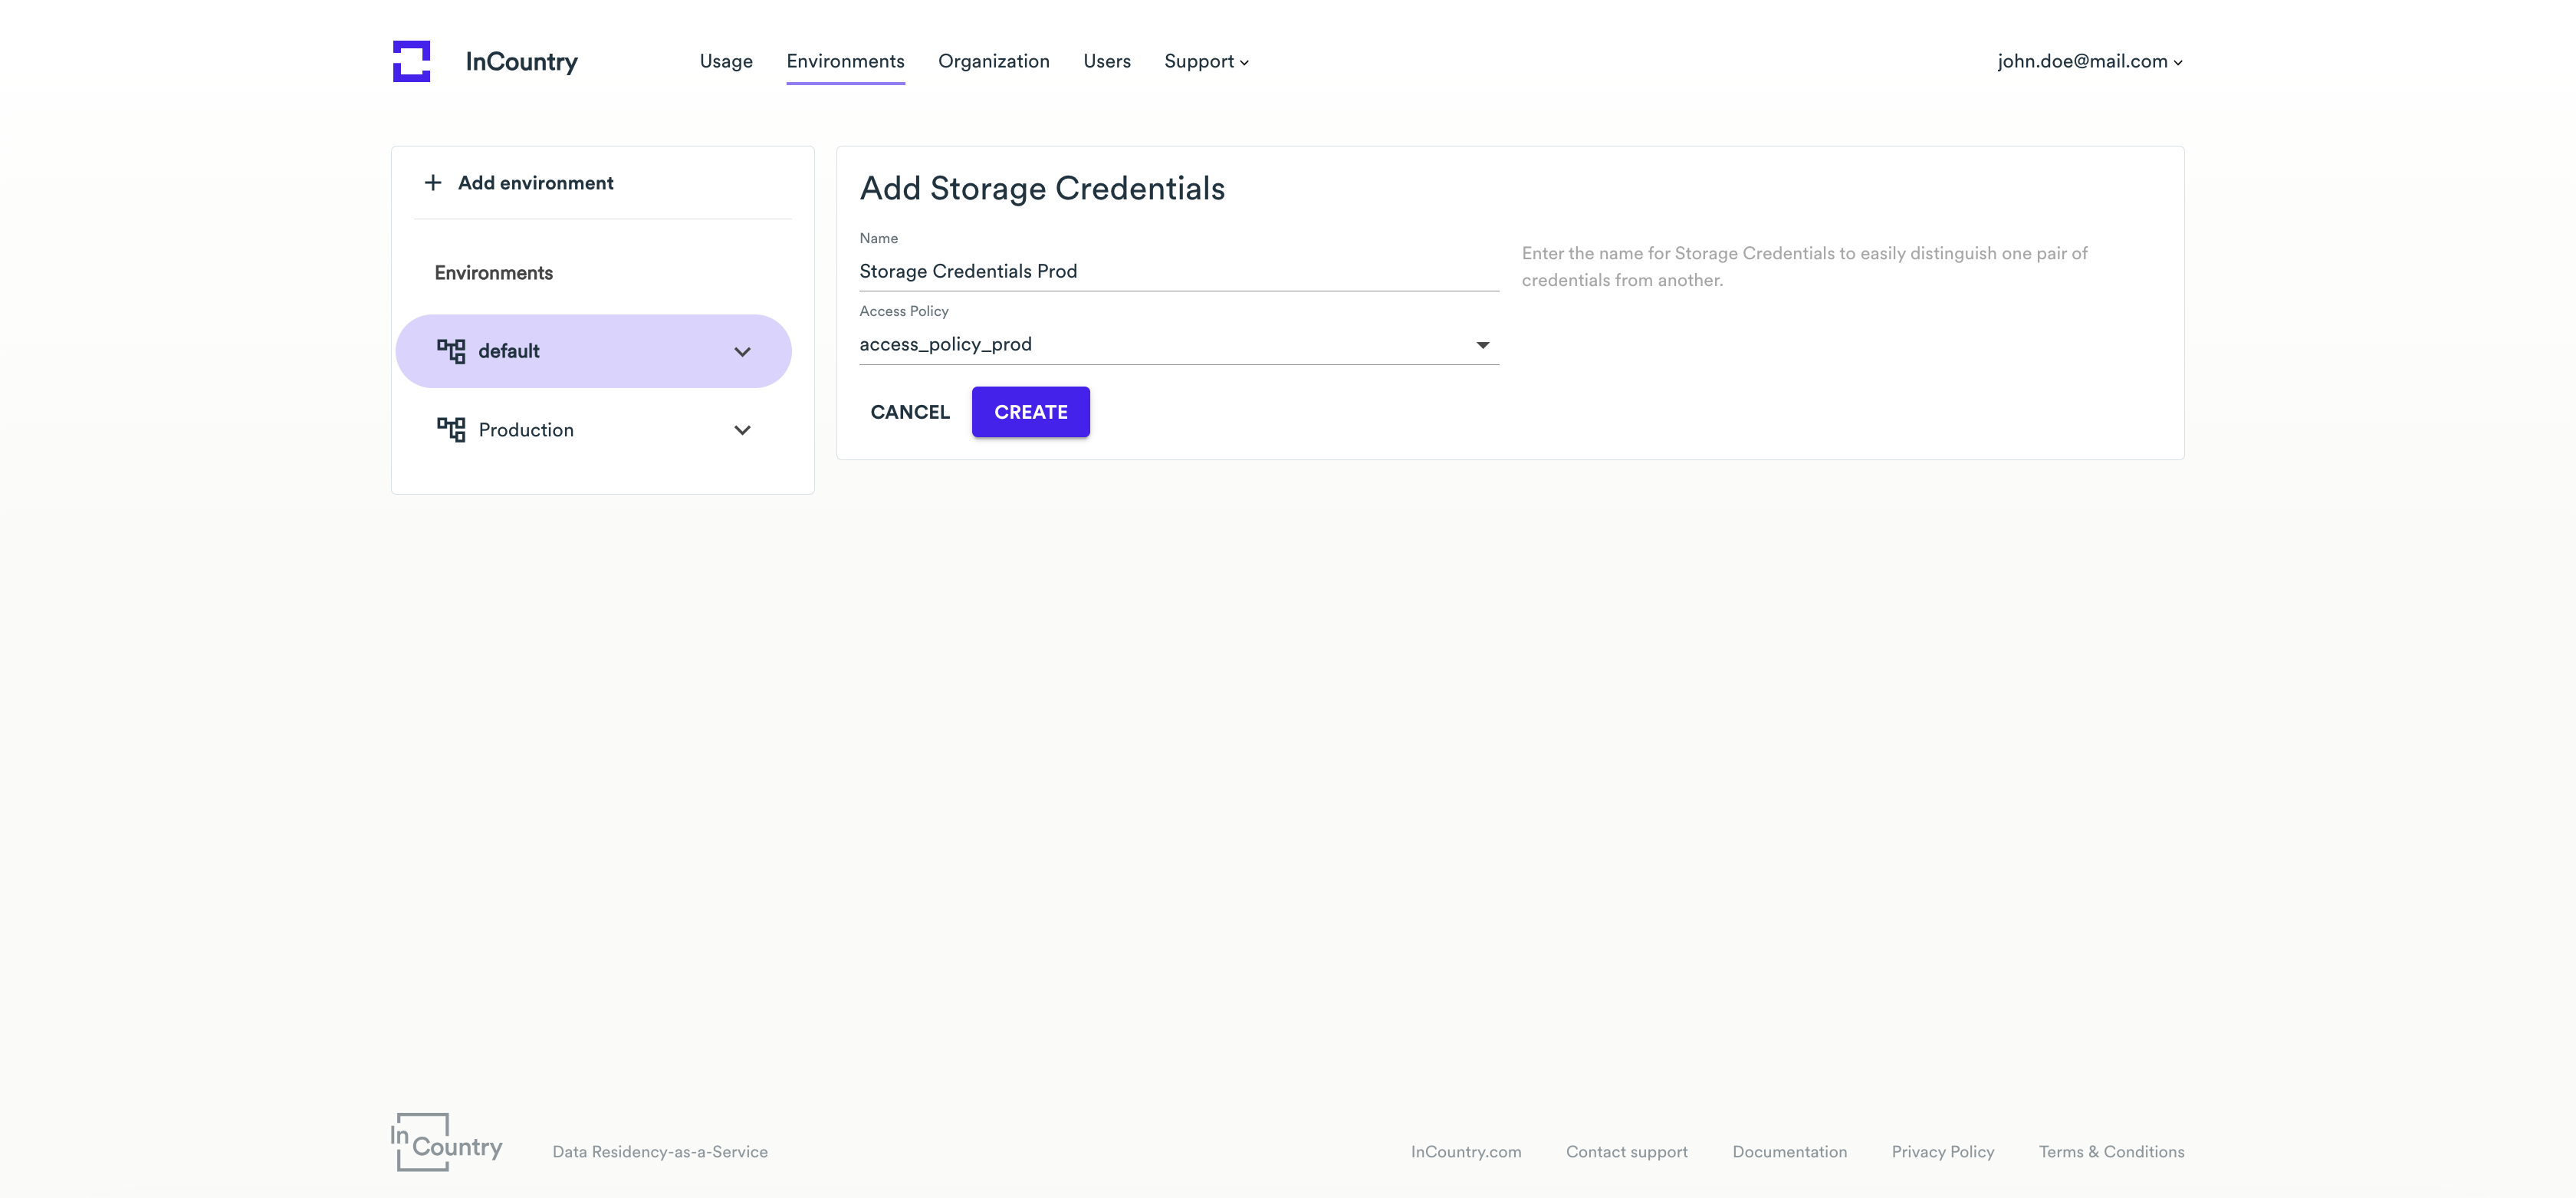
Click Next.
Enter the verification code and click Create.
The InCountry Portal generates Storage Credentials (Client ID and Client secret) that you can you further use to manage data on InCountry DRaaS with the SDK.
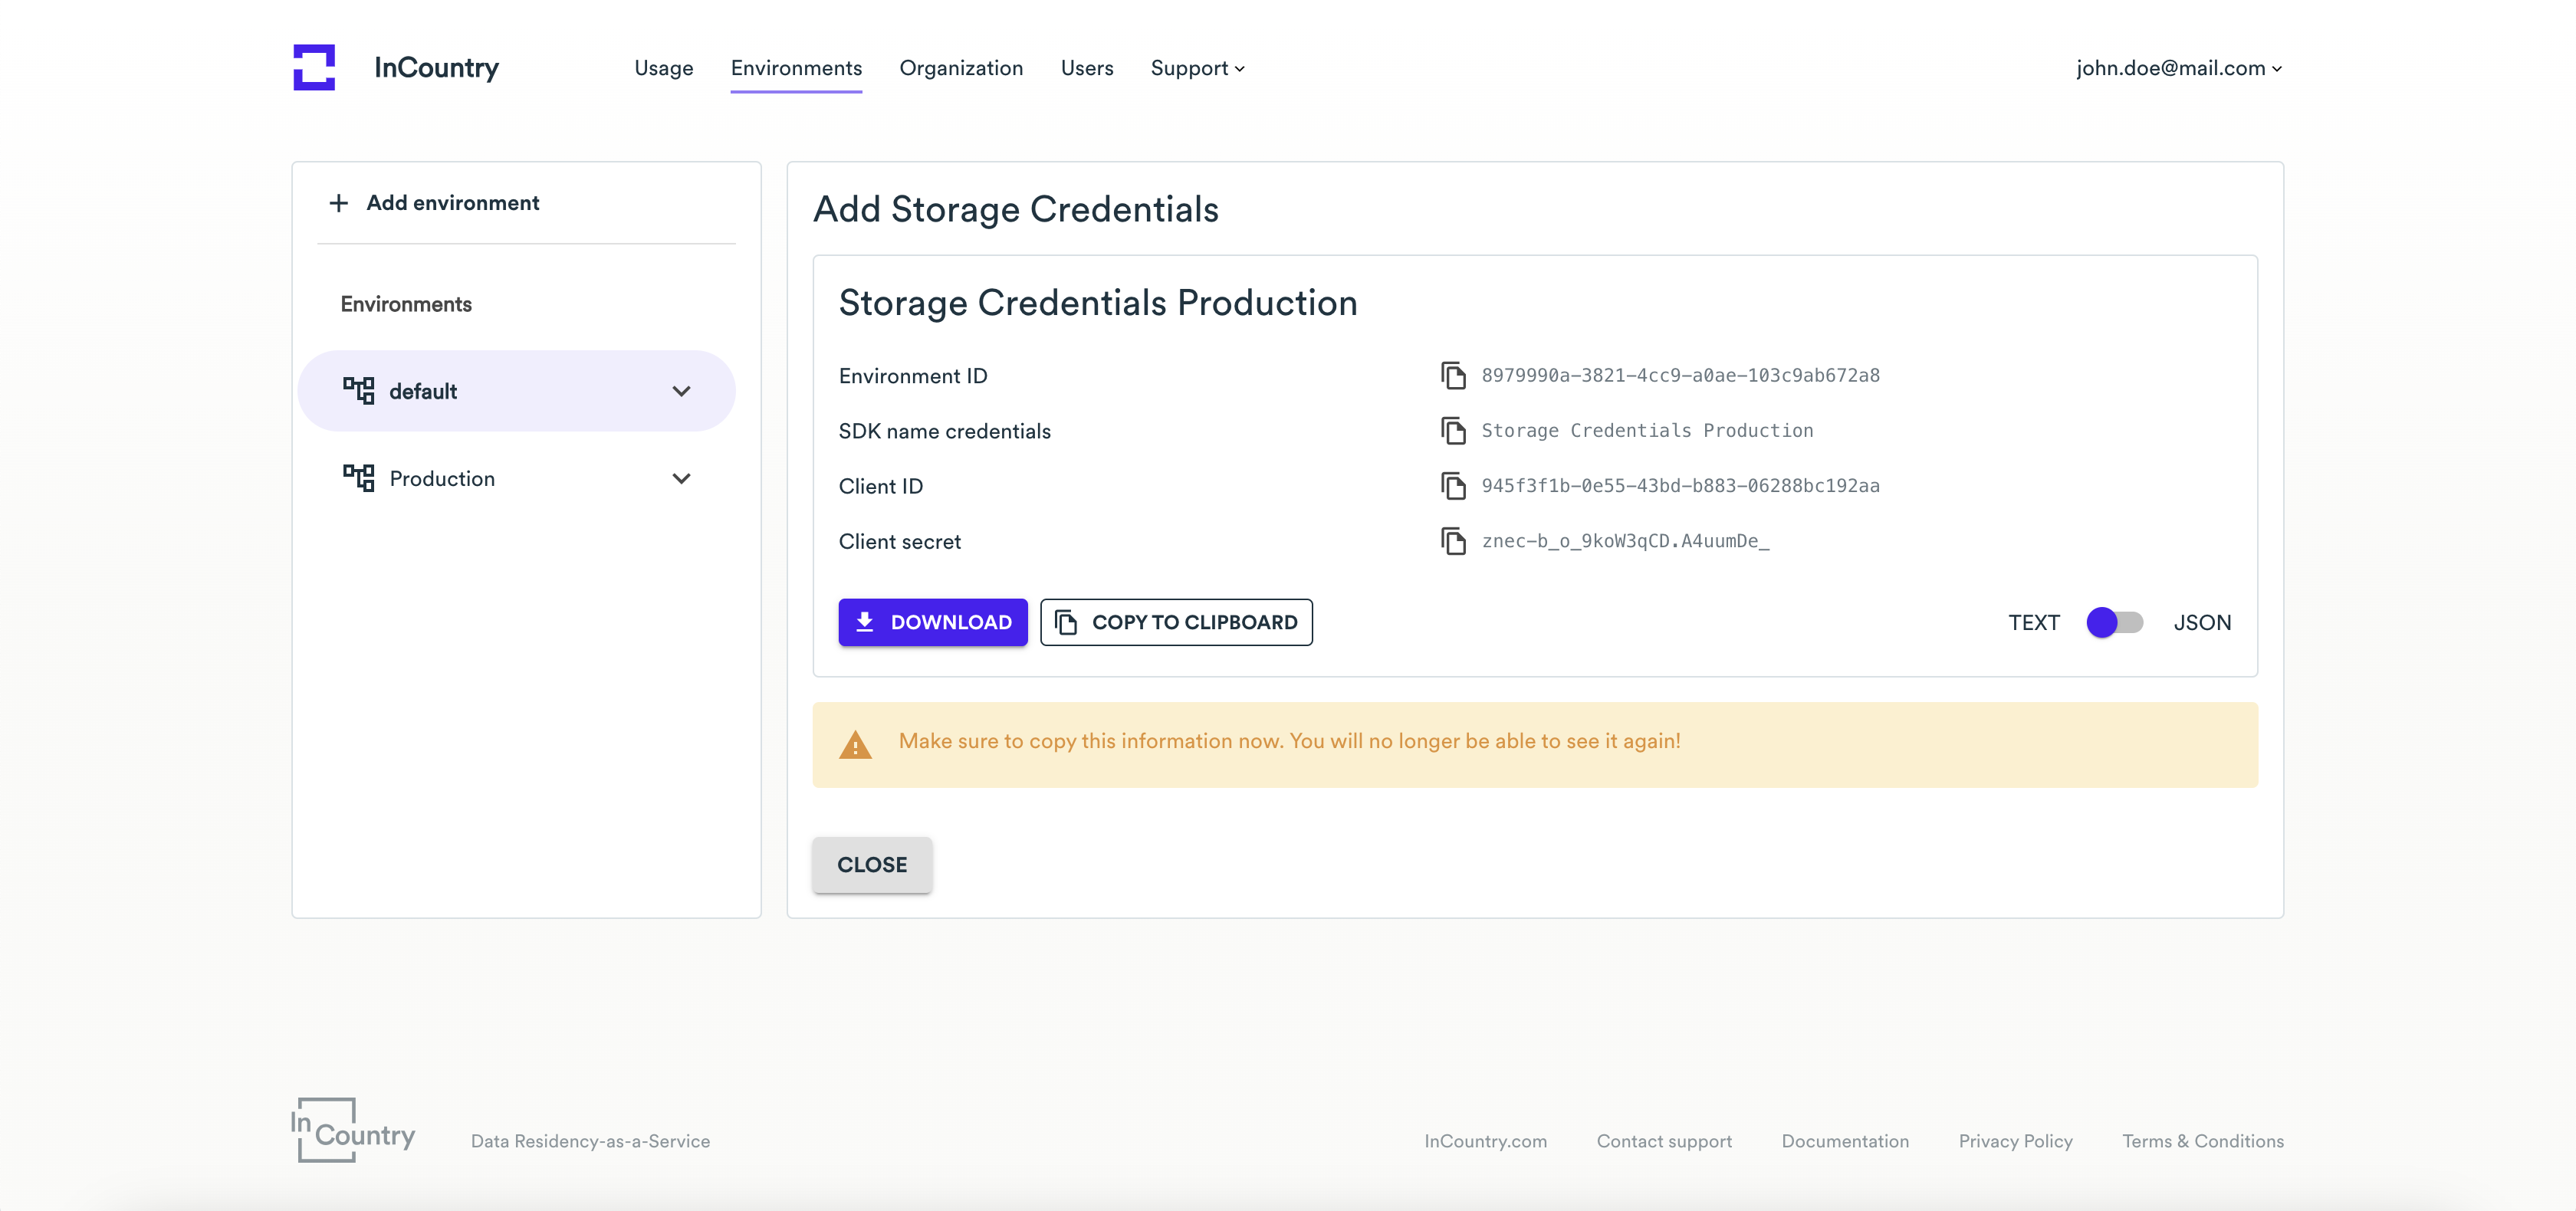
On the newly opened page, copy the Environment ID, Client ID, and Client Secret. Save them in a secure place as you will not be able to recover them. To download a text file with all these credentials, click Download. To copy these credentials to the clipboard, click Copy to clipboard.
When complete, click Close.
New Storage Credentials will appear within the environment.
You can create up to 10 pairs of Storage Credentials per one environment.
Renaming Storage Credentials
You may need to rename the Storage Credentials in some cases if the current name does not reflect the actual purpose of these Storage Credentials.
Open the list with Storage Credentials within a specific environment.
On the list with Storage Credentials, locate the Storage Credentials you want to rename.
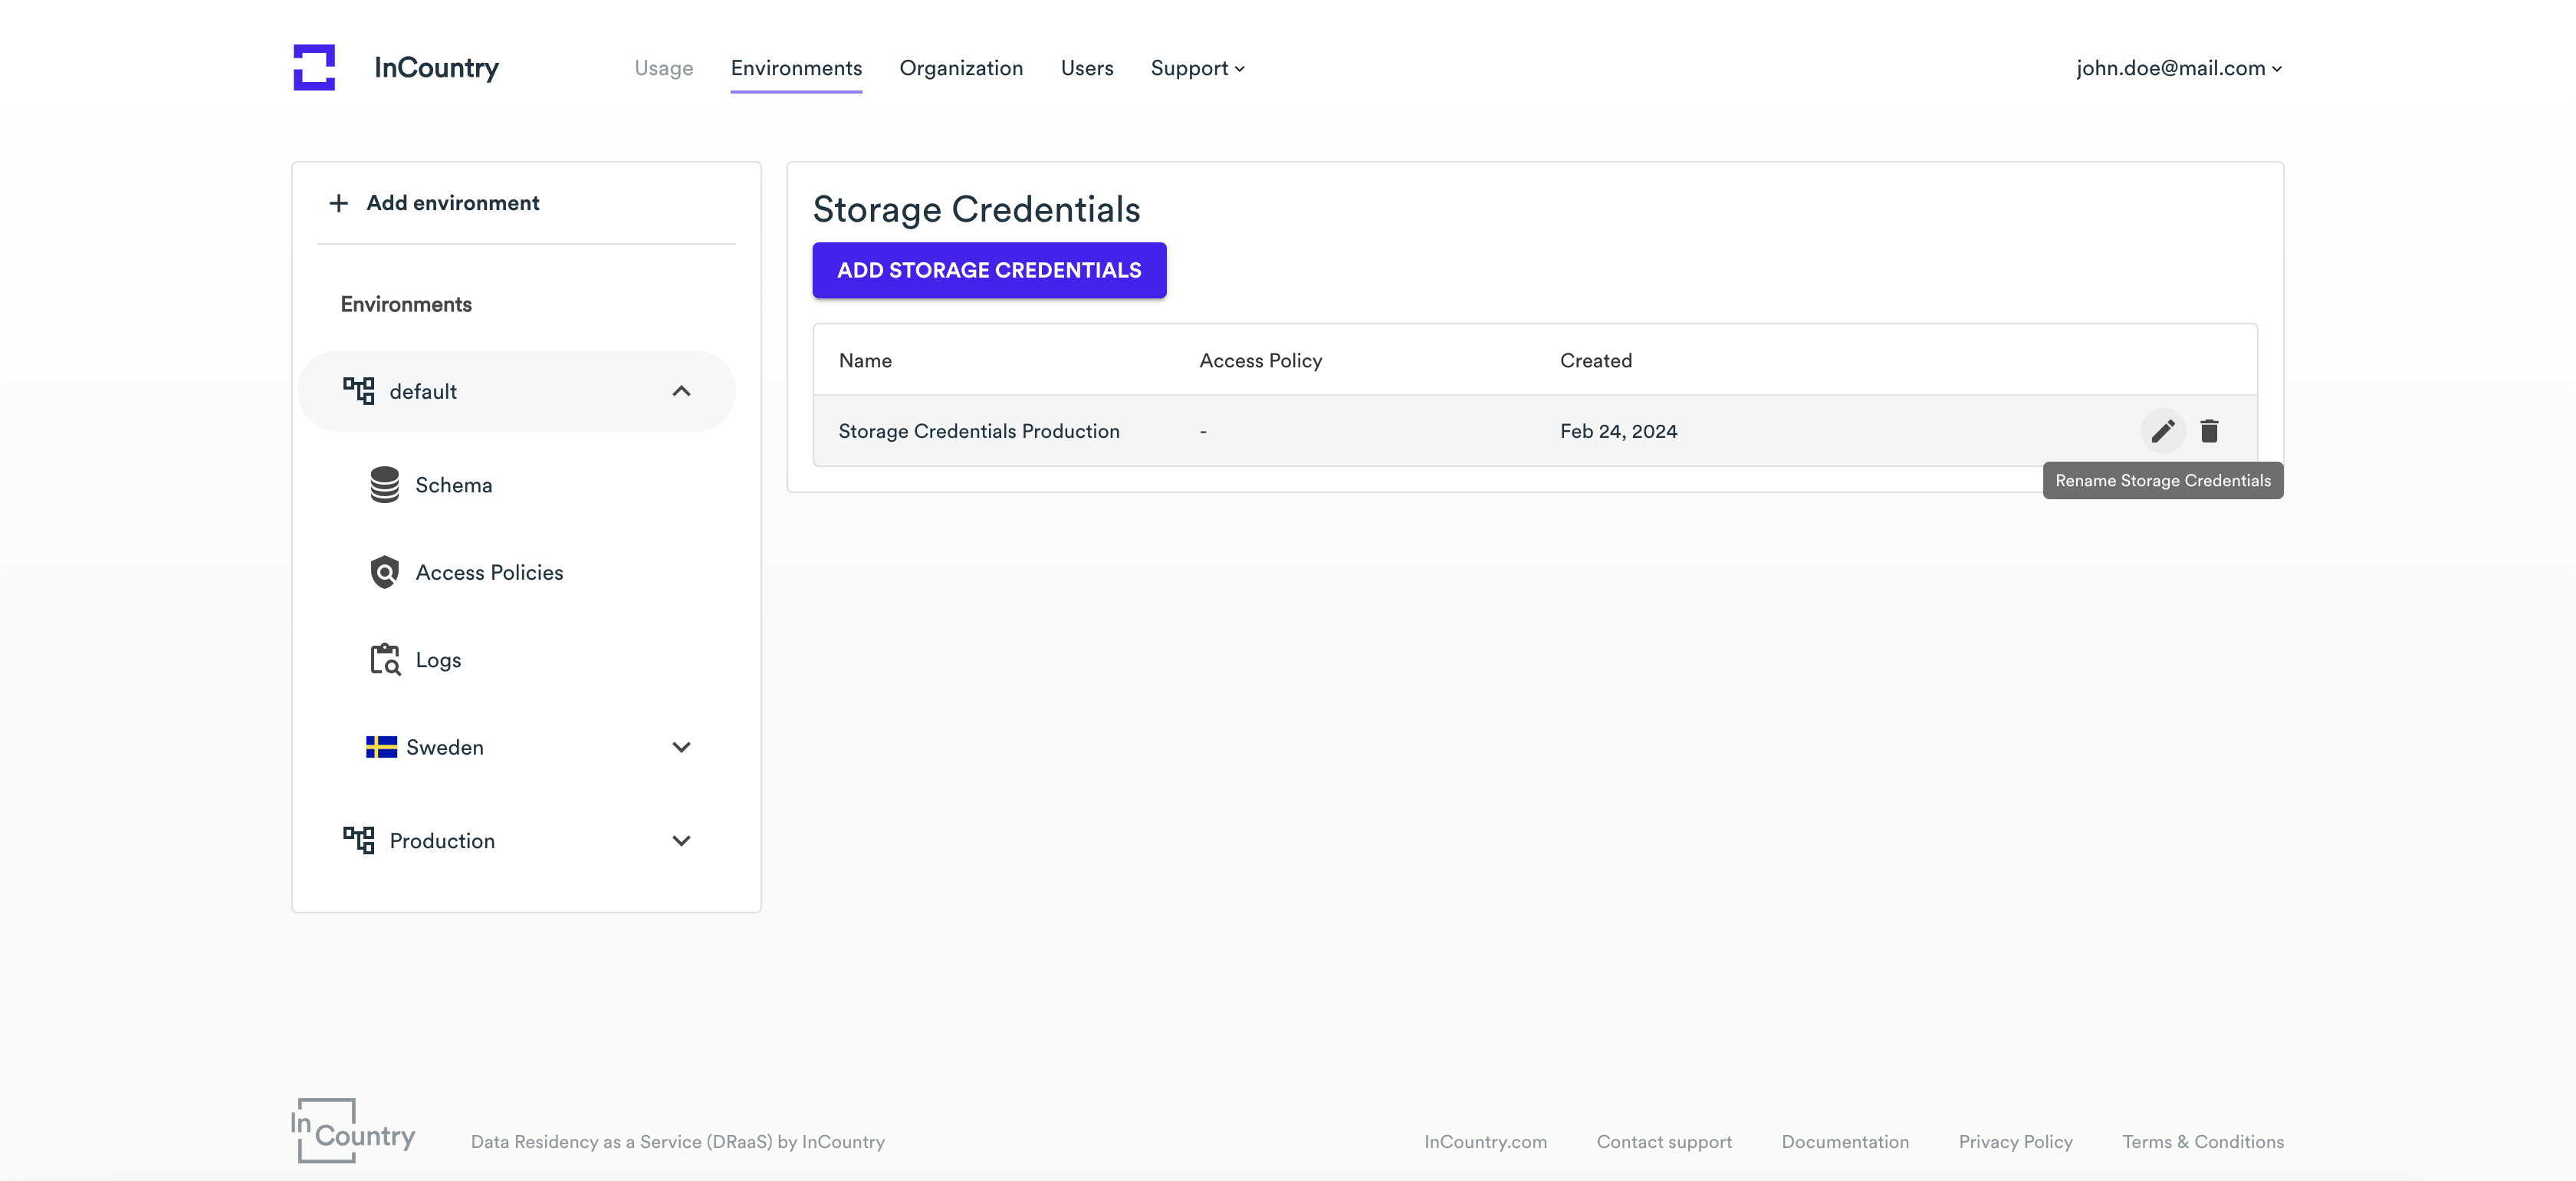
Click the Rename Storage Credentials icon.
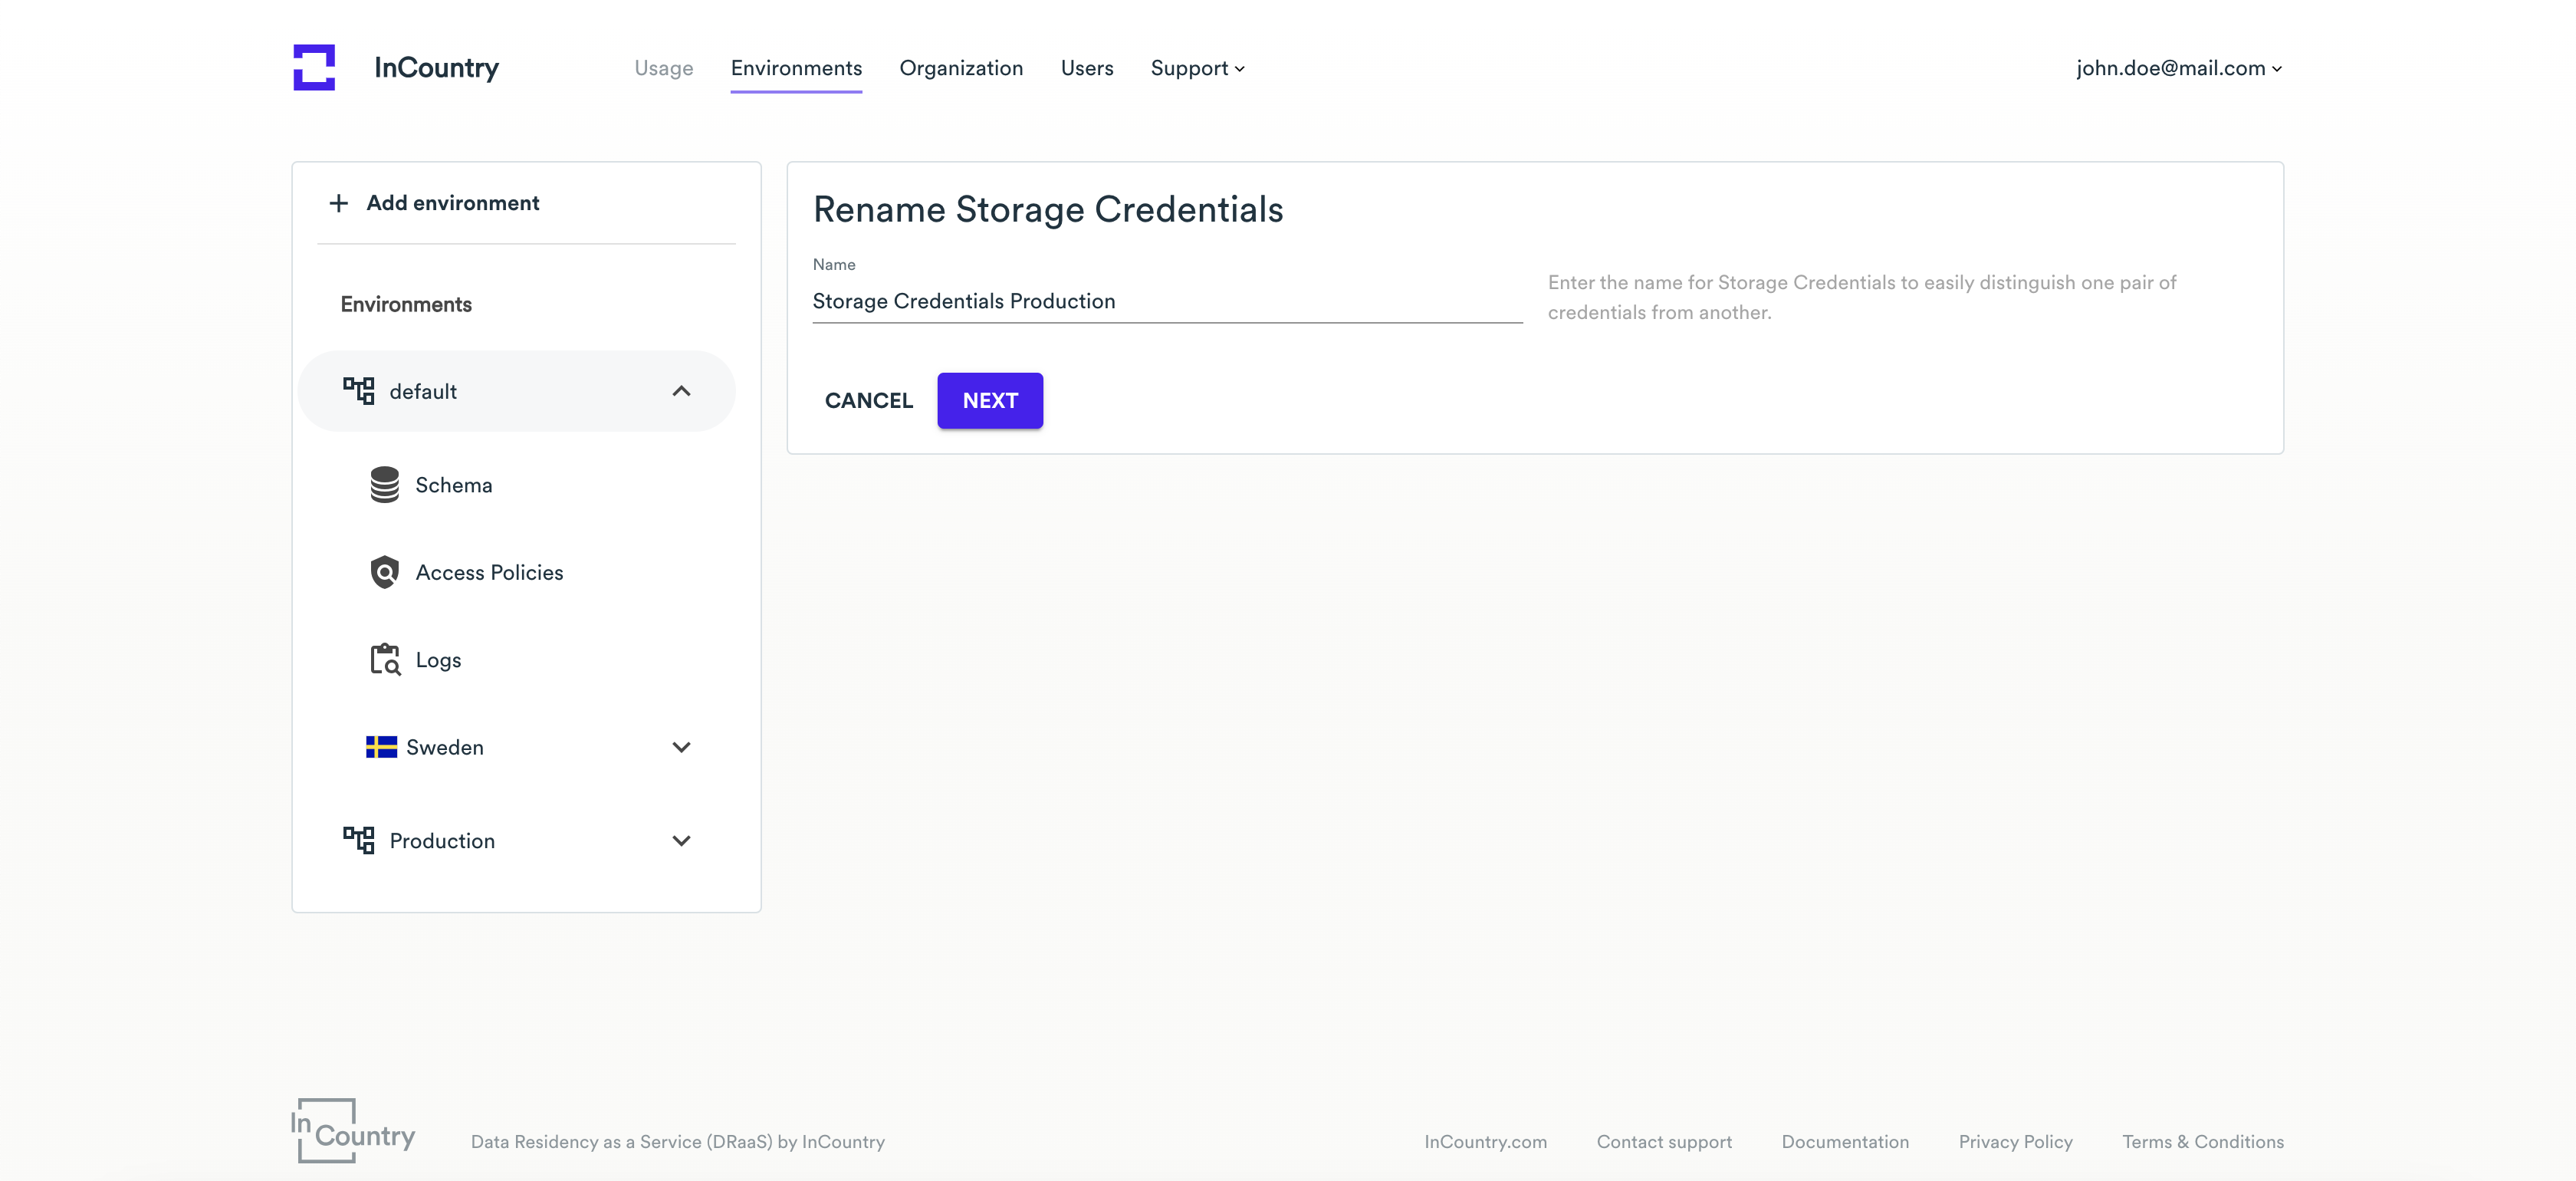
On the Rename Storage Credentials page, update the name for the Storage Credentials.
Click Next.
Enter the verification code and click Update.
Deleting Storage Credentials
If you no longer need some Storage Credentials, you can delete them. After the removal, the Storage Credentials are no longer valid, so you cannot use them for further data management on the InCountry Platform. To get access to data stored within the environment, you will need to create Storage Credentials.
Open the list with Storage Credentials within a specific environment.
On the list with Storage Credentials, locate the Storage Credentials you want to delete.

Click the Delete Storage Credentials icon.
Enter the verification code and click Delete.